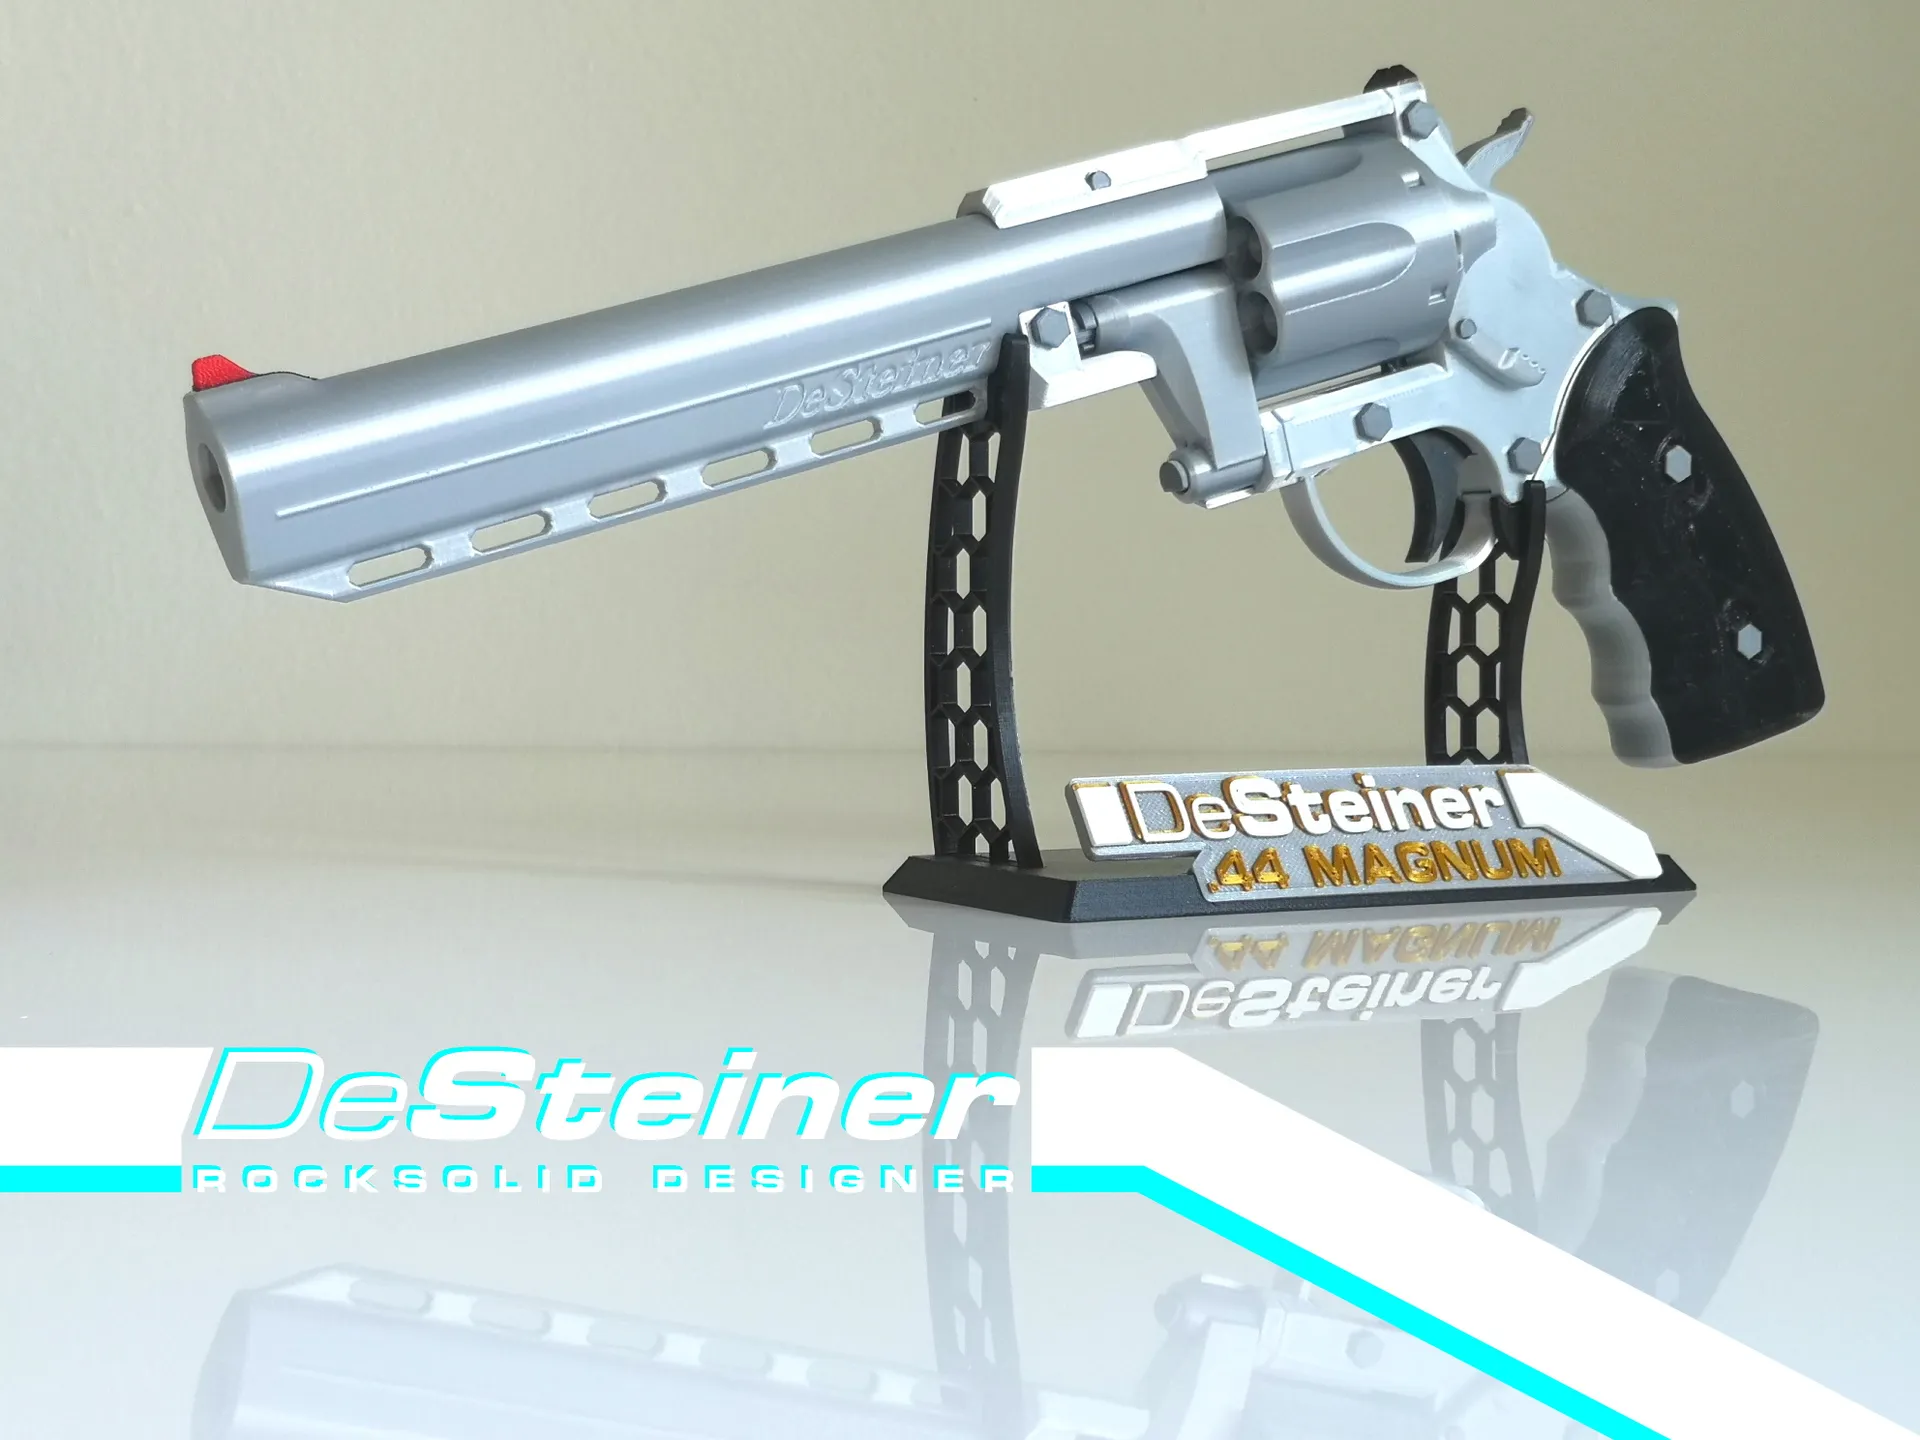
Revolver II : Double & Single Action | mechanically working Prop Gun


Description
PDFHi there!
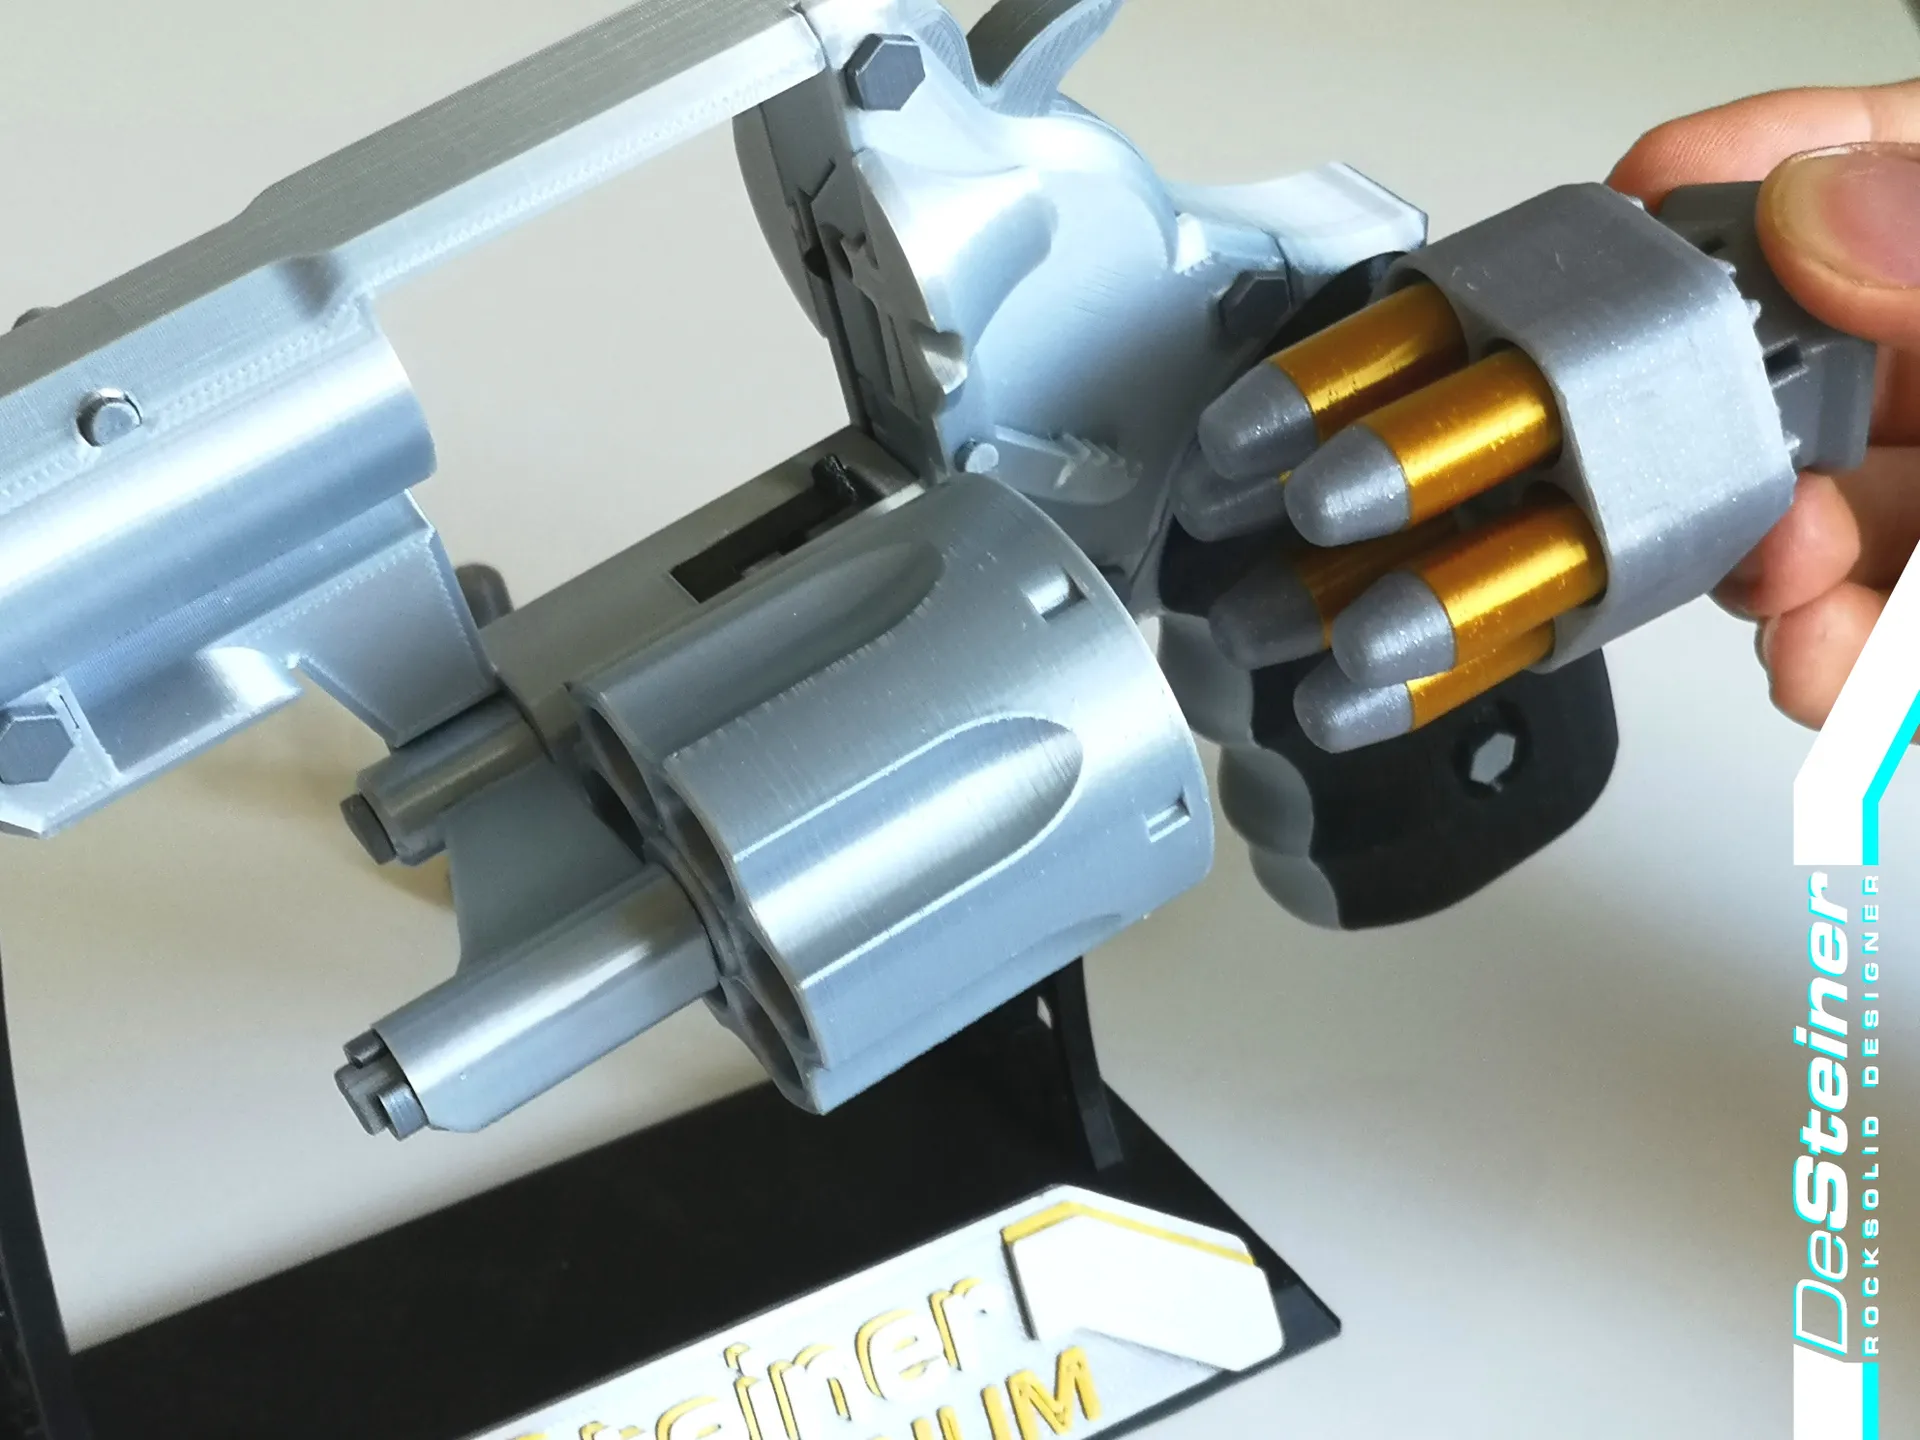
No matter how old you are, if you watched movies or played games and thought “man, I'd love to play around with a Revolver myself!”, then ladies and gentleman, your time has come!
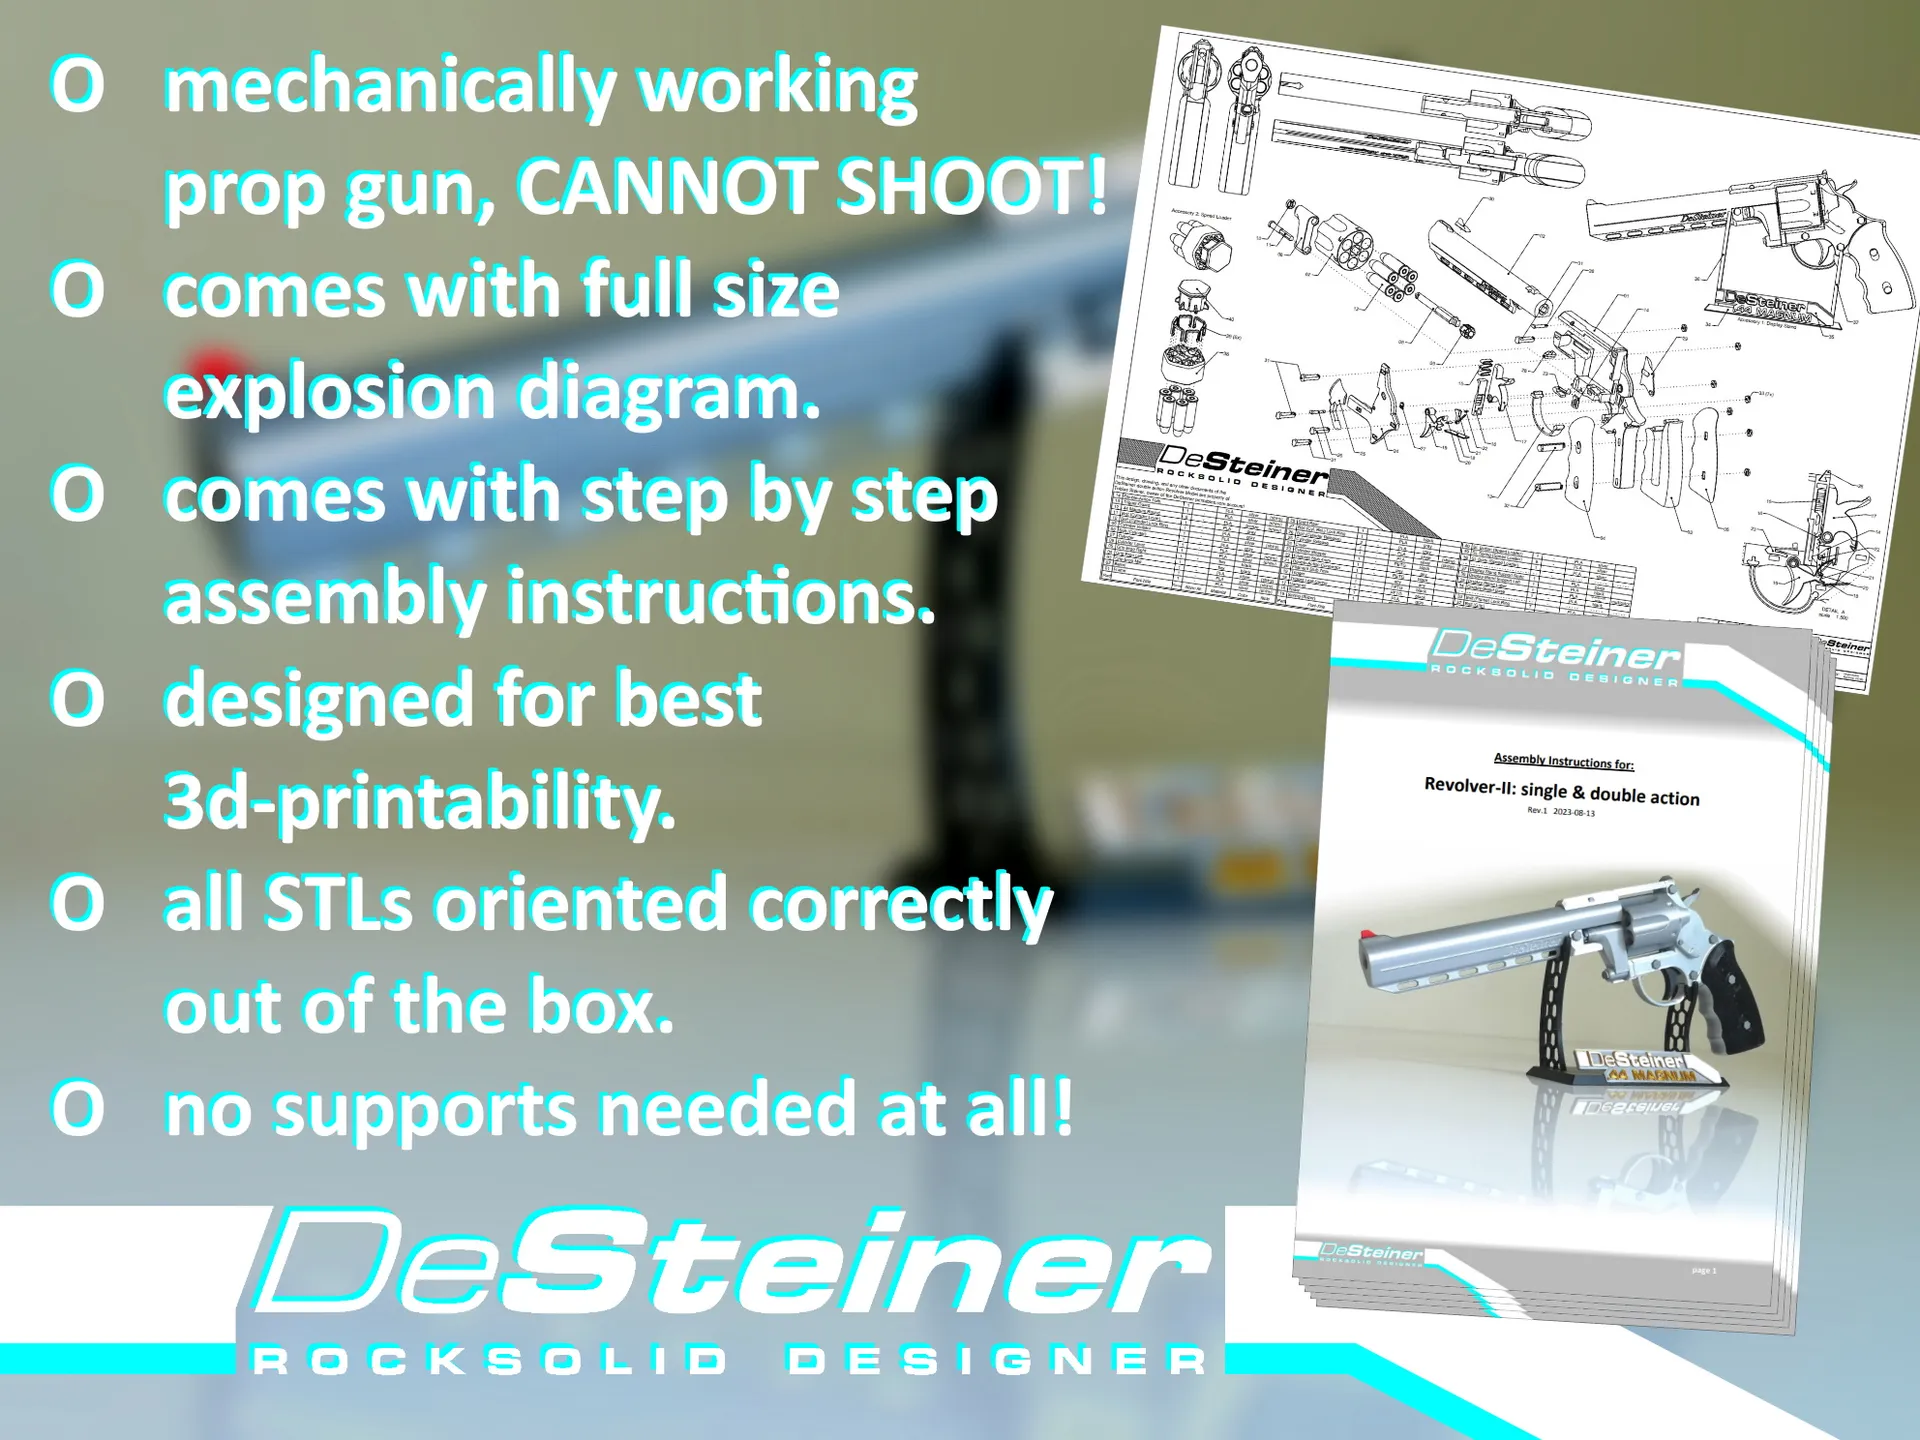
Works great as a Cosplay accessory too! The working mechanism is definately an eye catcher! But fear not, IT CANNOT SHOOT! May not be wise to carry it in non-convention public though, it looks quite realistic.
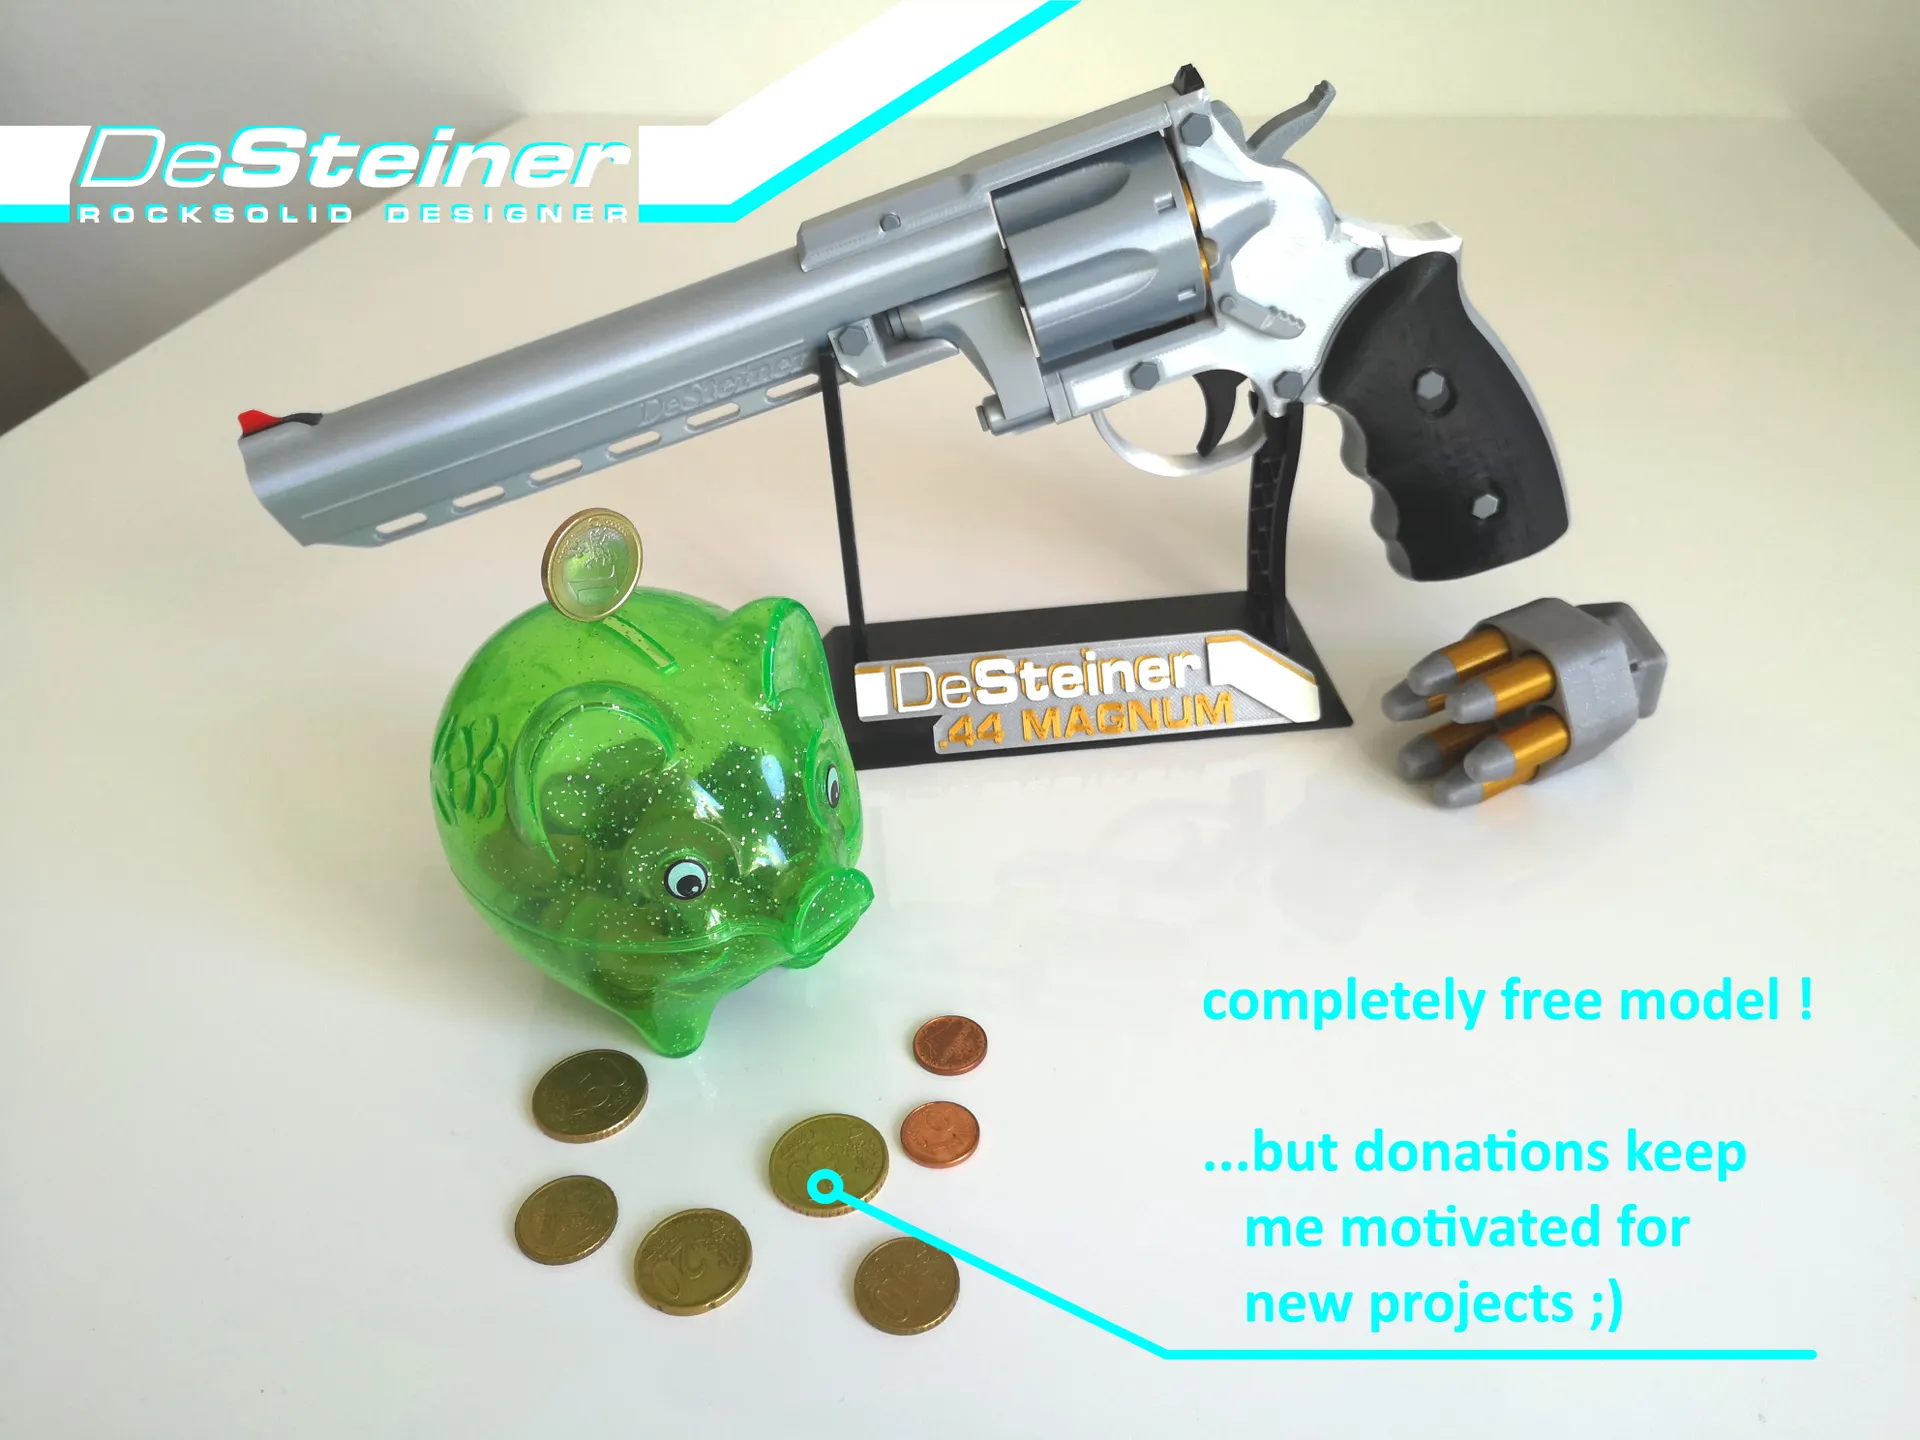
This project took a lot of time and effort, yet it is available for free!
While I already made a single-action only Revolver 5 years ago, I completely overhauled most of the design with three key targets:
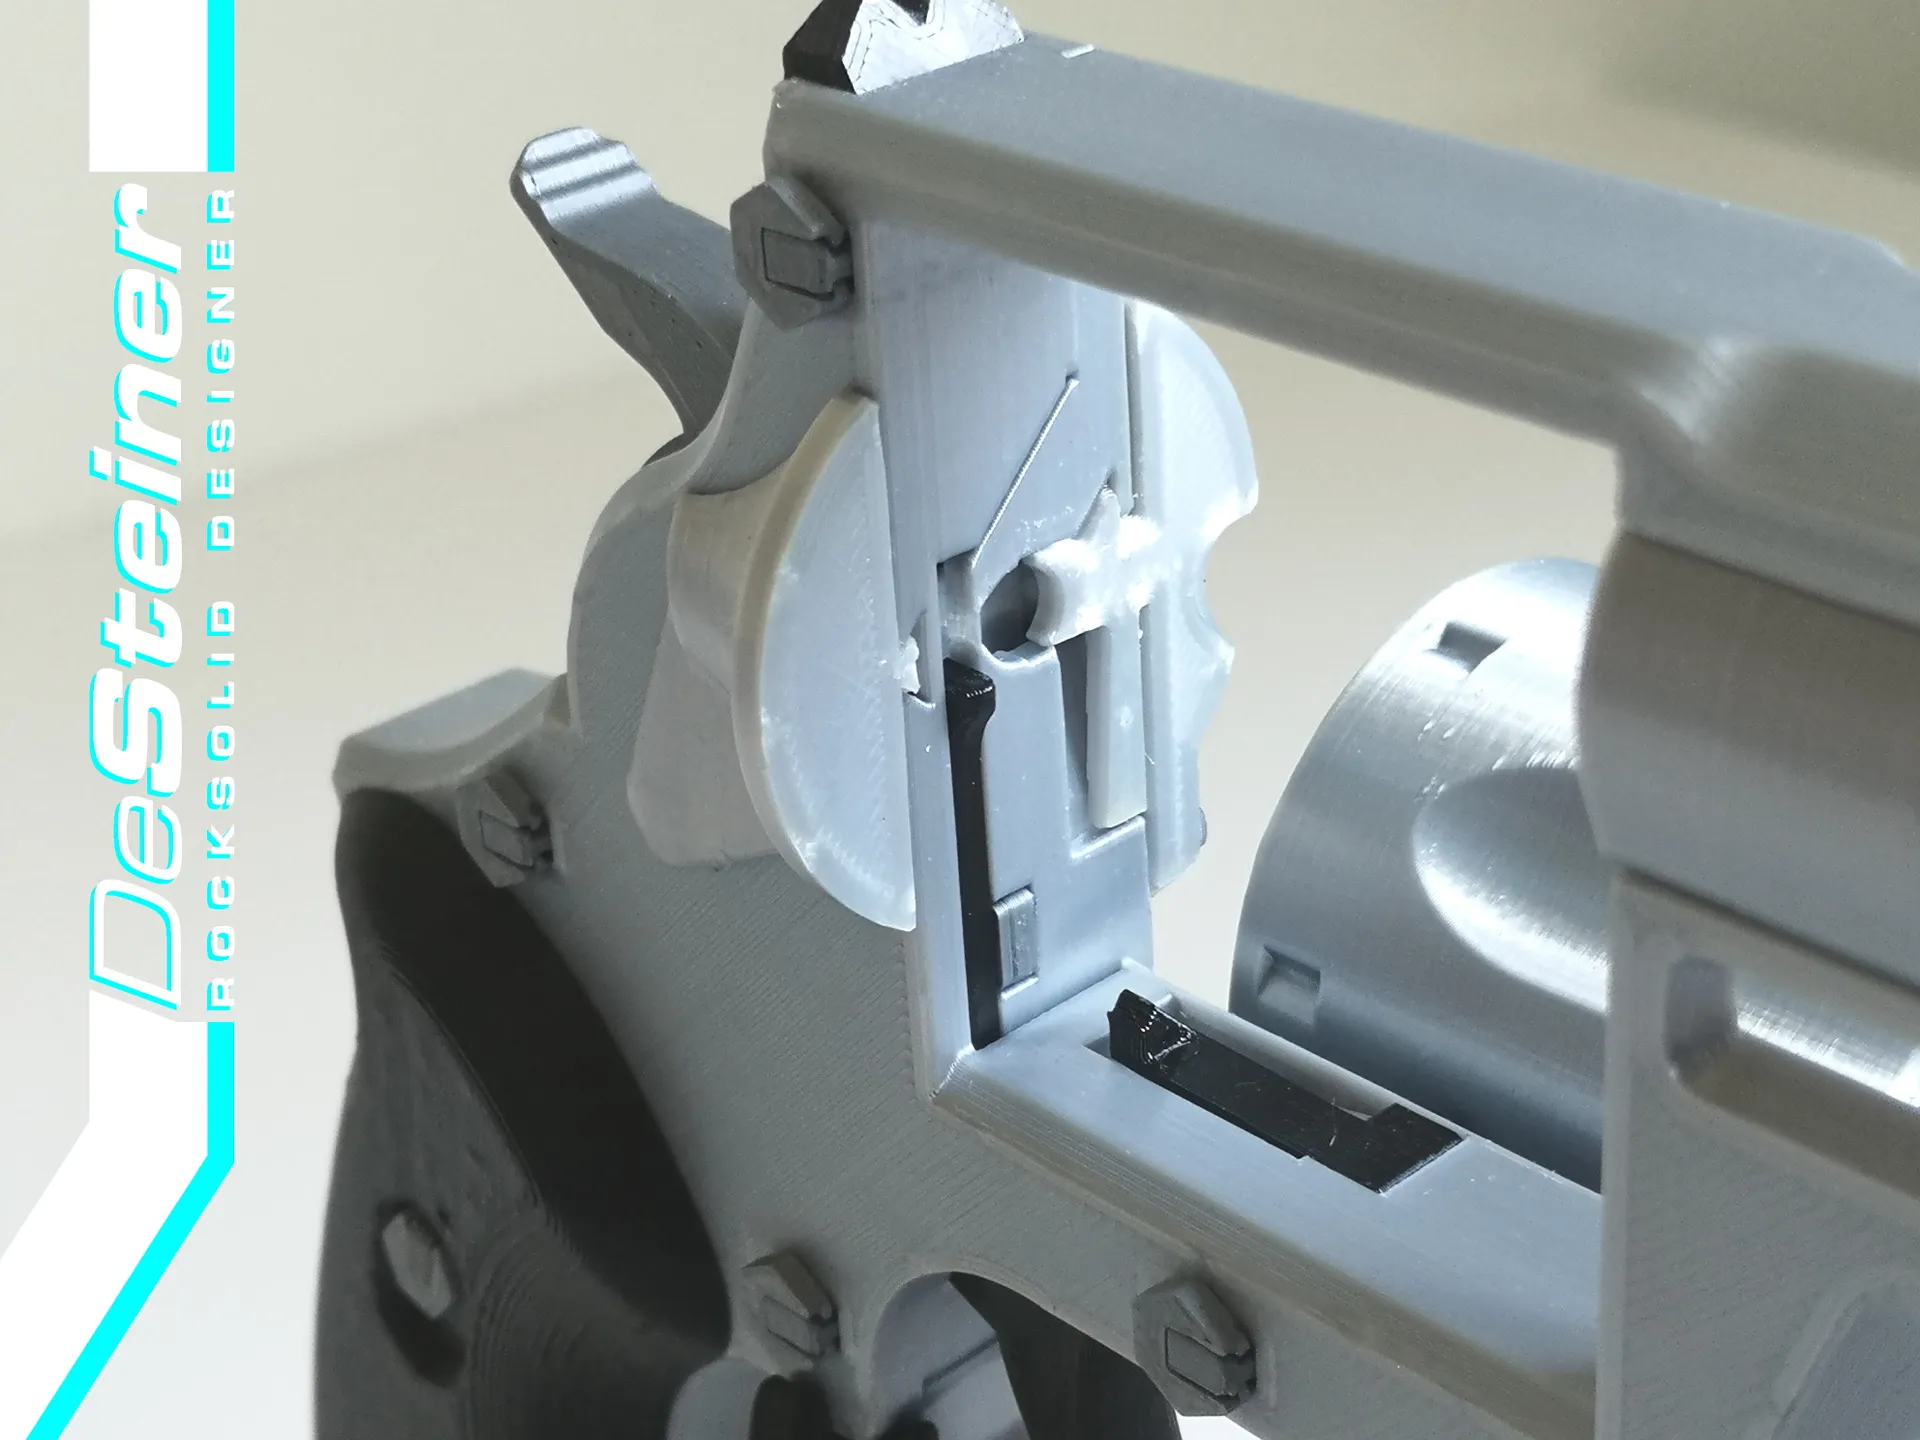
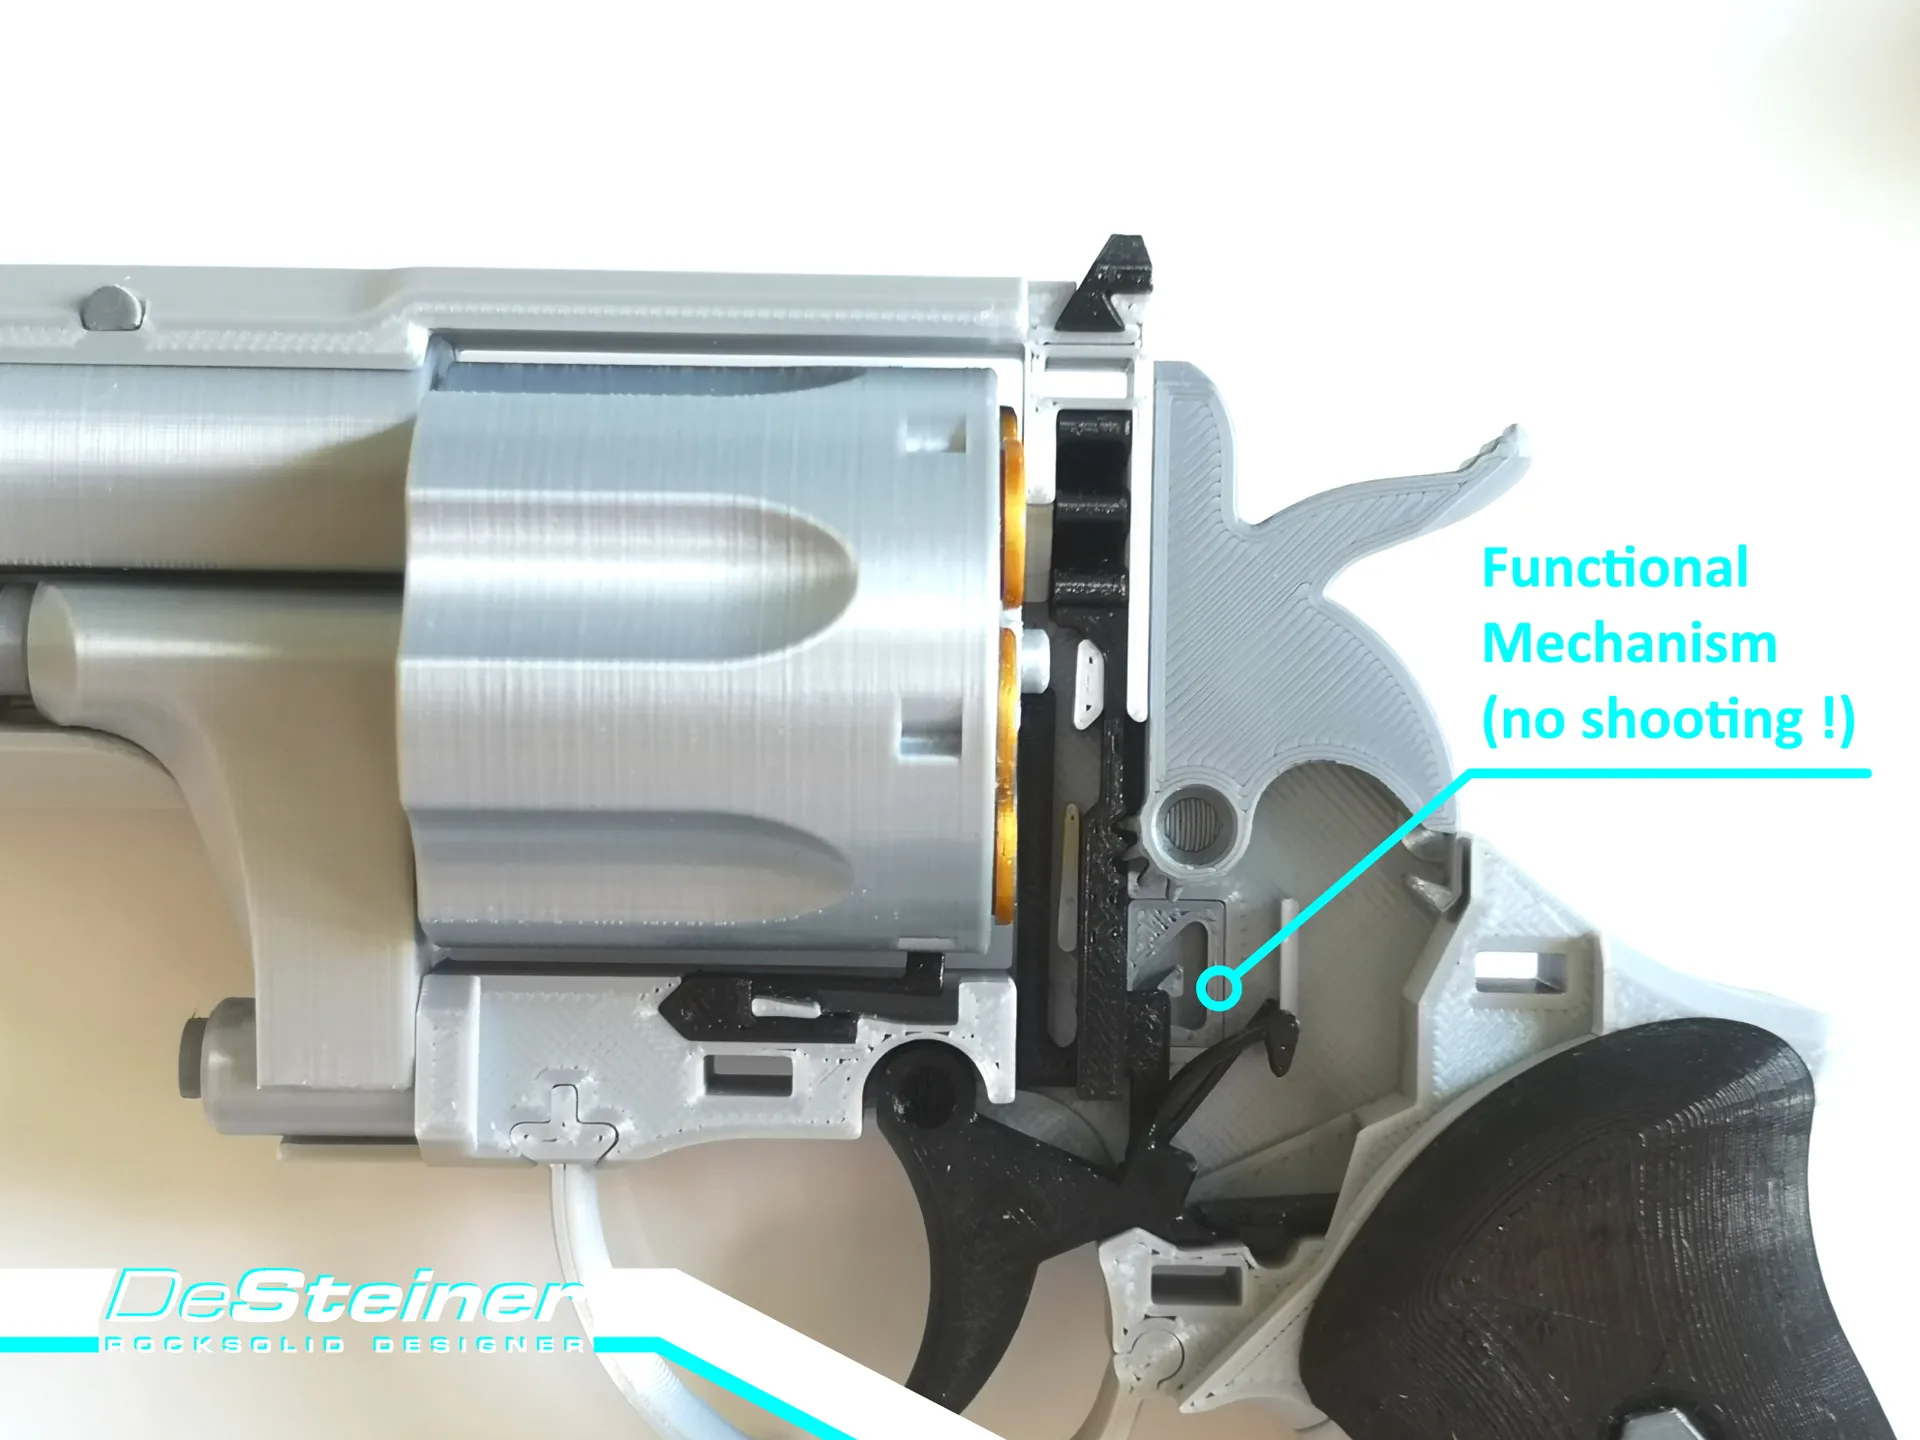
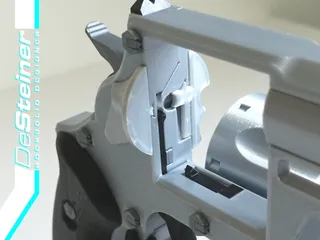
- Both double- and single-action shall be possible:
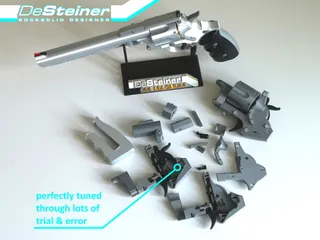
No need to cock the Hammer before each trigger pull anymore. While you can still do that, it also works now to directly pull the trigger, which took me some time to figure out how to do that.
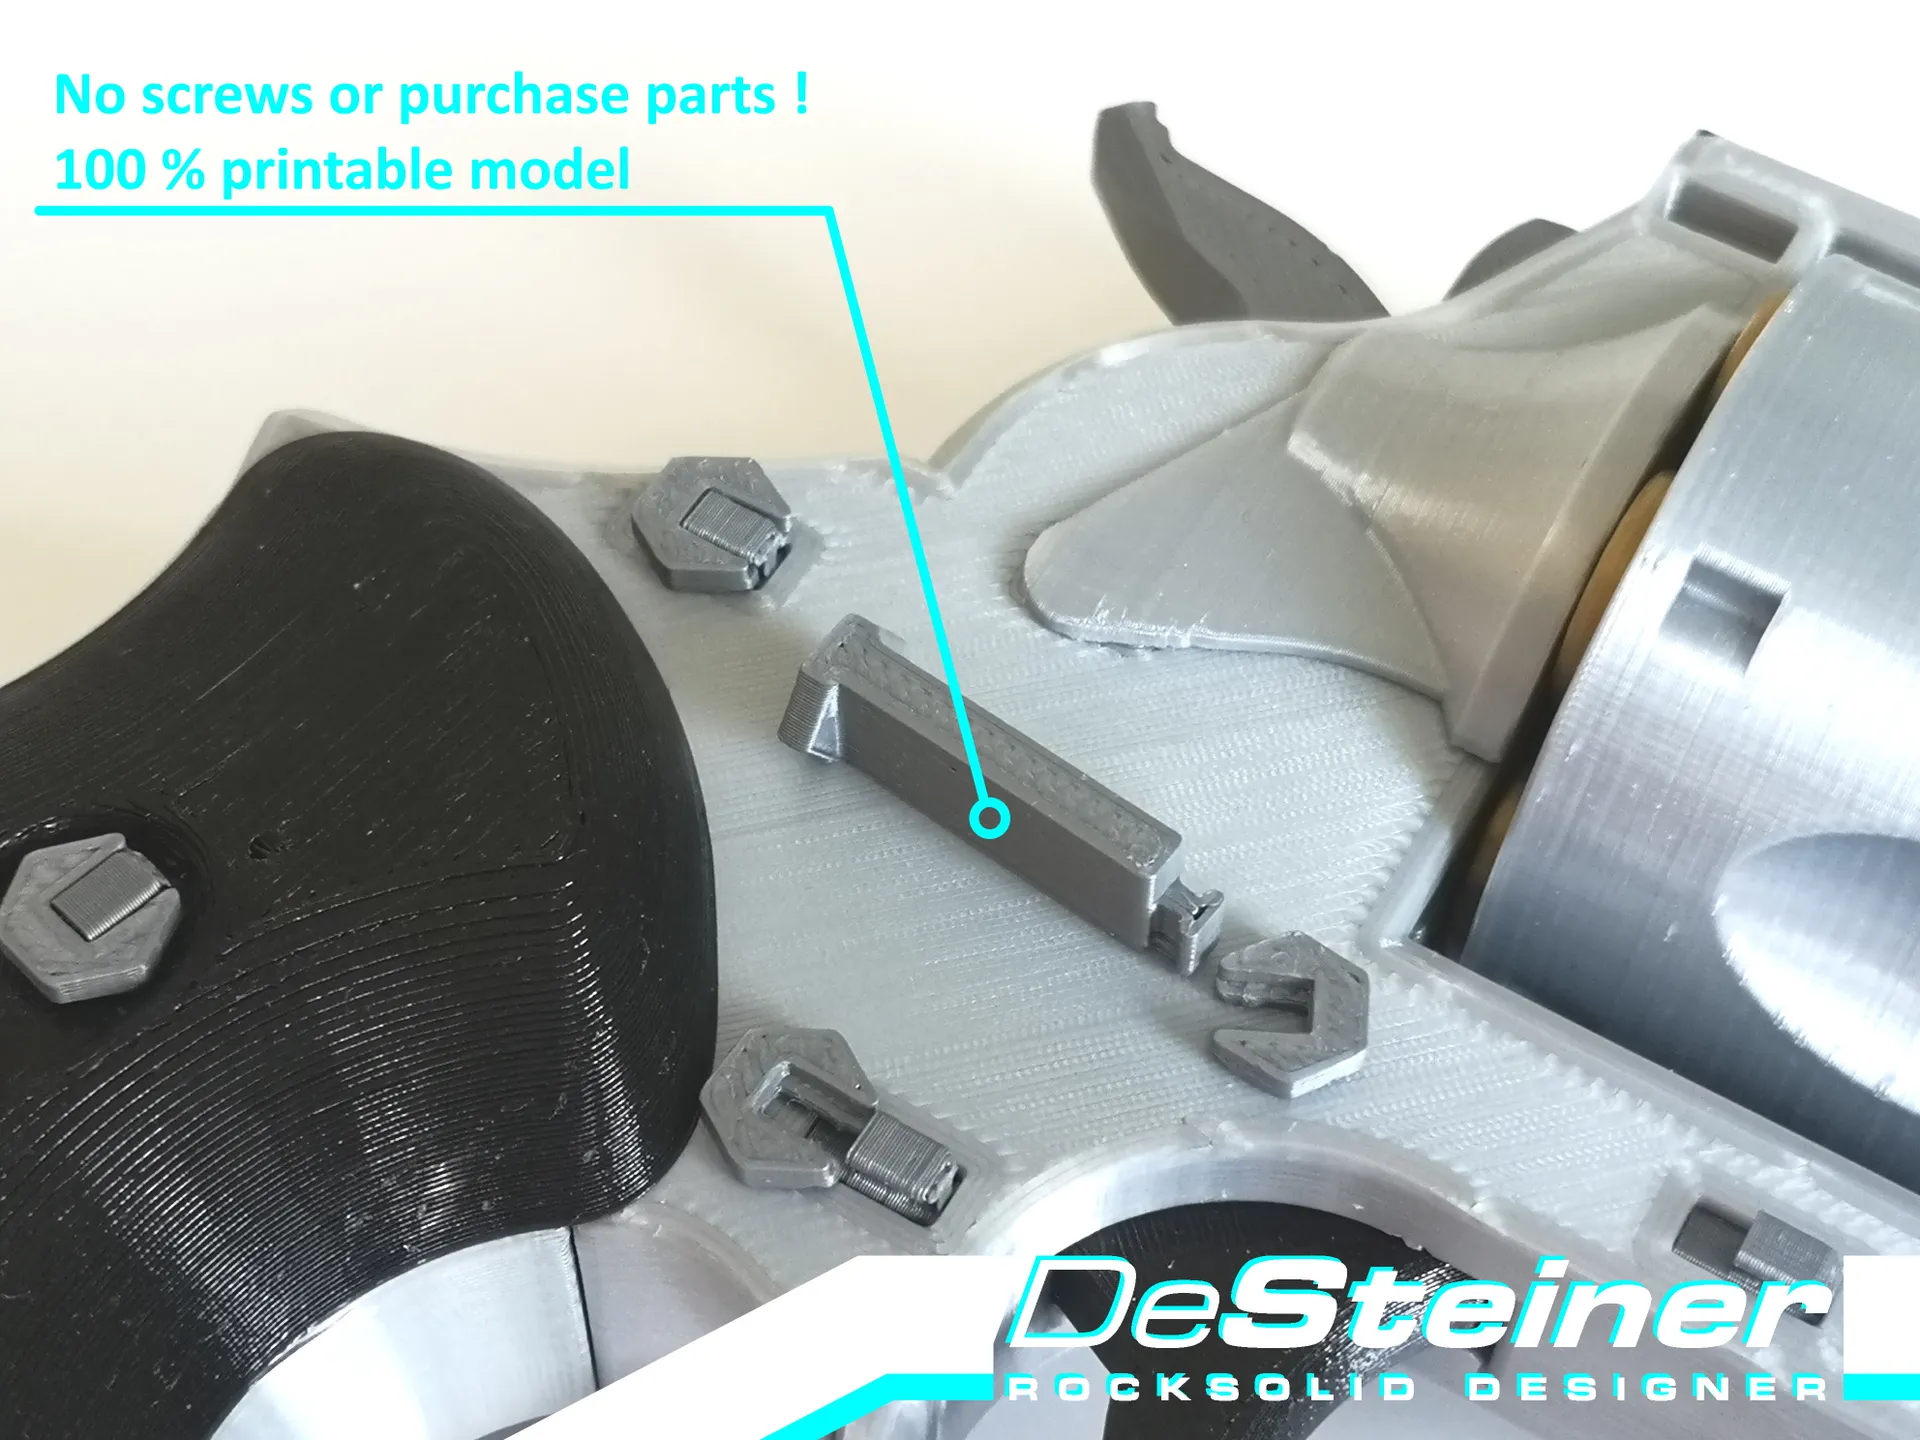
- No more need for screws or any non-printed parts in general:
Because if I got a Dollar for each comment asking “where can I get them screws bro?” I would probably be rich by now. But yeah, screws are different throughout the world so this makes perfect sense.
- More robust design:
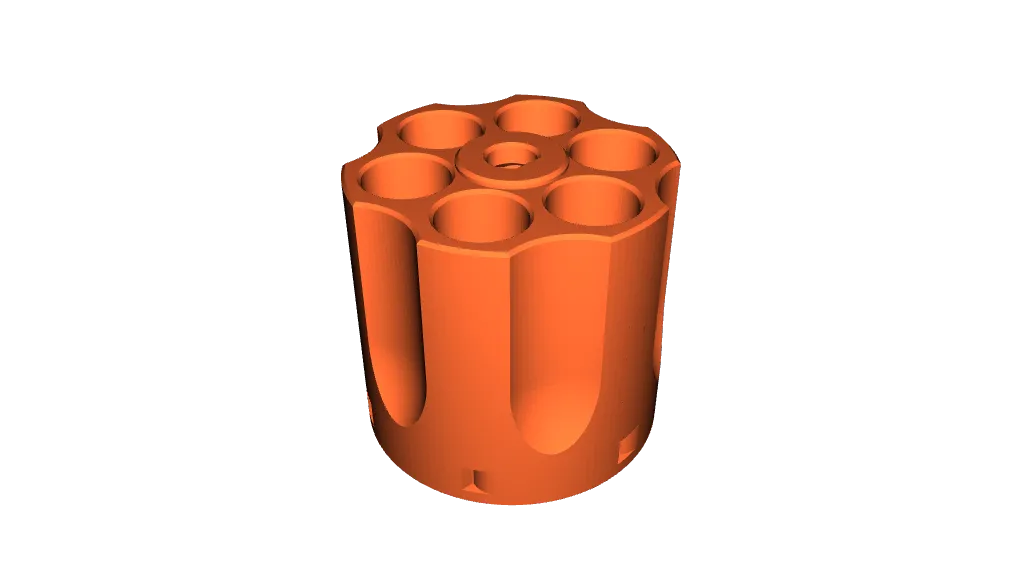
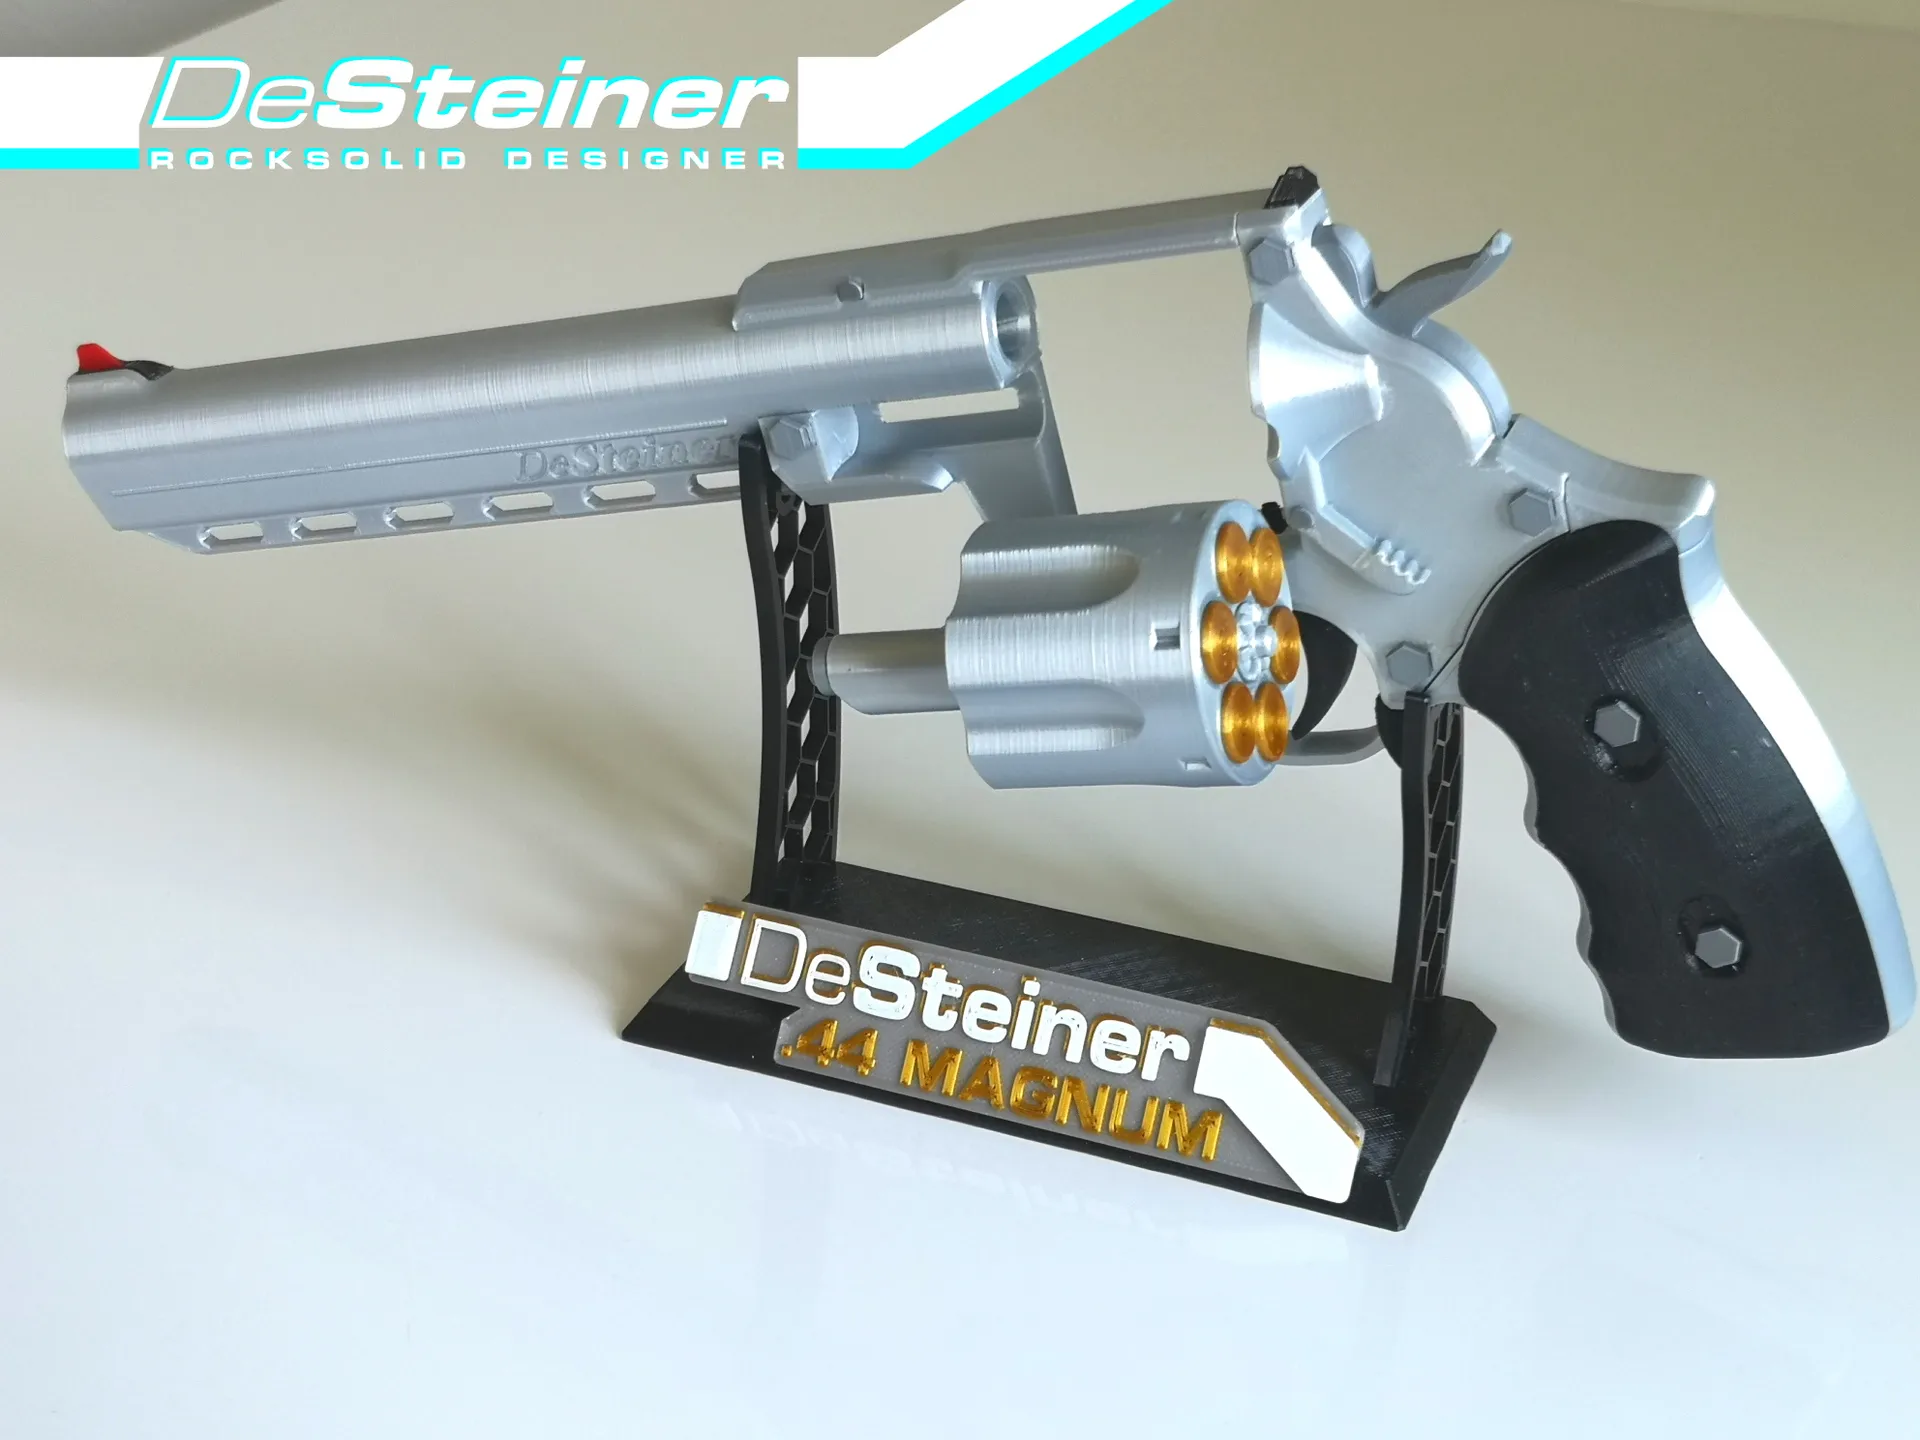
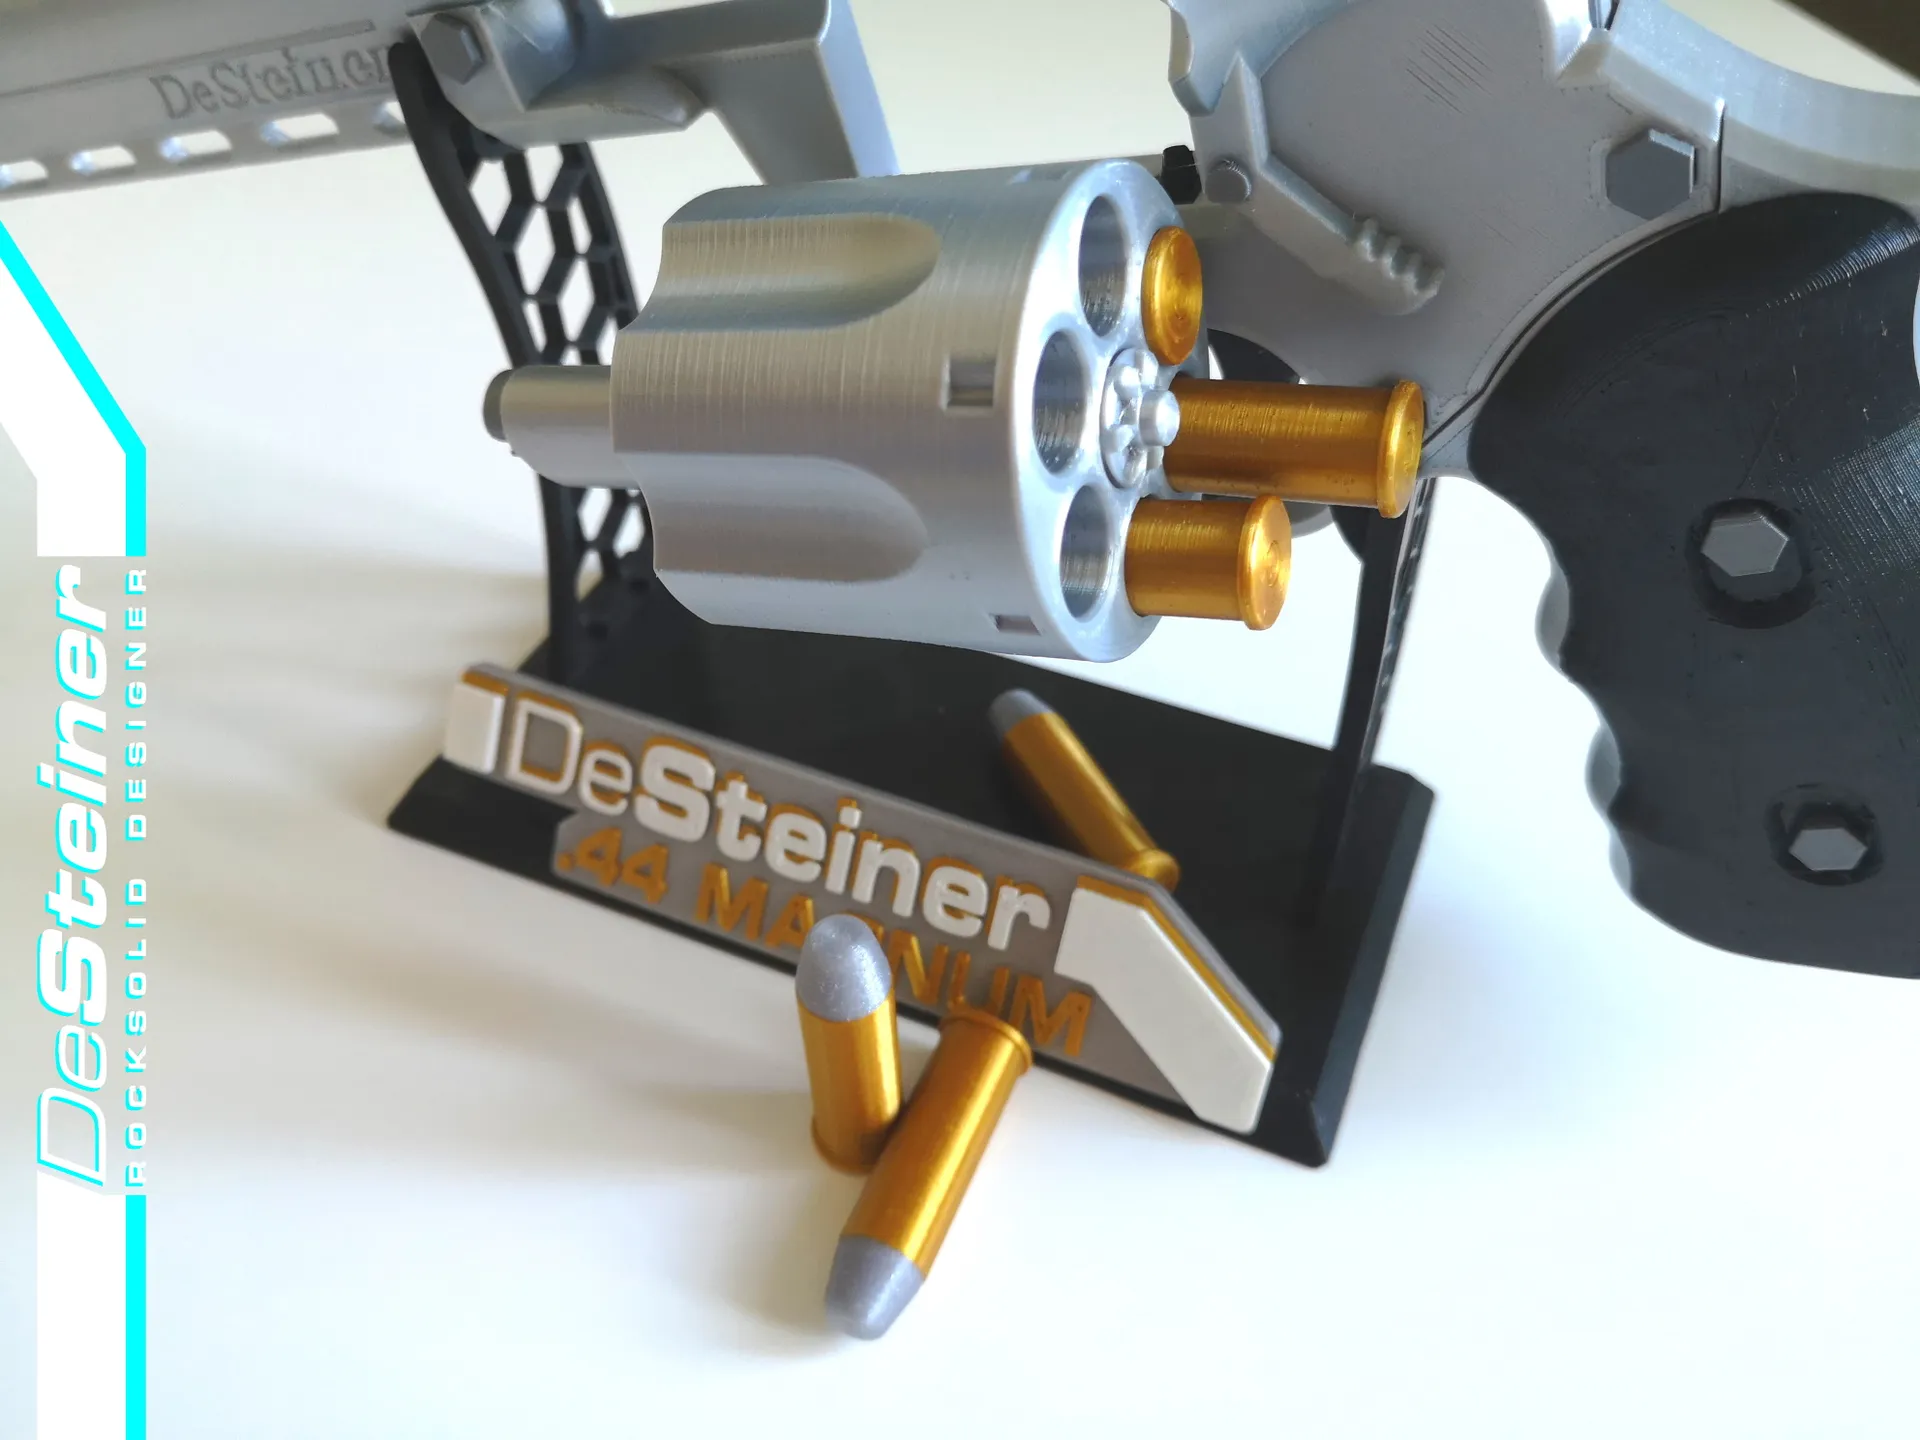
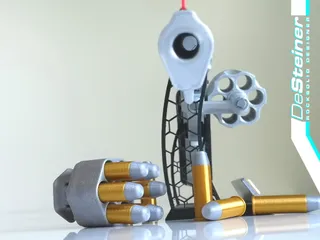
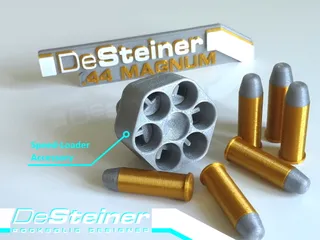
The original design had small axle pins on the main body, which broke easily for some people. Having to reprint the largest part just because of a small pin sucks, so the new design fixes that. The Speed-Loader is also completely new and much more sturdy, so it wont break the first time you drop it.
And I am very happy with how it turned out. It even got prettier in the process.
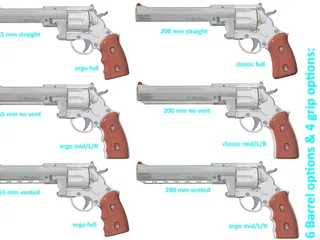
While 3d-printing does not have a lot of true limitations, I love models which are easy to print with large flat bottom surfaces, no need for supports, proper connection solutions without the need for glue, simply overall thoughtfully designed. Following my own Rules that come with the DeSteiner brand makes the design process much more complex, but results in a much more satisfying printing process. I spend some extra time, so thousands of you guys can save some. Speaking of extra time, there are also step-by-step assembly instructions full of tips and extra information. Be sure to make use of that.
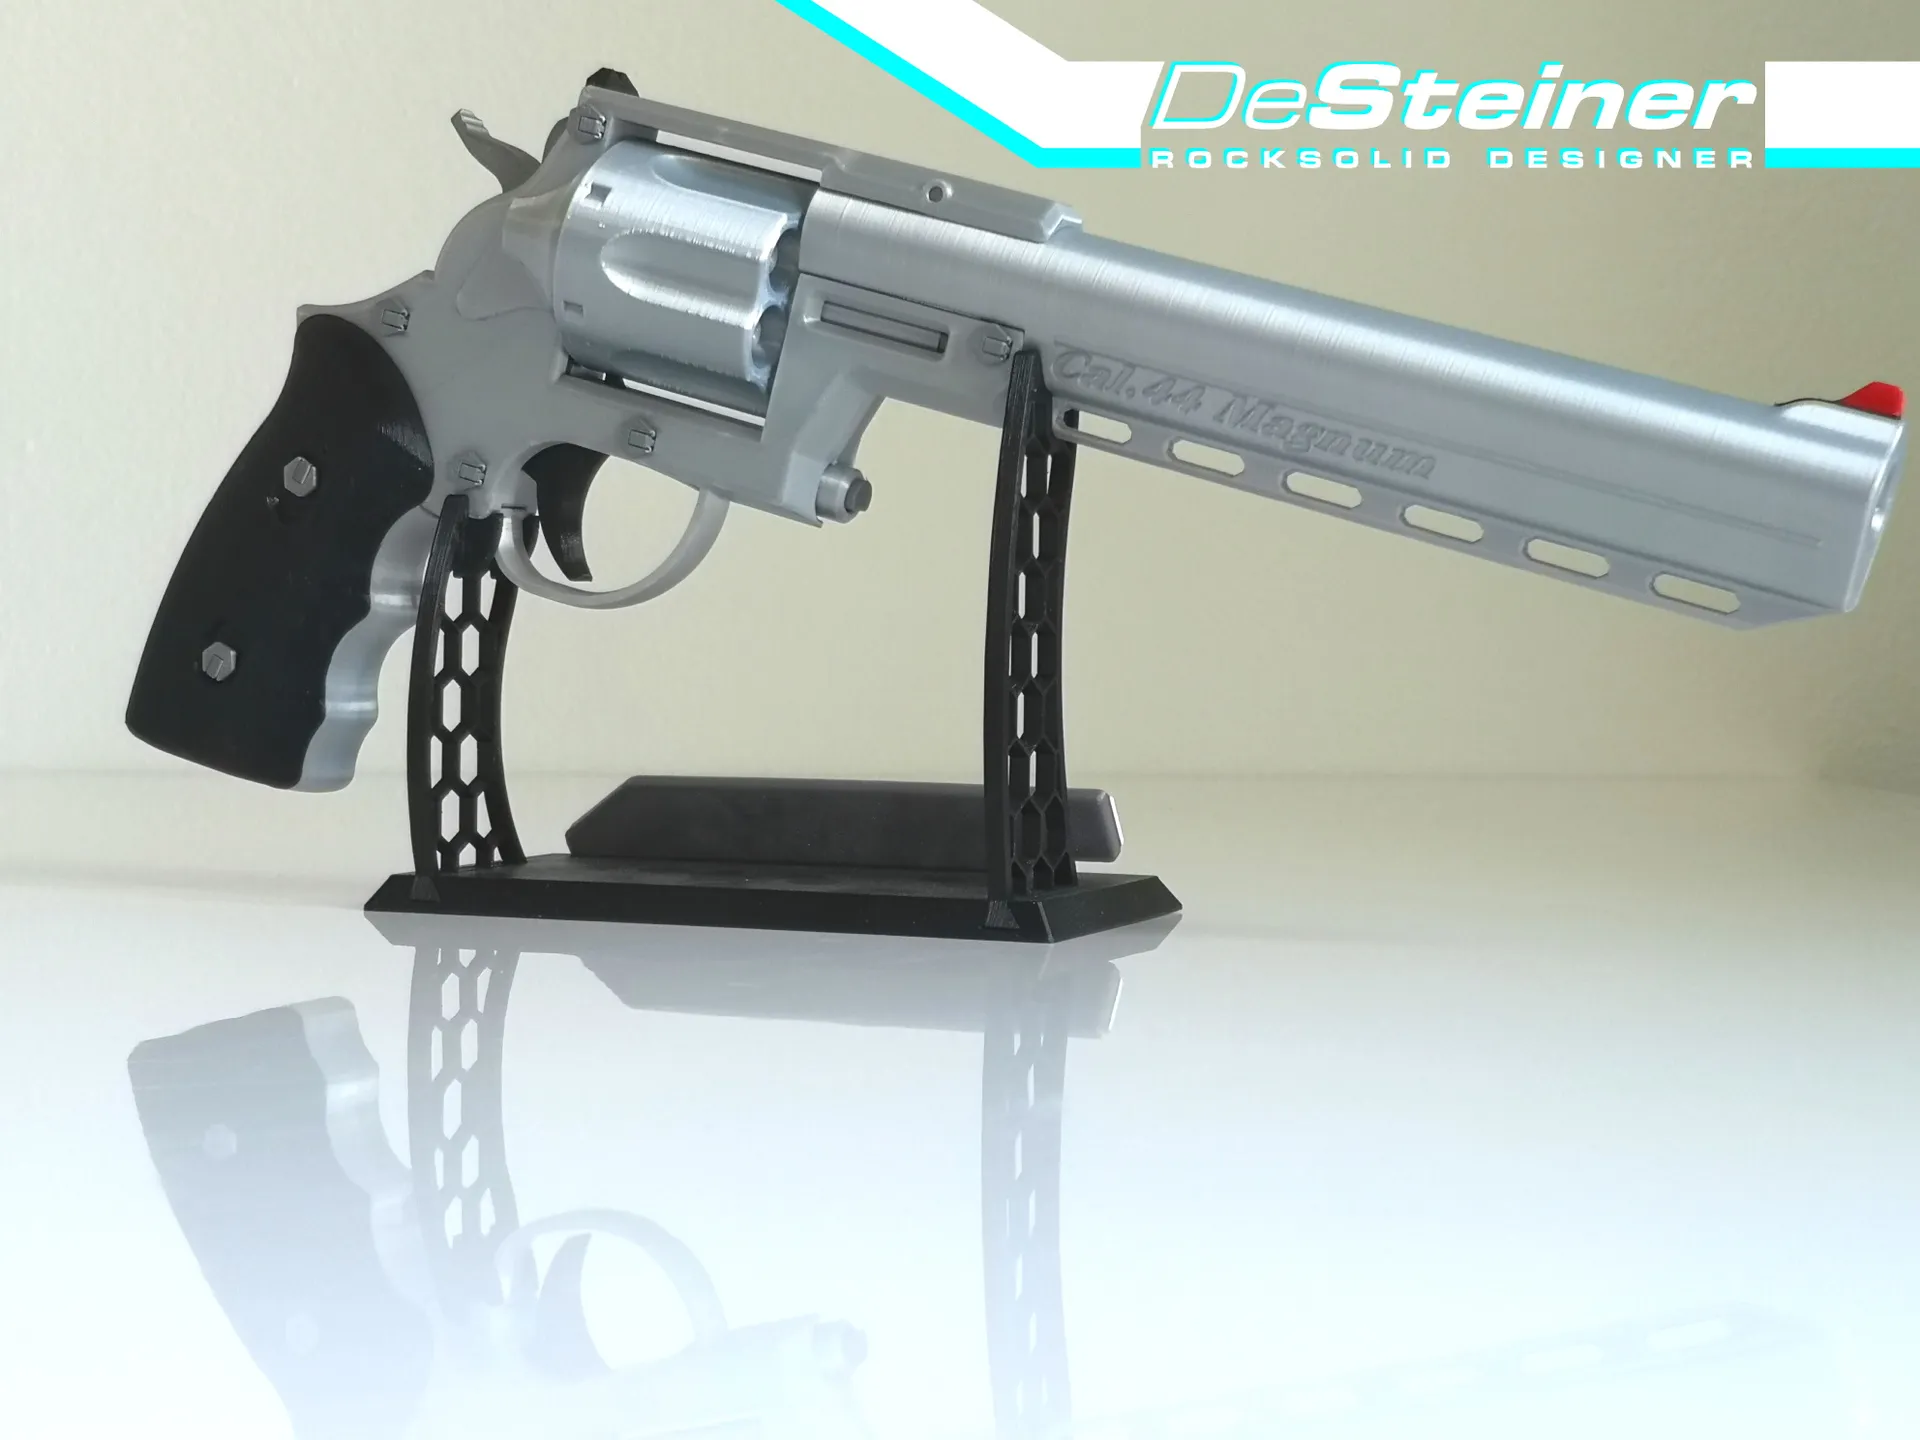
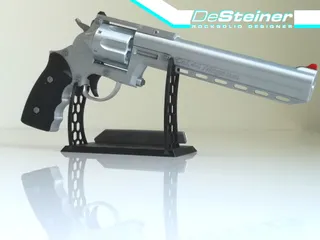
So here it is. The DeSteiner Revolver-II, working like a charm.
I hope you enjoy it as much as I do!
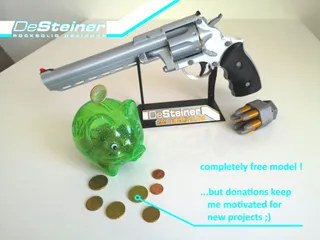
And you get all of it for free!
If you value my work, I would highly appreciate it if you sent me a tip!
That keeps me motivated to do more in the future.
Don't forget to share your makes, too!
Yours,
Tobias ~DeSteiner
Check out the Youtube Video of the Project!
Print Instructions:
print slowly!
I have designed the tolerances when two parts are meeting to be rather tight to minimize wobble. I used speeds around 25mm/s. What you save in print time, you may have to invest in additional afterwork if the parts dont fit together... But more on that in the assembly instructions.
I printed all parts at 0,15mm layer height.
Some parts come with a 1 layer high surface directly integrated into the model either to improve brim generation (no brim in useless spots), put additional first layer strength to critical part areas, remove the standard brim entirely, or custom supports. When some very thin features are in the way during assembly, you will figure out that they are not meant to stay there.
Revolver Revolver Revolver Revolver Revolver Revolver Revolver Revolver Revolver Revolver Revolver Revolver Revolver Revolver Revolver Revolver Revolver Revolver Revolver Revolver Revolver Revolver Revolver Revolver Revolver Revolver Revolver Revolver Revolver Revolver
Tags
Model origin
The author marked this model as their own original creation.