Raspberry Pico Case for Input Shaper (ADXL345)
Description
PDFInput Shaping is a great way to reduce 3D printer artifacts while also increasing the possible speed of printing.
To set up Input Shaping profiles it's necessary to determine the resonant frequencies of the printer. This can be done by printing a ‘ringing tower’ and measuring the spacing between the ringing artifacts, or it can be done more precisely using an accelerometer such as an ADXL345.
The simplest was to connect the accelerometer is to wire it to an SBC such as a Raspberry Pi. However, this can be a little inconvenient because, normally, the accelerometer doesn't need to be attached to the printer full time. Another way to connect the accelerometer is to attach it to a secondary MCU such as a Raspberry Pico and then connect the Pico to one of the RasPi's USB ports.
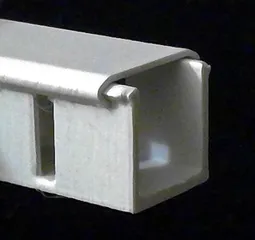
This is great, but it leaves a Ras Pico hanging in the middle of the cable that connects to the Pi and the ADXL. This case is designed to hold the Pico safely.
The top of the case is a tight, snap-in fit, so I recommend printing it out of something that has some flex, like PETg.
The 2 small slots at one end of the case for inserting a small, flat screwdriver blade, to pry the cover off if needed.
The small hole in the top is to allow a small piece of 1.75mm filament to be used to press the reset/bootloader button on the Pico.
Tags
Model origin
The author marked this model as their own original creation.


