Finger Slinger 2.7 with New and Improved Bearing Joint


Description
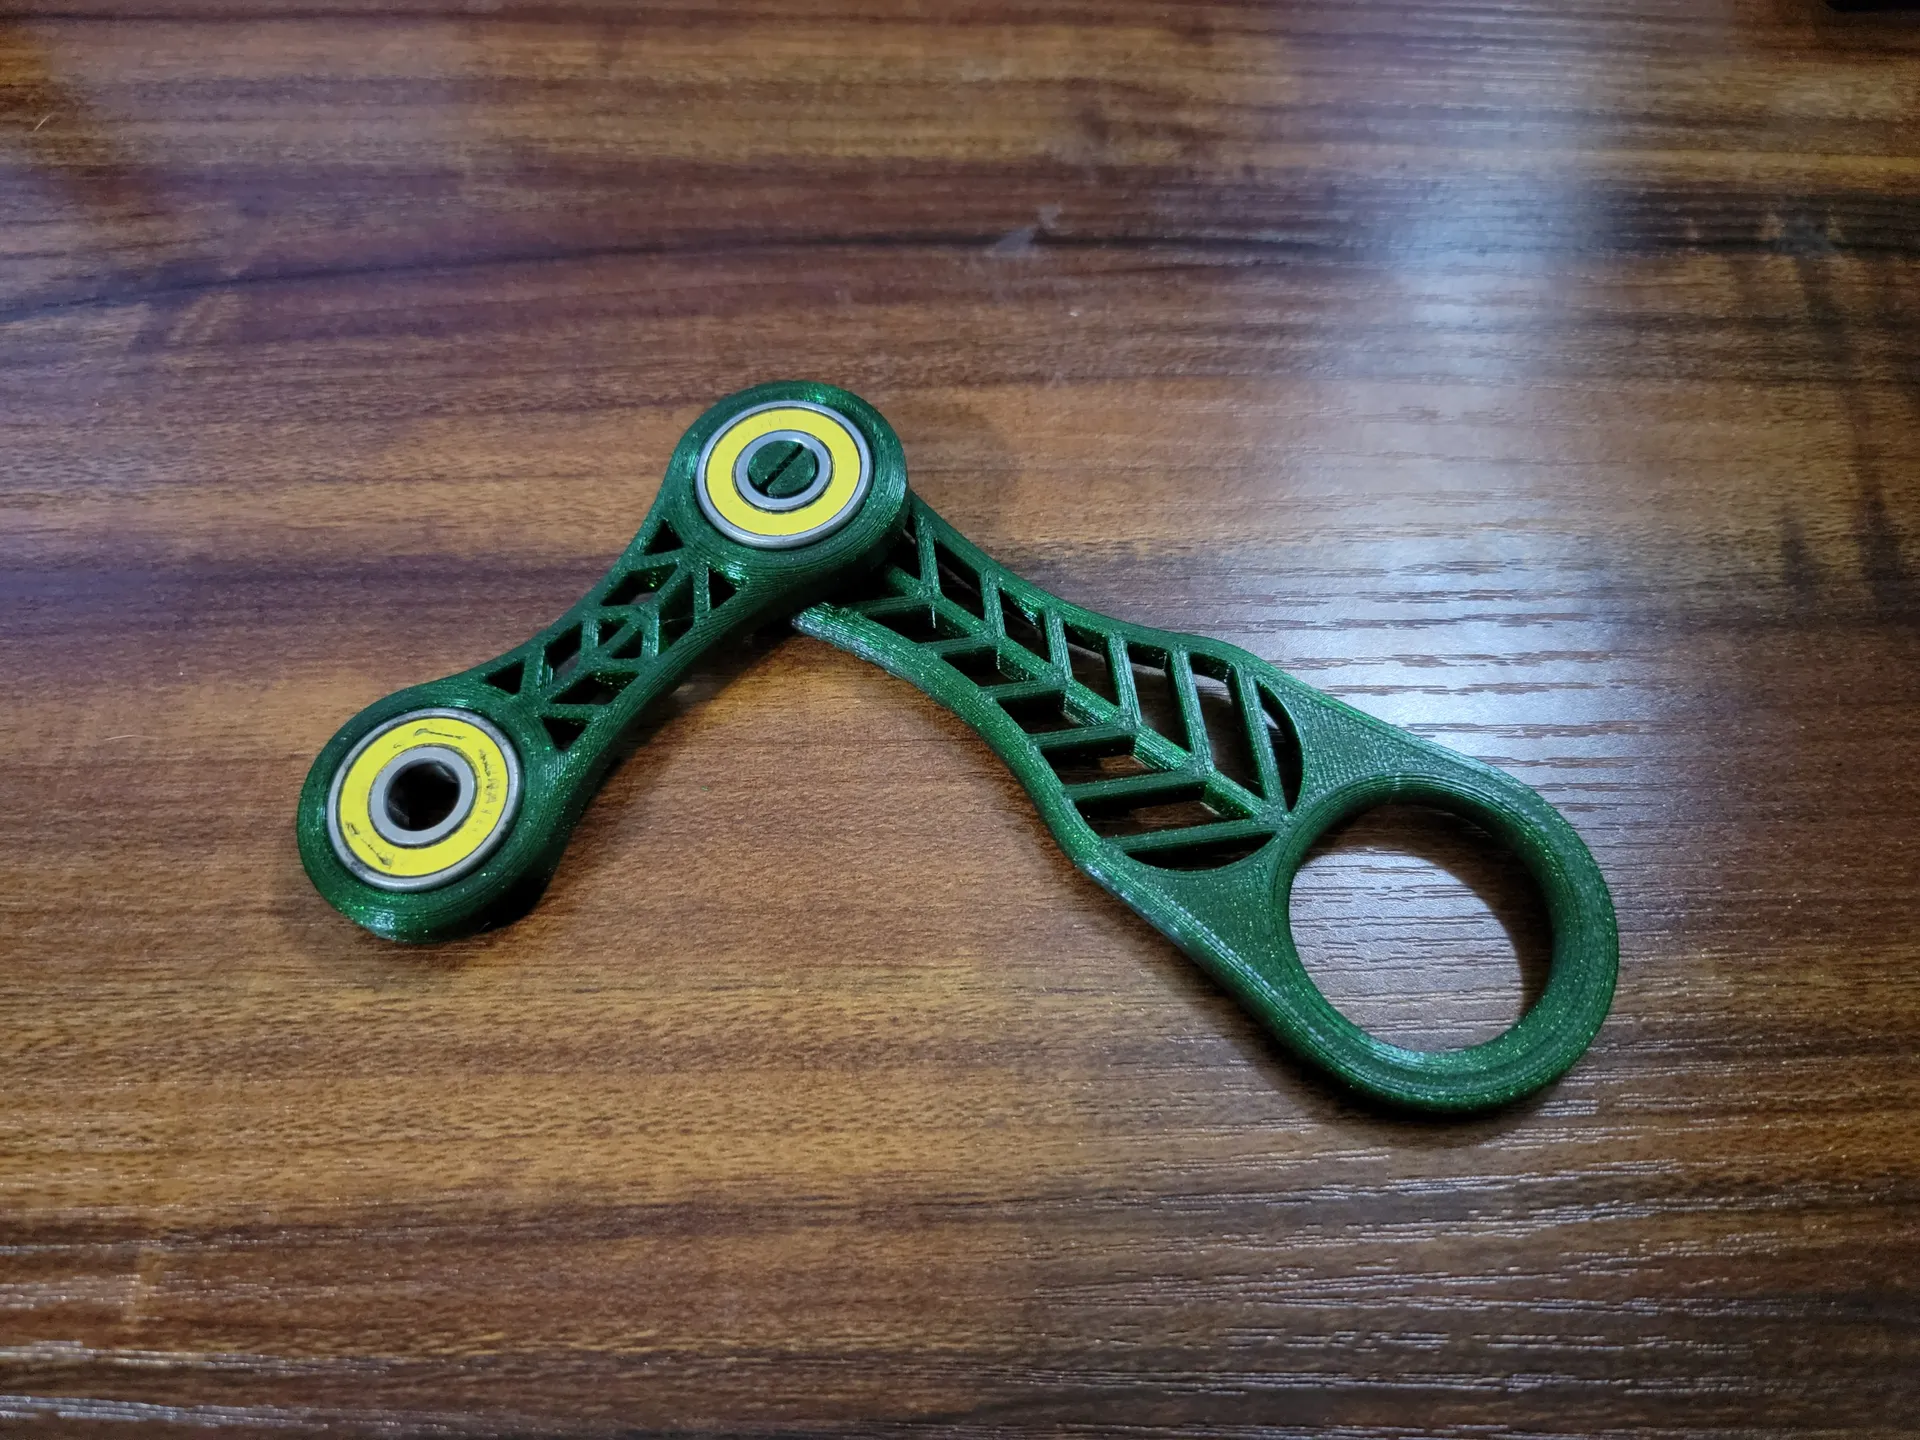
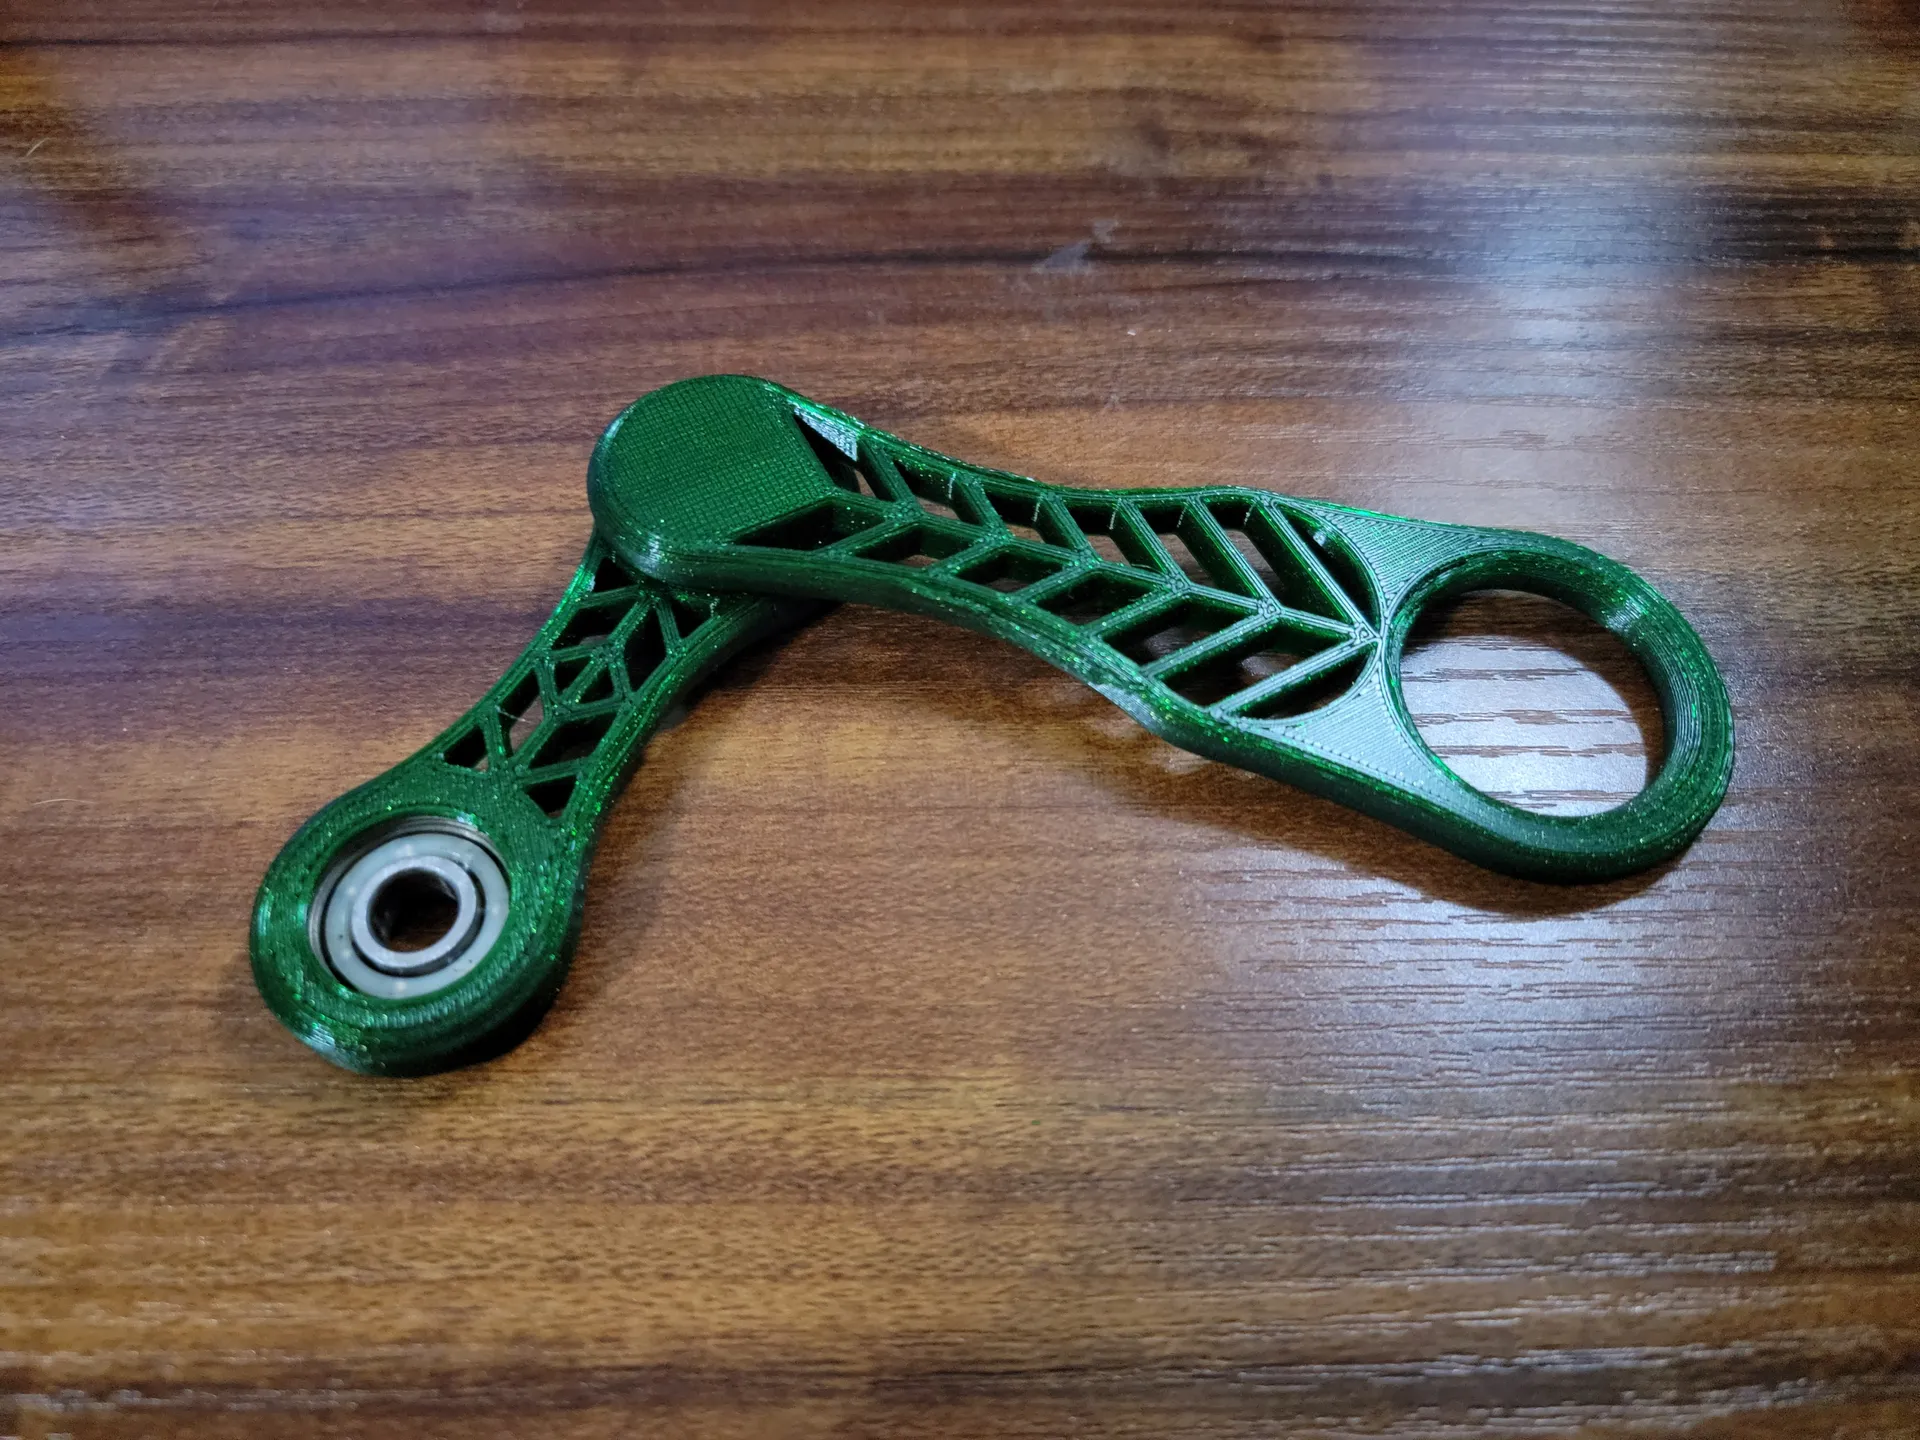
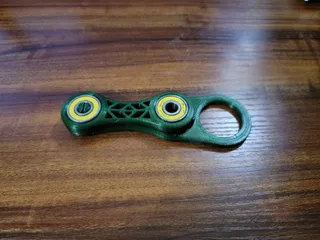
PDFAfter continuing my 3D modeling learning journey, I've finally made some of the additional functional and aesthetic changes I planned! No longer do you need to perform mid-print steps! No longer do you need to worry about tolerances or having additional tools and super glue! Simply slot the bearing onto the specially designed rod and you're off to the races!
Modeling:
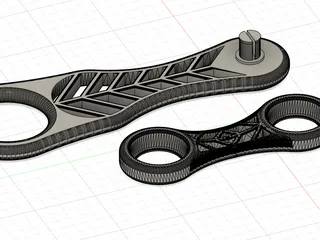
After posting my first iteration, @AdamL was quick to design an answer for the not yet finished solution to the first draft g-code stop for assembly. While the screw idea isn't bad, it might be a little overengineered and too much work for some. To fix that, here is my original idea for how to overcome that issue while staying as close as possible to the spirit of the original print, being as little deviation from only needing a printer as possible. Luckily for me, especially since I'm literally 2 days total into my 3D modeling experience, I found that @MarcelNobrega_929590 had a model that utilized this same idea and I was able to reuse part of that model and adapt it into mine.
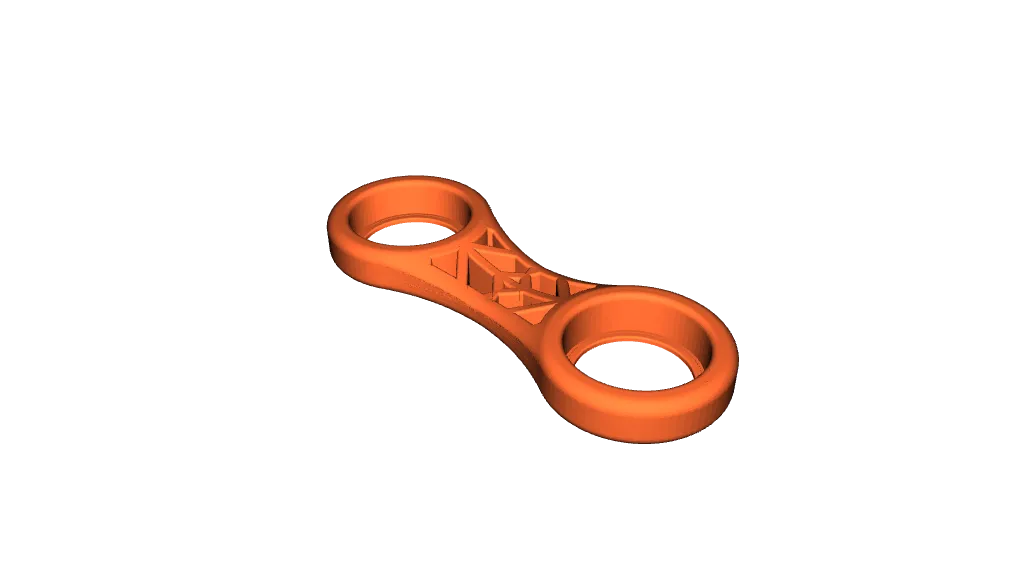
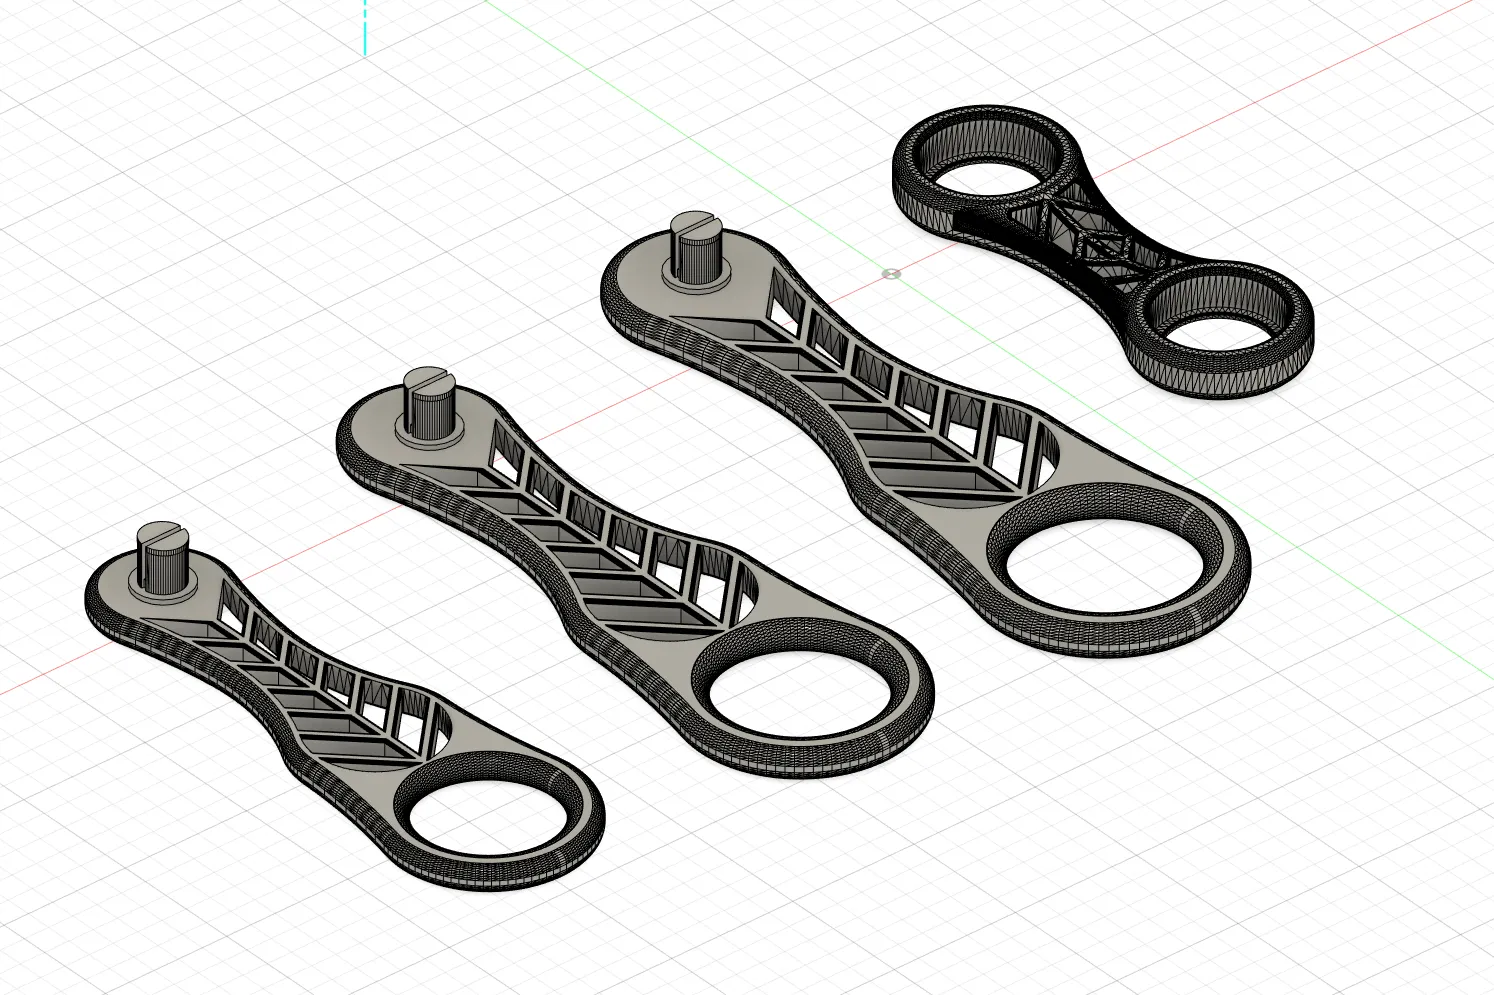
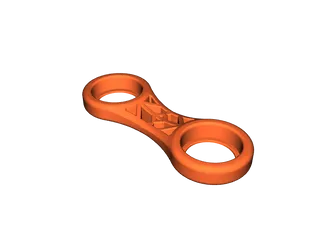
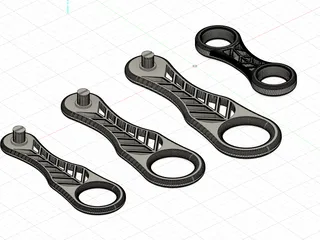
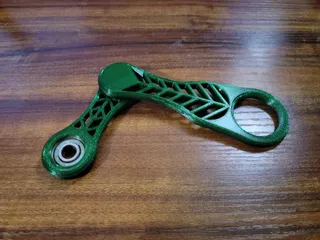
@AdamL did find a lot of issues with my original hastily uploaded 3D models I posted and so I'm excited to include his upgraded designs for the mirrored spinner in this remix as well. In addition to the multiple-size spinners @AdamL has created, I have put together 3 different sizes for the Slinger Handle as well. The small (S) handle is the original size, while the medium (M) and large (L) are adjusted sizes. The L may be a little too big for most, but for those that really don't like the spinner hitting their fingers and want a little extra room to play, this one should be all the wiggle room you could ever want. I find that the medium handle with my original (longer) spinner is the best setup though!
Print and Assembly:
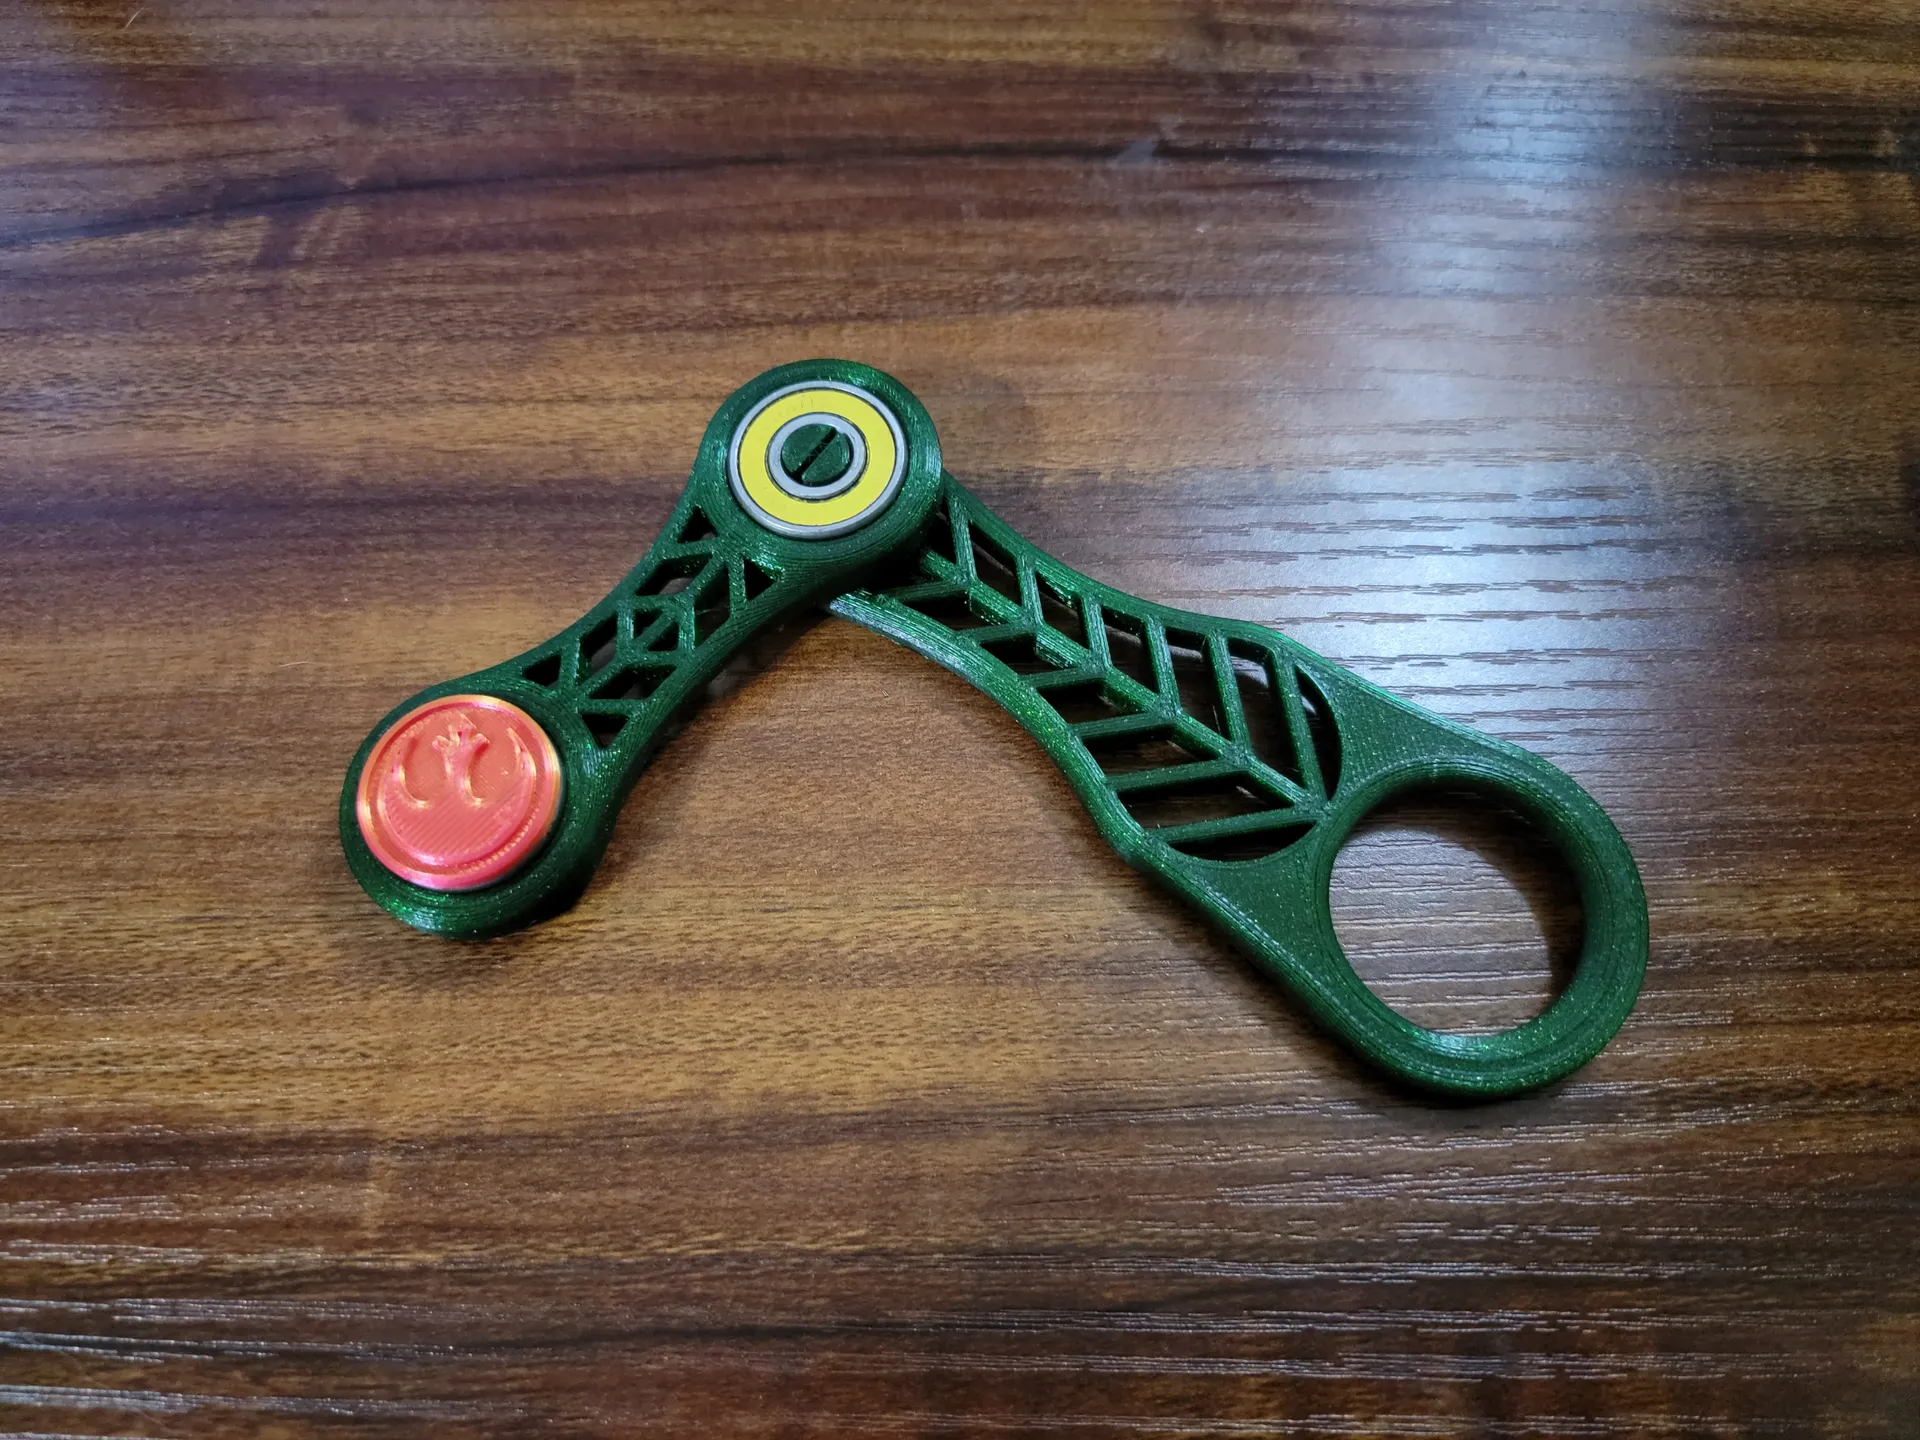
Another pro of this design is the mix-and-match-ability. This is no longer a static print and can be disassembled and reassembled at any time. Switch to the shorter or longer handle or spinner, or upgrade/change the color of the bearings down the line! Spinner feeling not as smooth? Take it apart, grease the bearing, and put it back together! Don't have grease? Slot the spinner with the other side bearing instead and share the wear!
Assembly is simply slotting the bearing into the spinner and then slotting the spinner with the flat side down so that the rod goes through the bearing. If you don't put the flat side down, it may be tougher to remove the bearing if you decide to switch bearings or arms since you won't have that lip on the spinner to help pull the bearing up.
I like to print my pieces at 100% for the additional weight typically, but with the design now having the possibility of two bearings, you probably don't need the extra weight, but I will say, my medium handle paired with the longer spinner, both printed at 100% with a bearing in each spot, feels solid!
For bearings, I recommend this item on Amazon. They have a cool font and several color choices and are among the cheapest I've seen.
While I'm not the best (certainly not as good as the OG @LinkDesigns), the below video shows that the medium handle with the long spinner has plenty of clearance to do pretty much whatever you want. I can spin it much the same way I used to spin my bar key back in my bartending days without having to think too much about the fact there's a different gadget in my hand.
As @AdamL said, the mesh-to-solid workflow is quite a pain, but I plan to make a few more adjustments to this in the future. I have some ideas still in progress and have been coming up with more as I go so anticipate a few more to come as well.
As before, please let me know what you think and any suggestions you may have! Enjoy!
Tags
Model origin
The author remixed this model.


