Raspberry Pi Zero W Test Controller - OpenSCAD

Description
PDFWe have multiple test rigs and it's handy to have a semi-standard for reusing the raspberry pis as a test controller for these test rigs.
So we opted for a raspberry pi zero, but with a Adafruit 128x64 1.3' OLED Bonnet as the user interface, with the GPIOs exposed at the bottom so it can be slotted into a test rig.
We also designed a custom 3d printed case for this test controller, so it can easily be slotted into various test rigs.
The test rig will provide power for the raspberry pi zero.
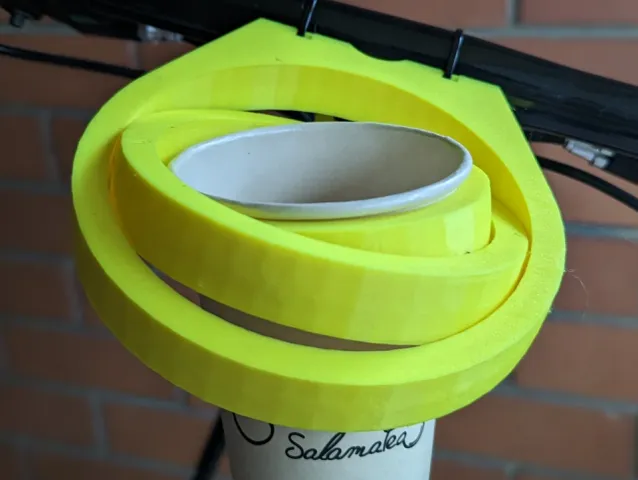
Key design decision of this, is the need for a custom 3D printed case. This is since most cases assumes that the header is exposed at the top. Also we want the parts to snap together and stand up on the test rig and withstand the user pressing on the OLED bonnet buttons and joystick.
Get these parts
Print these 3 parts
- RPI_Zero_W_Test_Controller_Top.stl
- RPI_Zero_W_Test_Controller_Bottom.stl
- Board_Clip_Compact_long.stl
Board_Clip_Compact_stub.stl
You will needAdafruit 128x64 1.3' OLED Bonnet (Used for displaying test status)
- Stackable Header for Raspberry Pi (Jaycar Product ID: HM3228) (17mm socket, 20mm pin depth )
- Raspberry Pi Zero W
- A preconfigured SD card (Make it yourself for each test)
- A test rig (depends on the problem)
Construction Step
- Solder the stackable header to the bottom of the raspberry pi Zero.
- Slot RPI_Zero_W_Test_Controller_Top to the top of the raspberry pi z
- Slot in the Adafruit 128x64 1.3' OLED Bonnet to the top. DO NOT SOLDER IT DOWN (If the screen breaks you want to be able to replace it)
- Place the RPI_Zero_W_Test_Controller_Bottom at the bottom of the raspberry pi Zero
- Push the retaining board clips to the bottom of the raspberry pi zero. Long for the front, stub for the back.
- Load in a preconfigured SD card
- Slot into test rig
Print instructions
Category: Electronics Summary
We have multiple test rigs and it's handy to have a semi-standard for reusing the raspberry pis as a test controller for these test rigs.
So we opted for a raspberry pi zero, but with a Adafruit 128x64 1.3' OLED Bonnet as the user interface, with the GPIOs exposed at the bottom so it can be slotted into a test rig.
We also designed a custom 3d printed case for this test controller, so it can easily be slotted into various test rigs.
The test rig will provide power for the raspberry pi zero.
Key design decision of this, is the need for a custom 3D printed case. This is since most cases assumes that the header is exposed at the top. Also we want the parts to snap together and stand up on the test rig and withstand the user pressing on the OLED bonnet buttons and joystick.
Get these parts
Print these 3 parts
- RPI_Zero_W_Test_Controller_Top.stl
- RPI_Zero_W_Test_Controller_Bottom.stl
- Board_Clip_Compact_long.stl
Board_Clip_Compact_stub.stl
You will needAdafruit 128x64 1.3' OLED Bonnet (Used for displaying test status)
- Stackable Header for Raspberry Pi (Jaycar Product ID: HM3228) (17mm socket, 20mm pin depth )
- Raspberry Pi Zero W
- A preconfigured SD card (Make it yourself for each test)
- A test rig (depends on the problem)
Construction Step
- Solder the stackable header to the bottom of the raspberry pi Zero.
- Slot RPI_Zero_W_Test_Controller_Top to the top of the raspberry pi z
- Slot in the Adafruit 128x64 1.3' OLED Bonnet to the top. DO NOT SOLDER IT DOWN (If the screen breaks you want to be able to replace it)
- Place the RPI_Zero_W_Test_Controller_Bottom at the bottom of the raspberry pi Zero
- Push the retaining board clips to the bottom of the raspberry pi zero. Long for the front, stub for the back.
- Load in a preconfigured SD card
- Slot into test rig
Tags
Model origin
The author marked this model as their own original creation. Imported from Thingiverse.