Glowing Picture Frame

Description
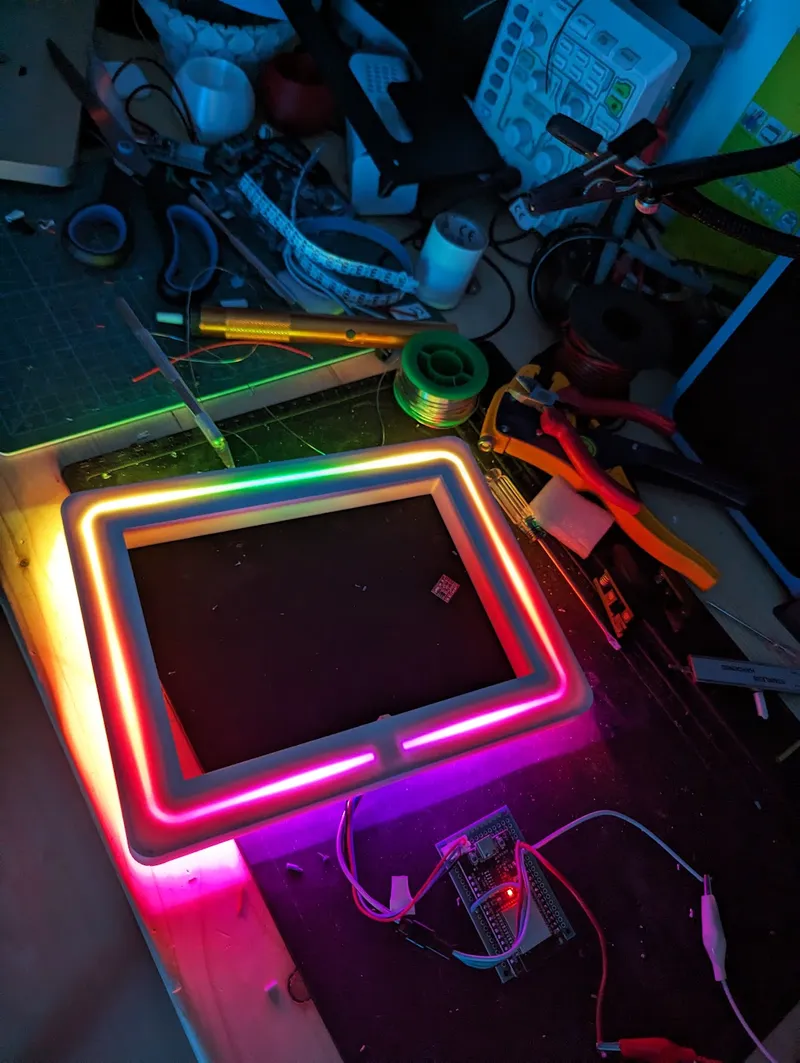
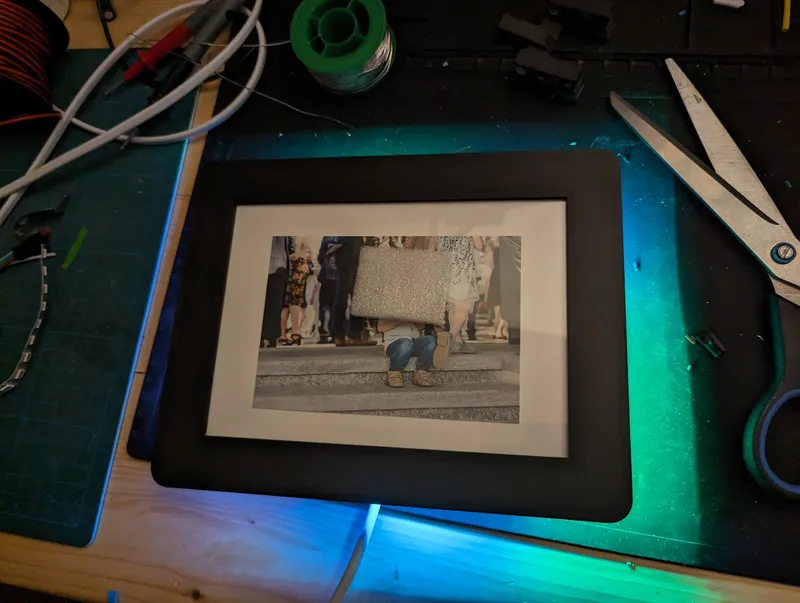
PDFConvert an ordinary 18x13 cm frame-less picture frame into a total eye-catcher!
Update! Added V2 - more space for electronics and a light bar at the front
Bill of Material
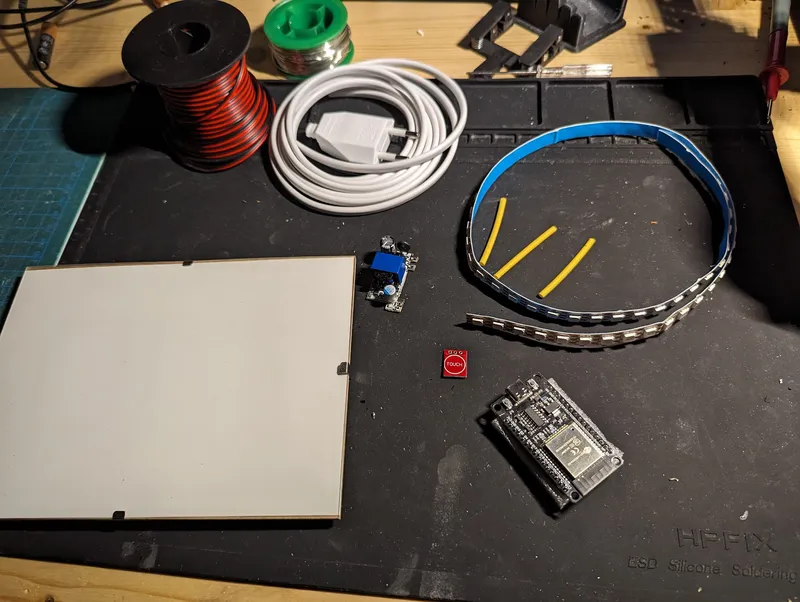
- Frameless Picture Frame 18x13 cm or similar-sized glass/wood sheets
- WS281X led strip, 64cm, I used this (144led/1m), but this one (60 leds/1m) is also fine
- ESP32 Dev Kit 4 (others will work as well, description and wiring foir this)
- TP223 Touch key switch module, eg this
- Power supply 5V /1A min, 2A better, I used something like this.
ATTENTION: please use a closed power supply if you have no experience with AC mains power! - Some wires, heat shrink, soldering iron, …
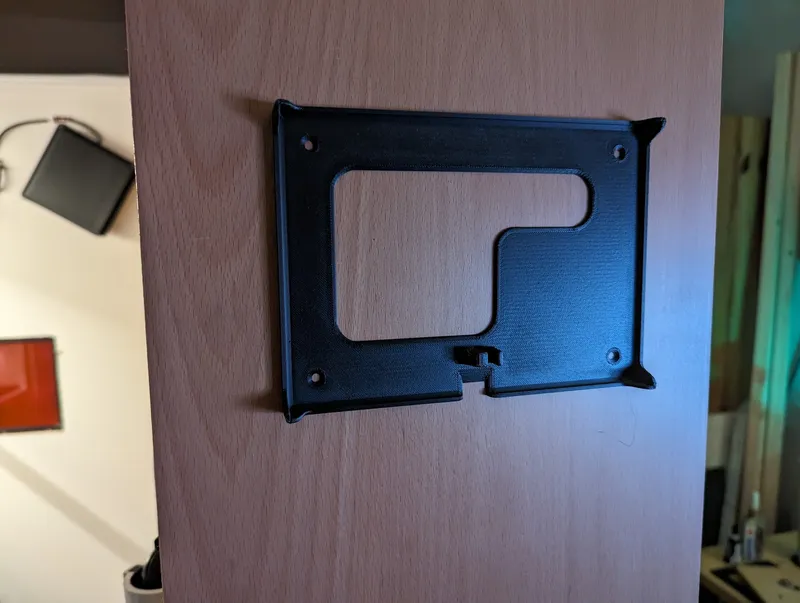
- Printed parts, 1 frame, 1 body
Print Instructions
I printed the frame in 0.2 PLA with 15! bottom layer and 7 min perimeters to block the light (frame part) and the body part with default settings.
You can experiment with different infill settings, might result in some nice effects. One the right is one example in wood pla with default bottom layers and 15% grid infill, you can see the infill pattern here if the leds are bright!
Assembly
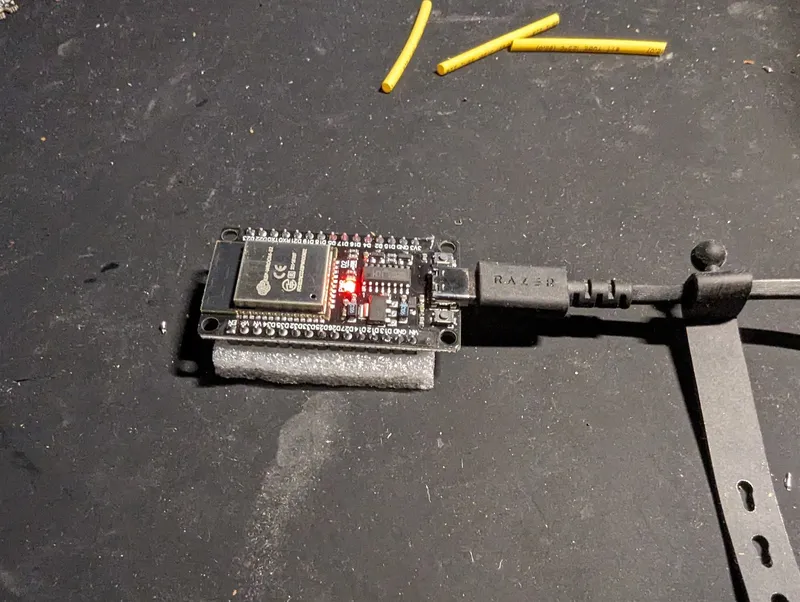
Flash WLED to the esp32
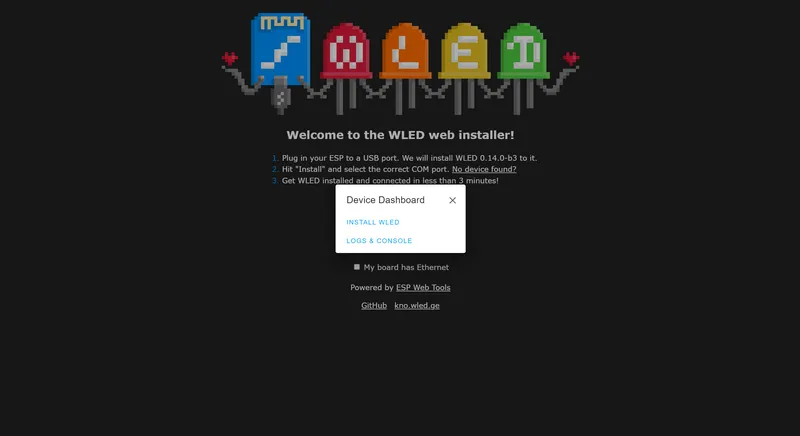
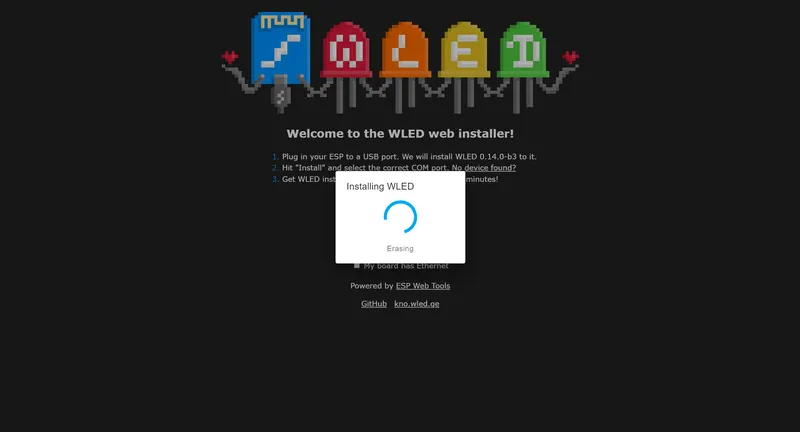
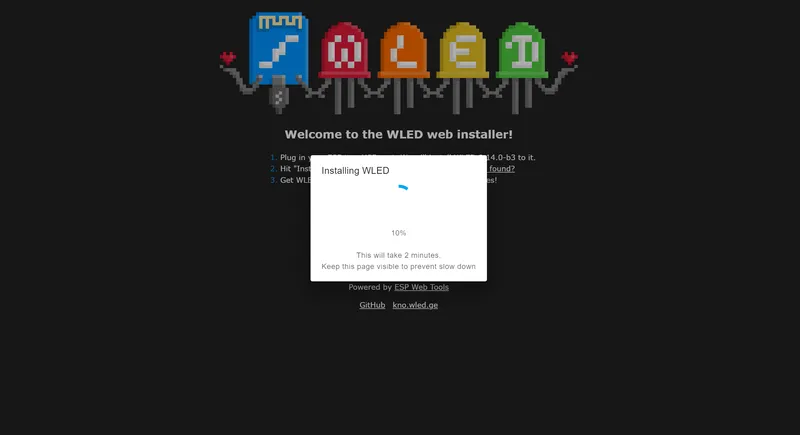
Connect the esp32 with an usb cable and use the online installer here to flash wled, simply follow the instructions.
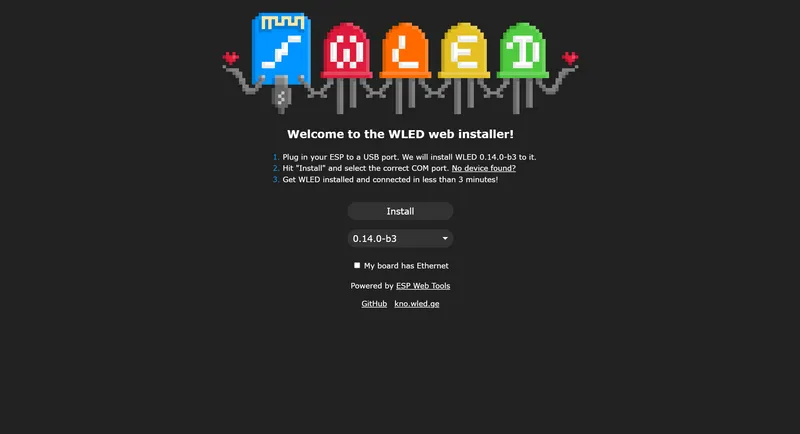
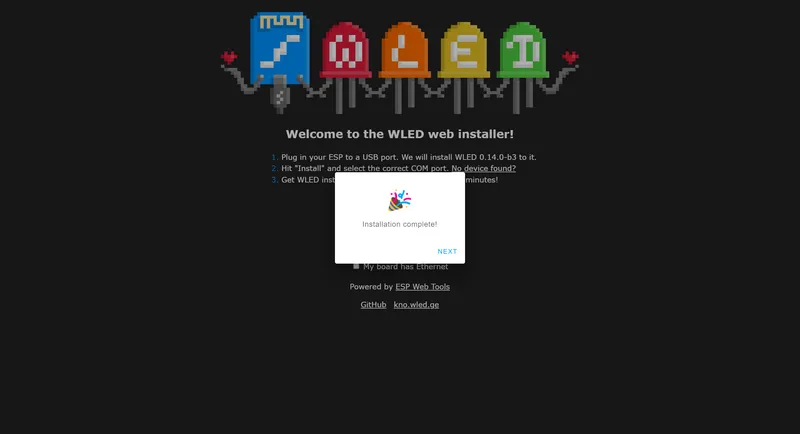

After the installation was successful, you will see this page:
Open “Config” → “Led Preferences” as we need to change some settings:
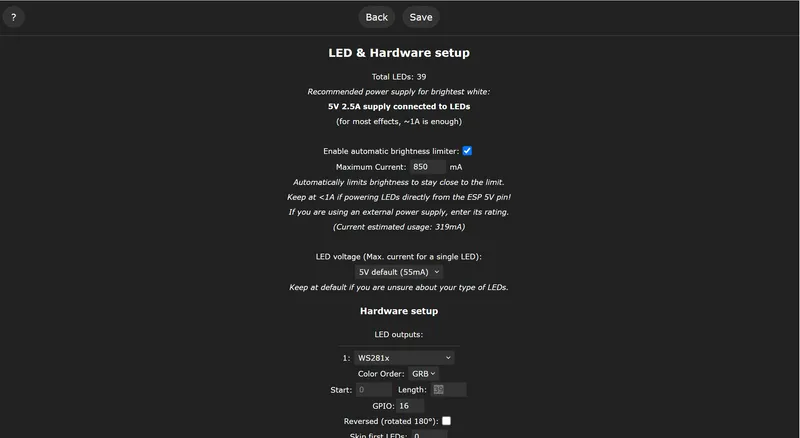
Length: 39 is the number of LEDs your strip has (39 is for the version using 60Leds/1m)
GPIO: 16 is the Pin on the ESP32 we need to connect the LEDs strip input to
A bit more below, we can set the Pin we want to use for the button
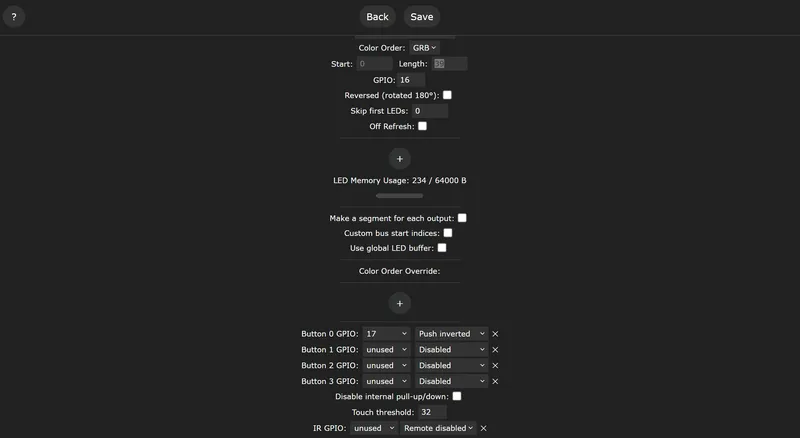
Here we are using GPIO17 with “Push inverted” as our button pulls the output to high when touched.
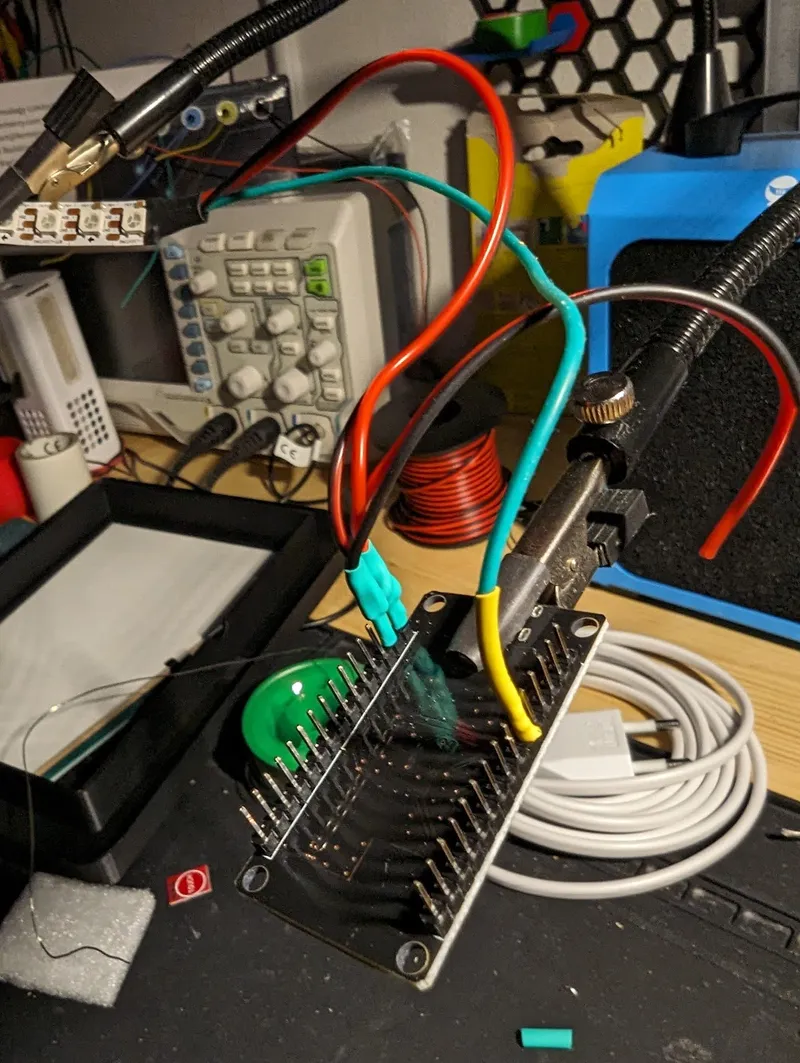
Wiring
Unplug your esp32 from usb before start soldering!
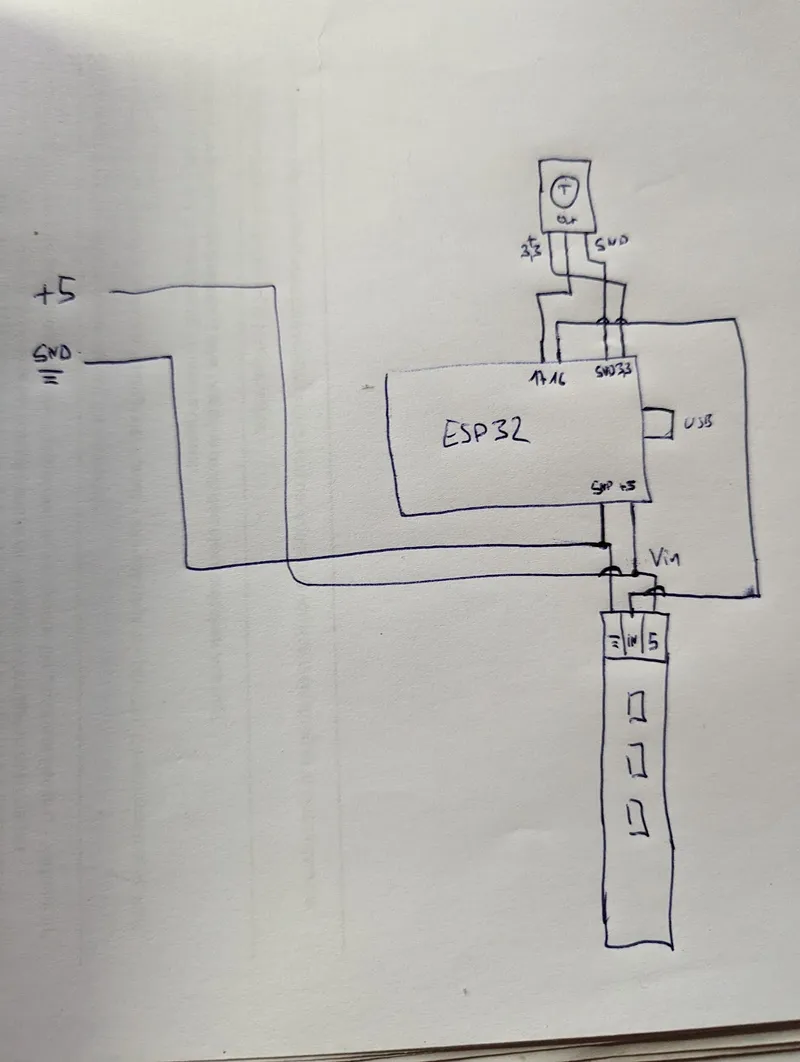
Overview:
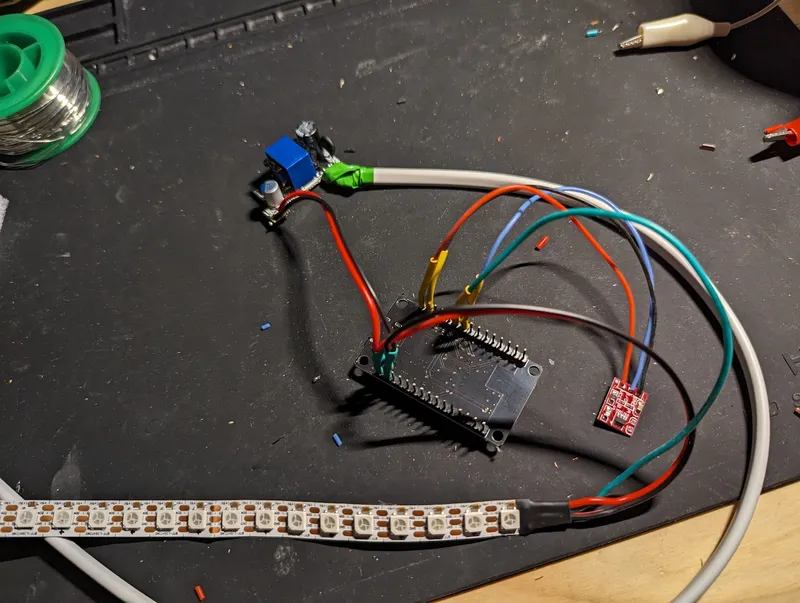
+5v and GND from powersupply to ESP32 and LED strip (VIN/+5 and GND).
Pin 16 GPIO/16 of ESP32 to LED strip input.
+ 3.3 and and GND from esp32 to touch button
Touch button output to pin 17 / GPIO 17 of ESP32
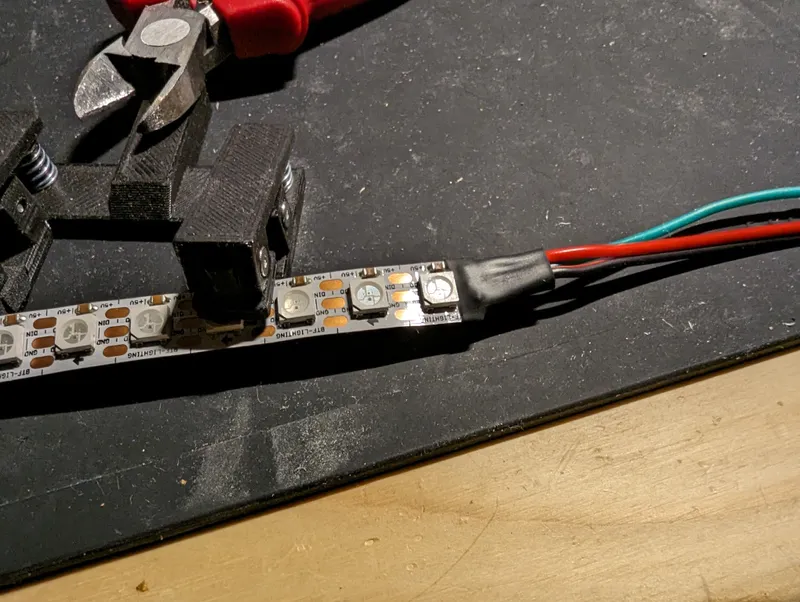
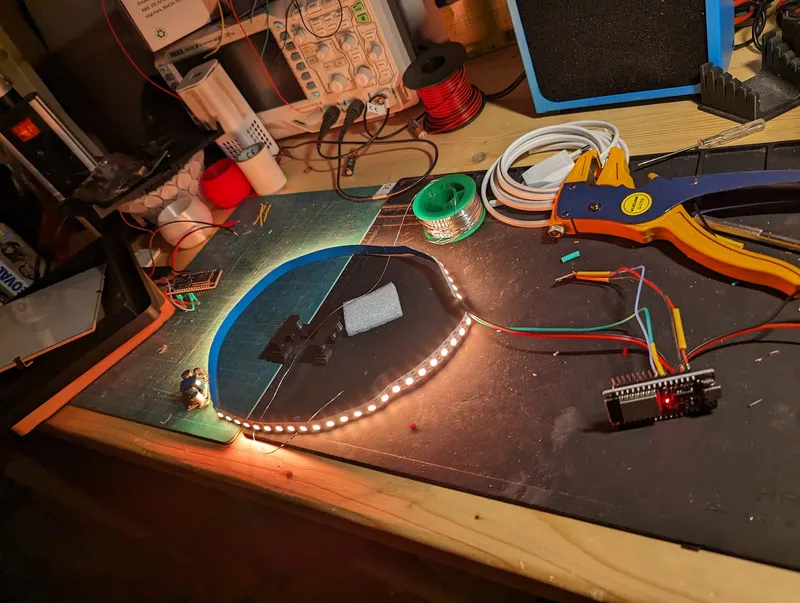
First solder the 3 wires to the LED strip

Add a heat shrink
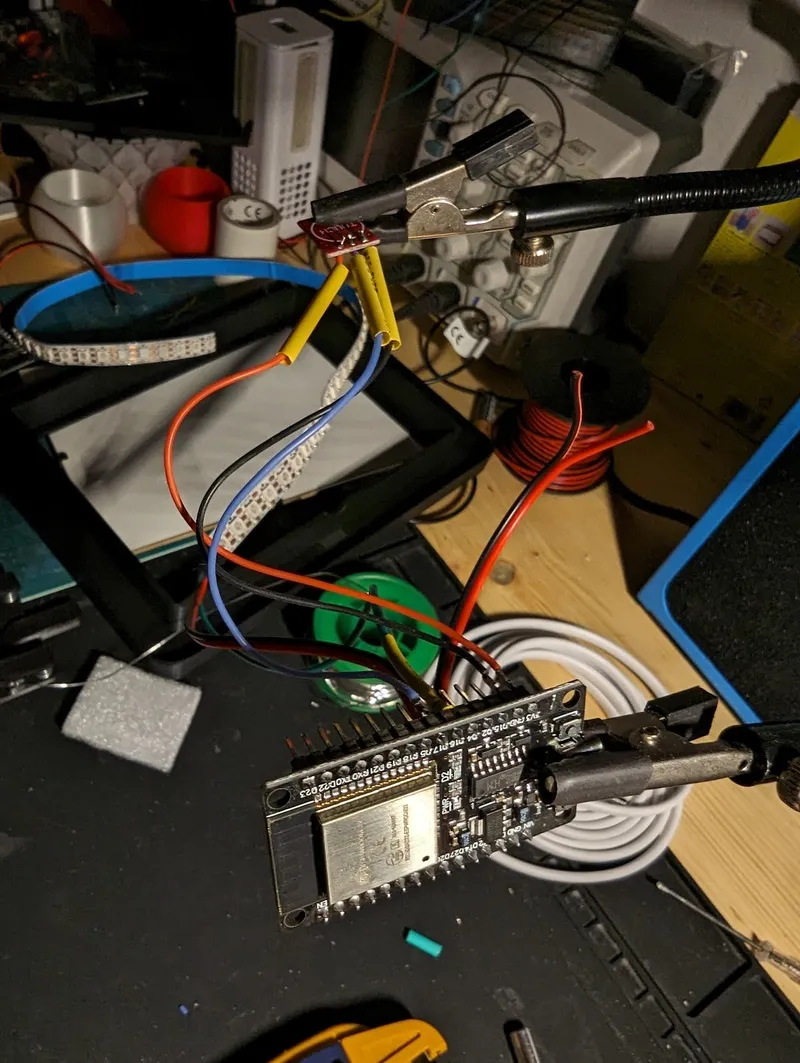
Now wire power to VIN and GND of the esp32 and LED strip
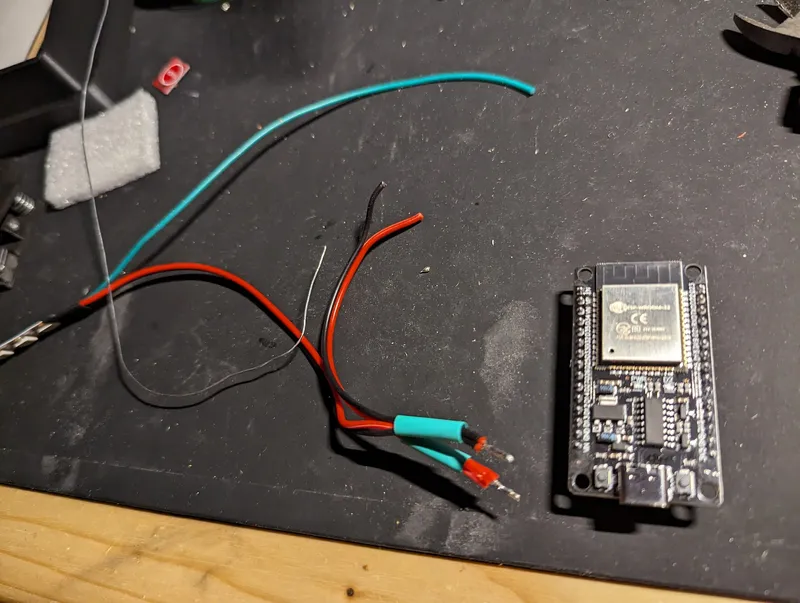
Connect the LED strip in to GPIO 16
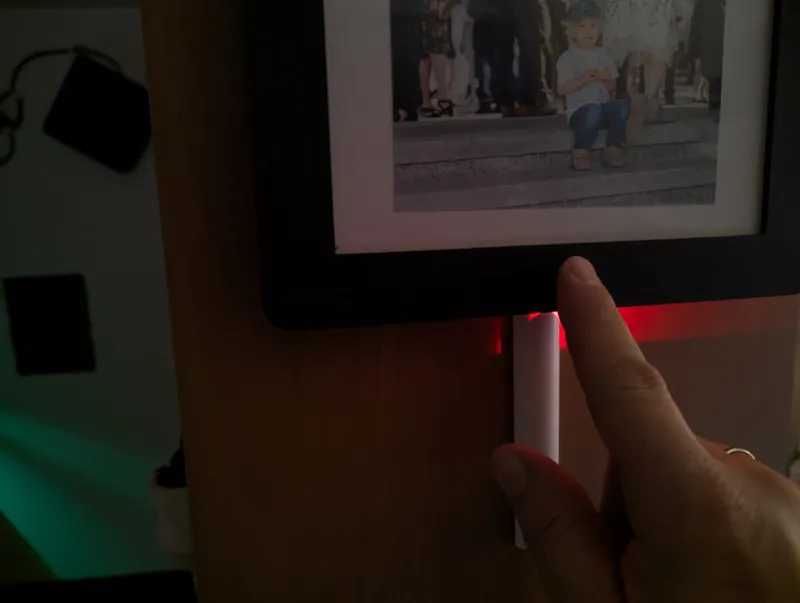
Prepare the touch button
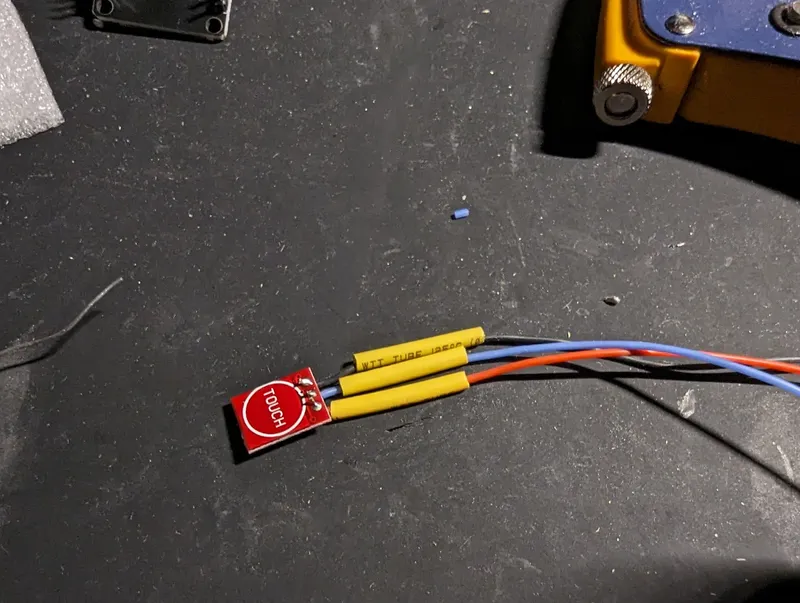
Connect Touch button to 3.3V and GND of esp32 and output to GPIO17
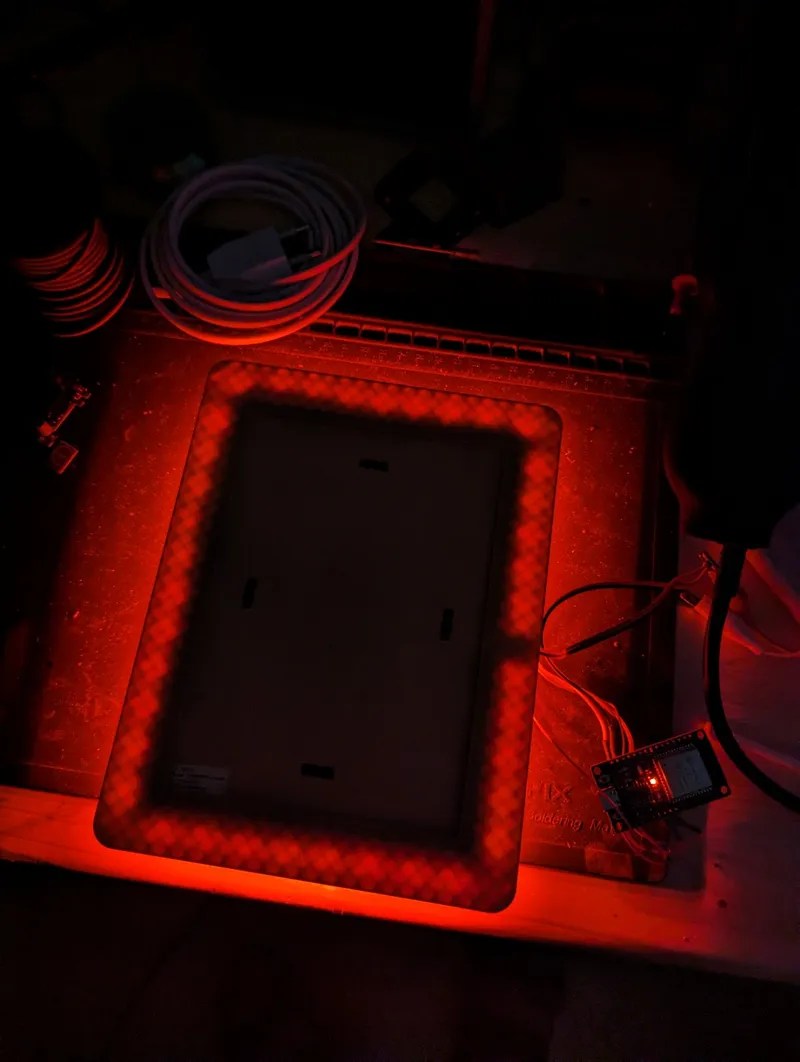
That's basically it ;) Time for a first test run!
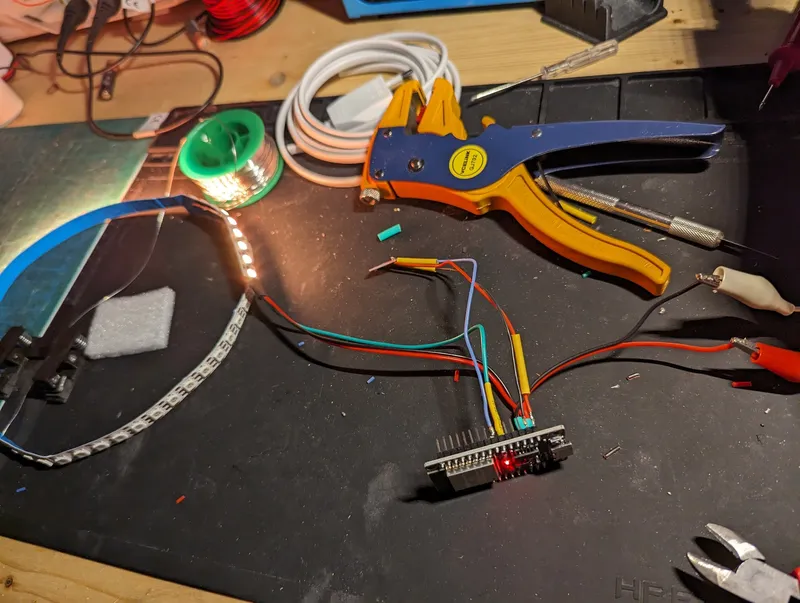
As you can see, only the first 30 LEDs are working, this is because we need to set the correct number of LEDS in the WLED config, for this example (144 Leds/1m) i had to set it to 64.
Electronics with power supply - Please only use open AC/DC converter if you know what you do! A USB charger with 2A is fine and you don't need to touch AC /mains at all!
Get it all together
Glue the touch button into the hole (i used hotglue)
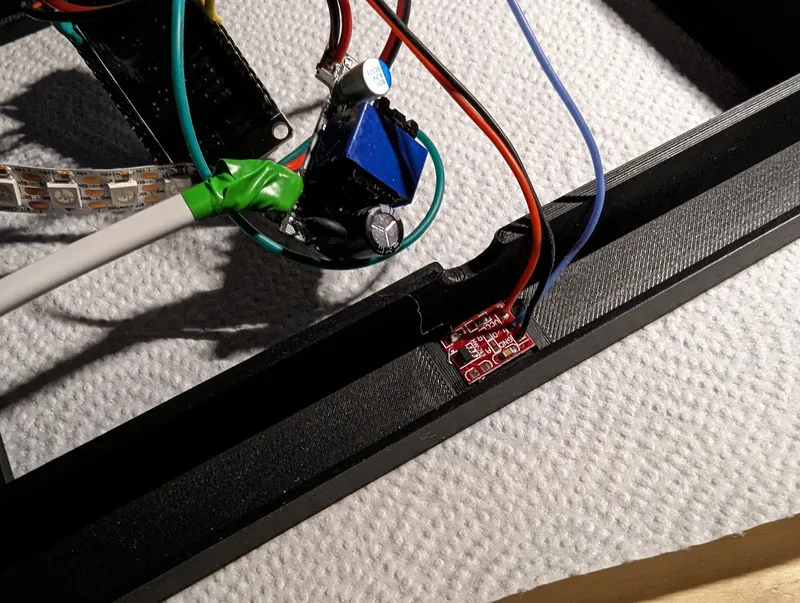
Now attach the LED strip, make sure it is as far down as possible!

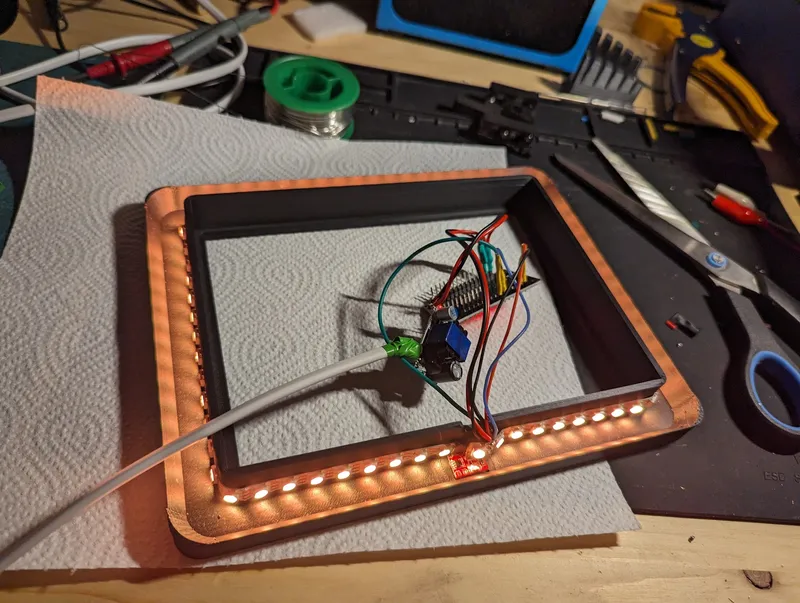
Insert a Picture (and the back for testing!)
Mount the back to a wall
Enjoy!

Touch button (One click turn on/off)

Tags
Model origin
The author marked this model as their own original creation.


