Rooting Propagation Ball

Description
PDFImportant info:
For those who want to know, this model was designed in Onshape. The root ball is measured without the funnel dimensions included (if these dimensions aren't fit for you, I included a .step file for you to play with). In my research, I have found that printing these in PETG is a good option (as compared to ABS or PLA).
PETG:
PETG is slightly less flexible and ridged than ABS, but I assume you won't be hitting this with a hammer. PETG is also more temperature resistant than PLA, but less temperature resistant than ABS. PETG also won't get brittle in the UV light from the sun. These combined factors mean that PETG is more suitable for the root ball.
ABS:
ABS is probably the strongest of the three mentioned filaments. It is also the most temperature resistant of the three. The only downsides are that the sun's UV light makes it turn an unpleasant yellow color, which you might not care about, but it also may get brittle under UV light. This can be avoided by painting it. I don't use ABS, so if you want a more in-detail summary, please check this out.
PLA:
Unfortunately, the only advantage of PLA when it comes to this application is that it is good for printing detail and it comes in lots of colors. This project does not use detail (it might use lots of colors depending on your taste). So I don't recommend it for this. PLA melts in the sun (it will warp if it doesn't melt), and it is very brittle.
Dimensions:
Sorry, I could only include one size (for now) and it measures about 6.8 cm by 4.8 cm (inside distance). The funnel is 7 mm tall and 29.3 mm wide at the top.
Slicing:
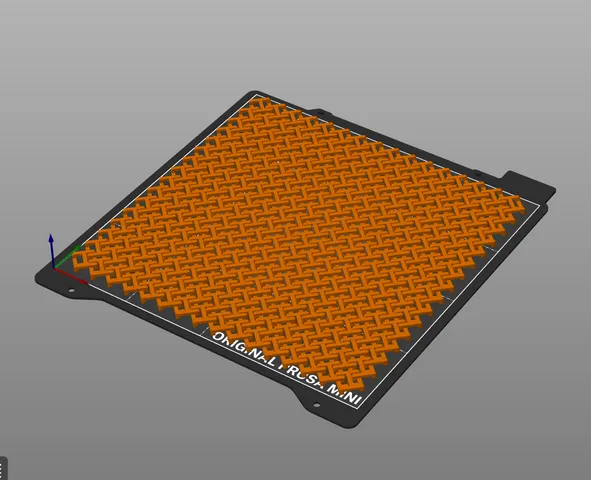
I don't have any gcodes uploaded, but here are some slicing instructions (they work for any printer). Don't worry if your version of Prusa Slicer doesn't have all of the buttons mine has, I have the Beta version. The best option for printing is with the half dome facing up, and paint on supports as shown in the video. You can follow the video entirely, or follow the text instructions:
- Load the model (
HalfRootBall.stepor.stl). - Select the model by clicking on it.
- Press the ‘F’ key and select the top of the model.
- Press the ‘L’ key to paint on supports.
- Paint supports on the very highest part of the underside.
- Press the ‘L’ key to exit the menu.
- Go to Preview mode (
CMD + Ion Mac,CTRL + Ion anything else). - Enable ‘for support enforcers only’.
- Slice.
How to use:
What you need:
- The two root ball halves (your choice in size)
- Four screws and nuts, (or two zip ties)
- Rooting hormone
- A plant
What to do:
- Cut off the bark around the part of the tree that you want to root (one inch is generally enough).
- Wet the cut-off area with water.
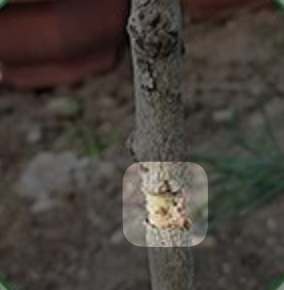
- Sprinkle (or spread if you use gell) the rooting powder onto the cut-away section.
- Fill your root ball with moist dirt (on both sides) and compact the dirt.
- Close the root ball around the tree.
- If using zip-ties, take your zip-ties and zip the ball shut.
- If using screws, bolt it shut (not too tight!).
Care:
Over 1-2 months (check a professional guide for a more accurate wait time), water your tree (as necessary) through the funnel. Then remove the ball. Your tree should have roots. Cut just below the root ball and plant your tree!
Tags
Model origin
The author marked this model as their own original creation.