Odroid HC4 NAS enclosure

Description
PDF
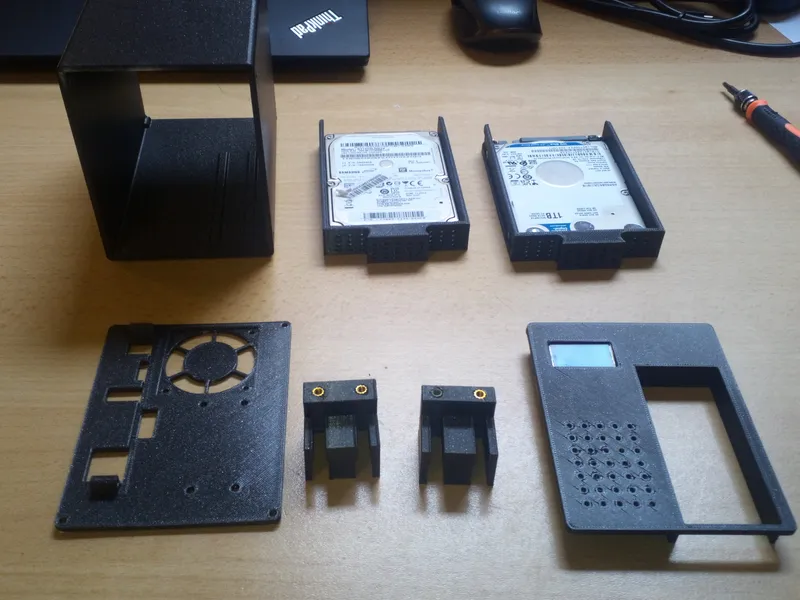
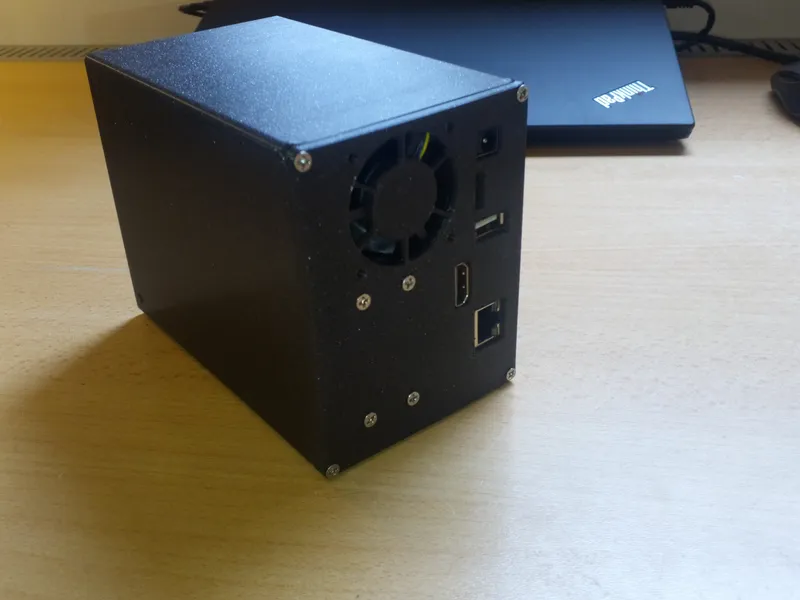
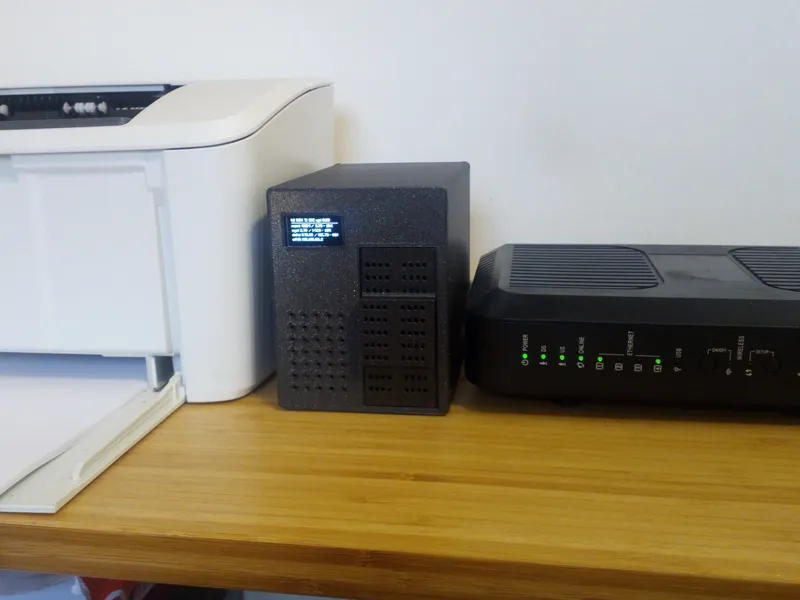
Hardkernel's Odroid HC4 is a great SBC for a home NAS, but the toaster case didn't fit my needs as I don't intend in using 3.5" drives. So I designed a minimal case that allows for two hot-swap 2.5" up-to-15mm height HDDs.
Parts needed
- 2 SATA cable extensions, power+data, 90º elbowed male side and max 30cm long.
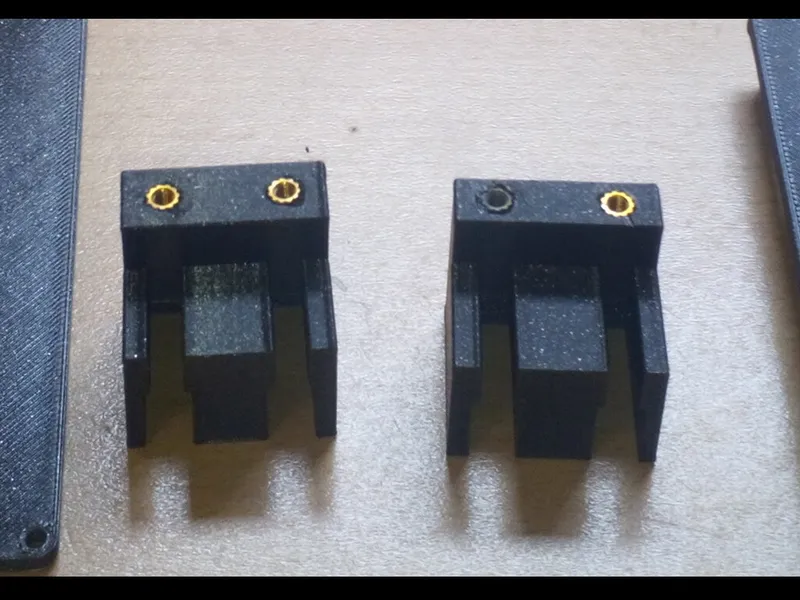
- At least 8 3mm brass inserts and 16 M3x5 countersunk screws.
Printing
Nothing special required, nor supports for any piece. The only special requirement is for the SATA ports assembly. This assembly and its fastening to the back ot the enclosure will have to whithstand the pushing/pulling of the HDDs and, depending on your SATA extensions and HDD connectors, this can be a really tight fit. I printed these in PLA at 100% infill and it works nicely.
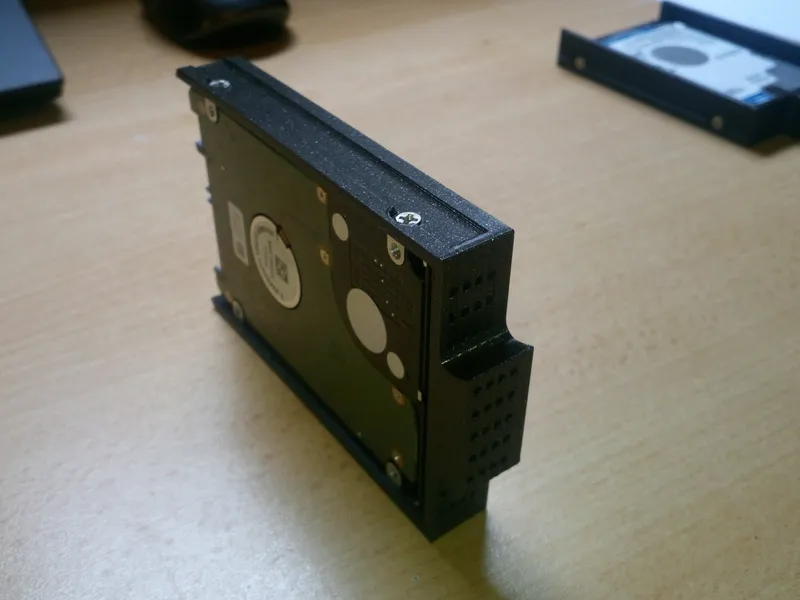
Print two HDD caddys and one each of the other parts.
Assembly
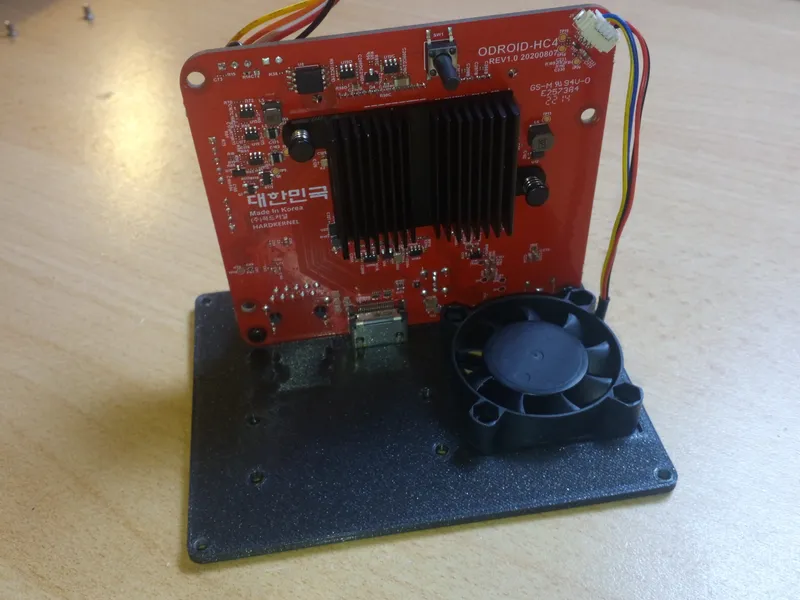
- Place the SBC in the rear faceplate and secure it with two of the original “toaster case” screws.
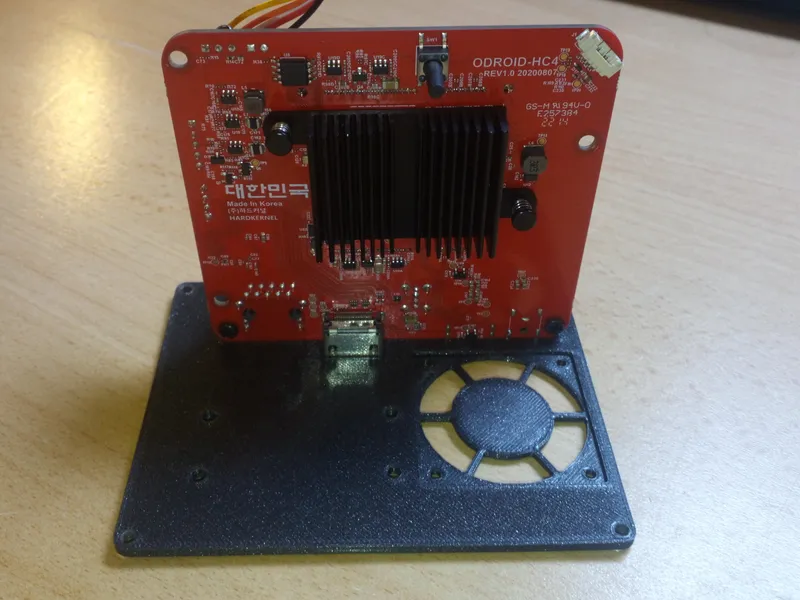
- Connect the fan to the SBC and put it in its place. The faceplate is designed with four holes to secure the fan in place with screws but in my case it's enough to press-fit it in the cutout, or you can also use hot glue.
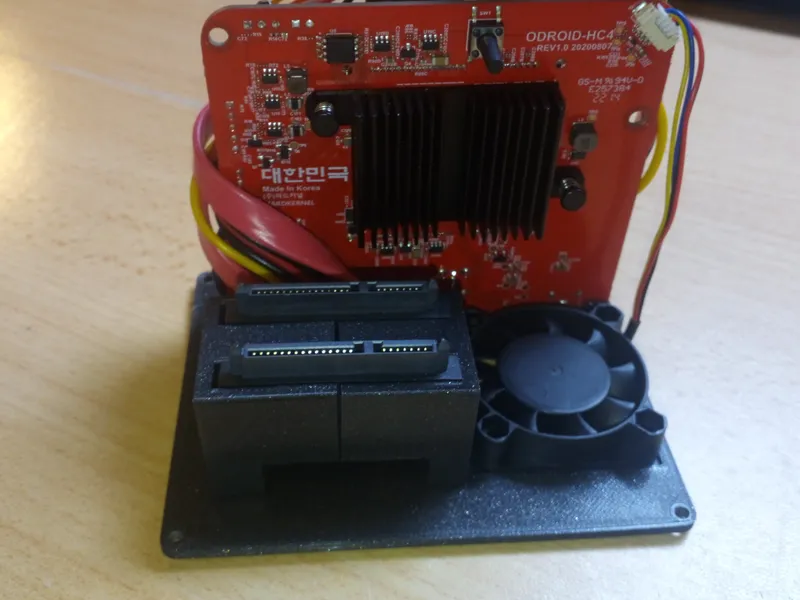
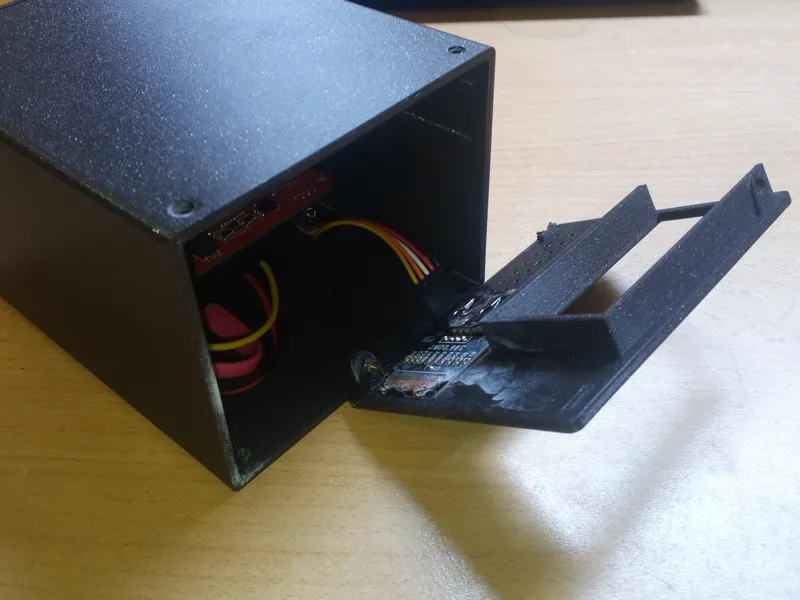
- Press four of the fittings in the back of the SATA ports assembly, four on the back of the enclosure and at least one in the front faceplate.
- Insert the SATA extenders in their asembly. Just press-fit them and route the cables behind the assembly.

- Secure the SATA assembly to the back face with four M3 screws. The sATA ports should be now securely fixed and strong enough to withstand the pulling/pushing of HDDs in place. Note that the data pins should be on the top.
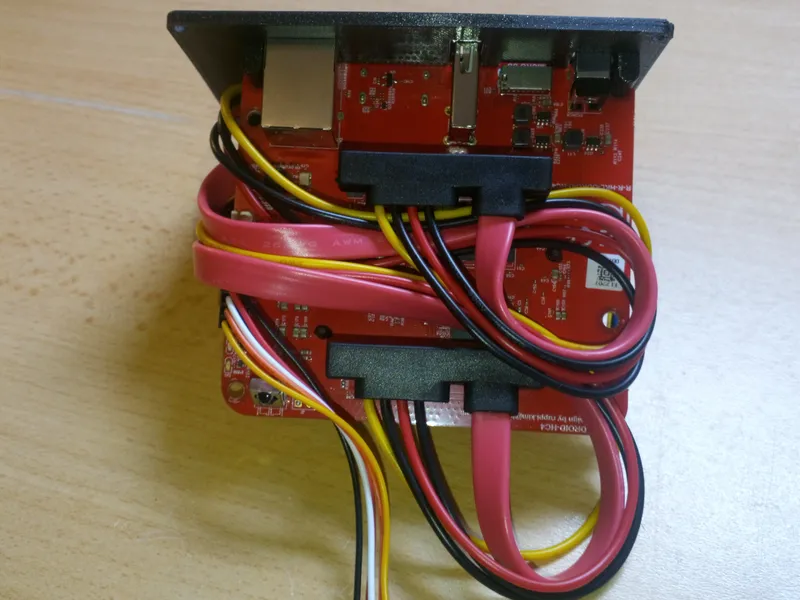
- Route the SATA cables under the SBC and connect them. Leave some room for the OLED wires.
- Slide the SBC assembly into the enclosure and secure it with four M3 screws. There are two guiding rails for the HDD in the enclosure, make sure these are on the bottom and to the right side.
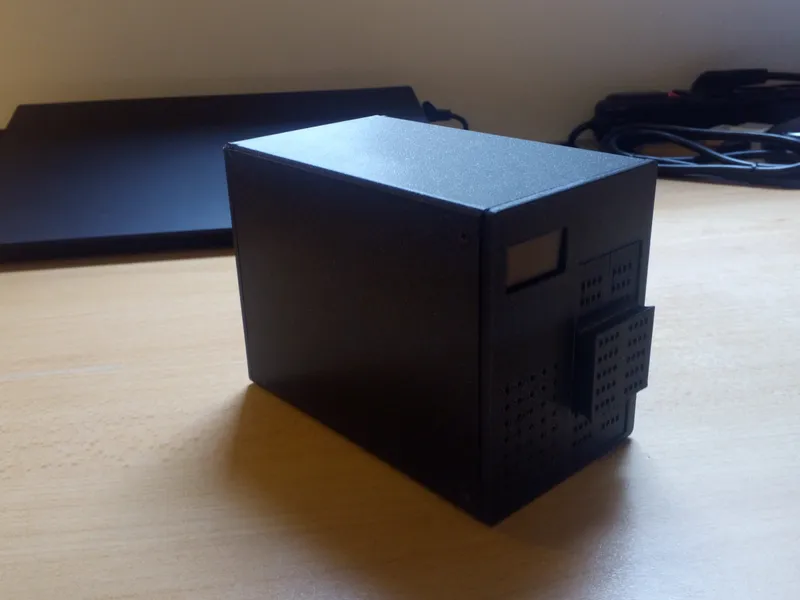
- Secure the OLED to the front face. Hot glue or crazy glue is more than enough.
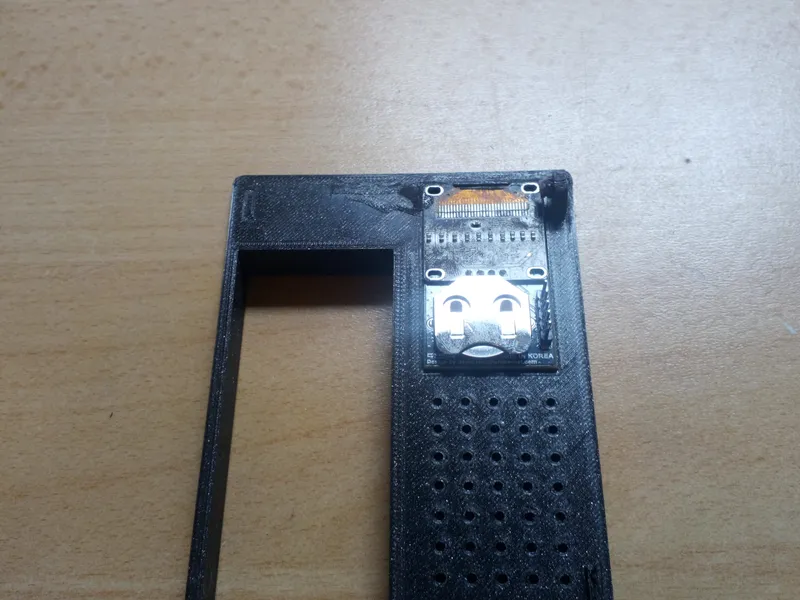
- Connect the OLED to the SBC with the original wires. There's not much wire length left, but should be enough.
- Secure the front face to the enclosure. There are provisions for four screws, in my case just one in the top by the OLED is more than enough.
- The enclosure has no provision for standoffs, but it's a nice thing to have. I used four pieces of adhesive foam 3-4mm thick.
- Mount the HDDs to their caddys and secure them with 4 M3 screws each. Make sure that the screw heads are flush with the caddy rail.
- Push the HDDs in place, connect your SD and find a cozy place for your new NAS to live in.
- Have a treat.
Model origin
The author marked this model as their own original creation.


