Single Scull racing shell

Description
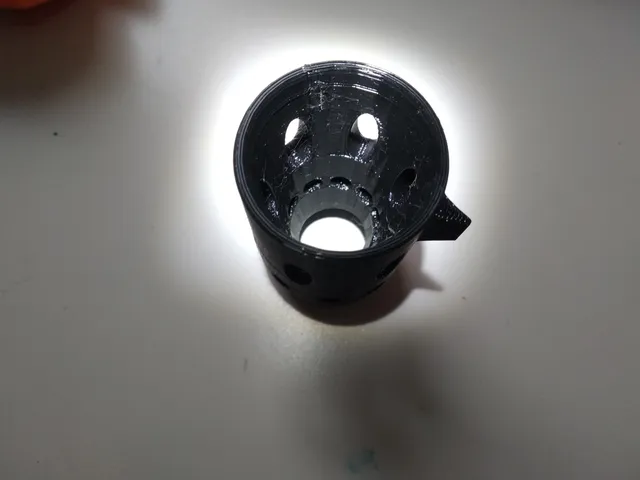
PDF!!Warning!! This model is absolutely not clean. I made it in Blender. If you want to print it anyways, follow the following steps:
- Import model into Prusa slicer.
- Press the warning sign to auto-repair the model.
- Scale up to what ever size you like.
- Press split to objects. You should have four pieces: The bow, the stern, the rigger and the portside scull
Print orientation:
Bow and stern should be printed on the flat side, so the pointy end is up. Rigger can be printed as in the model, on the underside. The scull should be printed on the flat side facing the bow in the original orientation. In order to get the starboard scull, copy & paste the object then mirror along the x-axis. Stands should be printed on flat side, with the angled side up.
Print Settings:
Print with whatever infill and perimeters you like. I used 4 walls and only infill where needed. Worked great.
Assembly:
Glue together bow and stern, then glue rigger on top as shown in the second picture. Oarlocks pointing bow-wards. For the stands, I recommend a 3-4mm wide fabric ribbon, but you can also use tape if you like. Cut ribbon to whatever length you want, then glue to the skinnier side, with about 10mm on the stand. I used 2mm wire for the axle. Cut that to about 7-7.5mm pieces. Push through the holes, then use a hammer to hammer it wide, preventing the stand parts from sliding out. If you want to paint it, paint first, assemble after.
Notes:
The bow ball kinda didn't print well for me, so I used a bit of modelling clay to smooth it out.
If you have any questions or improvement suggestions, feel free to ask. I included the .blend file if you want to edit something to your liking.
Tags
Model origin
The author marked this model as their own original creation.