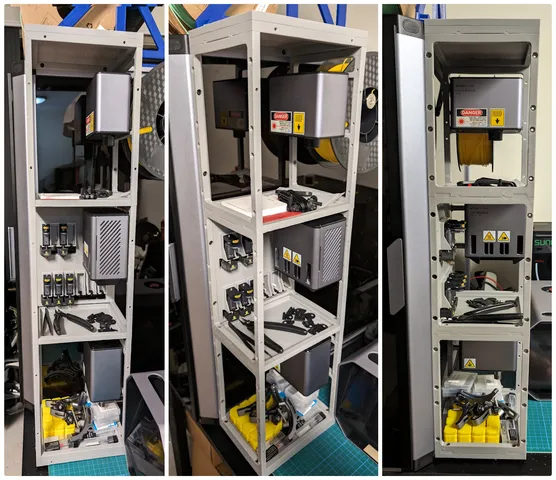
Snapmaker Artisan Filament Rack

Description
PDFA Filament Rack for that can be mounted on top of the Snapmaker Artisan Enclosure.
Print one each of the side and mirrored side.
Optionally print 12 end cap covers for a cleaner finish.
Made with Onshape:
Source CAD: Snapmaker Artisan Filament Rack
Print Recommendations:
Print in PETG for increased strength.
Rotate the model so it is laying down, bosses facing up.
Print with 3 Top, bottom and wall layers for the additional strength.
This is a big print, so some glue stick might be required to prevent the print lifting and warping.
Required Hardware
Note: The dimensions of the piping, bolts and nuts are adjustable to your needs in the source document.
- 4x ~600mm lengths of 10mm OD Aluminum Pipe (8mm ID if you want to use the Caps)
- Cut these a bit longer if needed, They will be cut to the perfect size in the assembly instructions
- 8x M6 10mm length Bolt and Nuts - AliExpress
Recommended Tools
- Pipe cutter, or hacksaw etc for cutting the piping to size. (A pipe cutter will make the neatest job of it)
- Screw driver or allen key for the bolts.
- Felt tip pen, for marking where to cut piping down to size.
- Optional: Deburring tool to clean up the insides of the cut pipes. It can be useful for removing elephants foot from prints too! - AliExpress
- Optional: Spirit level to get both sides vertical to the ground.
Assembly Instructions:
- Insert your four lengths of piping into one of the sides, with the bosses facing outwards. Check out the pictures to see which four of the six bosses should be used.
- With the pipes flush to the ends of the bosses, inset the nuts into the nut retaining holes and tighten with the bolts.
- No need to over tighten, we mostly just don't want the pipes rotating.
- Slide the other rack side onto the piping to the approximate width of the enclosure.
- Fit both sides of the rack on-top pf the enclosure to test the sizing. The two sides of the rack should fit into the slots of the enclosures aluminum extrusion.
- Make adjustments so both sides are vertical to the ground, Use a spirit level if you have one.
- Mark the piping flush to the un-tightend side with a pen. this length should be flush to the ends of the bosses, just like the tight side.
- Move the un-tightened side away from the cut lines and cut the pipe down to length, Use a Deburring tool on the cut ends if you have one.
- Move the un-tightened side flush to the ends of the bosses, inset the nuts into the nut retaining holes and tighten with the bolts.
- Optionally fit the end caps to the bosses.
Note: Some of the above links contain an affiliate link for me. This costs you nothing and helps support the work i put into developing and testing.
Tags
Model origin
The author marked this model as their own original creation.