Jurassic Park Logo 2D Art

Description
PDFWith a partner, you will design a “2D” placard using SolidWorks. You and your partner will have the same design which meets the constraints below, and you will EACH use SolidWorks to create your design.
Assembly/ Construction: Place the T-Rex print over the colored disk.
Design Choices: My partner and I altered the teeth in order to connect it to the T-Rex, rather than having many small pieces. Also, I decided to make the background purple, but my partner chose bright red. Another design choice I utilized was creating sharp edges rather than arches and splines, in order to make the T-Rex more fierce.
I took inspiration from this image:

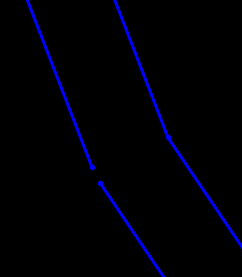
The first design choice my partner and I made was to make the edges on the dinosaur more sharp and jagged to make the T-Rex look more fierce. (Examples shown below )
Good :

Bad :
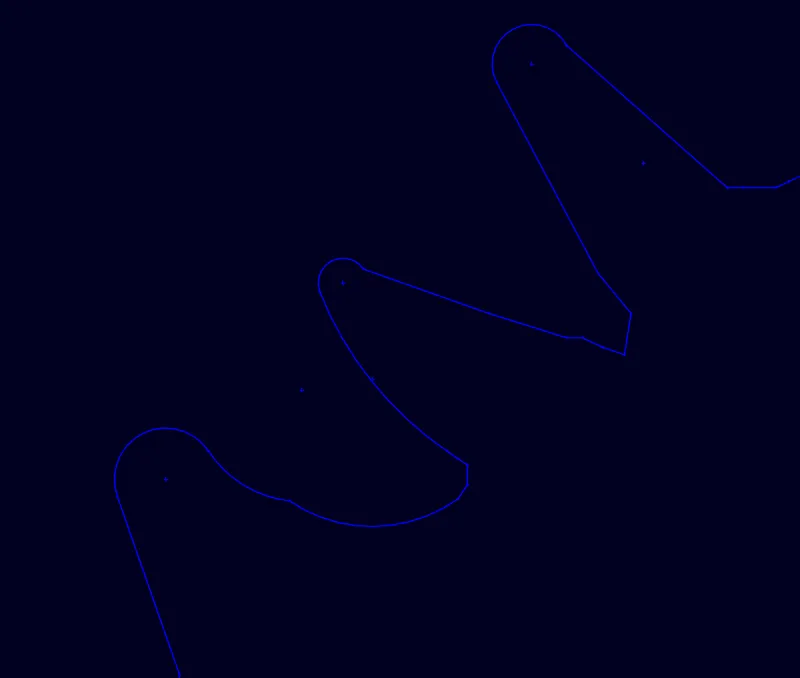
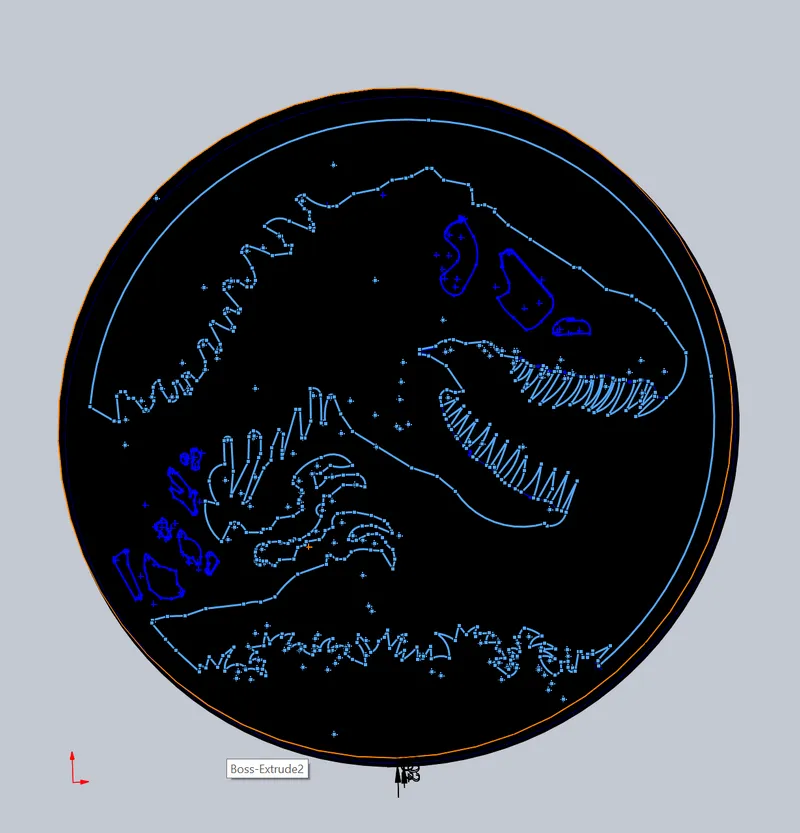
At first, the design plan was to use the spline tool in order to trace the T-Rex, but we quickly switched to using strictly arcs and lines, as it is not possible to make an extruded cut on splines.
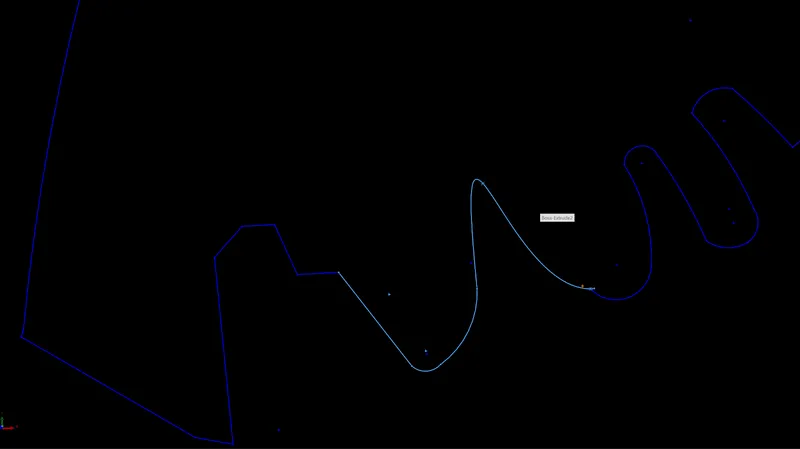
After this switch, my partner and I found success making an extruded cut.
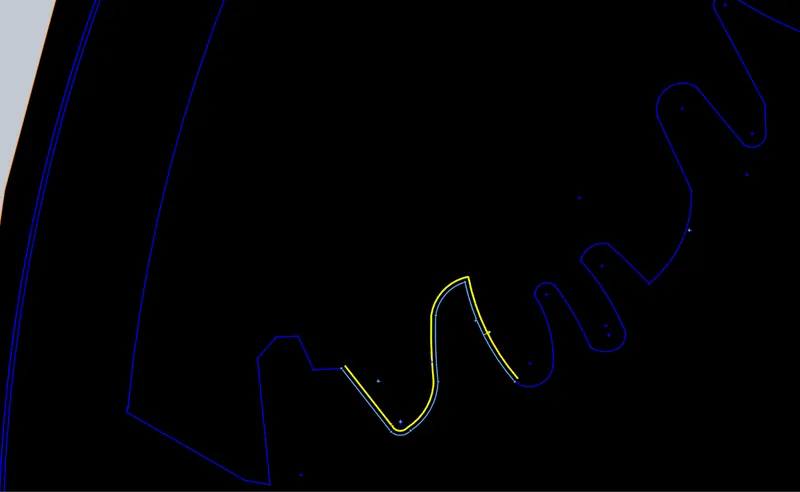
After we completed the trace, the plan was to create a 0.2in offset around the dinosaur, in order to create space for our dinosaur to be placed into the disk. We had to abandon this plan, as not every single one of our lines were connected, and it would be more efficient to instead add a background piece for the dinosaur outline to lay on.
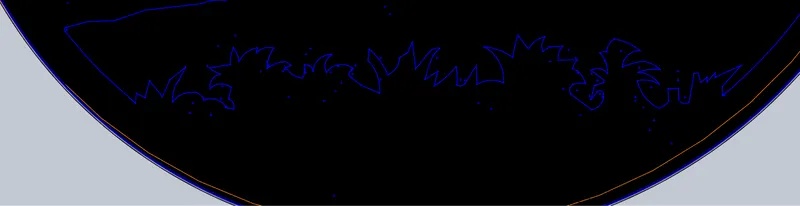
The foliage at the bottom had a slightly different design and holes to show the overhang but we altered it to have a simpler and more aesthetic design.
Another design choice that was made, was to connect the teeth to the dinosaurs jaws. This later made the assembly process much easier, as we we only needed to print and assemble two parts, (the dinosaur and the disk background) rather than needing to print out each tooth individually.

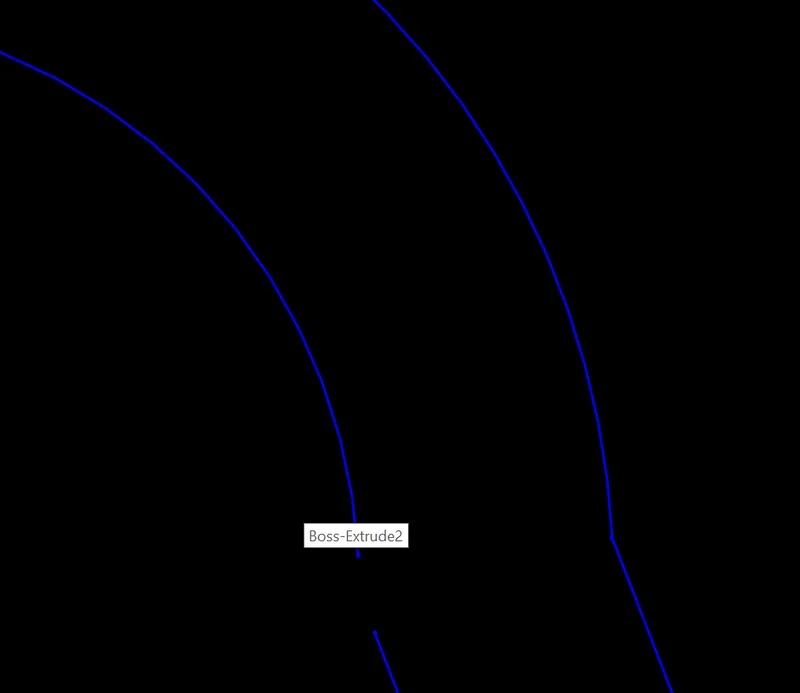
Next, we sketched a circle around the back of the sketch and then extruded it out, creating the disk.
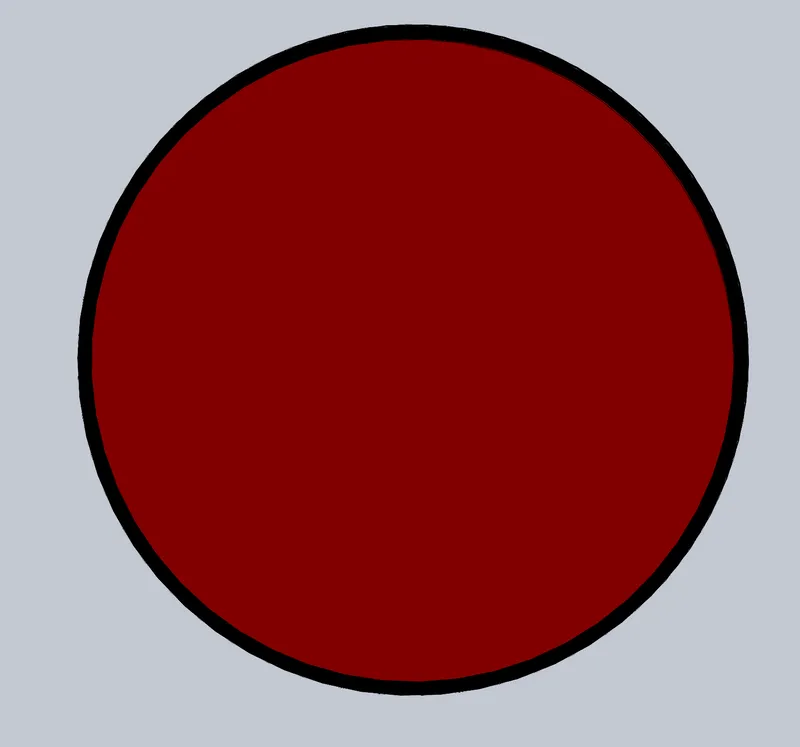
The image below was our final product before printing:

public static void main (String [] args) {
     System.out.println("JT is cool!!!");
}
Tags
Model origin
The user re-uploaded this model. The user is not the original author of the model.

