Gridfinity magnetic baseplate jig - Print in place

Glue magnets into your Gridfinity baseplates with ease with this print-in-place remixed jig
90
494
9
3672
updated May 20, 2023
Description
PDFWhat
Keeps your magnets aligned for superglue and installation. It's the logical counter-jig to this one for bins:
If your baseplate uses “press fit” style clearance, I recommend this tool instead:
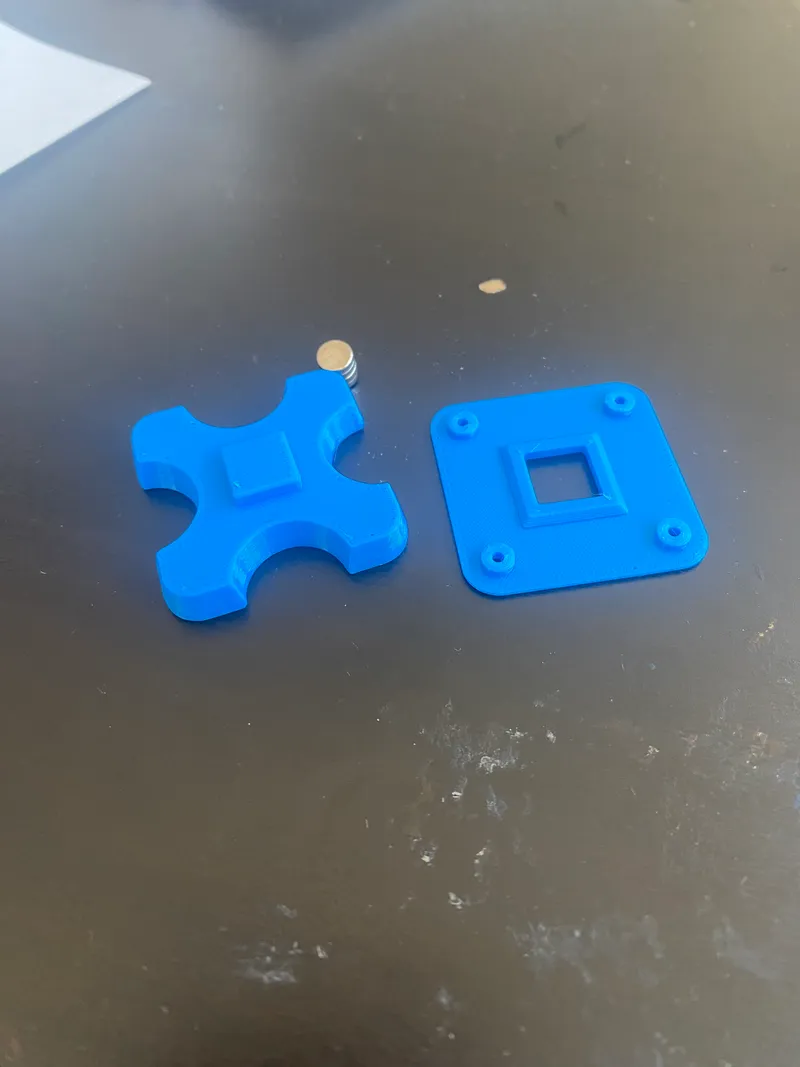
This model is a remix of https://www.printables.com/model/329110-gridfinity-magnetic-baseplate-jig . It's completely redesigned from the ground up, so it doesn't need support. The trick was adding a square in the middle for alignment.
Make the jig
- Print out both pieces.
- Determine your magnetic alignment. If you're using a bin jig, they should lock together like this:

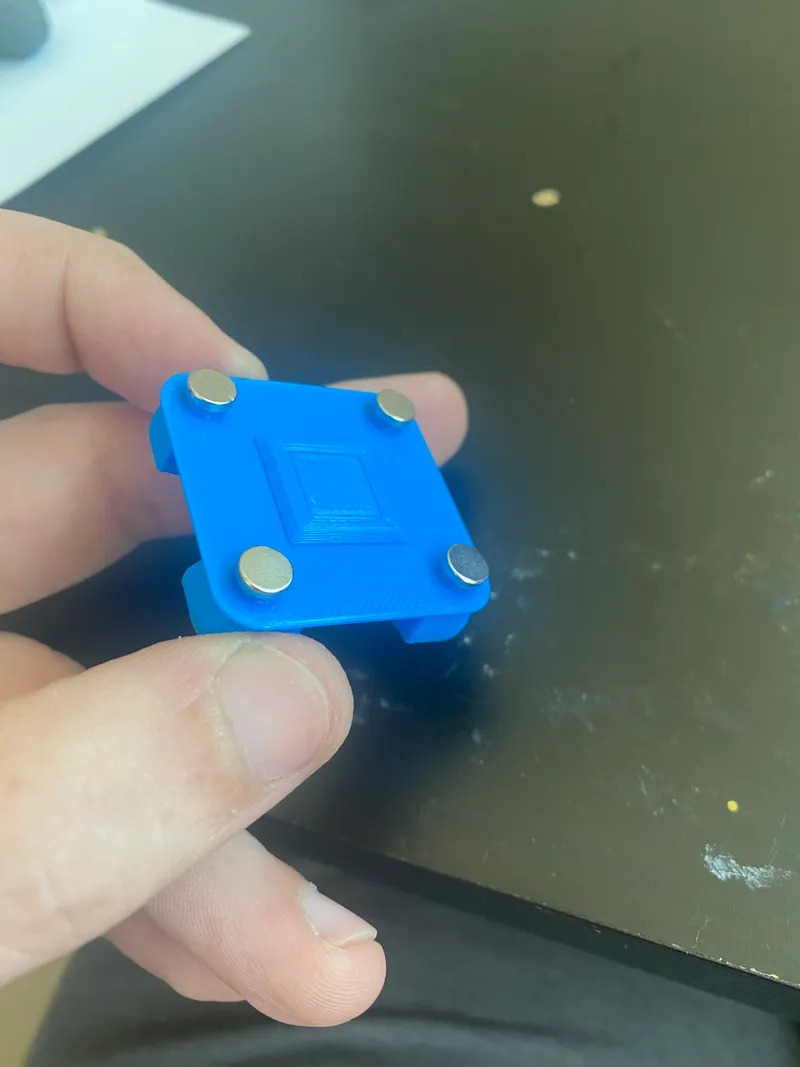
- Insert 6x2 magnets into the holes of the jig and glue in place. I recommend wearing nitrile gloves
Use the jig:
- Put jig onto the separator. Square facing up.
- Put magnets on the separator, they will “click” into the right orientation:
- Put superglue on the magnets (wear nitrile gloves)
- Insert the jig and separator with magnets into the baseplate.
Remove the jig
- With one hand, press the separator into the baseplate
- With another hand, lift the jig away from the separator.
- Once the jig is clear, you can remove the separator from the baseplate
Tags
Model origin
The author remixed this model.


