Snap Walls for D&D

Description
PDFUpdate!!!
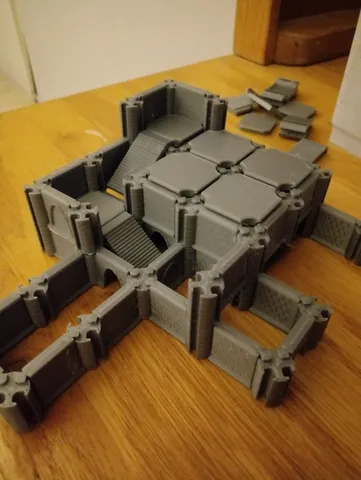
A New version of Snap Walls is now available: 3D Snap Walls.
Build castles, Multi level boss rooms, intricate passages, and more!
Click here to see it!
- Mark Hall designed 3 variations: Arch, Portcullis and closed door. Check them out here!
- ffejrxx added a double connector variation for the Portcullis, and plain wall. Check them out here!
Your contributions are well received. Credit where credit's due!
Make a Dungeon out of your Heatbed!
Inspiration
Although other far more developed wall structures already exist for 3D printing, I wanted to create a model that could be as simple as it could be to assemble and print.
Without the need of magnets, glue, or any other tool, you can simply print a pair of walls and get assembling. As easy as it gets!
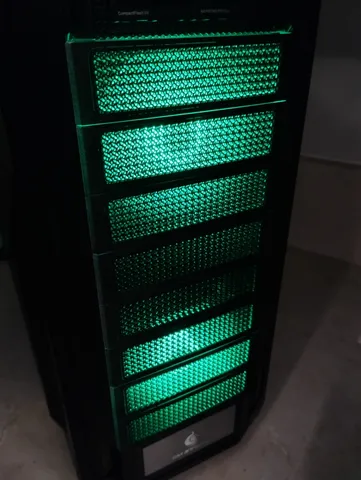
You can also use the heatbed of your Prusa or any drawn map to carry your players through your customized dungeon.
Print as many walls you want and build intricate passages, boss rooms, hidden corridors and more! Flexibility is your ally with this simple design that allows you to organize everything at your will!


Dimensions
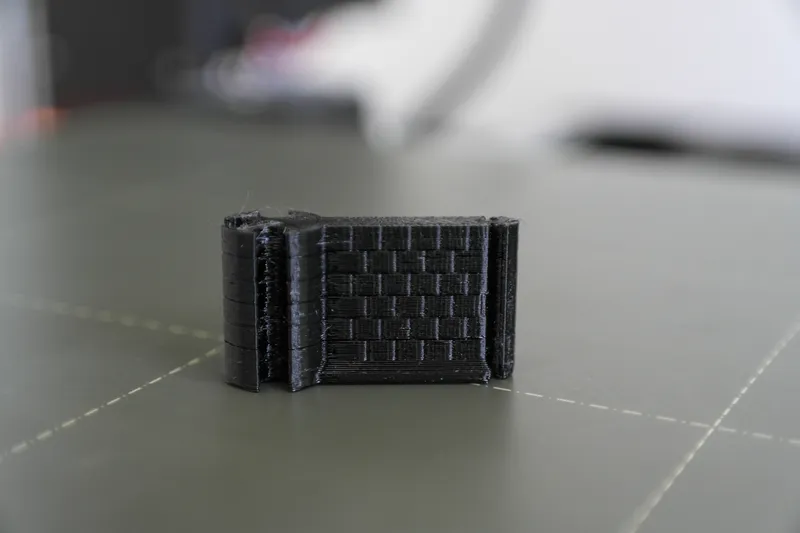
The walls have a length of 25mm from center to center of each of its connecting pins, and can be assembled either straight or in a 90° bend. Great for 20mm base figurines.
Wall thickness and height is 4mm and 9mm respectively. This makes your maps below easy to see so your players can still awe at your beautifully hand drawn maps.
You can also match it to your heatbed grid to offer a fast way to guide your players through your dungeon! No more criss-crossing over a new blank page when you have a flash rolling session.
Texture
A brick texture is added to both sides of the wall as decoration, but you can also find the untextured model if you find it better to paint your own environment.
Orientation
The wall has a base to help it adhere to the headbed. Take this into account when assembling your pieces so you don't have mismatching walls!
Printing
At just 2g per wall and 22 minutes of print time, it's easy to consider building a whole castle floor!
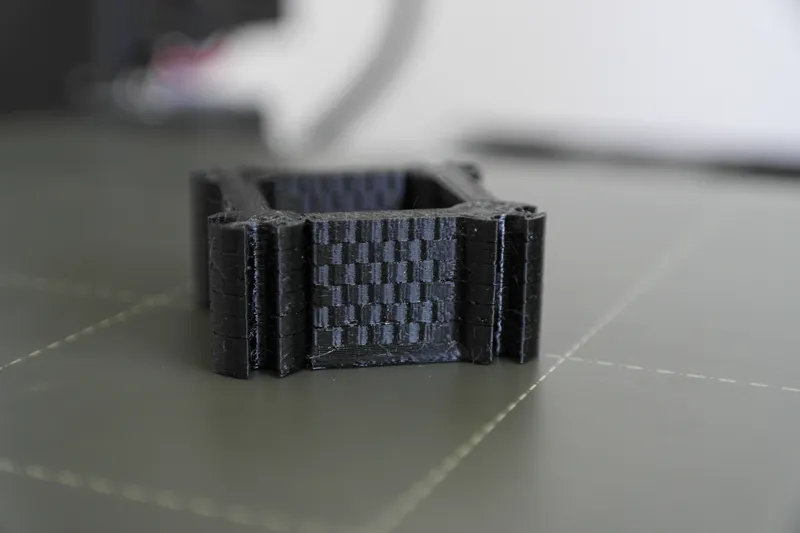
The wall integrates a ball connection with 2 keys on both sides of the end tip. This helps the walls to keep aligned in either 0° or 90° configurations. To ensure this connection isn't affected avoid using brims.
If you want to keep the brick texture it is recommended to print at least 0.2mm layer height
Lastly, due to the small size you can print this at 0% infill, but consider increasing the number of shells to 3 so the connection pins are densely printed.
Lastly, sequential printing is really viable with this design. You can effortlessly print 16 walls one by one. OR you can go all in and fill your bed with walls.
Snap action
All walls have a connector pin and 3 receptacles on the other side. You can create closed wall loops, but connecting other items might leave you with open ends.
Double connector and double receptacle wall pieces are now available. You can now build closed loops of any type!
To assemble walls slide one over another. Avoid twisting or pressing them together, as this will wear any connector or receptacle and leave you with wiggly connections.
Next versions
- 3D Walls are soon to come ;) Snap Walls while scale up to 3 dimensional building!
Tags
Model origin
The author marked this model as their own original creation.