Different bricks


Description
PDFDifferent Bricks
This is an easy way to create thousands of unique Lego-compatible bricks. Some sample .stl files are attached here, but the main idea is to generate your own.
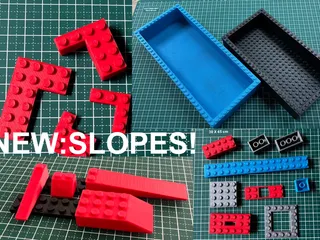
All bricks are 3D printed and verified compatible (with Lego)!
UPDATES 2023-05-18:
- Fixed a bug in the scripts!
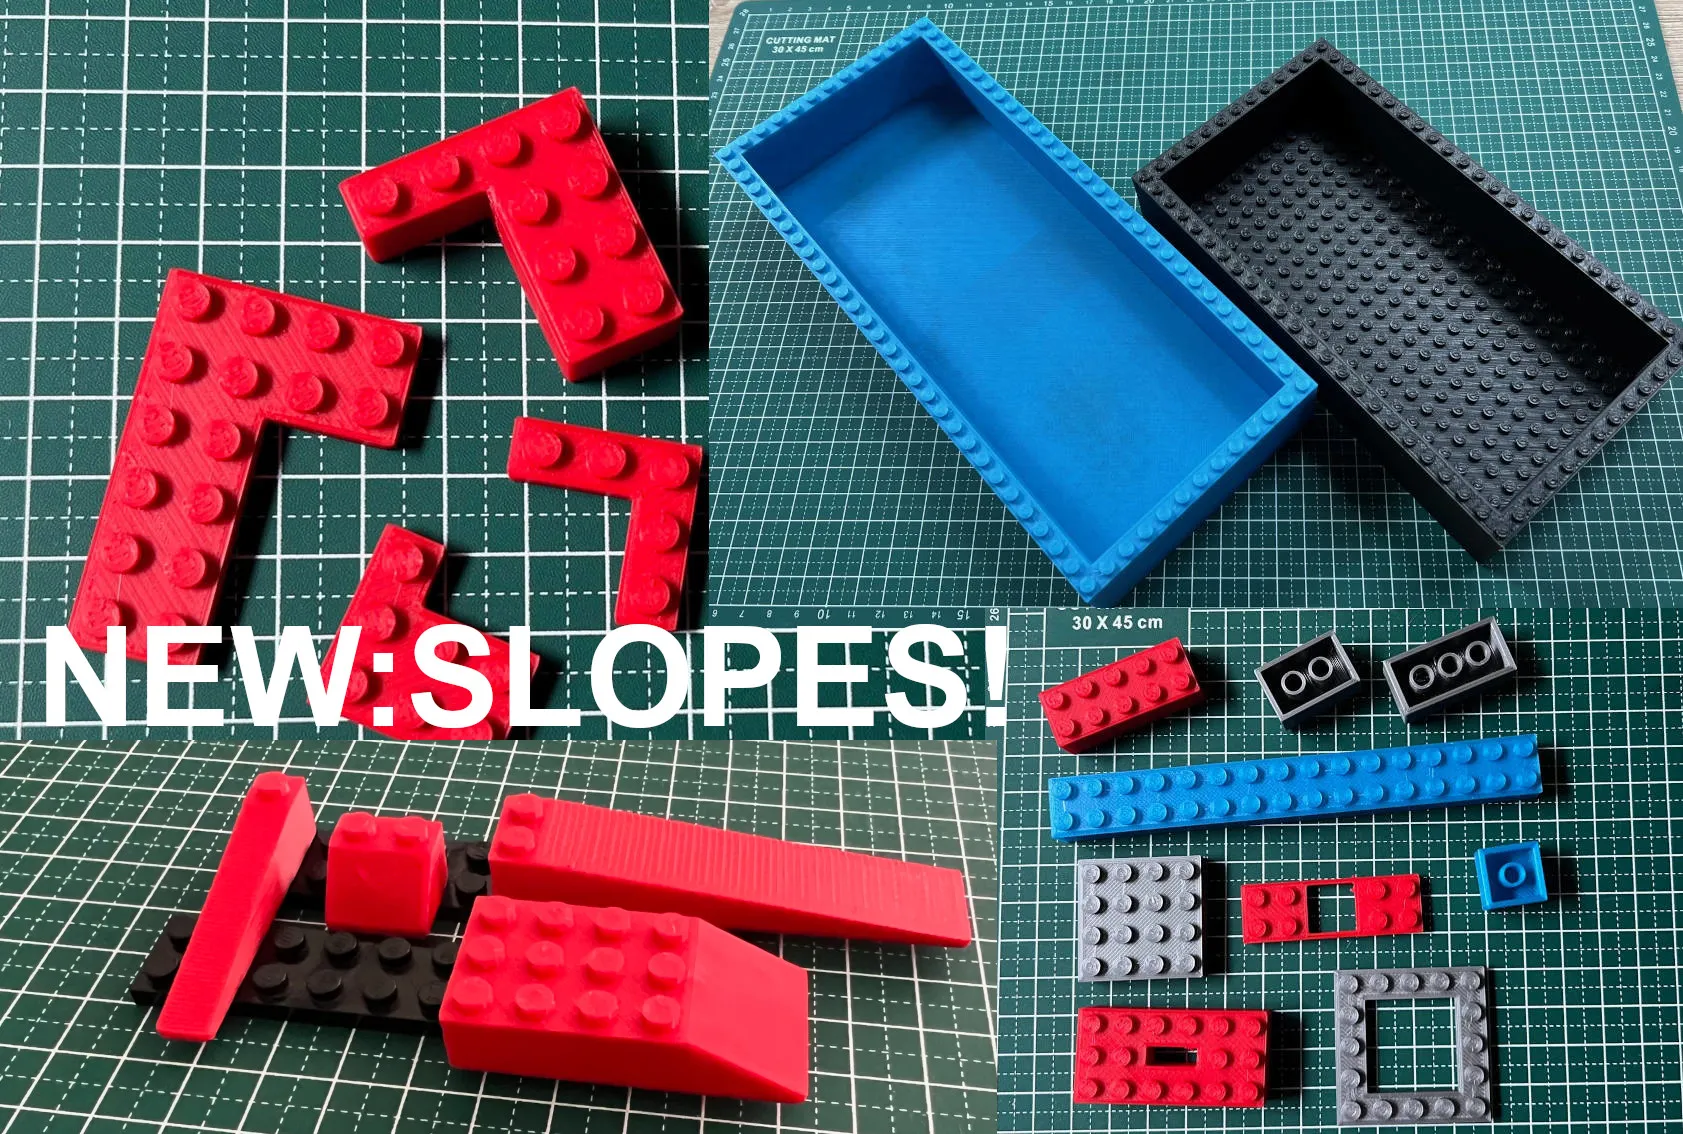
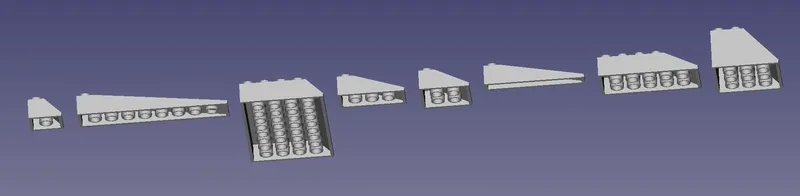
- Added slopes!
- Uploaded all new improved STL examples
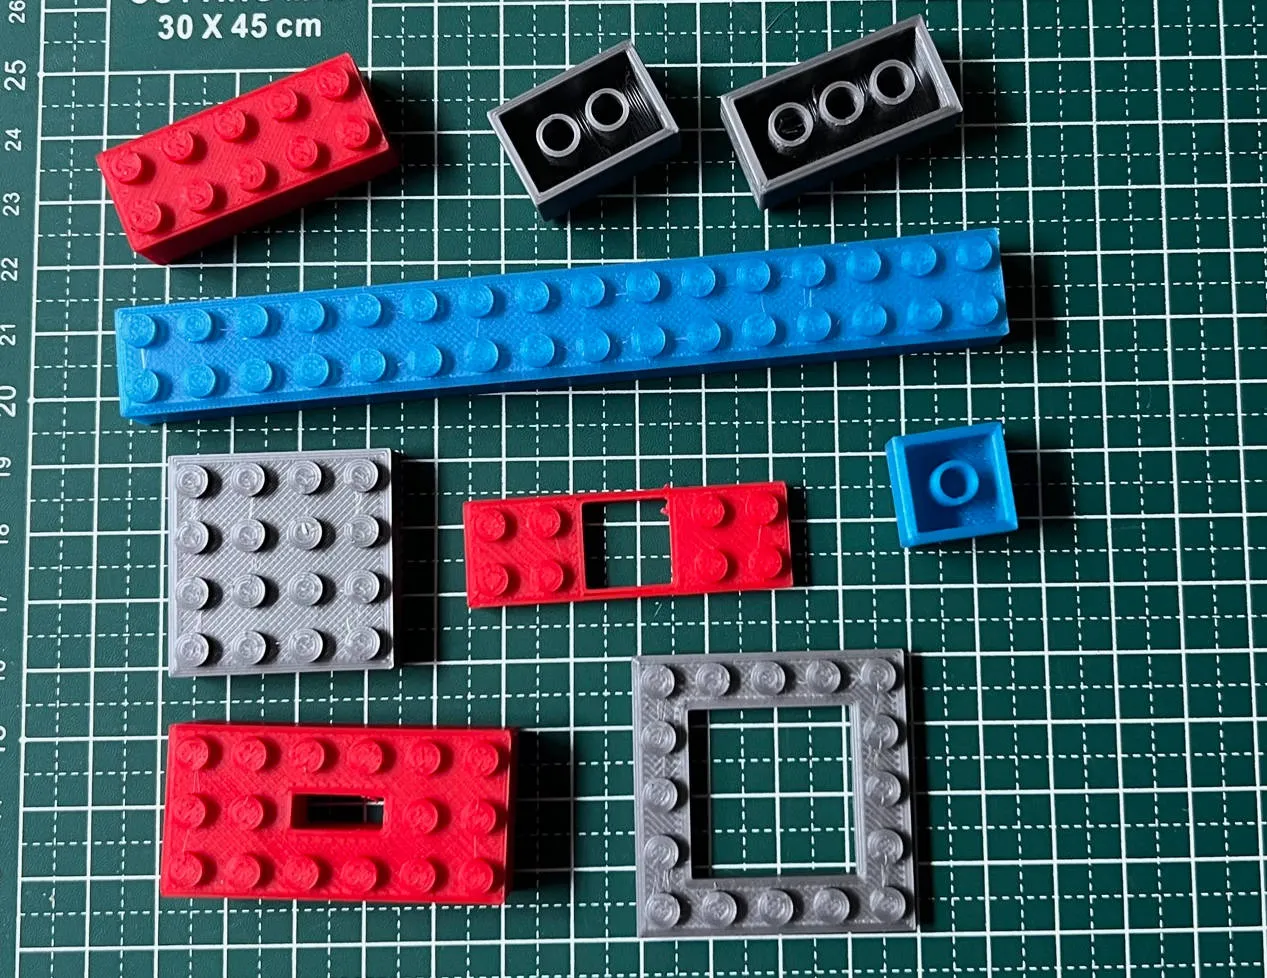
What kind of (Lego-compatible) bricks?
Thousands of different regular bricks (any width, any length, any height)
Thousands of different corner bricks

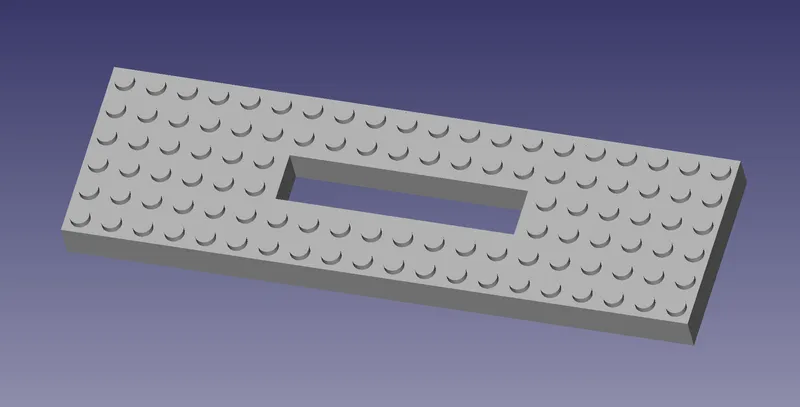
Thousands of different bricks with a hole in the middle
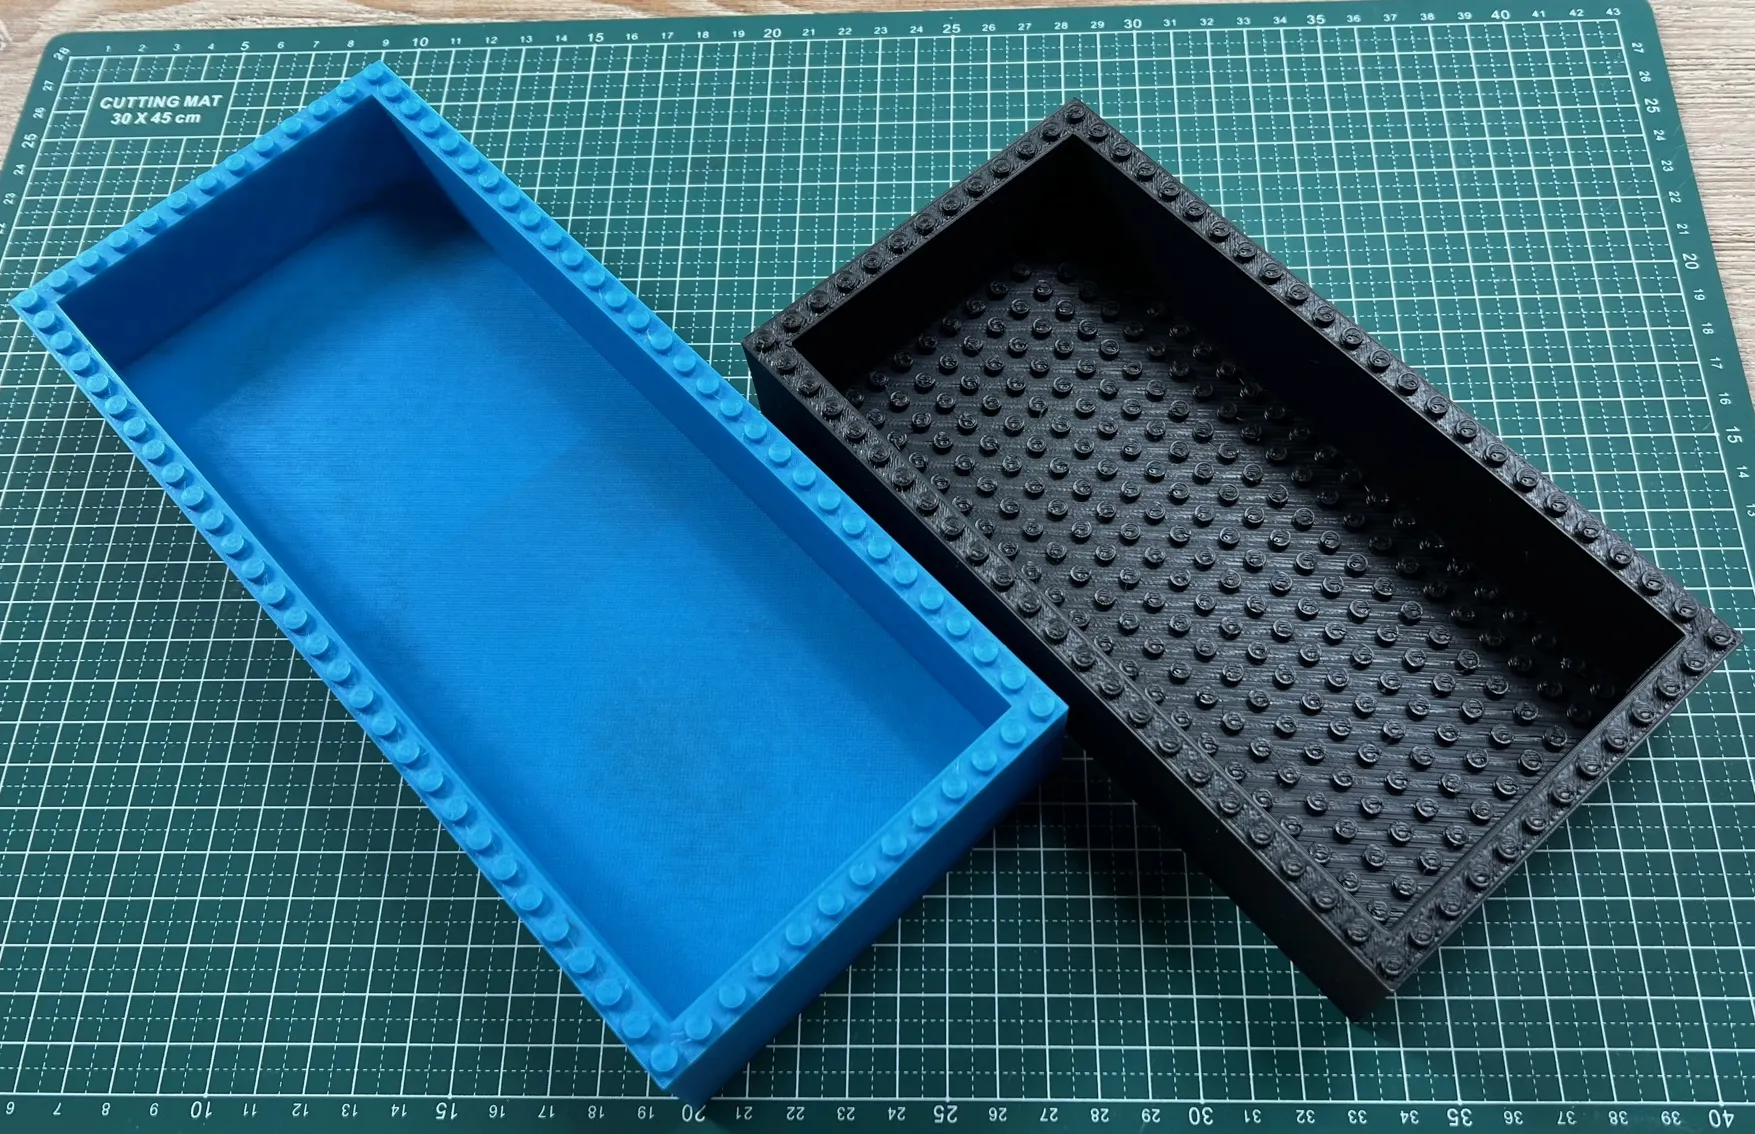
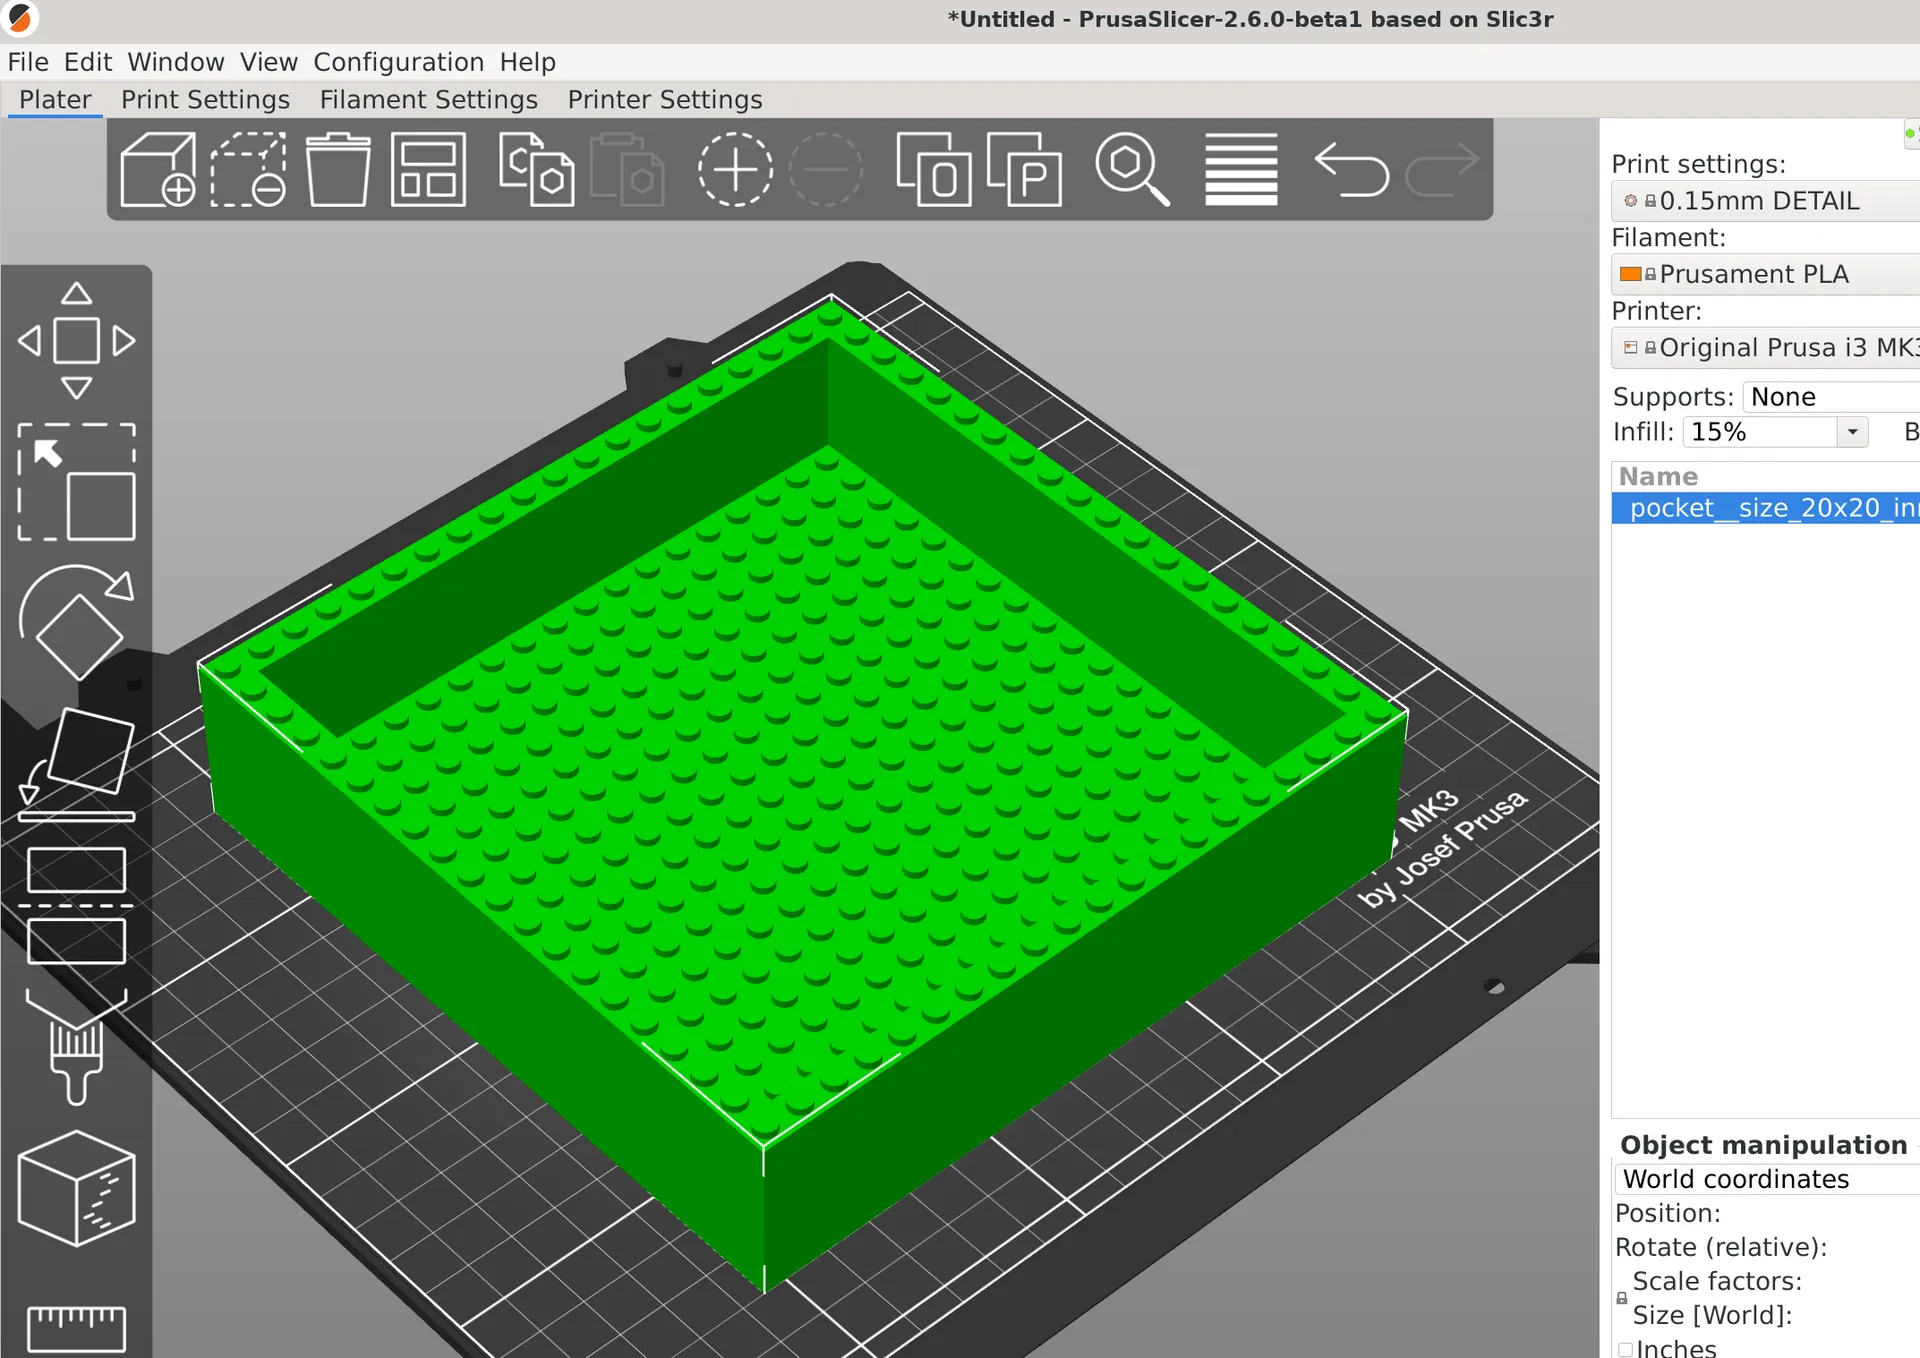
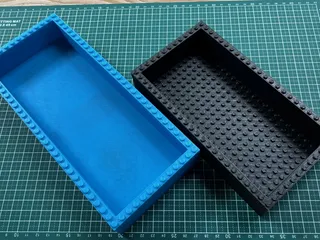
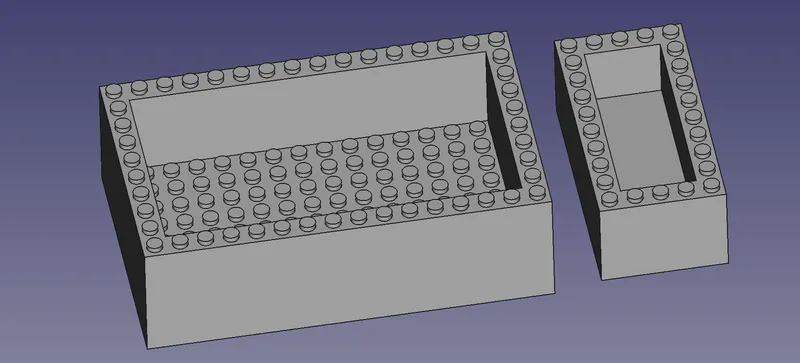
Thousands of pockets (open boxes) with studs
Thousands of slopes
How to use the Python scripts?
There are some sample .stl files attached here, but the main idea is to run one of the Python scripts to generate the exact .stl files that you want.
Below is a detailed explanation on how to use the files.
In short:
- open the Python script in FreeCAD
- change the directory (folder) to your preferred export path
- run the script in FreeCAD
- Open the directory(folder) and find the .stl files
Longer explanation on using these scripts
FreeCAD
The scripts use FreeCAD, but no knowledge of FreeCAD is needed. The script can do everything, except for starting by itself. FreeCAD is open source and can be used for free.
Download FreeCAD from here for the official version: https://www.freecad.org/downloads.php
The Realthunder version also works: https://github.com/realthunder/FreeCAD_assembly3/releases
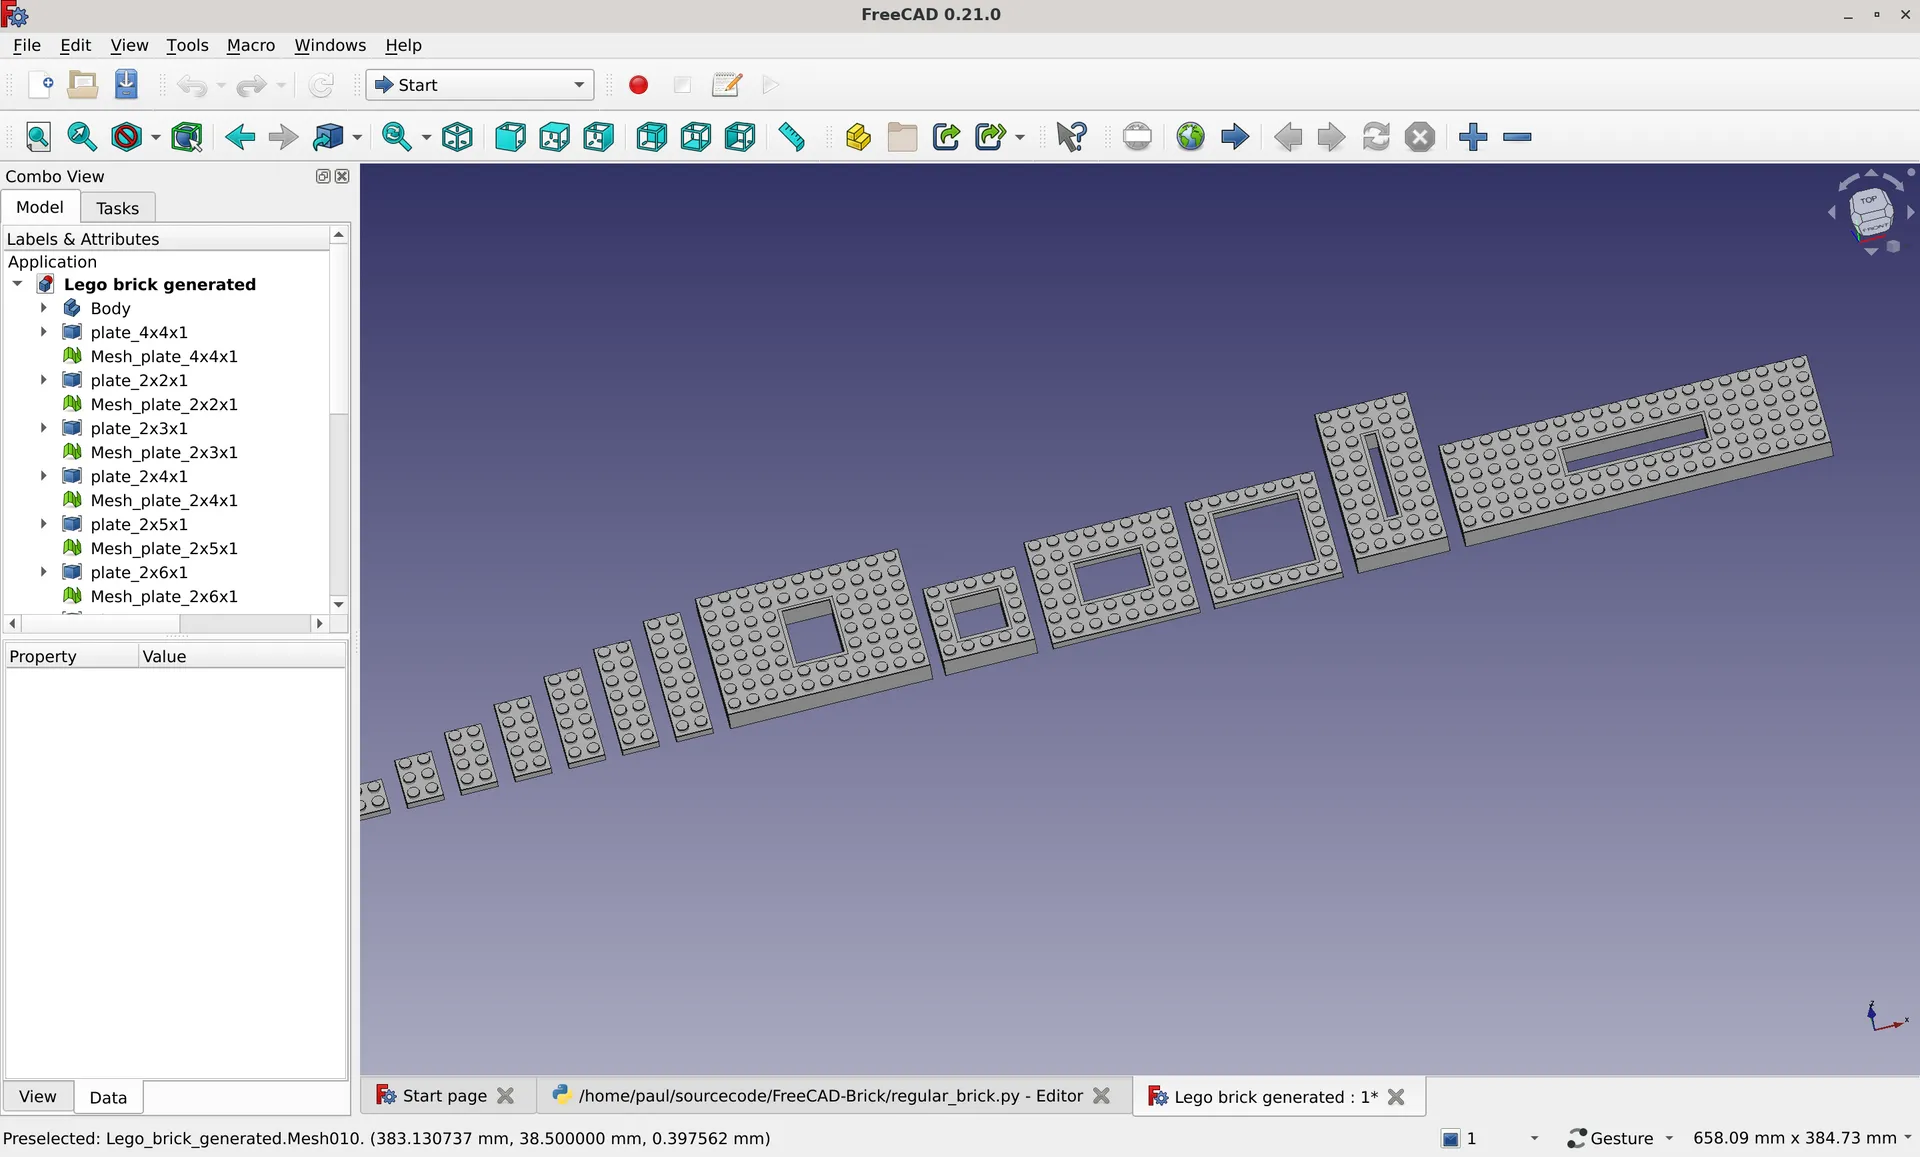
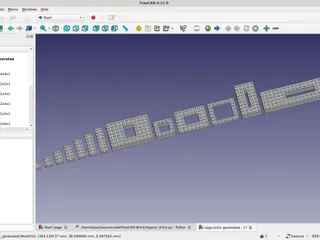
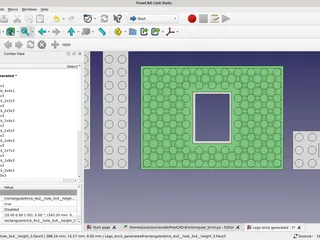
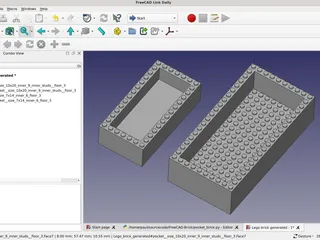
Start FreeCAD and use ‘File’ ‘Open’ to open one of the Python scripts. It should look similar to these two screenshots (depending on the downloaded version).
Press the (grey or green) triangle button to run the script, after a short while you should see the result (similar to the pictures at the top of this document).


Export directory(folder)
This is a must do or you get an error!!!
This is a must do or you get an error!!!
This is a must do or you get an error!!!
Somewhere around line 37 to 41 in the scripts there are lines like this:
# The directory to export the .stl files toexport_directory = "/home/paul/FreeCAD/generated_bricks/"
This is the location where the .stl files are written on your computer. This directory (or folder) must already exist before running the script!
You probably need to change this, for example (MS Windows, Ubuntu, Mac):
export_directory = “C:”
export_directory = “/home/bob”
export_directory = “/Users/Alice”
Test that this works before changing the Python script.
Python
If you don't know Python, then you can still change the objects by carefully reading the last 20 or so lines from any of these scripts. They contain sample function calls commented out (there is a # at the start of the line).
For example regular_brick.py has this line:
#make_brick(2, 4, 3) # creates the common 2x4 brick
That line starts with a #, so it does nothing. But if you write:
make_brick(1, 4, 6)
then a regular brick of width 1, length 4 and height 6 (plates) will be created (and the .stl file written to your chosen directory).
Try changing some numbers and verify the result.
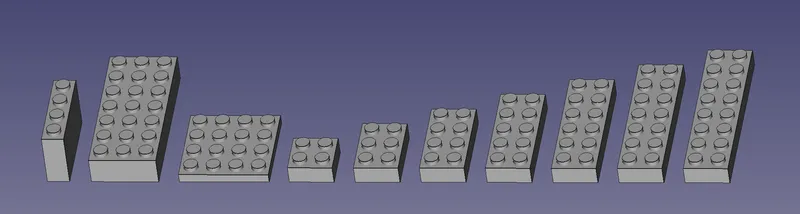
regular_brick.py
This script creates regular bricks. It requires:
- a width (in studs)
- a length (in studs)
- a height (in plates)
So writing this:
make_brick(2, 4, 3)
will create a common 2x4 brick.
This creates a 1x8 plate:
make_brick(1,8,1)
This is a 4x4 plate:
make_brick(4,4,1)
And here is a 10x20 plate, with double height:
make_brick(10,20,6)
(the other files are similar, some explanation is inside the file, last 20 lines)
Bricks with holes video
(I tremble in this video, but it is a perfect fit!)
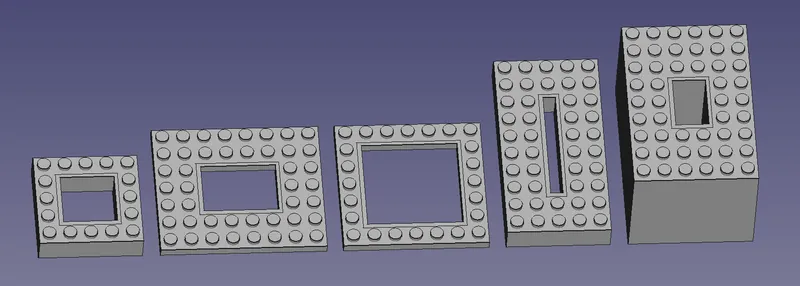
What kind of holed bricks can be created?
Holed bricks are bricks (or plates or any height) with holes in.
To use, define first the size of the hole, then the size of the sides:
- the width in number of studs of the hole
- the length in number of studs of the hole
- the width in number of studs of the X side
- the length in number of studs of the Y side
- the height in number of plates (standard Lego-compatible plate height)
Examples:
To create a plate with a 1x1 hole and 1 stud width on each side:
make_rectangle_brick(1,1,1,1,1)
To create a brick with a 3x3 hole and 1 stud width on each side:
make_rectangle_brick(3,3,1,1,3)
To create a brick with an 8x2 hole and 6 studs width X, 2 studs width Y:
make_rectangle_brick(8,2,6,2,3)
Zeroes may work…
#make_rectangle_brick(1,1,0,0,1) # seems to work
What settings can be adjusted?
The top of the Python code contains variables for all the dimensions of the bricks, the plates, the studs. When 3D printing with plastics (or whenever plastics are melted) then the size is never exact because these materials shrink when they harden.
For this reason, for example, I use a stud radius of 2.475mm even when the Lego studs are 2.400. In my case, my 0.60 nozzle, my PLA, my Prusa MK3S, this gives me the best fit when combining these with official Lego bricks. When using ASA, I make them wider. Your mileage may vary.
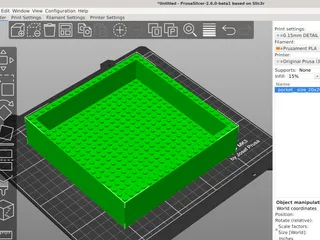
3D Printing
I print these upright and without supports or brim. I use glue for adhesion and print at 60% speed because my PLA is wet (80% air humidity the past weeks). I use a 0.60 nozzle and 0.15 layer height.
Help
Feel free to comment on the Python code or to copy and improve it (respect the license please).
The git repository is here: https://github.com/paulcobbaut/FreeCAD-Brick
License
GNU GPL. So use it as much as you like, if you modify the code then these modifications should also be GNU GPL so that everyone can use them.
Source files are here: https://github.com/paulcobbaut/FreeCAD-Brick
Tags
Model origin
The author marked this model as their own original creation.


