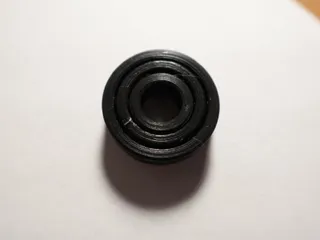
Improved 608 bearing (4.5mm steel bb)


608 bearing that uses a bb separator and uses 4.5mm airgun bbs!
45
185
6
893
updated January 6, 2024
Description
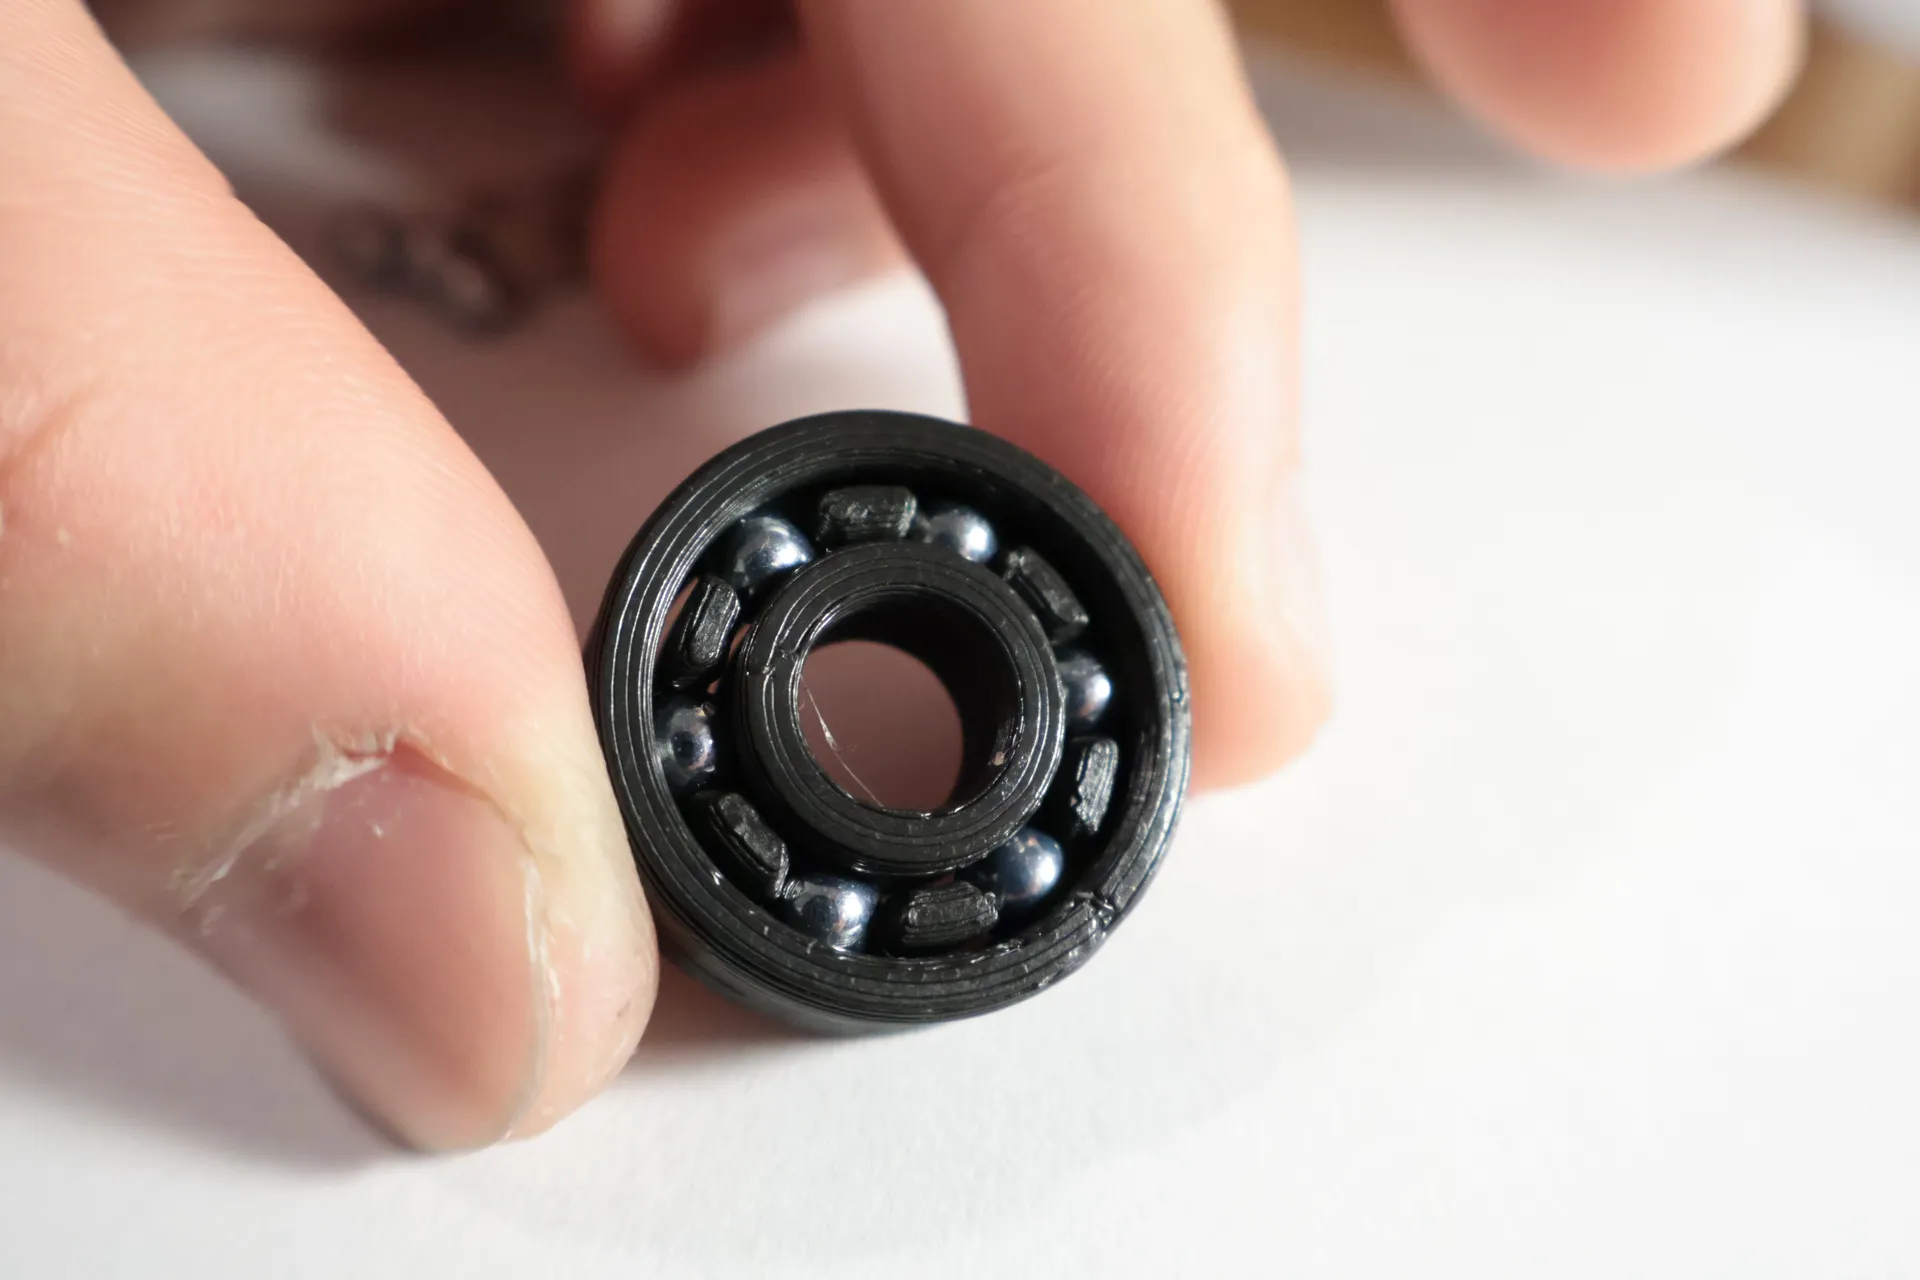
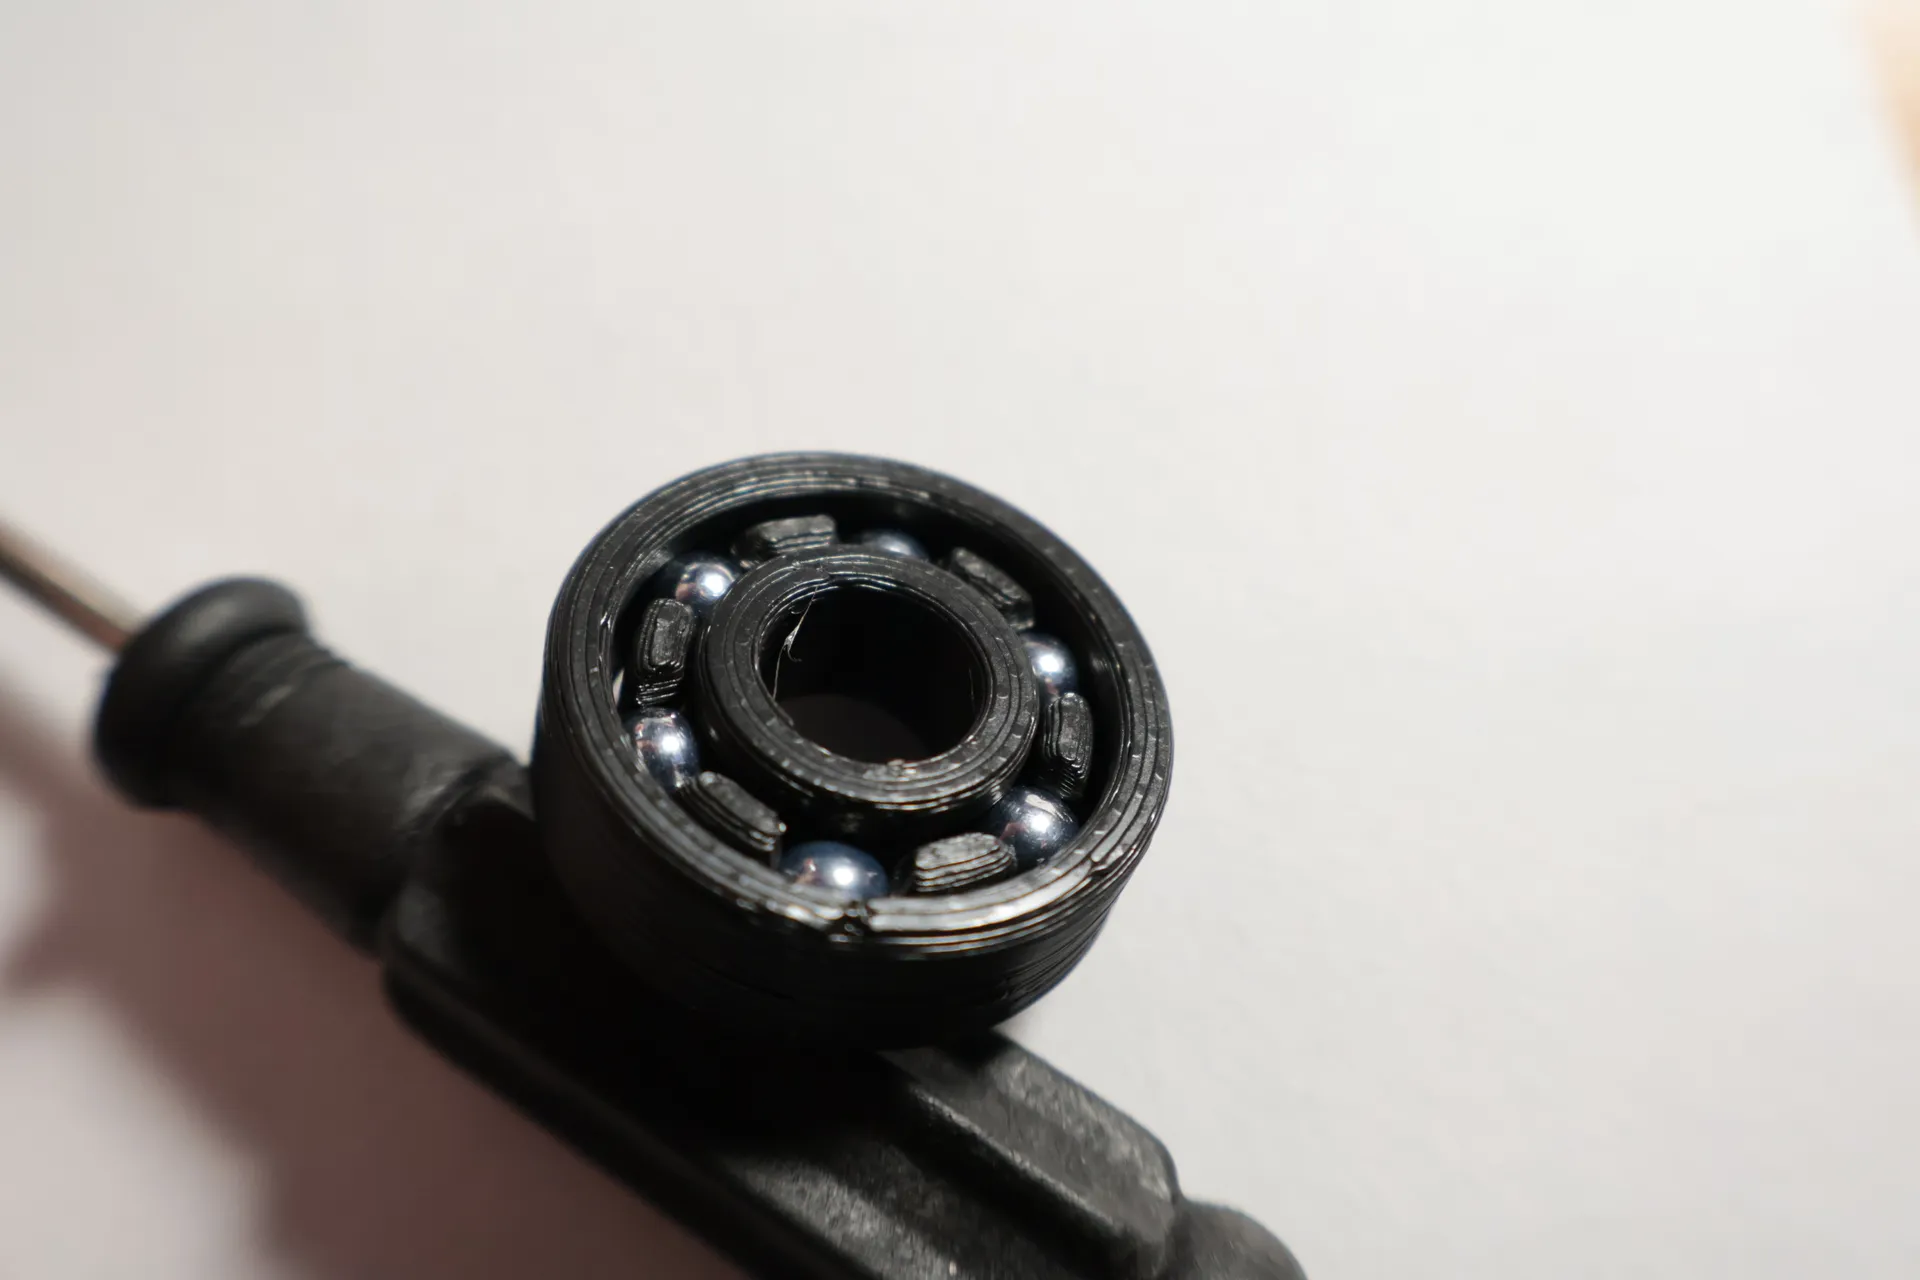
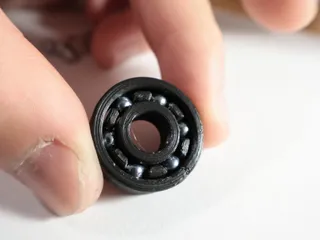
PDFImproved 608 bearing for super smooth rotation!
the original model uses a spacer between the bbs, much like a real ball bearing. This type of design has the potential to run much more smoothly than the type where there's a cutout on the inner and outer rims where you can press the bbs in.
However, this model still have the circular cutouts, which aren't needed for this design. It makes the ball bearing catch on certain angles, which defeats the purpose of a caged bearing.
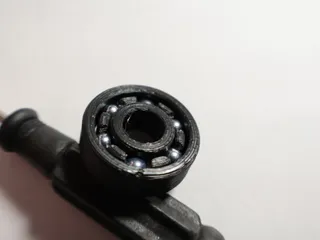
Improvements:
- removed the circular cutouts. You can assemble the bearing like a real one:
- replaced the top and bottom fillets with a 0.5mm chamfer. It prints much better this way and should account for elephant foot pretty well. If you have a well-tuned printer with no elephant foot, consider turning off the first layer elephant foot compensation in your slicer, since the bottom surface area of this model is pretty small already. (here's why fillets suck: Fillets are Sexy but Chamfers are BETTER (For 3D Printing...) - YouTube)
- added outer chamfer for the outer rim and inner chamfer for the inner ring. Makes inserting components much easier.
Print Settings:
- Material: PLA (PLA is harder than PETG so it should last longer)
- Resolution: 0.16mm (print at fine layer heights)
- Randomize seam location: if the seams are lined up, there will be a spot that will catch on the bbs when rotating. Also tune your retractions and wipe settings as any surface imperfections will require more post-processing.
- SEQUENTIAL PRINTING!! if you're printing all three models at once, make sure to print them one at a time by enabling sequential printing. Otherwise, the surface finish is less precise.
My setup:
Ender 3 Pro, Direct drive, 0.4mm nozzle, glass bed; Elegoo PLA at 208C, bed 64C; 3 walls, 20% grid infill, 5 top 5 bottom.
Tags
Model origin
The author remixed this model.

Differences of the remix compared to the original
This remix removed the bearing insertion slot because it makes the bearing less smooth. Replaced fillets with chamfers.