Adventurer 3 Spool Holder

Description
PDFI am not responsible for damage to the machine from this modification should it occur. If it is done with patience, it will be successful. I have been using it for a month without any issues.
This is an adapter for the adventurer 3/3 pro that will accommodate 1kg spools and still leave the cover on for a sealed chamber.
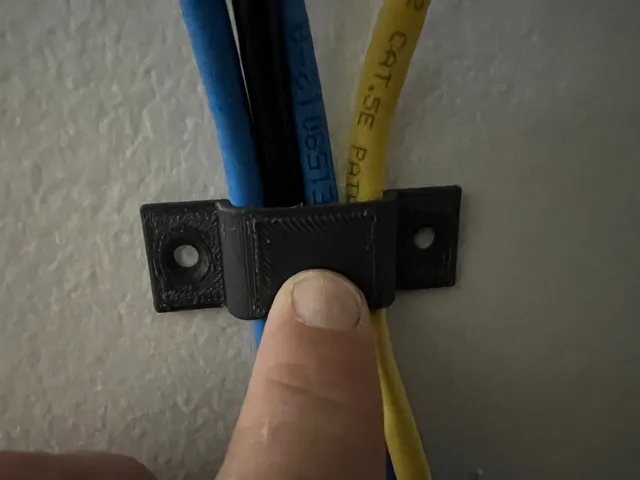
This will require a bit of modification to the spool door. Use pictures for reference.
I am not responsible for damage to the machine from this modification should it occur. If it is done with patience, it will be successful.
The mount that attaches to the machine is about 2.25" in diameter. It attaches to the existing spool mount on the machine. There are circle features on the inside of the door that help locate/support the internal spool. Use those for reference for making a hole that will just clear the mount. It should just slide on. If it is too tight, enlarge the cad file by 1%. If it is still tight but goes on, check for stringing or blobs. it will loosen as its taken off and on. That will not affect the functionality of the part. I used a dremel and some patience. A hole saw would work too if you have the right size. Location is important. The idea is to keep the door sealed for the chamber. The mount should cover the hole in the door.
Print the mounts with at least 5 shells!!! If you do not, it will break apart from the weight of the spool. Part strength is in the shells, not as much the infill. Proper layer adhesion will be essential for strength. Setup cura and do a temp tower with your chosen material and use the temp that gives the best layer adhesion.
The parts are held together with M3 screws and nuts. I supposed you could super glue them. But i can't guarantee it will last. I would use washers too if possible.
The FILAMENT_guide is going to be the hardest. You will need pretty accurate measurements to get the cutout on location and you will also need to fit the window to the door cutout. If it is not reasonably close, you won't be able to feed the extruder. You may also need to modify the hole in the part. If done correctly, you should be able to feed the extruder through the door with ease.
The top of the guide is about 3.25 inches down from the top, and just about flush with the edge of the door. See pictures for reference.
I printed mine with PLA. 5 shells. It is working just fine. I used flashprint 5. Polymaker polyterra PLA and Flashforge PLA. 30-40MM/second for everything.
I have included STL and STEP files. This was designed in Fusion 360.
The sleeve is optional. I thought originally it would be helpful for spool rotation, but it does just fine without it.
Contact me if you need help or have questions.
Tags
Model origin
The author marked this model as their own original creation.