Bender-potato (Mr Potato Head "improvement")

Description
PDFBite my shiny metal… magnets! Screw Mr.Potato Head: I am the much better, highly modular (and customizable too!) toy whose parts can be held together with magnets. Y'all meatbags, I am Bender-potato!
DIY Instructions
Magnets
You will need a minimum of 30 cylindrical magnets, more if you want to print different variants of the same parts.
I used magnets with 5mm diameter and 2.5mm height. If this is ok for you, just just skip to the printing instructions. If you want to use different magnets, you have to edit the CAD file bender-potato.f3d. Open the project in Fusion 360 and try changing the user parameters magnet_diameter and magnet_height. Note that these values should already have tolerances taken into account. As an example, for my 5mm diameter magnets I set magnet_diameter to 5.3mm. Hopefully, by changing the parameters everything remains functional. If this is the case, hurray! Export the bodies as meshes and print them. Otherwise, you will have to adjust the various steps in the model where they break. Almost all shapes in the model are simple geometric primitives, so it should not be too bad updating them.
Printing
A “standard” Bender-potato requires:
- 1 torso
- 2 legs
- 6 arm segments
- 2 hands (you can do one plain and one bottle)
- 1 head
- 2 eyes (I recommend the “angry" ones, which can also be used for happy and sad expressions)
- 1 hat/antenna
The model bender-potato.3mf file contains all bodies in the design (except for the bottle) already oriented in the proper way and do not require supports. Open it in Cura (or any other slicer) and duplicate/delete objects according to your wishes. Print them with at most 0.2mm layer height and using 2 or 3 lines for walls. Use the lightning infill, which greatly reduces the amount of material needed. For reference, I just had to select the standard quality preset in Cura and only change the Infill Pattern. Due to the bodies being hollow, be careful when removing them from the build plate because they may break if you exert too much force - especially the legs, which are thin and tall.
To print the hand with the bottle, import the file bottle-hand.3mf and slice it with:
- Cura's dynamic quality preset (0.12mm layer height) as base settings
- Tree supports enabled
- Change Support Placement to the option Touching Buildplate
- Using a support blocker, make sure that no support is generated for the magnet pocket (supports are needed only for the bottle)
Once printed, you will probably have to remove a bit of material between the palm and the bottle. But don't worry, even if the finish will be terrible there, that spot is practically invisible.
Glueing the Magnets
This is the most tedious part, in my opinion at least. The idea is simple: for each magnet pocket that you find, put a magnet in it. However, the issue arises from the fact that we must be very very very VERY careful about polarity. Don't make my mistake and get yourself a “polarity tester” such as this one* because it will be very handy!
If you visualize the model as a “tree” that starts at the torso and branches into legs, arms, head, etc, the rule is the following: every magnet must have its north pole** pointing “outward”. Here is a sketch of what I mean:
[IMAGE GOES HERE!]
Remember that magnets will “influence” each other when being placed. After some tinkering, my recommendation is to go in the following order:
- Magnets in the torso: start from those of the shoulders, then those in the legs and finally the one in the neck.
- Magnets in the head's eye sockets.
- Magnets in the eyes themselves.
- Magnets in the arm parts. They should be the easiest ones since the magnets on the two extremities will attract to each other and you don't have to worry about the polarity.
- Magnets in the hands.
- Remaining magnets in the head: the one in the neck and then the one on the top.
- Magnet in the “hat” (antenna).
- Magnets in the legs. The bottom ones are optional: they allow Bender to be re-assembled in fun ways and/or to attach it to metallic surfaces. See picture below!
Two tips during the whole procedure:
- The diameter tolerance is quite small to reduce lateral play. If you have a hard time fitting a magnet in a socket, make a bit of space using a cutter knife or a deburring tool!
- After gluing a magnet to a part, you want to keep it far away from other magnets/metallic surfaces for some time. This is to let the glue dry “peacefully”, without the risk of the magnet flying out of the socket.
* I am not affiliated with the author of that model in any way, I just searched for magnet polarity here on printables and this is one of the models that popped out.
** To be clear, “north” and “south” is relative to your polarity tester. The point is, be consistent with
Painting
Nothing much to say here: prime all parts and then apply paint on each part as needed. For the details (teeth & front door) I used a tiny flat screwdriver head. I applied the “base color” (yellowish on the teeth and grey in the door) first. Then a tiny amount of black paint in the crevices, waited for it to dry, then carefully applied again some base color on the borders because some of the black paint overflowed a bit.
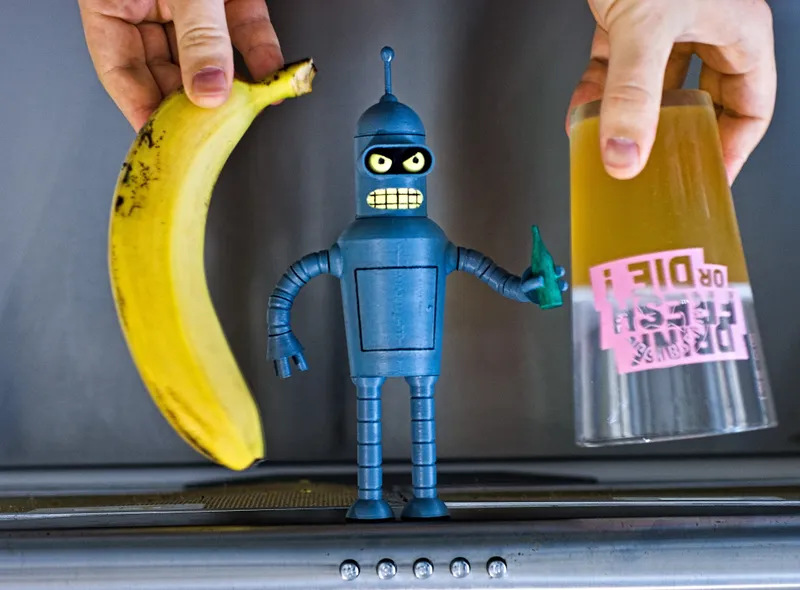
Banana for size reference, beer for gravity.
Roadmap and Contributions
I would love to expand the set of gadgets and outfits for this Bender model. My plan is to add parts for:
It will not happen in the near future though, since I don't have the skills for it yet.
If you want to contribute with more parts - not necessarily for the two characters above - please do! If you agree, I will add them to the list of files and credit you here. Or make a remix, I do not want to force anyone to donate their work!
Tags
Model origin
The author marked this model as their own original creation.


