Gameboy Pencil Holder with Lightboy

Description
PDFI know it looks like it, but no you can't play Tetris on this.
Instructions:
Gameboy Pencil Holder
Print standing straight up with supports (25 worked best for me), but this all depends on how well your printer handles overhangs.
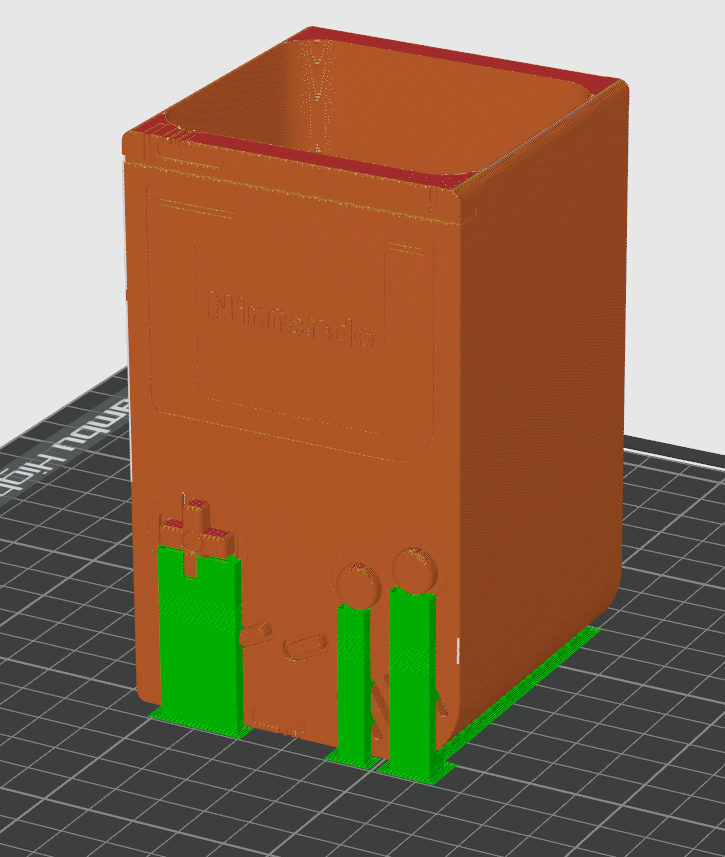
May require some post clean up on the bottom curve based on my tests.
Also scales well, just keep in mind the smaller you make it the higher chance the details won't translate.
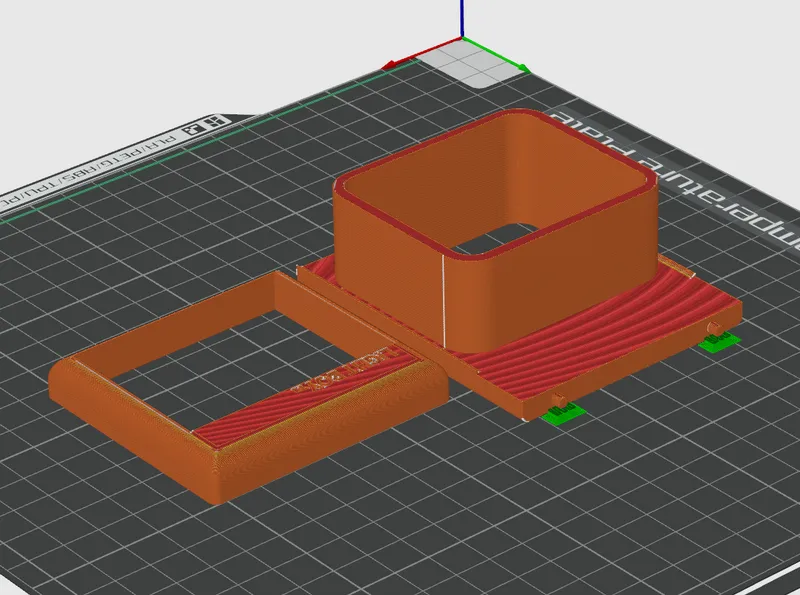
Lightboy Attachment
Both pieces of the Lightboy attachment should be printed as pictured, with supports enabled for the small connecting pegs. It will also put supports for the insert pegs on the face, so if you don't want to deal with removing those please paint your supports onto just the pegs on the larger piece or print separately. I've also found printing the face of the Lightboy separately with the lowest possible layer height and ironing make it look great. (I printed mine at .08)
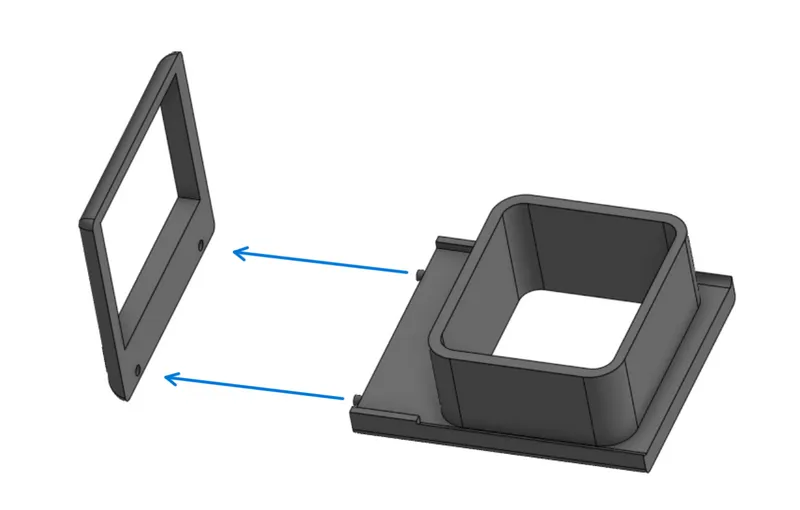
Assembly
Assemble the Lightboy attachment by simply sliding the posts from the insert into the holes on the faceplate. Glue can be used if needed, but it should be press to fit. (Be careful when assembling if using brittle filament).
The pencil holder can be used with or without the Lightboy attachment. Simply slide the lightboy in the top opening of the pencil holder, and viola you can see your 3D printed Gameboy screen much better!
Note: If anyone has multicolor printing capabilities, please post a make so I can see it!
Tags
Model origin
The author marked this model as their own original creation.