BigFoot Desktop Fan

Description
PDFMeet BigFoot…
The desktop fan you make!
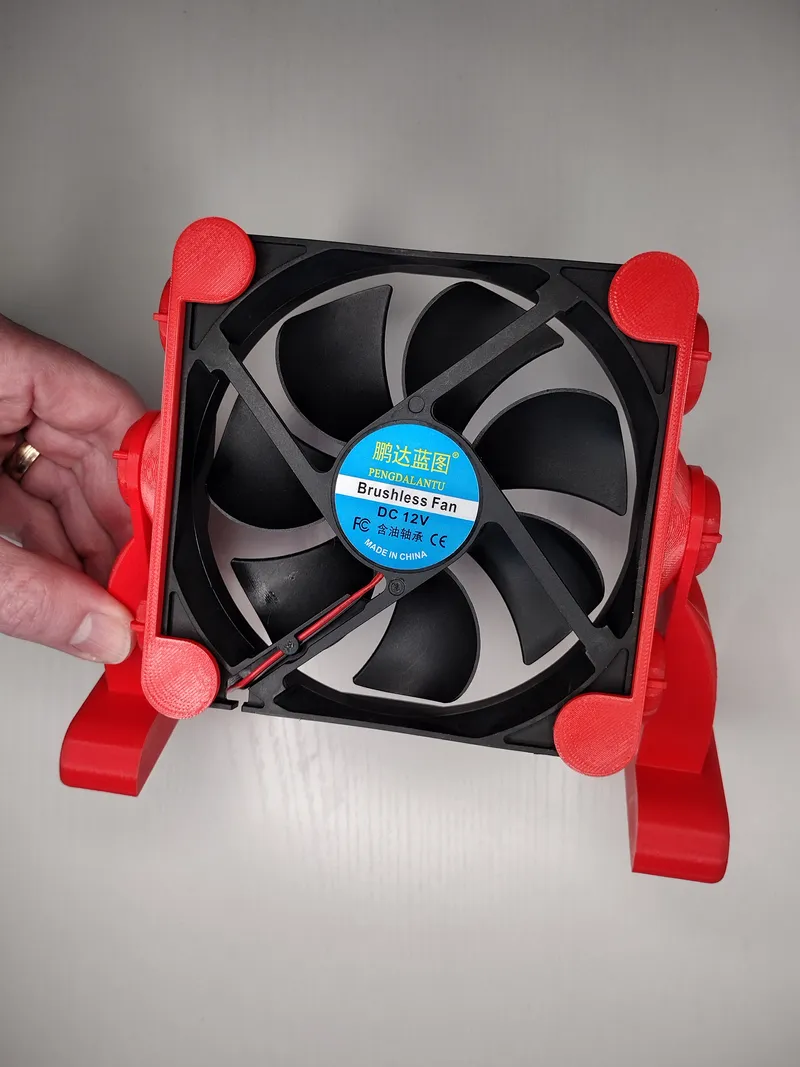
Using an inexpensive 120mm computer fan, a usb 5V to 12V step-up converter, and a few printed parts, you can create a cheap, effective desktop fan that you can plug in nearly any USB power port! No hardware is required to fasten the printed parts together!
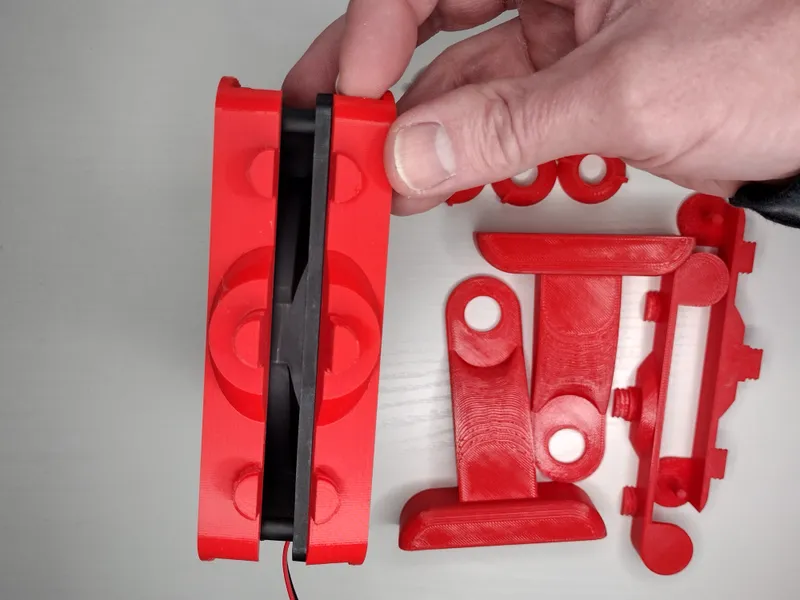
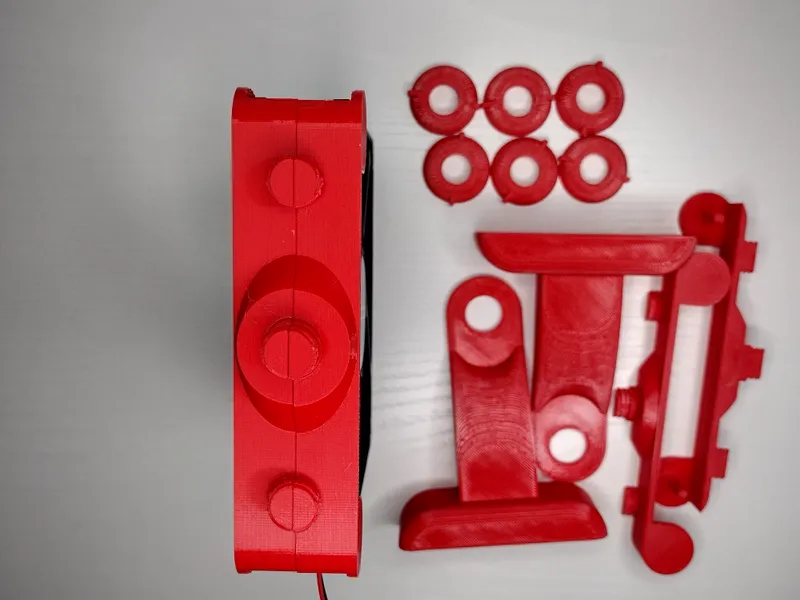
Parts to print
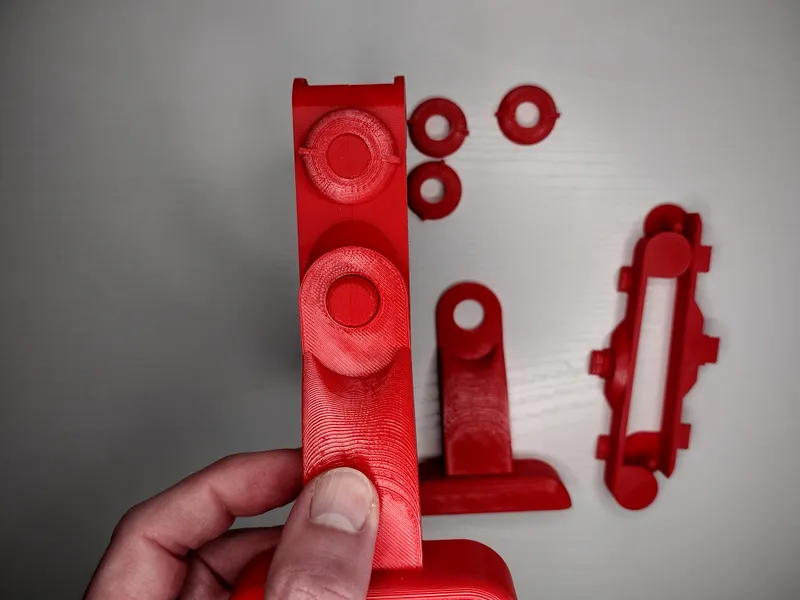
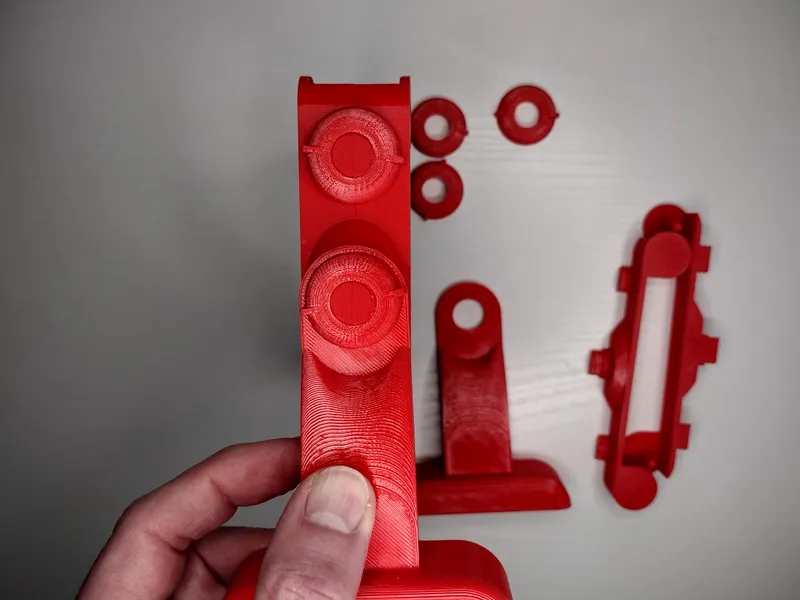
- Two copies of fan bracket part 1 and part 2 (STL) - if you use PrusaSlicer, I suggest making use of the Fan-bracket.3mf file, which comes with painted supports that work great!
- Two legs
- One set of six wing nuts
Parts to find or purchase
- A 12V 120mm computer case fan (https://share.temu.com/bbPxrNUynXA)
- A USB 5V to 12V step-up converter (https://share.temu.com/ONwARauRuzA)
- A 5.5mm x 2.1mm “female” barrel connector (https://share.temu.com/jZOEuygkyyA)
Suggested print settings
Fan Bracket:
- 0.15mm layer height
- If not using the painted supports in the included 3mf file, use supports on build plate only
- 15-20% infill
- Good bed adhesion is a must. There are small contact patches for the pegs of the brackets. You can add a “brim” to the pegs by adding custom objects at the site of the pegs with a 0.2mm height. Adding a brim to the entire bracket part will cause issues with the threads.
Wing nuts:
- 0.15mm layer height
- 15-20% infill
Legs
- 0.3mm layer height
- 15-20% infill
Assembly instructions for the printed parts
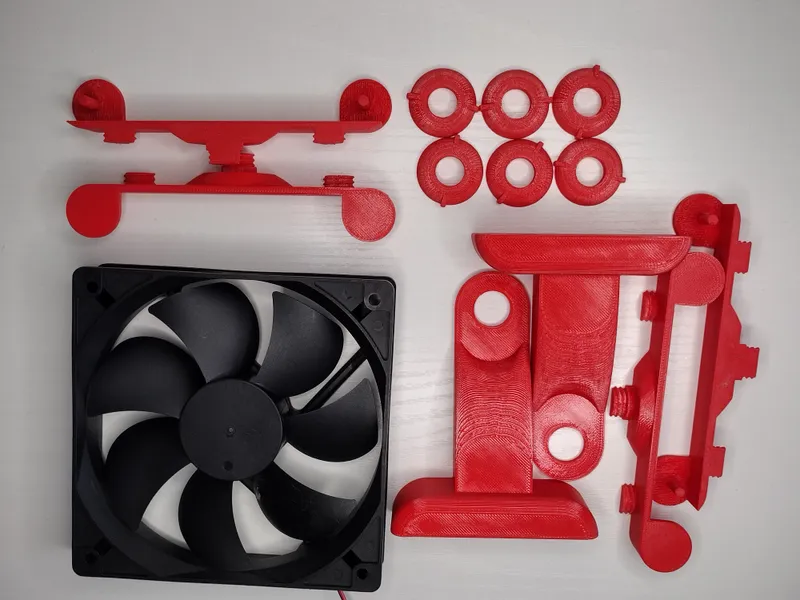
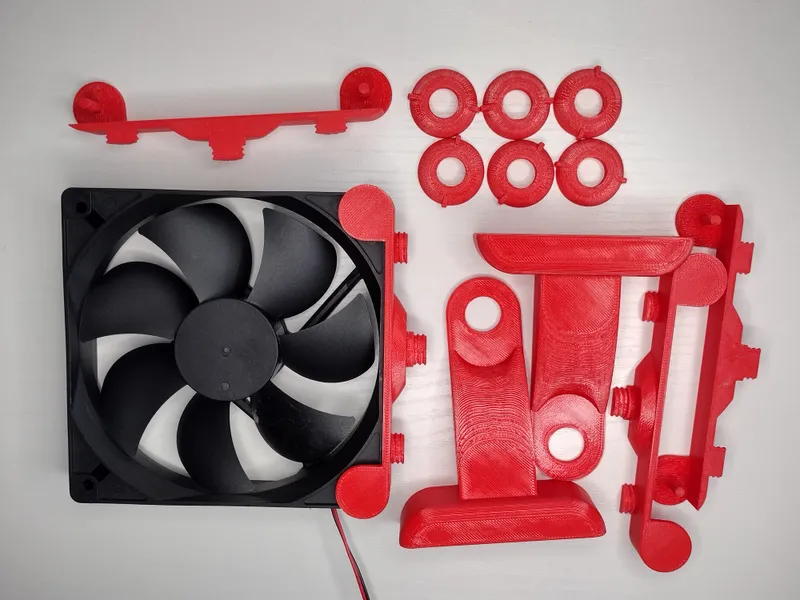
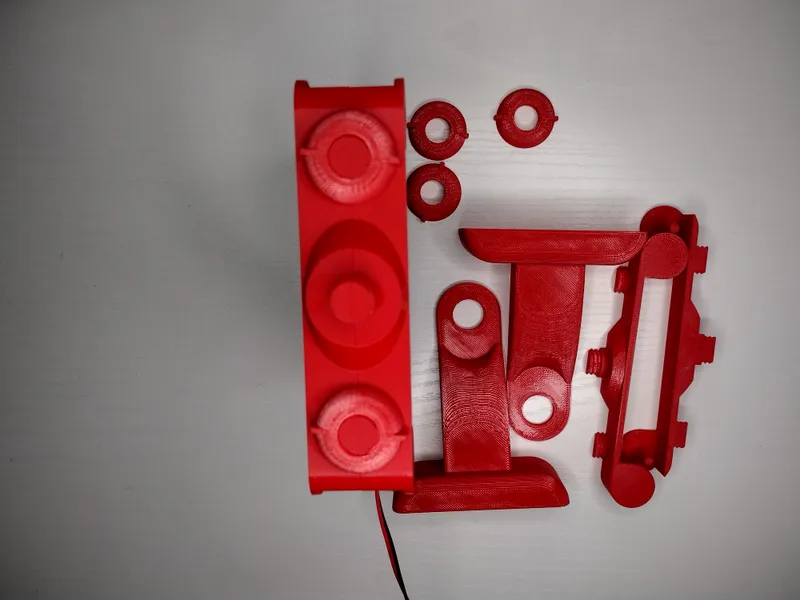
- Gather all your printed parts and the 120mm fan
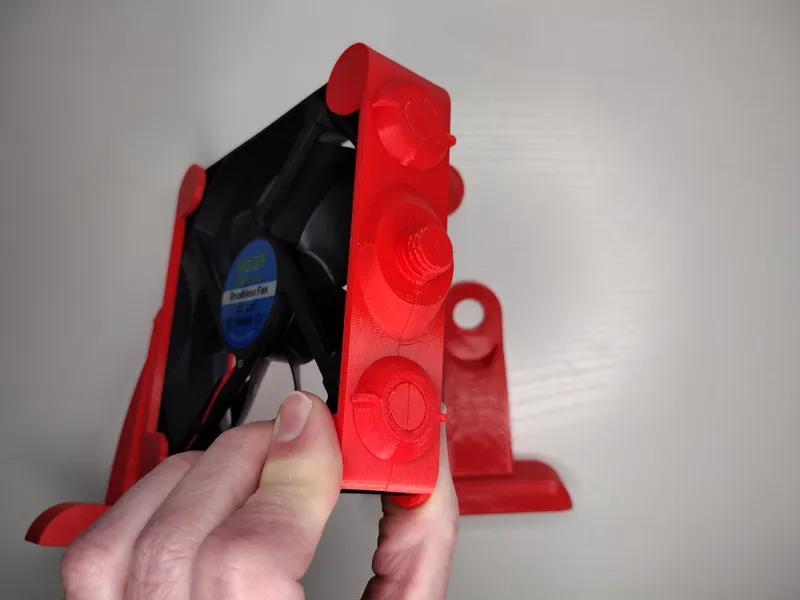
- Begin by fitting one part 1 of one bracket into the holes of the fan - make sure the bracket does not run the length of the side of the cord or the side opposite of the cord:
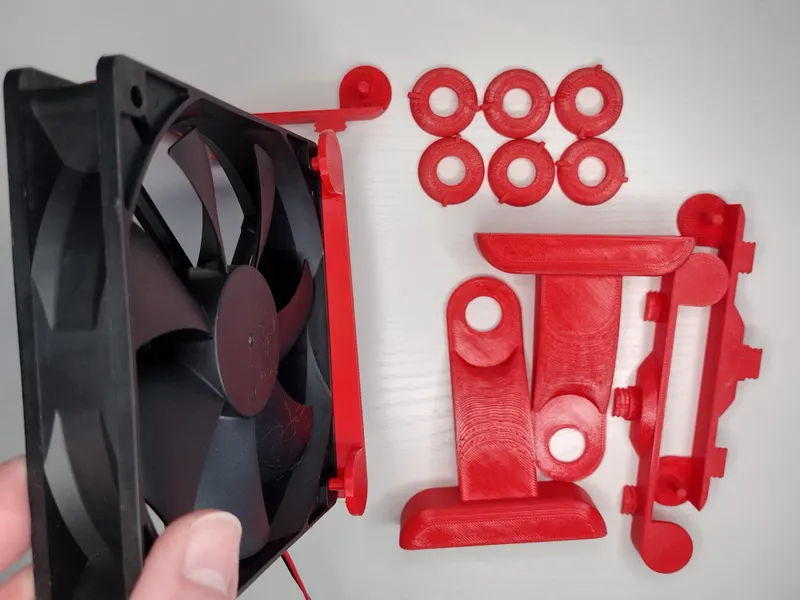
- Push the part all the way so that the bracket part is flush with the fan.
- Fit part 2 of the first bracket on the other side of the fan.
- Pressed together, you should now see how the pegs will be used to fasten the two parts of the bracket together.
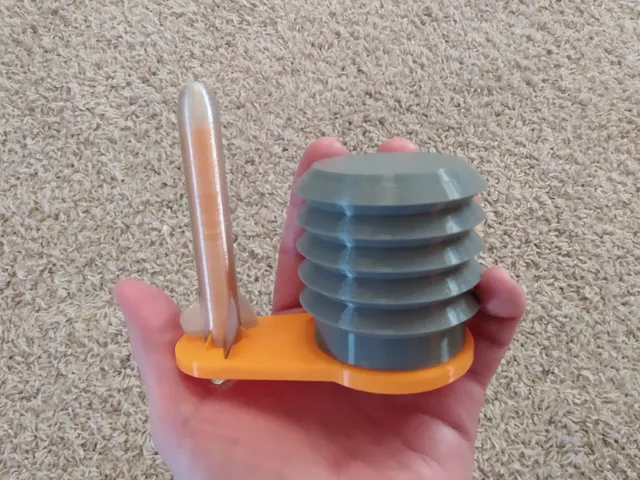
- Take one of the wing nuts and thread it on to one of the pegs. Do not thread it on to the center peg yet, however. When completely threaded, the wings of the nut should point to the front and back of the fan.
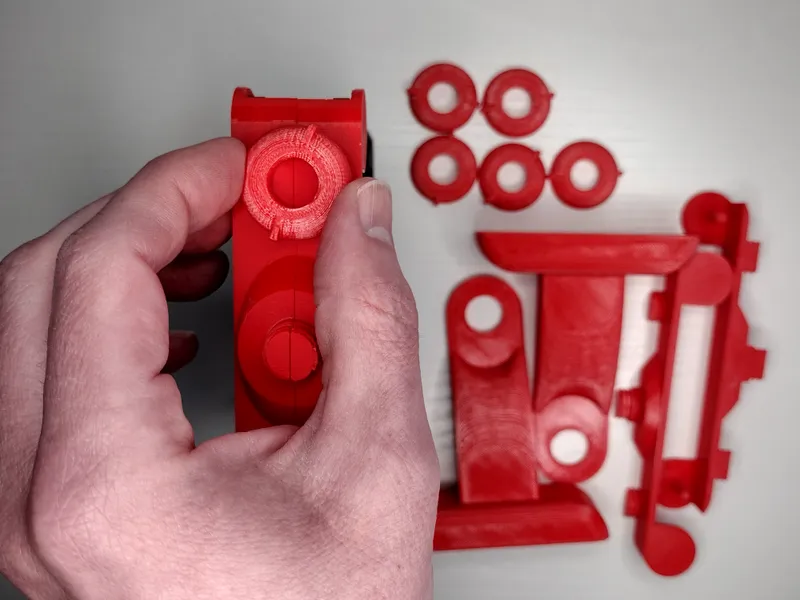
- Thread the second wing nut on the peg opposite the first. Still keep that middle peg open!
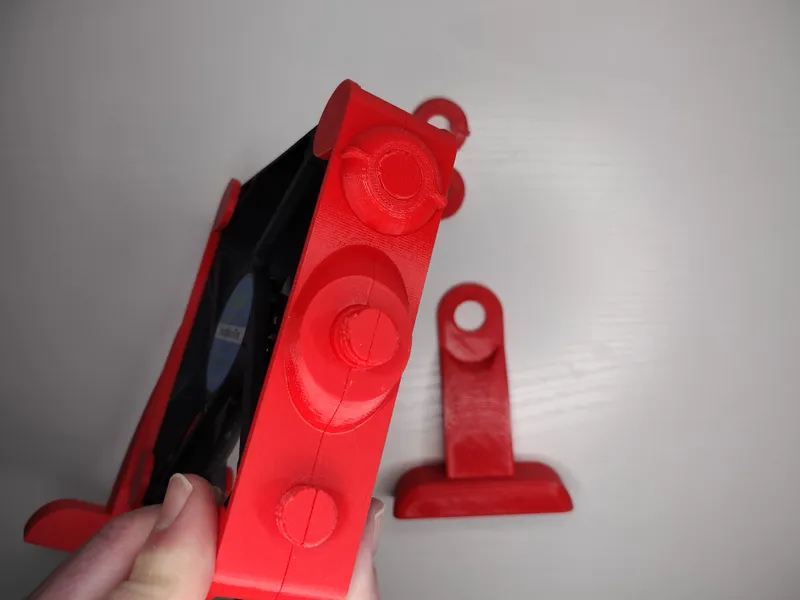
- Hold the first leg in place on the center peg of the first bracket.
- With the other hand, thread on a wing nut to hold the leg in place.
- Now repeat the process for the other bracket and leg.
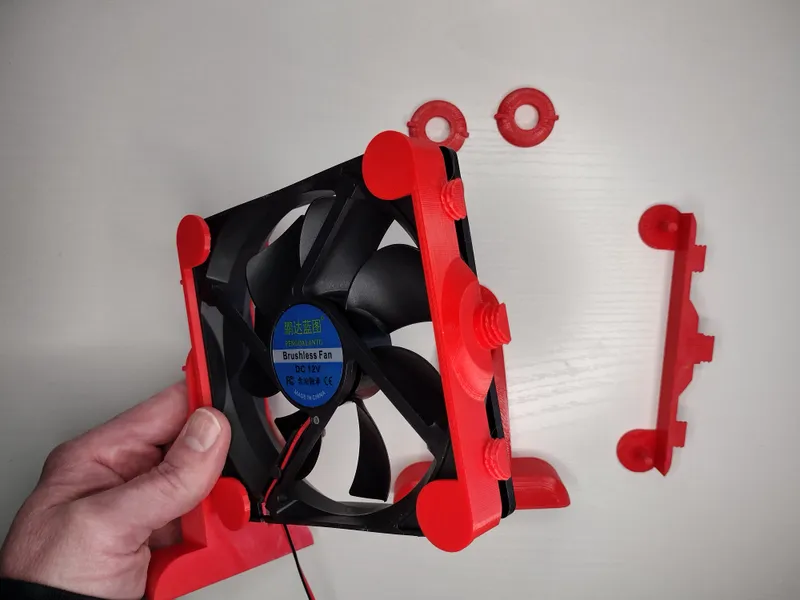

- Congratulations, you now have a BigFoot fan!
As far as the electronics go, the leads of the fan will need to be liberated from the plug so that they can be installed into the screw terminals of the female barrel jack. The red wire should go into the “+” terminal and the black into the “-” terminal. Should you have a third wire, this is ordinarily used to monitor RPMs of the fan by the computer. It does not need to be used.
The USB 5V to 12V step-up converter can then be plugged into the jack attached to your fan and the fan can then be plugged into a USB power source!
Tags
Model origin
The author marked this model as their own original creation.