Magnetic Cable Tie Mount

Description
PDFBrief
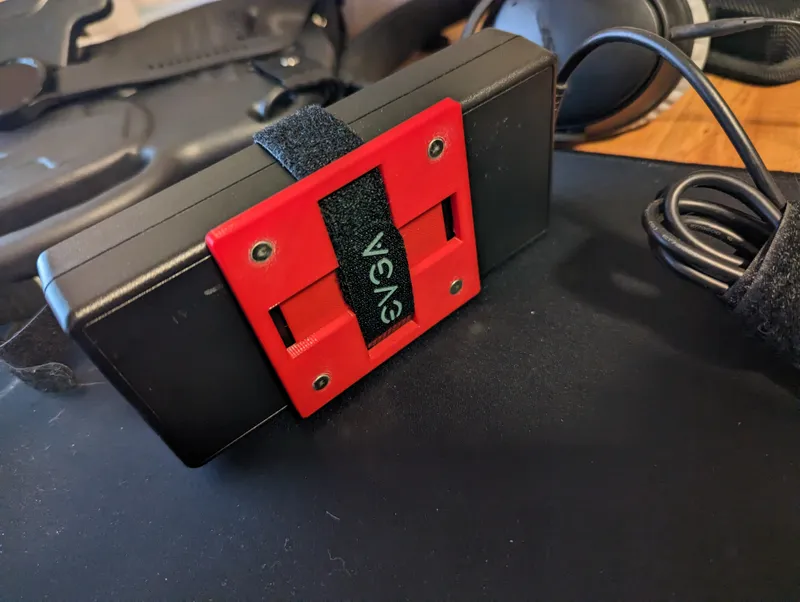
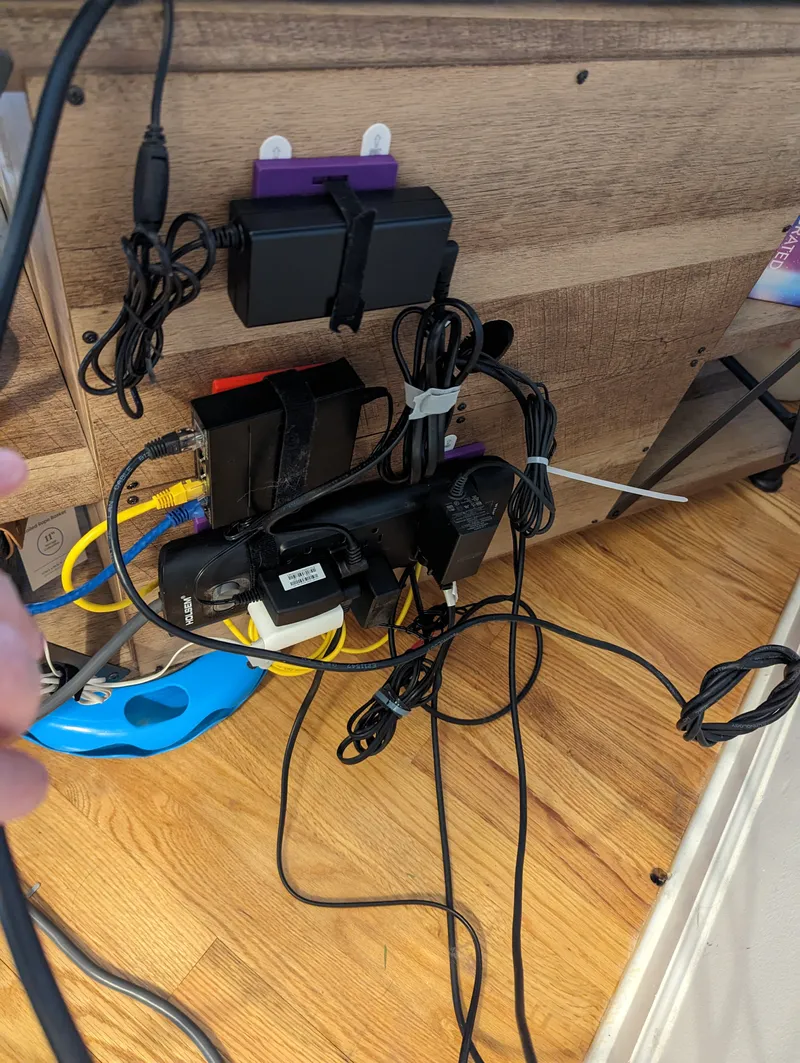
Got a ton of extra cable ties and ugly free-hanging power bricks, power strips network switches, or anything else? With a little bit of filament and some magnets, you can use this to mount any of those things out of the way. Also, has the added benefit of being able to be detached so you can rotate and adjust as needed.
This is a short print, even for entry-level printers. It is a tad above 2 hours for my Ender 3.
Update #3 - 4/29
Ordered larger 10mm magnets to test the strength vs the 6x3mm ones. When I validate if it works better I will add an additional model with those.
Also, I put the licensing as the most restrictive. That is just, for now, to work on this model until I feel like I have taken it as far as I can. Once I reach a point where I feel like I have done what I can, I am going to open it up for remixes.
Update #2 - 4/28
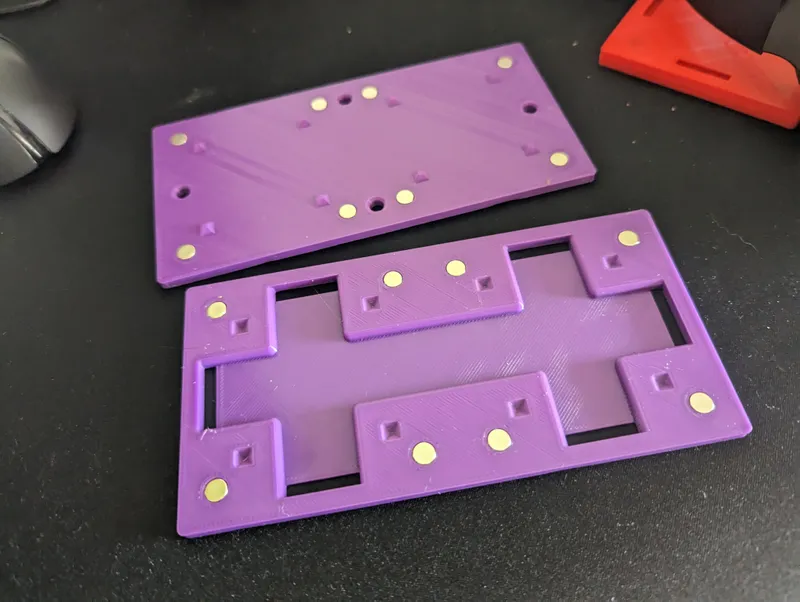
Doublewide is ready! You can use this variation to hold only larger blocks and power strips better. They also work perfectly with the original V2 plates so you can use 2 of those to pair up with a single doublewide version. At this point, the V2 plates should be the default. Will likely remove the V1 ones at some point since without the bumps they are infinitely worse than the V2 ones.
Update #1 - 4/26
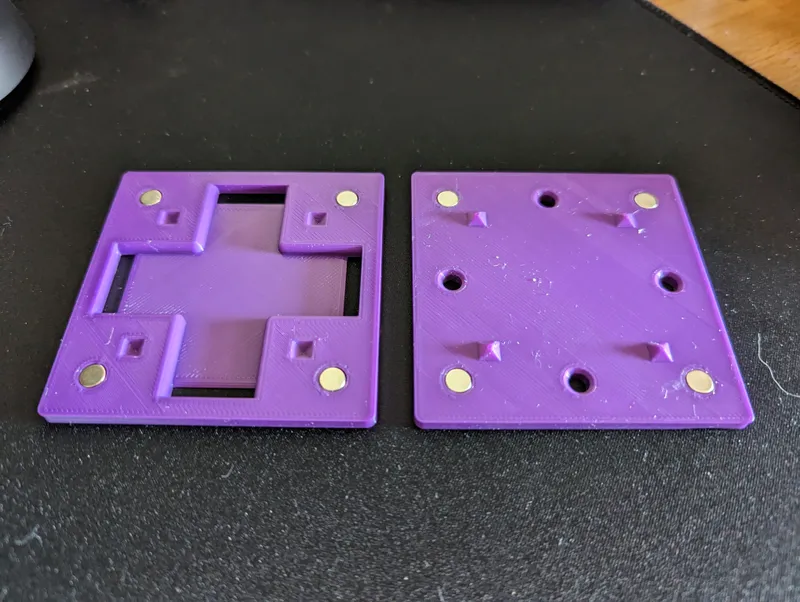
Adding a v2 connector and base plate with the following changes:
- They now have little fitted bumps and recesses that fit into each other. This should allow for verticle mounting as well as prevent accidental bumps from dislodging the mount.
- Smoothed out the grooves for the cable tie runs. Sharp edges begone!
Instructions
Requirements
4x Small screws OR 2-4x Command strips/double-sided tape
8x 6mm x 3mm disc magnets
Super glue
1-2 velcro cable ties
Printer Settings
Standard settings will do.
- 20% infill
- .2mm layer
- 2 walls
Assembly
v1
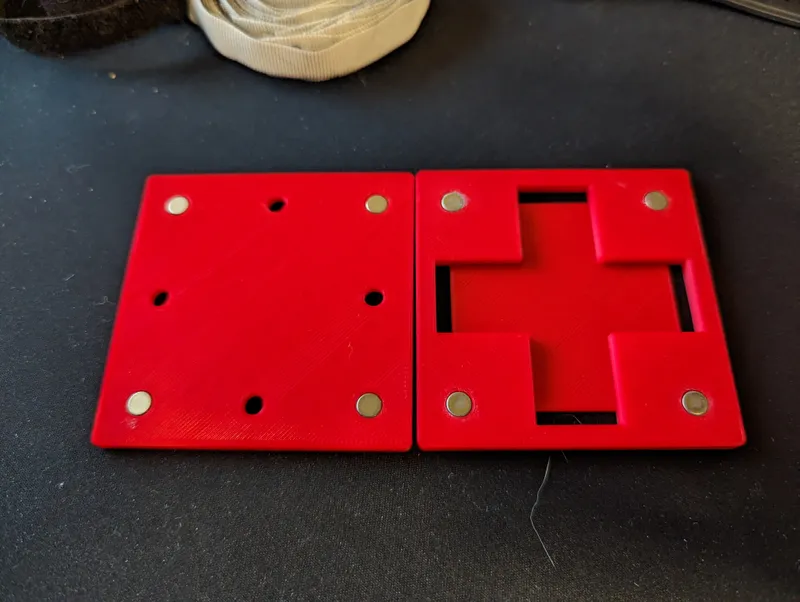
When printed, lay the 2 models flat side by side. With a little glue, insert magnets in all holes facing the same direction. This was done to simplify the assembly so there is less of a chance of placing a magnet the wrong way.
v2
In the v2 model, I flipped the magnet from the top to the bottom of the base in order to ensure the print did not require supports. The magnets now need to be inserted with alternate polarity on each plate. It is easiest to do one side all the same, then the other using the first plate to verify the polarity.
Fix the base plate (one with the screw holes) to the underside of the desk with the magnets facing upwards.
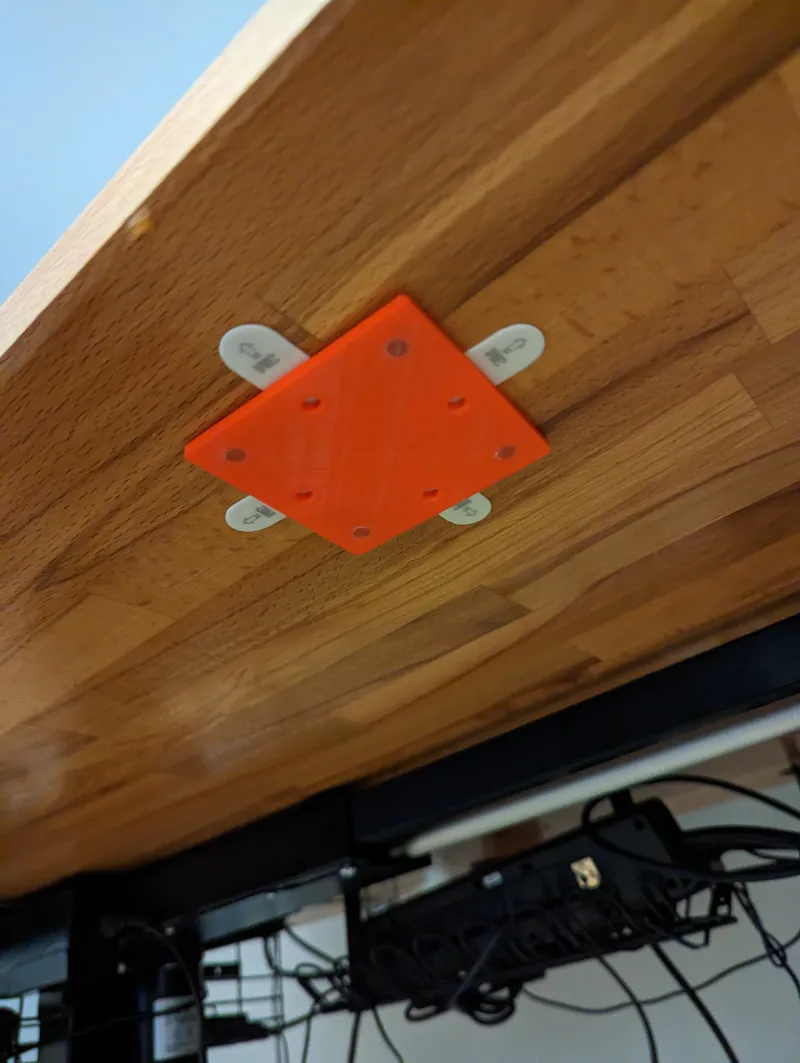
Run a cable tie through the connector side to attach the thing you wish to mount.
Attach the connector plate to the base plate.
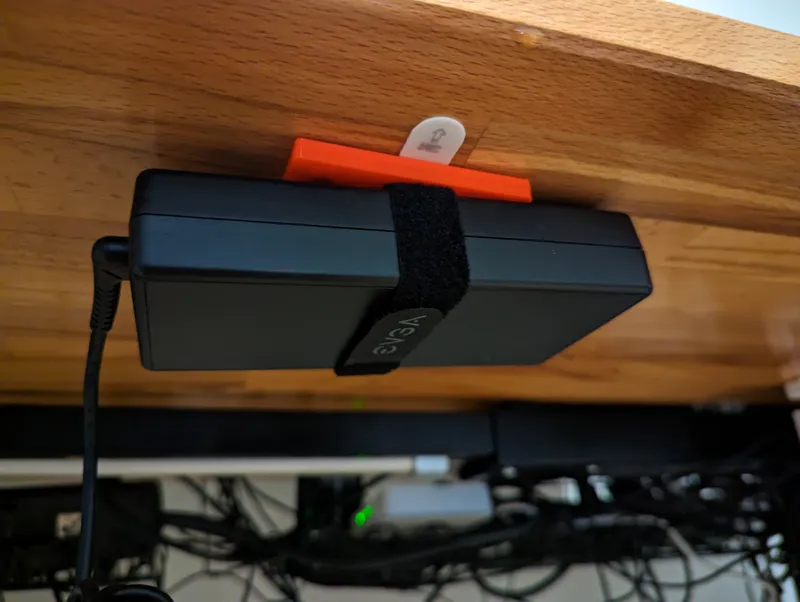
HUZZAH!! Your thing is mounted!
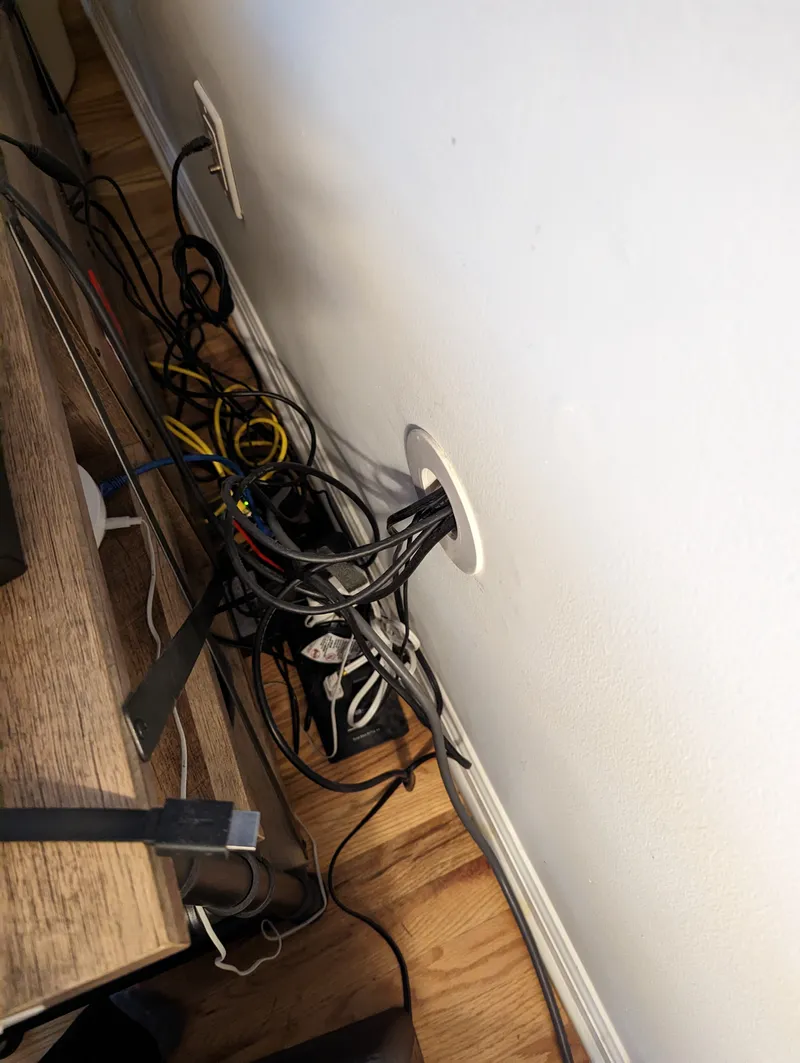
Before / After
Warning
Cheap 6mm x 3mm magnets work well with this print, but they are pretty weak and limited. For heavier mounts high quality magnets may yield better results.
Coming Soon!
- Smaller mount
- Mount with larger magnets for a stronger hold (thinking 10mm)
Tags
Model origin
The author marked this model as their own original creation.


