Arduino Thermometer
Description
PDFTo put this together you will need the following parts:
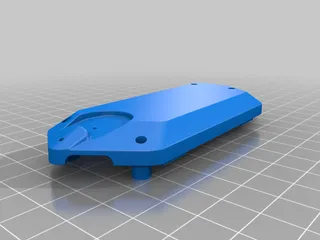
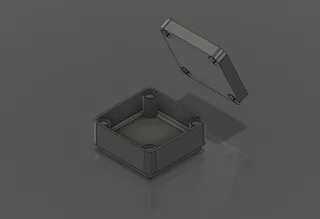
18650 batteries (2), DHT11 humidity and temperature module (1), 16x2 LCD (1), TP4056 (1), MT3608 DC-DC converter (1), Arduino Nano (1), Rocker Switch (1), 3D printed case (1).
Connecting screen to Arduino Nano: GND → GND, VCC → 5V, SDA →A4, SCL → A5
Connecting DHT11 to Arduino Nano: GND → GND, VCC → 5V, Center pin → D2
Connecting 18650 Batteries to TP4056: + → Center +, - → Center -
Connecting TP4056 to MT3608: Connect TP4056 positive to MT3608 VIN. Connect TP4056 negative to rocker switch, and second cable from rocker switch to VOUT on MT3608. Flip switch to the on position and turn knob until 9V is achieved.
Connecting MT3608 to Arduino: MT3608 VOUT → Arduino VCC, MT3608 GND → Arduino GND
Flip switch and test. You may need to turn the small screw located on the LCD screen to properly adjust the resolution.
Arduino Nano Code:
#include <Wire.h>
#include <LiquidCrystal_I2C.h>
#include <DHT.h>
#include <DHT_U.h>
#define DHTPIN 2
#define DHTTYPE DHT11
DHT dht(DHTPIN, DHTTYPE);
LiquidCrystal_I2C lcd(0x27,16,2);
void setup() {
lcd.begin(16, 2);
lcd.backlight();
dht.begin();
}
void loop() {
delay(2000);
float tempC = dht.readTemperature();
float tempF = (tempC * 9.0 / 5.0) + 32.0;
float humidity = dht.readHumidity();
lcd.clear();
lcd.setCursor(0,0);
lcd.print("Temp: ");
lcd.print(tempF);
lcd.print(" F");
lcd.setCursor(0,1);
lcd.print("Humidity: ");
lcd.print(humidity);
lcd.print(" %");
Serial.print("Temperature: ");
Serial.print(tempF);
Serial.print(" F, Humidity: ");
Serial.print(humidity);
Serial.println(" %");
}
Tags
Model origin
The author marked this model as their own original creation.


