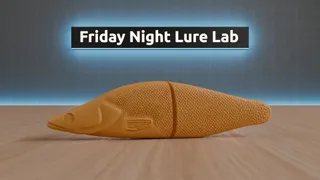
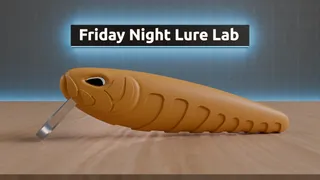
Fishing Lure Dryer/Turner
Description
PDFCheckout the video:
Upgrading my Lure Turner/Dryer
https://youtu.be/pZ_20UgH_aY
Join my discord server for discussions related to 3d printed fishing projects: https://discord.gg/qmRwEuvpnC
If you want to support my work, consider joining my club or buy anything related to 3d printing using my affiliate links:
International: https://www.awin1.com/awclick.php?gid=404404&mid=21809&awinaffid=1565514&linkid=2790717&clickref=printables
Required parts:
- 2 M4 nuts
- 2 M3 nuts
- 2 M4*10 screws
- 2 M3*16 countersunk screws
- 1 688ZZ bearing (8x16x5mm)
- 1 Synchronous motor (I'm using YM-HC 220V~240V 5/6rpm motor)
Printing instructions:
Each model is printed in one of 2 colors:
- Main color: I used black as the main color but you can use whatever you want.
- Secondary/Accent color: I used light blue but again you can use whatever you want here
No supports are required for any of the parts, choose whatever infill percentage you like.
No need for horizontal expansion, all clearances are included in the models.
turner_main_body_1:
Color: Main color
Layer height: 0.2
Orientation: The flat side where the motor hole is should be on the build plate.
Pause at layer 34 (or 6.8 height), insert the 2 M4 nuts, and resume the print.
turner_main_body_2_second_color:
Color: Accent Color
Layer height: 0.2
Orientation: Doesn't matter
turner_main_body_2:
Color: Main color
Layer height: 0.2
Orientation: The logo side should be on the build plate.
Pause at layer 22 (or 4.4 height), insert turner_main_body_2_second_color, and resume the print.
Pause again at layer 23 (or 4.6 height), insert the 2 M3 nuts, and resume the print.
Might upload an updated version later to insert everything at the same height so you can pause only once.
turner_main_body_3:
Color: Main color
Layer height: 0.2
Orientation: The flat side where the bearing hole is should be on the build plate.
turner_bearing_screws:
Color: Main color
Layer height: 0.1 (You can try 0.2 and let me know if it works)
Orientation: Any of the 2 flat sides can be on the build plate (the part is symmetric)
Pause at layer 106 (or 21.2 height), insert the bearing, and resume the print.
turner_motor_screw:
Color: Main color
Layer height: 0.1 (You can try 0.2 and let me know if it works)
Orientation: Threads facing downwards and the 2 slots facing upwards.
turner_main_body_screw:
Color: Accent color
Layer height: 0.1 (You can try 0.2 and let me know if it works)
Orientation: The flat side should be on the build plate
turner_bearing_nut:
Color: Accent color
Layer height: 0.1 (You can try 0.2 and let me know if it works)
Orientation: Should be pointing upwards, with the threads pointing down.
I was able to print it without supports, turn on thick bridges if you're using Prusaslicer.
Also, increase the bottom and top layers to at least 4 to get a better surface finish.
Tags
Model origin
The author marked this model as their own original creation.


