Gridfinity Clickfinity Baseplate - No magnets, universally compatible with all bins, minimal filament usage.

Description
PDFThe Clickplate is a Gridfinity baseplate that doesn't utilize magnets. Instead, it secures bins with four small arms per square. The grip is quite strong, as the layer lines interlock with each other.
Here is a Video of it in action.
Here are the economic bins.
This remix features screw holes and dovetail extensions, allowing you to create a large grid by connecting multiple smaller ones: I like to call it Clickfinity!
Credit goes to the original creator, jerrymk.
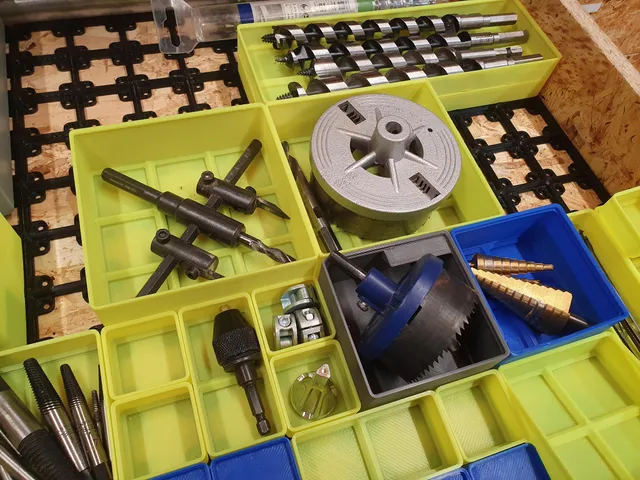
The 16x13 grid showcased in the photos would have required 1,664 magnets, and I have 10 drawers like this. As you can see, the Clickplates save me a fortune!
Filament Usage
For instance, the light magnet Gridfinity 7x7 baseplate requires 120g of filament, while this version only needs 55g, similar to the basic Gridfinity frame.
Assembly Basics
All grids have M connectors on the sides and W connectors on the top and bottom, so grid orientation is crucial. This is also why there are 1x2 and 2x1 variants, as they differ. 1x2 signifies 1 wide and 2 high.
Although you can assemble full grids using only joins and hubs, I recommend avoiding hubs. Plan your grid in a way that requires bridging just one slot with joins. Refer to the images I provided.
For example, if you want a 5-wide grid but your printer can only accommodate 3 wide, print two 2-wide grids and connect them with joins instead of creating a 3-wide grid and filling the remaining 2-wide space with joins and hubs. This approach will result in a more stable grid with screw holes for securing it.
Also, note that the 1x or x1 variants do not have screw holes.
There are no "side" variants, which means the completed grid will have dovetails on the sides. If you don't prefer this, you can remove them using pliers. The concept behind this design is to maintain a modular system that can be reconfigured into different shapes later on.
Securing the Clickplate
Clickplates are lightweight and thin, which means they may bend when you attempt to remove a bin, especially when printed with PETG. If possible, I recommend securing them with M2 or M2.5 self-tapping screws. I also had success with Hot-Glue and a cardboard base.
If these methods are not preferred, consider placing heavier bins on the sides to provide additional weight.
Print Settings (IMPORTANT!)
- Print with PETG, ABS, ASA, or Nylon. Do not use PLA or PLA+ as these materials creep under constant load, causing the grid to lose its grip over time.
- Use a 0.4mm nozzle for precise dovetails. If you use a larger one, the connections will most likely not work! Trust me, i've learned it the hard way.
- Set 2 walls, 15%-30% infill, 1 bottom layer, and 2 top layers.
- Set initial layer horizontal expansion to -0.2mm. This compensates for the first layer squish, which is critical for the dovetails to fit. Even if you had no squish, it would not hurt.
- If you don't frequently print with PETG, dry it and start your first test prints at around 50mm/s, with 20mm/s for the first layer.
- Begin by test printing 4 hubs and 2 of each join. You should be able to assemble a square. The joins should snap together with some finger force and should not require tools like a hammer. A satisfying "click" sound indicates a proper fit.
- The joins need to sit tightly so they don't fall off when you move the square or insert it into a bin's bottom.
- You should also be able to disassemble the square without breaking it.
- If the fit is too loose, increase the flow rate by 5% and try again. If it's too tight, decrease it by 5%.
- Post a make :) Thanks
Tags
Model origin
The author remixed this model.

Differences of the remix compared to the original
- Added screw holes
- Added interconnecting pieces
- More sizes