Filament Transfer Winder Motor Drive and Spool Adapter


Description
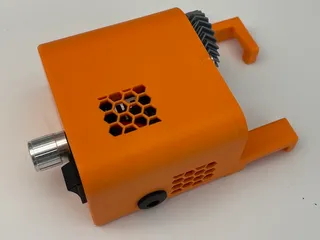
PDFWanting to use different sources for filament, often with cardboard spools (or refills) I decided early on that I needed a filament rewinder. Not fully satisfied with existing offerings, I made my own. I didn’t want to power it by hand or with a hand drill (like a caveman) Bought a motor and speed controller, plus a few parts I had on hand, and made a really nice looking design that worked pretty well. But recently, this one got published:
https://www.printables.com/model/407688-bambu-lab-p1-x1-x1c-x1cc-filament-spool-switcher-w
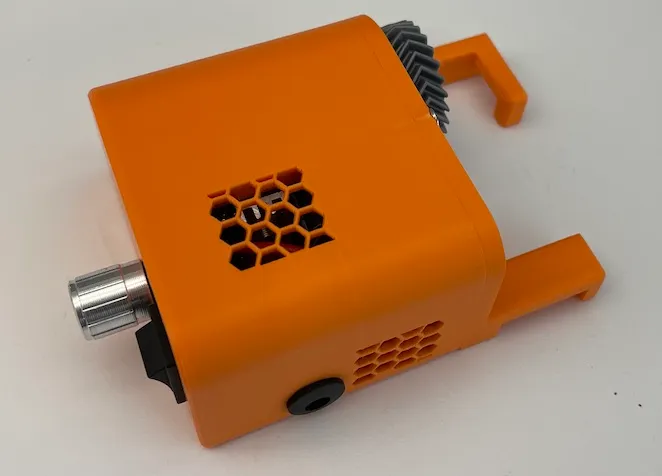
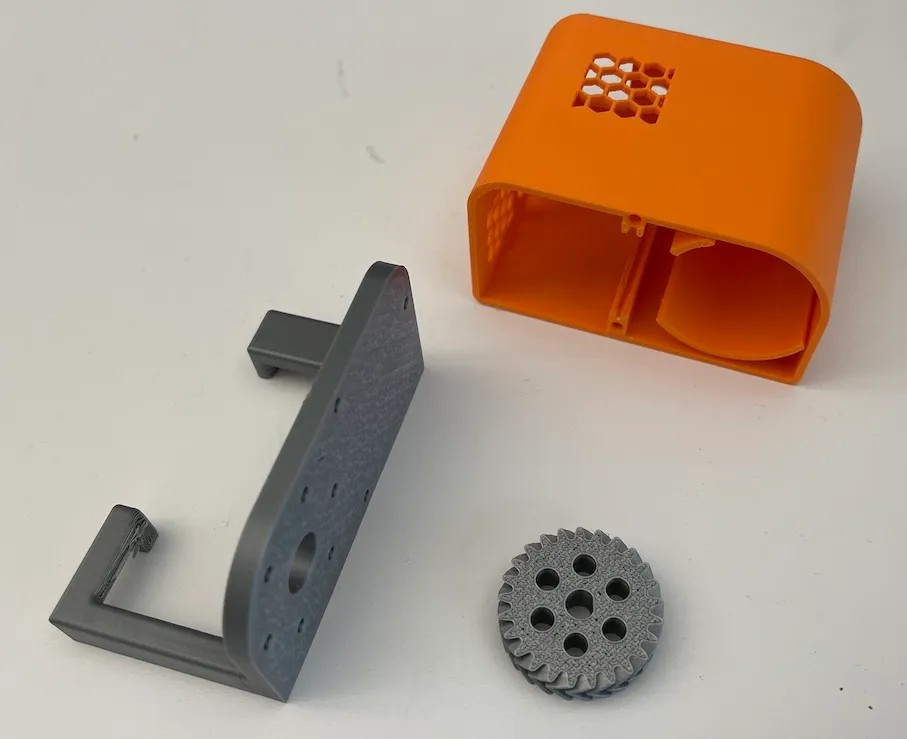
It is so much better than mine, I had to switch. But it came with a hand crank, or drill adapter. I still didn’t want to be a caveman, so I reclaimed the parts from my design and made this.
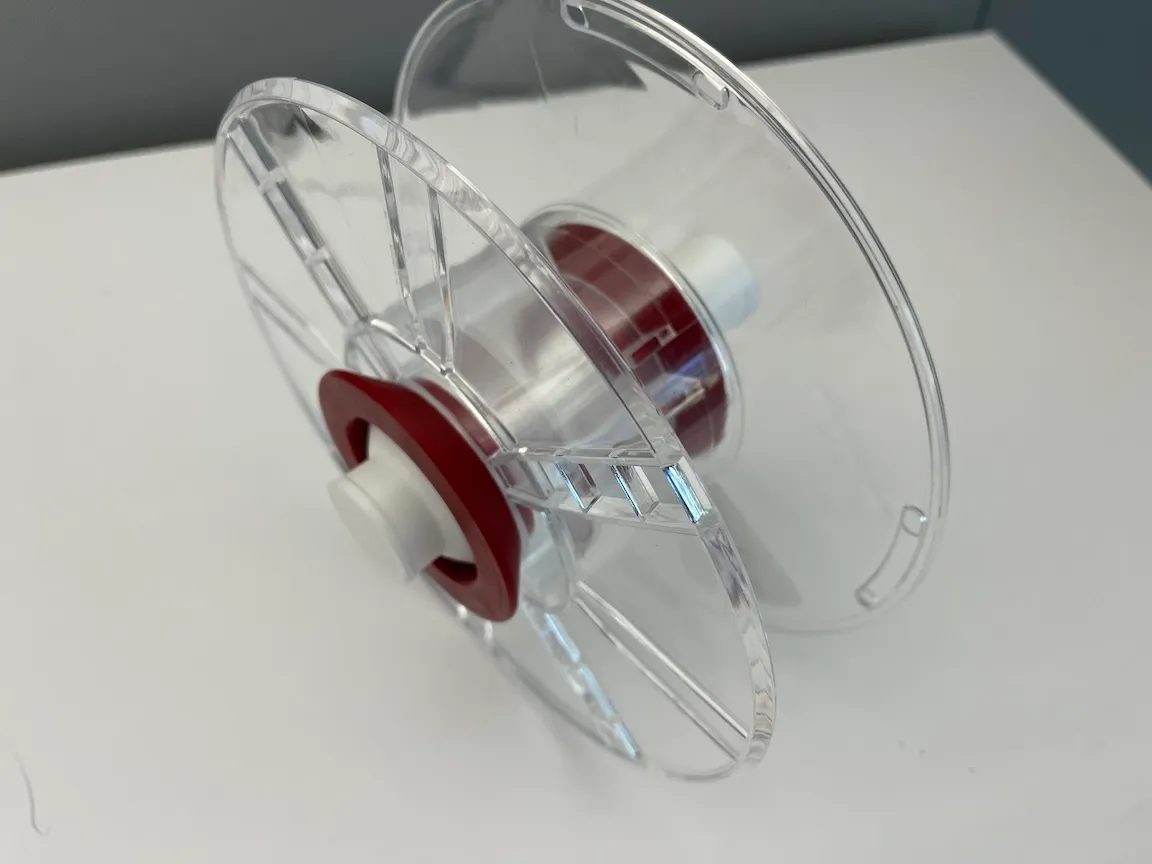
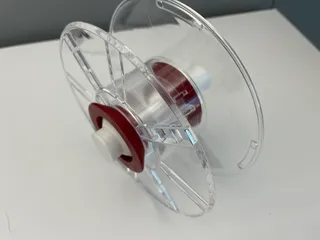
No modifications need to be made to the Spool Switcher above. This motor unit just snaps in place rather easily, with its spur gear meshing nicely with small gear on the spooler.
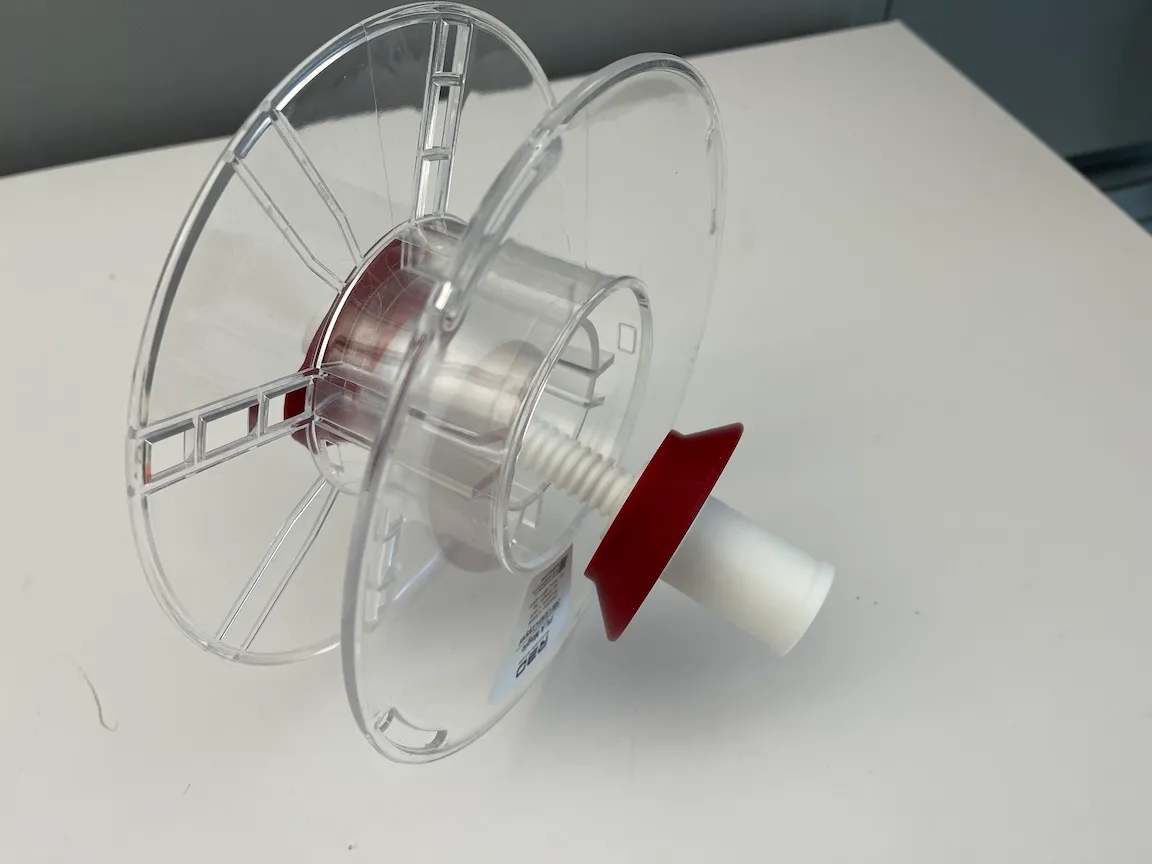
I do recommend a bit of lubricant on the spool spindle, depending on the filament used. My take up spool started to bind as the weight increased and speed was high, making it jump out of the holder. A bit of silicone lube solved the problem for me.
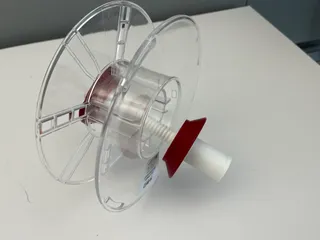
I also made an adapter for the source spools. The original design, and a bunch of remixes, require different adapters for each different sized spools. The conical adapters included here will fit all the spools I have seen so far.
In addition to the prints, a few extra bits are needed. These on the ones I used:
Motor: https://www.amazon.com/gp/product/B072R5G5GR/ref=ppx_yo_dt_b_asin_title_o00_s00?ie=UTF8&th=1
Speed controller: https://www.amazon.com/gp/product/B071H2YQG5/ref=ppx_yo_dt_b_search_asin_title?ie=UTF8&psc=1
Screws: 6x M3x12 Flat Head
The power supply was just a brick on a leash I had in my junk drawer. It was an AC/DC adapter, 100-240vac input, 12VDC output. Positive Center pin, Negative outer barrel. ⊖-☪-⊕
The socket also came out of my junk drawer. I think it was something like: https://www.amazon.com/MEETOOT-5-5mm-Female-Socket-Electrical/dp/B09JP19XKP/ref=sr_1_24?crid=17VY3GR9A1SXY&keywords=12v+power+socket+panel+mount&qid=1681355471&s=electronics&sprefix=12v+power+socket+panel+mount%2Celectronics%2C196&sr=1-24
Some minor soldering may be required to attach wires to some components. I used crimped connectors on the wire ends going into the speed controllers and heat shrink tubing where appropriate because I had those tools laying around. You can be a neat as you want or as messy as you dare. I accept no responsibility for any dangers you may encounter.
If you need to change the holes to accommodate your junk drawer, it would be relatively trivial with TinkerCad.
If you like it, enjoy. If nothing else, I hope it gives you ideas.
Cheers.
Minor update: Added STEP files of the parts, and a DXF of the motor mount. I suppose I could share the OnShape link, but my makes tend to get messy at the end when I'm tired. All the chamfers and fillets don't always work neatly.
Tags
Model origin
The author remixed this model.