Polyhedral Set of 7 Dice Box (MMU-less)

Description
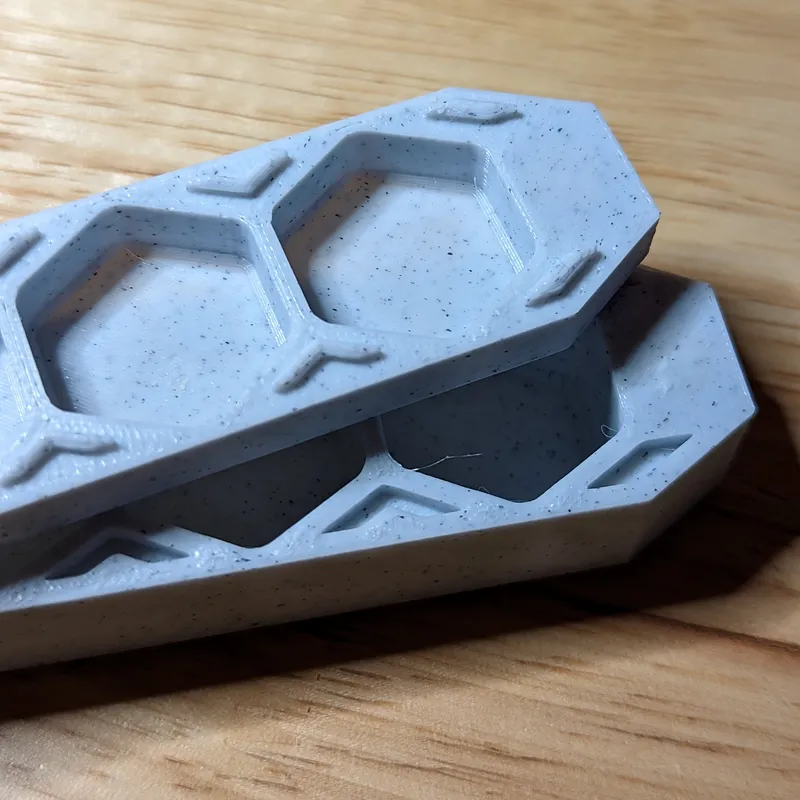
PDFA multi-color dice box that keeps your dice together and can be be printed without an MMU. The box should fit most 16mm dice and will keep them separated so that metal and stone dice won't damage each other in transit.
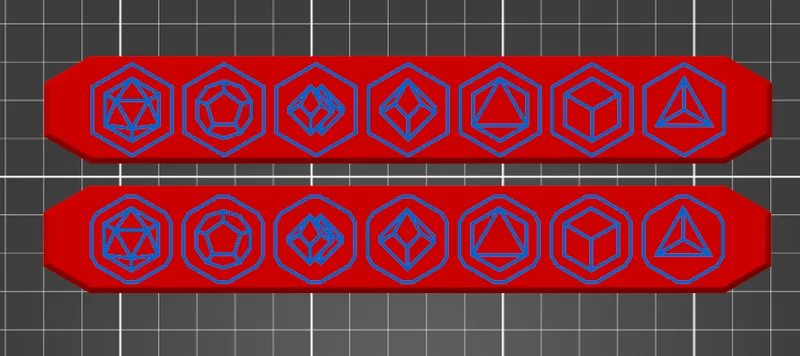
The box has an inlay of polyhedral line art on the lid that represent the common 7 dice used in in D&D. (In order: d20, d12, d100, d10, d8, d6, and d4)
There are two versions of the lid, one with hexagons around the dice and one with rounded hexagons around the dice. The lid with hexagons does not have a continuous first layer for the base color, and the rounded design “solves” this problem. They can be found in the “hex” and “rounded” versions of the files respectively. The bases are identical.
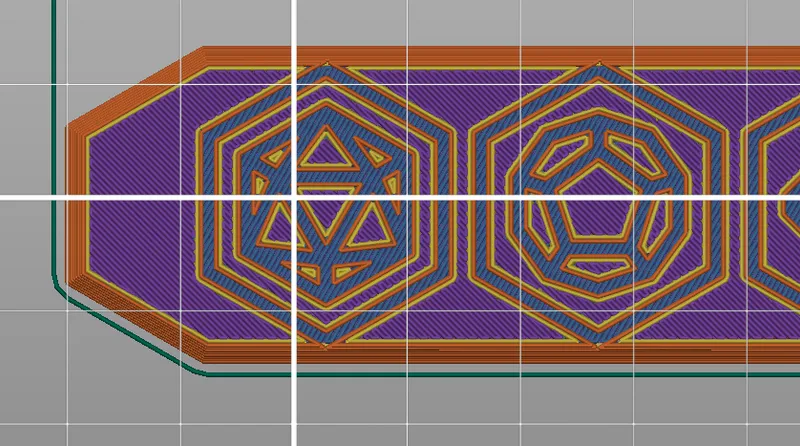
The inlay is designed to be printed in a second color to label where each die goes. Alternatively, you can use different print settings or delete the inlay entirely to create a more subtle design via the print pattern.
The lid also has small nubs that lock into the base so that the box can't accidentally slide apart in your bag. The lid can also be placed upside down on the base to serve as a tray to hold your dice while not being rolled.
Printing and Assembly Instructions:
Printing at 0.2mm layer height with a 0.4mm nozzle is recommended. Most materials will work. No supports are needed. Textured/satin build plates make the lid and base have a nicer finish.
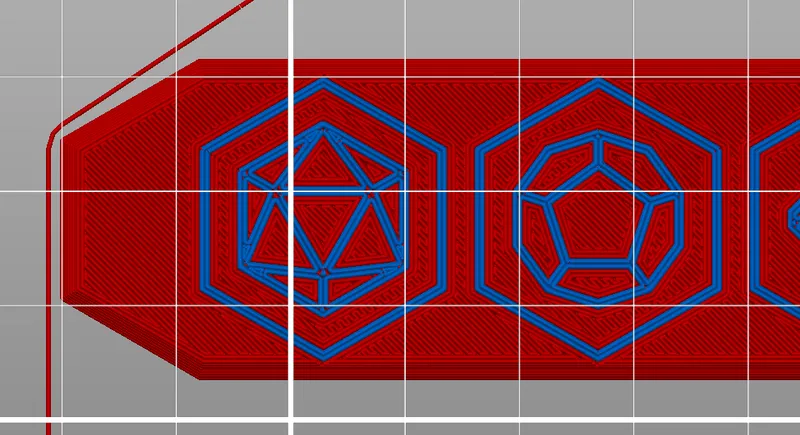
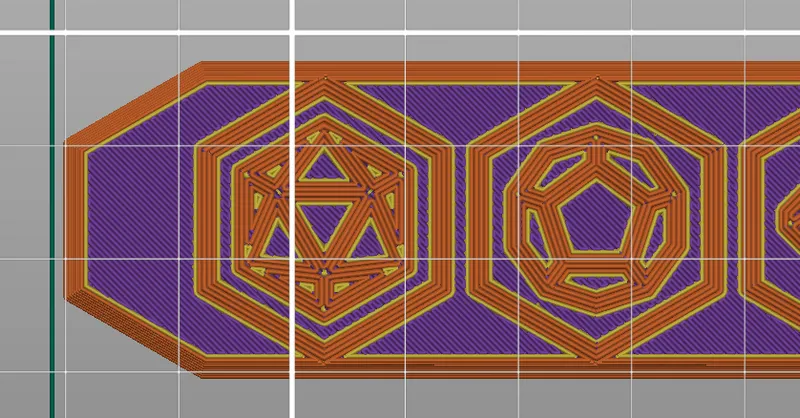
Using Arachne is also recommended so that the finer details are not lost. If you don't care about the design on the box, a larger nozzle can be used.
The box uses four 8mmx3mm cylindrical neodymium magnets to hold the box together (8mm diameter, 3mm thickness). Two magnets for the lid are inserted at 7.8mm and two magnets for the base are inserted at 15.8mm.
The magnets are printed into the material so that they can't fall out. However, I have found that they can get picked up by some of the screws on the hot end during the print. I recommend gluing them in with a VERY small dab of super glue on the bottom.
When placing the magnets, I recommend placing one with "north" up and one with "south" up on both the lid and base. This way, when you open the box, you can place the lid upside down on the base and place the dice on it like a tray. If you do not do this, the base will push the lid off when placed upside down.
When printing, be careful that you are placing the magnets in a compatible orientation. Test the magnets for the base against the lid if you are not sure.
Printing with the included GCode:
These print files include all pauses and color changes needed to print these boxes on an MK3S without an MMU.
Color Changes:
- The printer will prompt you to change filaments immediately after finishing the purge line (where you should load the box's primary color).
- It will then prompt you again at the end of the first layer to insert the inlay color.
- It will then prompt you one more time shortly after to insert the box's primary color again.
- The purge block helps ensure the material transition is a bit more smooth, without it I found that blobs could occur.
Magnets:
- The printer will prompt you at layer 39 to insert the magnets into the lid.
- It will then again prompt you at layer 79 to insert the magnets into the base.
Using the 3mf files in PrusaSlicer:
The 3mf files provided have all of the settings needed to print these boxes on an MK3S using manual color changes.
- The print settings in these files have been optimized so that a single box only takes 50g of filament to print, which is the size many sample spools come in.
- I have used these boxes with metal dice for over a year now, and they have not broken or come apart on me, so they are plenty sturdy.
- Increasing perimeters or infill should not cause any problems.
- The included profile will use M600 commands to change the color for the inlay during the first two layers (3 manual color changes total).
- I don't recommend adding additional color changes higher up as it will make printing this far more manual than it should be.
- These settings can be removed if you are only printing the box in a single color.
- The included files also have M601 commands at the appropriate layers in order to insert magnets. If you would prefer to print the lid separate from the base, make sure to only include the pause you need for that part.
- If you have an MMU, feel free to change the printer setting to your default profile.
- I have a feeling that painting the inside of each dice slot in the inlay color might look cool, but I have not been able to try that. If you end up doing this, please post a make!
Using the geometry from the 3mf files:
If you would rather use your own profiles to print this box, watch out for these pitfalls:
- Ensure the holes for the magnets are negative space in the sliced output
- Remember to insert print pauses at 7.8mm for the lid and 15.8mm for the base to insert the magnets. The pause should be on the same layer that bridging starts over the hole.
- Check the sliced output to make sure all of the decorations on the lid have your desired settings. It's pretty easy to miss one or two of the hexagons, and that will make your box look a little silly.
Update 12/11/2023:
- Added version with 6x3 mm magnets inserted after print, from requester:
- To insert the magnet: You want to scuff the magnet and pocket. I use 40 grit mesh, works very well. I also use quick set epoxy resin, Loctite makes a nifty and cheap syringe that mixes as you go. Used to be $1, now $3 on Amazon. Works a lot better than CA and because resin is slightly more flexible. 6x3 is also a bit more forgiving.
Tags
Model origin
The author marked this model as their own original creation.


