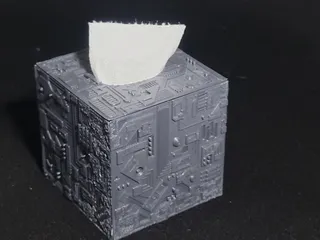
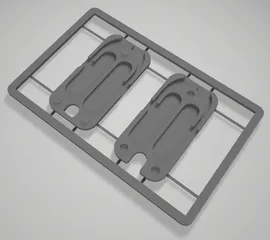
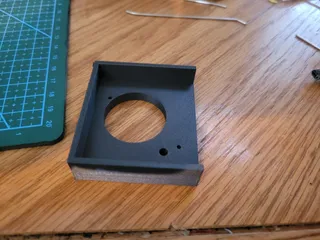
PokeBox Dice Box
Description
PDFForgive me. this was really a last minute thought. I was just about to go to bed when I had a DUH moment. The dice box competition is about to end and i hadn't even though about remixing my old SD card holder.
I am tired though so I am only uploading the remixed part right now. If you check out the original SD card box you can get the rest of the stl files. They will all work with this new bottom.
I will come in an add minimalist and ultra minimalist versions of the bottom if some wants those files just ask. Check out the other remix of the original model to see what those are.
The following is a copy paste from the original model so please forgive me if something is a little off. I will try and update everything in a few days but i really want to sleep right now.
Instructions:
Print all parts with as many walls as you want but if you don't have enough you will be able to see through to the infill.
Print the top and bottom with 10% infill.
Print the ring parts with 20% infill.
Print the button, collet, and latch with 100% infill.
If you have the know how to adjust the infill of specific portions of your print separate from the rest of the print then i recommend adjust the hinges on the top and ring parts so that they have 100% in the hinge and where the hinge connects. This will give the hinge allot of extra strength but shouldn't be necessary if you treat the box with care.
You will want to print the button with 100% infill. I know it doesn't look like it needs it but unless you can find the perfect spring you will need to drill and adjust the hole size.
I think assembly of the button and ring is self explanatory just looking at it so i won't go into detail other than recommend you have a clamp handy while the glue is drying.
The latch i am going to explain First of all the back of the latch is the side that is flat. place glue on the lower backside of the latch. There is a slot on the inside of the top towards the front of the box. Place the latch in this slot so that the back of the latch is towards the front of the box.
Glue the ring to the bottom.
Cut a piece of black filament and use it as a hinge pin to connect the top to the ring. Once they are connected and you have verified the box opens and close correctly, glue the filament to the ring on both ends.
Enjoy
Tags
Model origin
The author remixed this model.


