Acoustic-Electric Tenor PK-ulele (Ukulele)
Description
PDFIntroduction
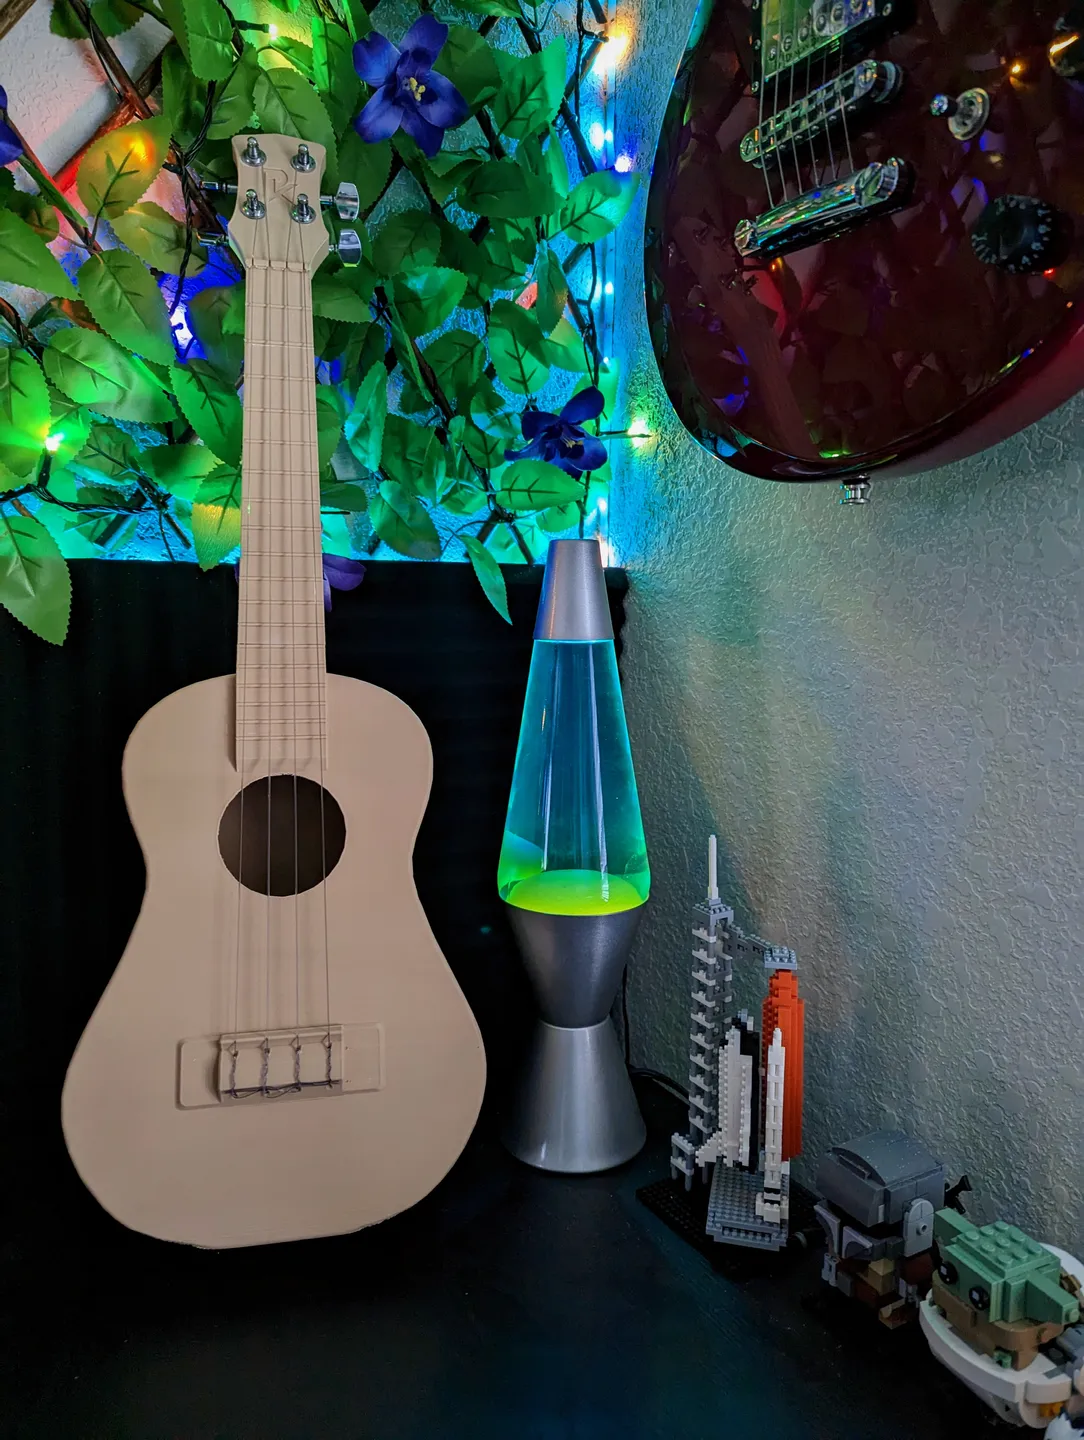
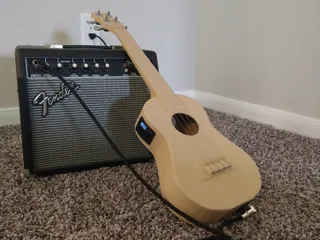
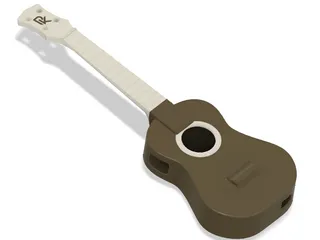
PK-ulele is my most stable iteration of a 3D printable tenor ukulele. It includes cutouts for a tuner/preamp/pickup that allows it to be used in both an acoustic situation as well as a plugged in and amplified environment.
The design has gone through many iterations which have either failed or been just short of perfect in certain ways. From non-functional iterations, to adding the tuner & pickup in, the design has gradually evolved and stabilized.
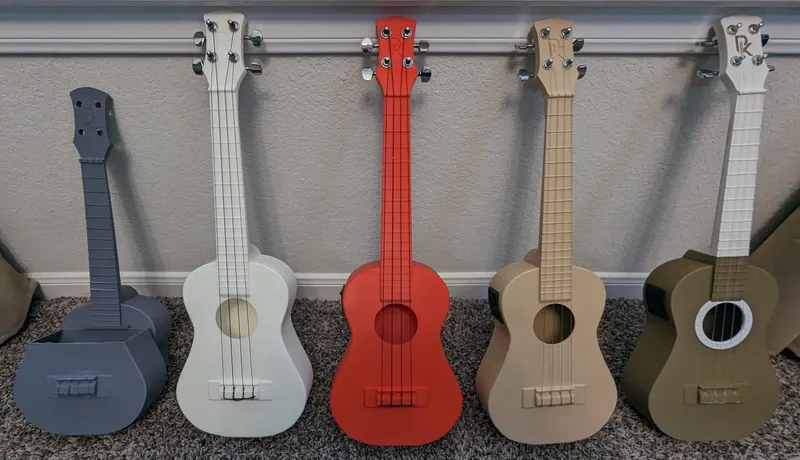
The attached files include both an acoustic only body and an acoustic-electric body. The necks are identical between the two of them as the designs are simply branches of a source model.
Below is all of the needed parts and where to find them, as well as instructions for how to print each file. All files have been successfully printed and used with PLA and PLA+ filaments.
This has been a pet project of mine for a while and it still has its flaws. Though I will say that this design produces a useable, in tune, and performance useable ukulele that has tones similar to many upscale ukuleles on the market.
If you happen to make this file please please do add photos as I am so excited to share this and let others enjoy making music!
Instructions
Print Settings | ||||
File | Layer Height | Infill Percentage | Walls | Supports & Orientation |
Head | 0.25mm | 100% | 4-5 shells/walls/perimeters* | None, printed upright from bottom |
Neck | 0.25mm | 100% | 4-5 shells/walls/perimeters* | None, printed upright from bottom |
Acoustic Body | 0.25mm | 25-100%** | 4-5 shells/walls/perimeters* | Supports need along base ONLY, printed upright from bottom*** |
Acoustic-Electric Body | 0.25mm | 25-100%** | 4-5 shells/walls/perimeters* | Supports need along base ONLY, printed upright from bottom*** |
Rosette | 0.1 mm | 10% | 2-3 shells/walls/perimeters | Supports needed, printed patterned side up |
Logo (both P & K) | 0.25mm | 10% | 2-3 shells/walls/perimeters | None, printed back side of letter down |
* This is a bare minimum setting, increasing this will only help stiffen the neck, albeit at the cost of print time. If you are printing with a rather bendy PLA blend or materials that are less stiff than PLA, I suggest increasing this to reduce any potential bend in the neck or body of the ukulele. ** Playing with the infill of the body seems to produce unique variations in the sound produced by the instrument, which can lead to brighter sounds with less infill and thicker with more infill, string type also plays into the tone greatly. *** I print on a large volume Rasie3D Pro3 and therefore the orientations of the body listed may not be suitable for folks with a smaller print volume. I am unsure if there is a way to effectively orient or split the body for printing on a smaller build platform. I am all ears for suggestions! | ||||
Parts List | ||||
Part | Image | Details | Link | Estimated Cost |
Tuning Machines |  | Any set of tuning machines will do, but you want to ensure you purchase a set that has machines for both sides of the head rather than just one side which are commonly found for things like stratocasters. | https://www.amazon.com/YMC-Chrome-Tuning-Peg-Round220-3L3R-Pieces-Semiclosed-Machine/dp/B009AQZM30/ref=sr_1_3?crid=1FH32X3P8HGOZ&keywords=YMC+tuning+machine&qid=1680381088&sprefix=ymc+tuning+machine%2Caps%2C110&sr=8-3 | $10 |
Strings |  | While this is a tenor ukulele, I recommend soprano strings as they are long enough and will require less tension to be brought into tune and therefore stress the neck less over time. | https://www.amazon.com/gp/product/B00QXF35T4/ref=ppx_yo_dt_b_search_asin_image?ie=UTF8&th=1 | $5-$10 |
Tuner & Pickup* |  | This is the tuner & pickup the cutouts have been designed for. There are a few brands that sell them which is why two links are provided. | https://www.amazon.com/gp/product/B09BNNH685/ref=ppx_yo_dt_b_search_asin_image?ie=UTF8&psc=1 https://www.amazon.com/gp/product/B09JZ82WBP/ref=ppx_yo_dt_b_search_asin_image?ie=UTF8&psc=1 | $15-$20 |
Optional Alignment and Reinforcement Square Wooden Dowel |  | This is an optional step that I believe helps both align and reinforce the neck. Prior to adding this, the neck was prone to snapping. | Local hardware store | ~$2 |
| * You will need CR2032 batteries to power the tuner & pickup. | ||||
Assembly
Once everything is printed you are ready to assemble!
The trickiest parts of the assembly are found with installing the piezo pickup into the body. If you did not print the acoustic-electric variant of this model skip steps 8 - 14.
- If utilizing a wooden dowel, sand down your wooden dowel and trim to 235-240mm
- Insert into the head and neck of the ukulele, gluing the plane where the head and neck meet.
- Align the assembled neck with the body, glue, and insert the alignment dowel.
- Allow all glue to dry.
- Lay PK-ulele fret side down on a table and mark where the screw holes for the tuning machines belong on the back of the head.
- Tap holes for the tuning machine screws, being careful not to tap through the head!
- Install the tuning machines into the head.
- Similarly, tap holes for the tuner and the pickup jack.
- Connect the piezo pickup to the tuner.
- Thread the tuner into the body of the PK-ulele through the tuner's cutout on the side of the body.
- Using a skewer or another slender device, align the piezo with its insert underneath the bridge.
- Subsequently, apply glue to the end of the skewer and brush the glue onto the piezo pickup and press it into its insert.
- Once glue is dry, cable manage the tuner to jack wiring with any provided cable management ties and stickies.
- Next, install the tuner and jack into their cutouts.
- Install strings into bridge and tune.
Final Thoughts
You should now have a working tenor ukulele! Plastic is certainly not the best sounding tone material out there but with the right practice, settings, and strings you can certainly make beautiful music with something like this. If the print ever snaps or fails, simply reprint the part. BUT if you would, please share with me how it failed and any suggestions to improve the design!
Tags
Model origin
The author marked this model as their own original creation.
