Maker Coin

Description
PDFSummary
The task was to create a maker coin with a specific set of constraints:
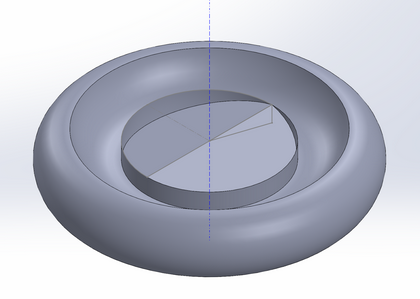
- All coins must be made from an initial revolve resulting in a coin that is 6cm in diameter and 1.25cm in thickness.
- Must not require ANY supports, (no supports).
- Should be gear-esque in nature.
- NO moving parts, (no gyroscopes, fidget spinners, etc.)
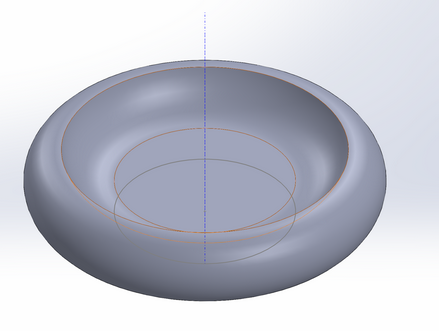
- Must slope downwards towards the center in some fashion.
Overview and Background
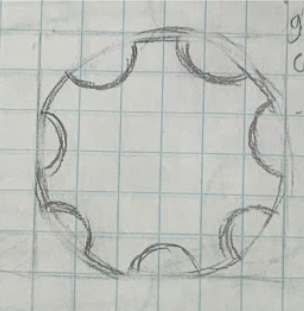
I started by researching Maker Coins and finding one with a gear shape that I liked. https://www.thingiverse.com/thing:3377304
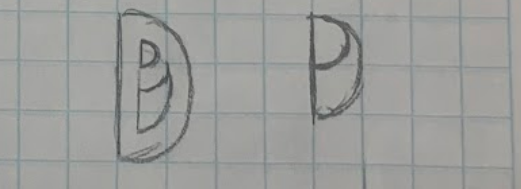
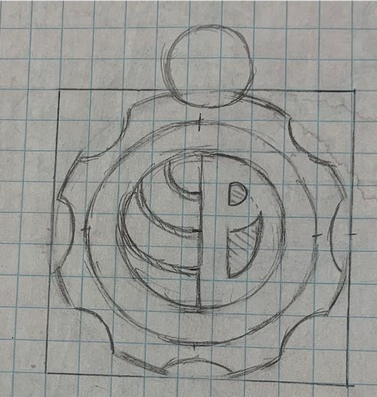
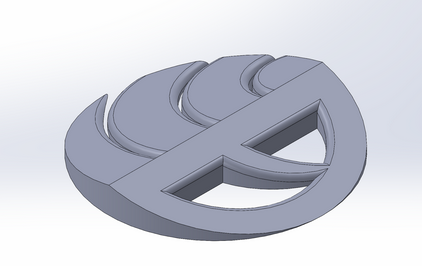
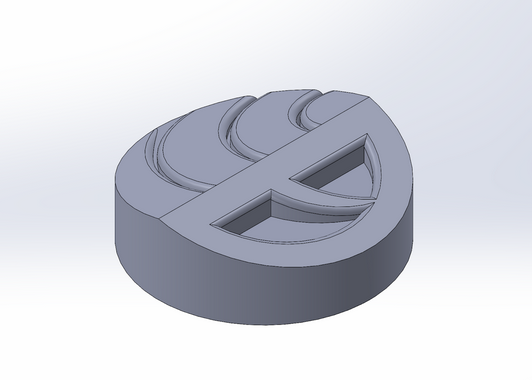
I then started designing the logo that would be placed in the center of the coin. I knew I wanted the design to be some sort of abstraction of my initials (PD). Initially I created a design with the initials side by side, but I thought it looked too simple.
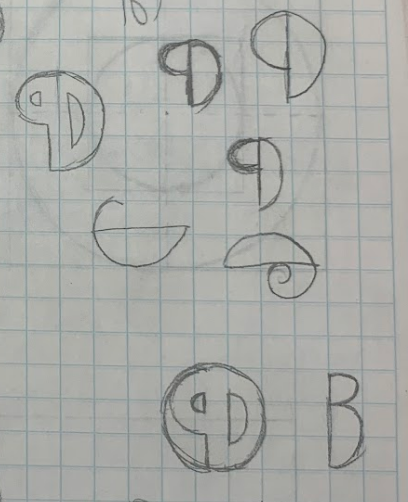
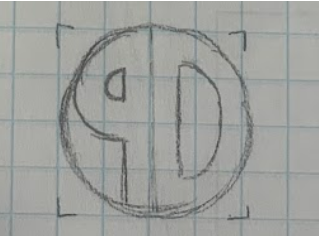
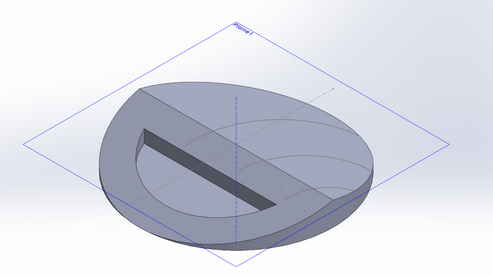
I redesigned the logo and came up with a design where the P and D were combined into one symbol.
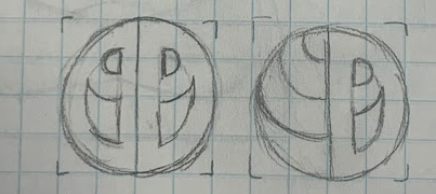
This design was going to be mirrored to create a circle, but I decided to have the design on only one side so another design could be added on the other.
Like my inspiration, the coin was initially going to have 7 gear teeth, but I added one more to make the coin more symmetrical.
Before
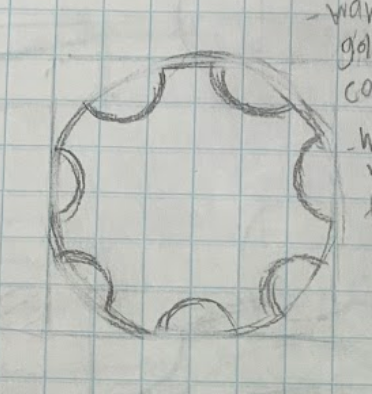
After
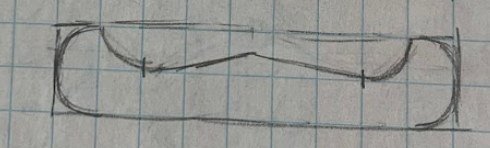
I wanted the coin to curve down from the outside and then have the logo angle upward on each side.
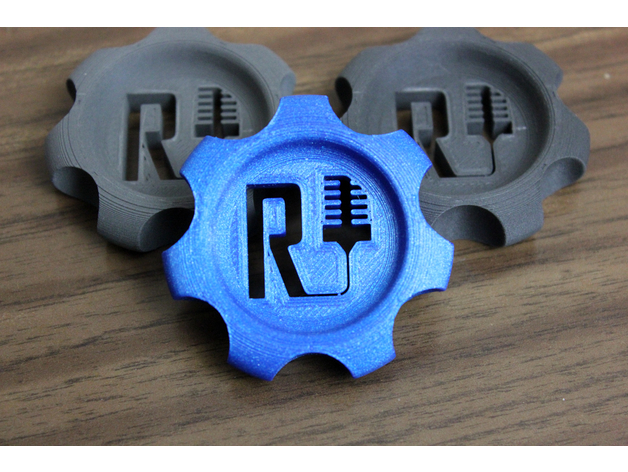
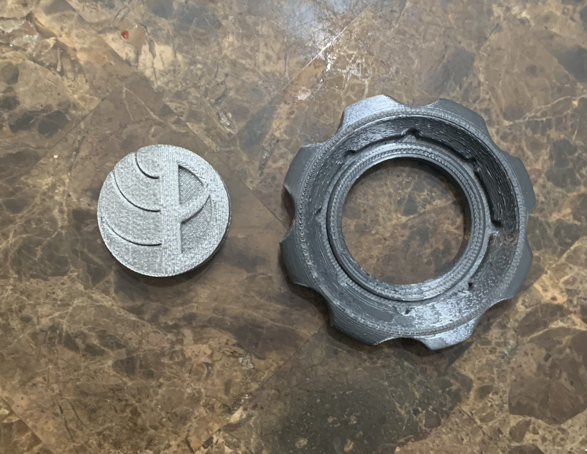
I tried modeling the coin as one shape, but I couldn't figure out a way to create the shape I wanted for the logo without damaging the base of the coin. To solve this, I created the logo and base as separate models and combined them in an assembly. This ended up being an advantage, since the coin had to physically be put together in 2 parts which allowed the logo and base to have different colors, giving the coin a unique look.
Before
After

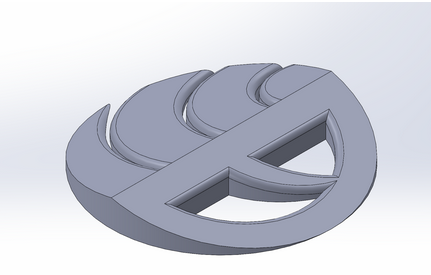
Initially, the cuts in the logo on the coin did not go all the way through, but I changed it so that it did since it looked better to me.
Before
After
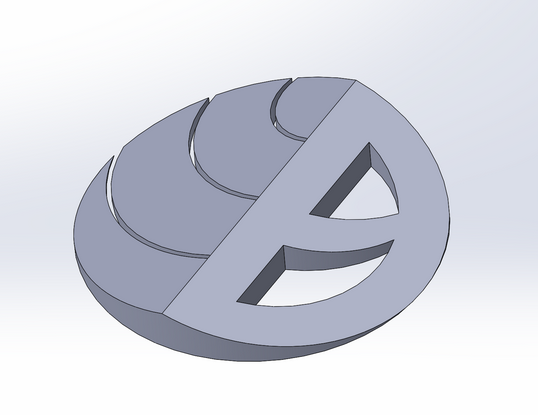
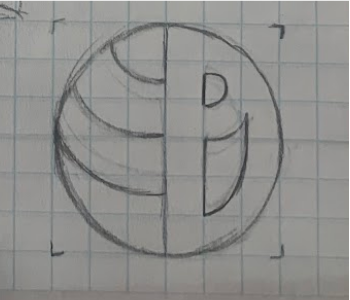
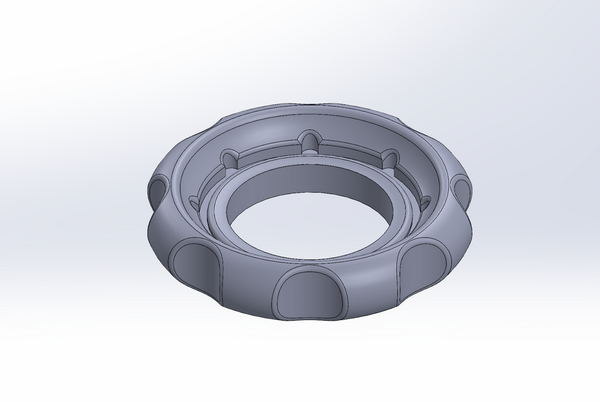
The coin was missing something to really wrap the design together, so I added a circular cut with symmetrical circles on the inside to add more intrigue to the coin. I also added filets to all the edges in the model.
Before

After
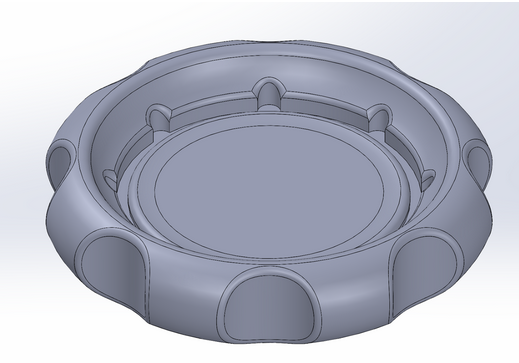
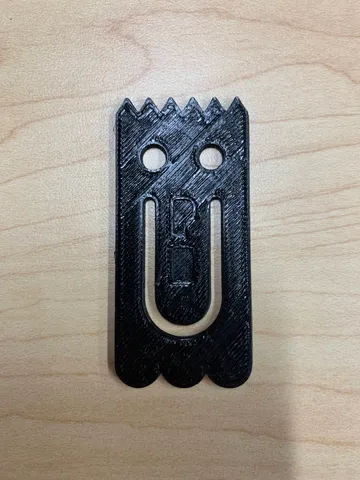
My initial idea was to hot glue the logo onto the coin, but I instead added a hole in the base and extended the logo so they could fit into each other, removing the hassle of a hot glue gun.
Before

After
Assembly Instructions
- Download and print one Desanges_makercoin logo.3MF and one Desanges_Makercoin Base.3MF. (Tip: As seen below, try printing the logo and base as two different colors for a unique look.)
2. Insert the center logo piece into the slot in the base through the bottom.
3. Push the logo into the base.
4. Admire
Model origin
The author marked this model as their own original creation.