Drill Press Pixel Pusher
Description
PDFThis is my solution for blistered fingers after pushing a thousand pixels by hand and with pliers. There are a few similar solutions on thingiverse and I took inspiration from all of them and set out to design my own to optimize it for my use.
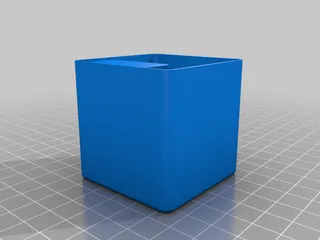
The Drill Press Pusher Base has an extended shelf to catch the bottom of the pixel more effectively and I added clearance so the wires don't pinch. The base holds the pixel groove just proud of the top which allows the press to push the strip past the groove slightly. This enables it to seat consistently since the strip has give in it. The Drill Press Pusher Top portion is something I haven't seen designed yet. It is just a cup but I tapered the edges to focus the pressure closest to the pixel which seemed to do the trick for seating the pixel in the strip consistently.
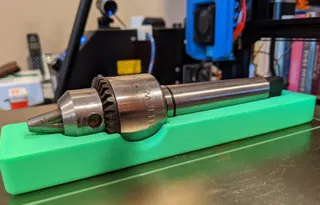
Insert the Drill Press Pusher Top into your drill press chuck and tighten moderately. Place the Drill Press Pusher Base on the drill press table (I suggest gluing or screwing it to a wooden base and clamping it in place for quick work) and insert a pixel. Place the pixel strip over the pixel lining up the hole and press the two together. Whallah!
Enjoy!
Update 1/6/2021:
Added Drill Press Pusher Plate v2 and v3. Each version has improved strength
Added plate mounting holes to all versions of the plate
I have added two new versions of the base with increasing strength. Some may need the slim profile of the original and v2 to get into a tight space while v3 adds quite a bit of rigidity for those who may put more stress on the fixture.
Print Settings
Printer Brand:
Creality
Printer:
CR-10S
Rafts:
No
Supports:
No
Resolution:
0.2
Infill:
100%
Filament: Overture PETG White
Notes:
Printed with PETG for durability but ABS...whatever will work fine. PLA may be a bit brittle though but it should work. I printed this with 100% infill since it will endure a bit of pressure.
Category: Hand ToolsTags
Model origin
The author marked this model as their own original creation. Imported from Thingiverse.


