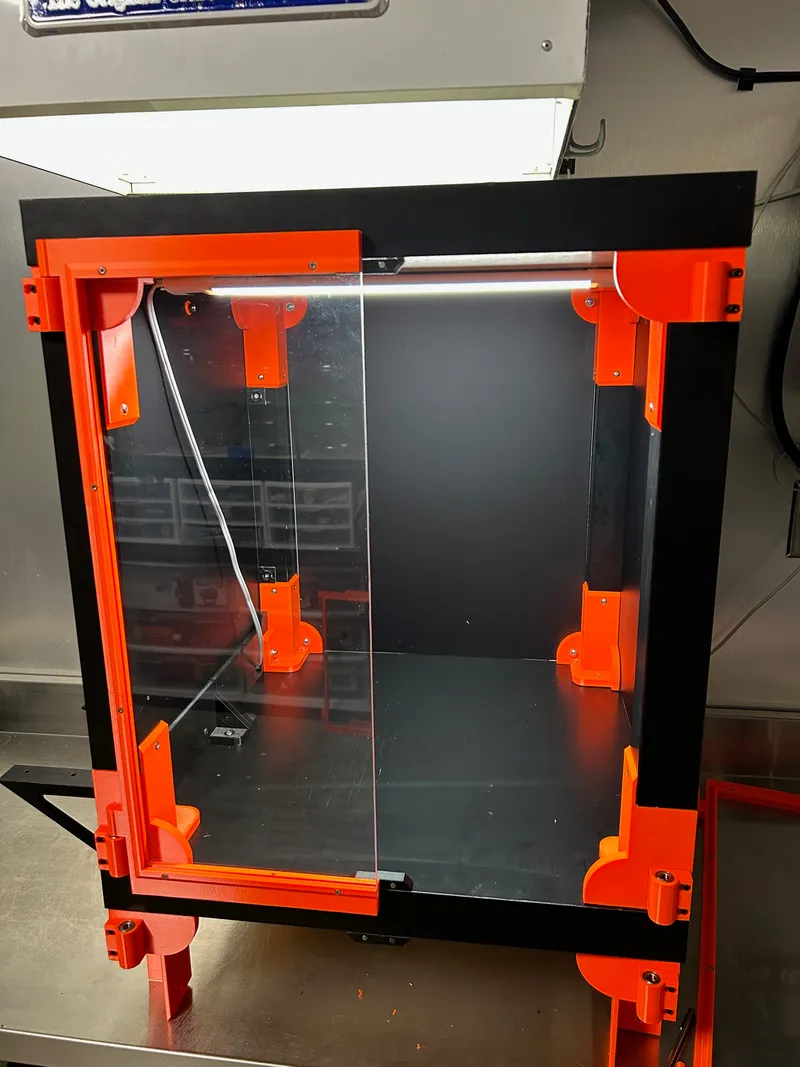
Tall and Beefy Lack Enclosure

Description
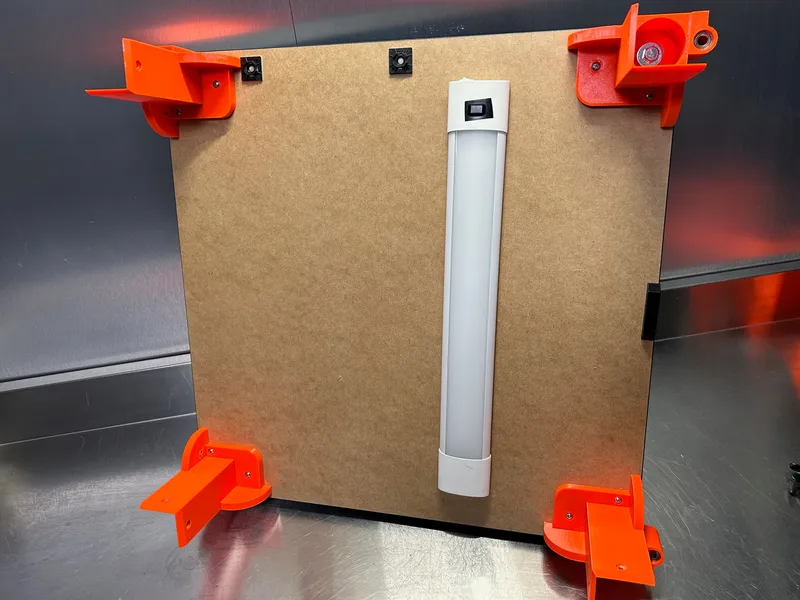
PDFMore of a taller and heavy duty version of the lack enclosure. Features adjustable bearing mounted barrel hinges for easy door removal along with magnetic latches, integrated filament mount, side walls are attached with magnets for easy removal.
Materials List
- 2 kg PETG filament
- 2ea Ikea Lack Tables
- 2 sheets 5.2mm thick clear acrylic (550mm x 230mm)
- Side and back walls are aluminum composite for my enclosure but just about anything you want to use will work. Left panel- 488 x 444mm Right panel- 549 x 444mm Back panel- 549 x 444mm
- 16ea 20x2mm Neodymium Disc Magnets for side walls
- 4ea 10x2mm Neodymium Disc Magnets for doors
- 4ea 5x10mm Round Neodymium Magnets for door latch
- 12ea 1.5x30mm spring steel pins to align door frame sections
- 8ea 688 8x16x5 bearings for door hinges
- 38ea ¼"x1 ¼" Walldog screws for all attachment points for table top/bottom leg supports. These screws are far superior to any wood screw you can buy and are highly recommended for weak and thin surfaces like the Lack Table. Don't worry, you'll use the spares everywhere in your life. https://www.amazon.com/Powers-Fastening-Innovations-02276-Wall-Dog/dp/B00ITG5ZCK/ref=sr_1_2?crid=2PWD4C4786O5D&keywords=walldog%2Bscrews&qid=1679284517&sprefix=walldog%2B%2Caps%2C131&sr=8-2&th=1
- 8ea 5/16"x 1 ½" lag screws and flat washers for leg attachments to replace the double ended lag that comes with the Lack Table.
- 13ea 3x14mm socket cap screws, washers and nuts for door frames and wireway panel
- 8ea 3x20mm socket cap screws and washers for hinge mount.
- 3ea 5x30mm socket cap screws with locknuts and washers for wireway/filament mount sections
- 3M VHB outdoor, double sided tape for attaching magnets to panels and door latch to table
ASSEMBLY INSTRUCTIONS
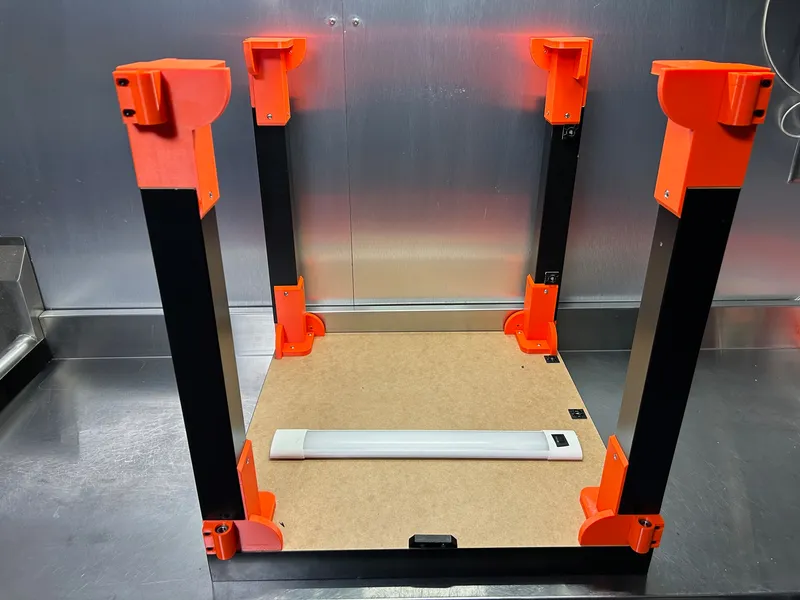
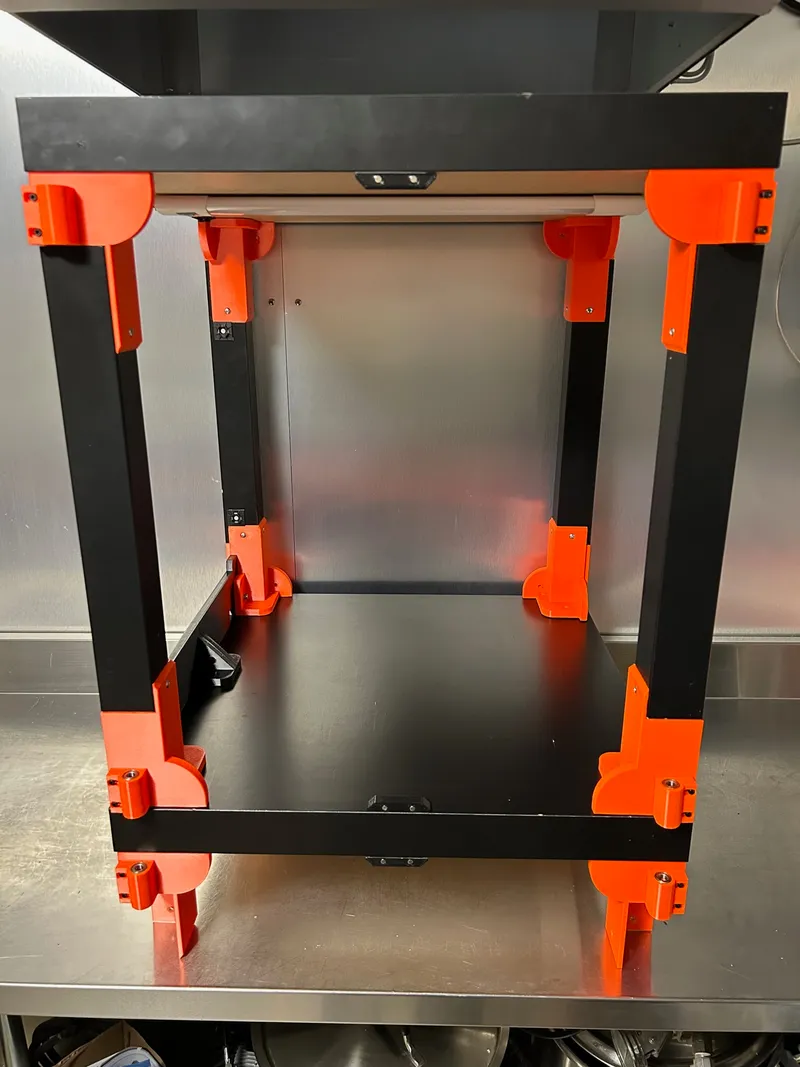
- Attach top leg supports to underside of Lack Table top using 4ea 5/16" lag bolts and washers in the factory holes (do not put walldog screws in the brackets yet, we will align everything later before doing that).
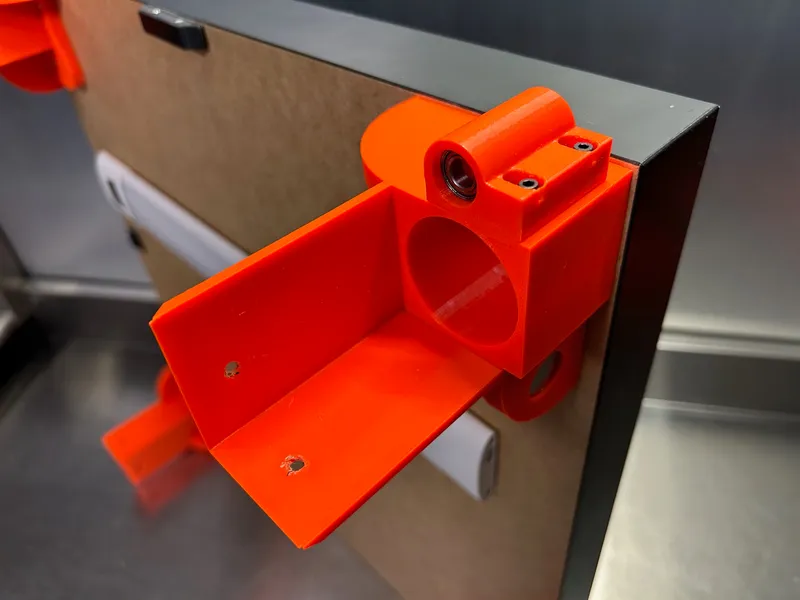
2. Insert 2 bearings into the top and bottom of each hinge (might require some gentle tapping). Use a 2.5mm drill bit to clean up/slightly expand existing holes in FRONT leg supports, then use 4ea 3x20mm socket cap screws with washers to mount the hinges (you can go ahead and prep all the hinges now if you like). No need to tighten them down all the way, this will need adjusted when the cabinet is complete.
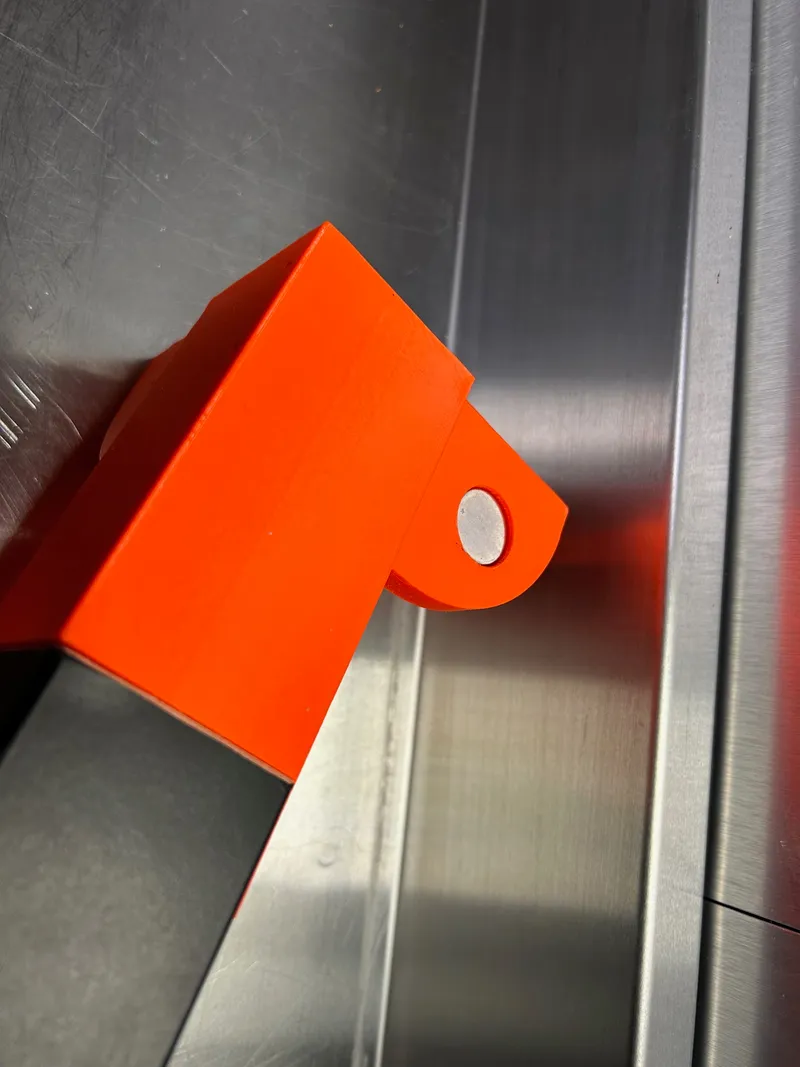
Glue one 20mm disc magnet into each recessed hole in each support, go ahead and do all of them now if you want. I used E6000 glue.
3. Use 4ea 5/16" lag bolts to attach leg top stabilizer disk to the top of each leg using the factory holes. Then attach all BOTTOM leg supports to the legs using Walldog screws (I highly recommend pre-drilling the legs with a 3mm bit before installing screws).
4. Attach legs to the top supports using Walldog screws, the stabilizing disk will slide into the round hole in top supports and should be a snug fit. Again, use a 3mm bit to pre-drill holes in legs before inserting screws.
5. Using a 3x20mm socket cap screw, washers and a nut, join the wireway side and drier mount side to make them a single piece. then flip the table over and use a 5x30mm screw and locknut to attach the wireway/drier section to the bottom LEFT leg supports. If you're going to install the drier brackets, only put a 5mm screw in the back leg support for now. If you aren't using the brackets, go ahead and put front and back 5mm screws in now.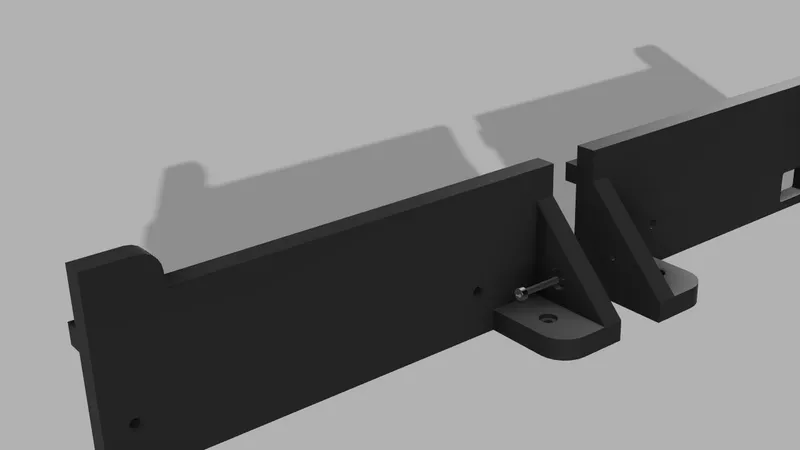
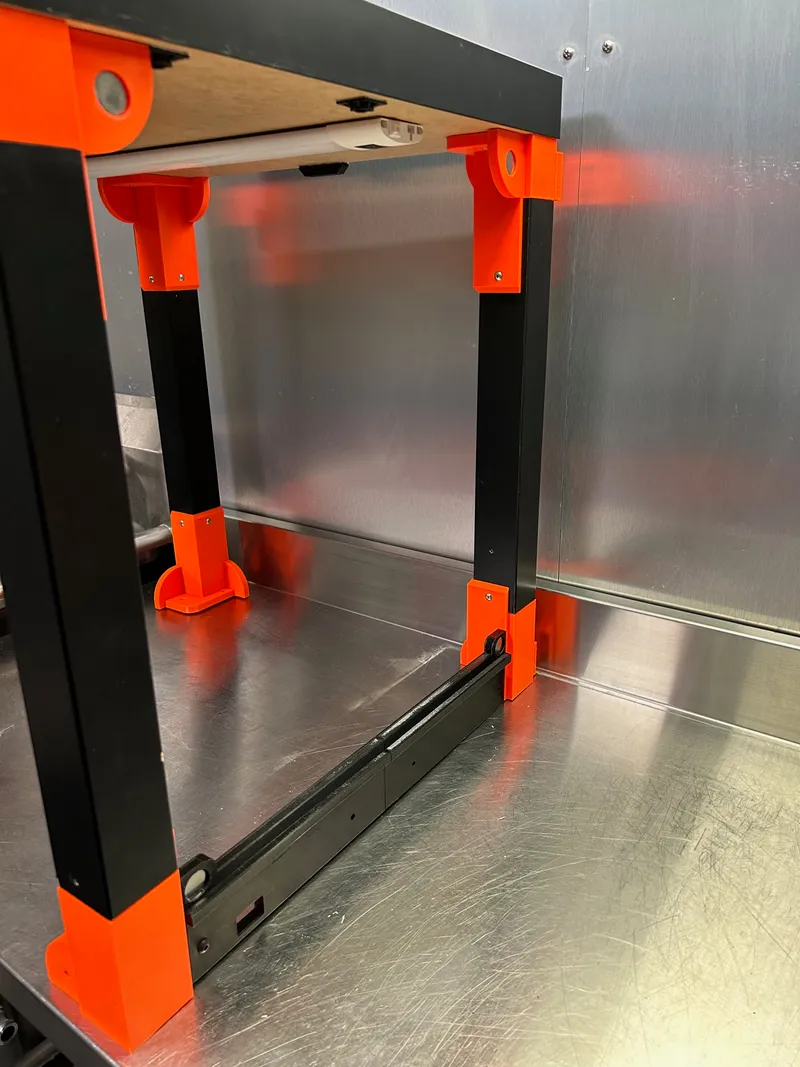
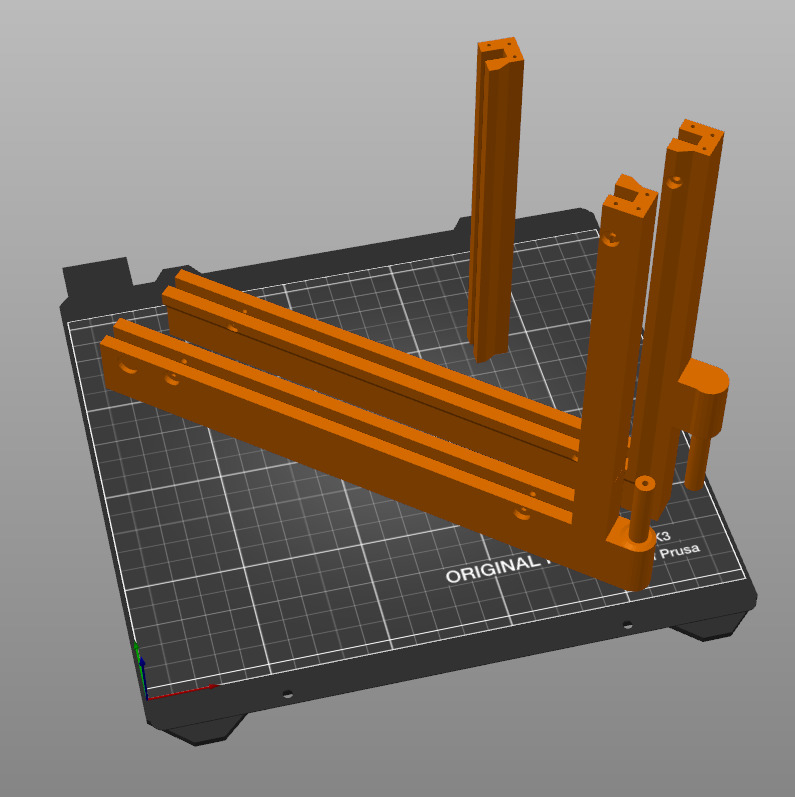
6. Get your second Lack table top out and set the entire assembly on top of it (ignore the lower leg supports in this picture underneath the table top, I have a stacked setup and didn't want to take it apart). Install the Right and Left Drier Support brackets on the wireway/drier section using 5x30mm screws and locknuts. Front screw goes through front leg support, drier section and bracket.
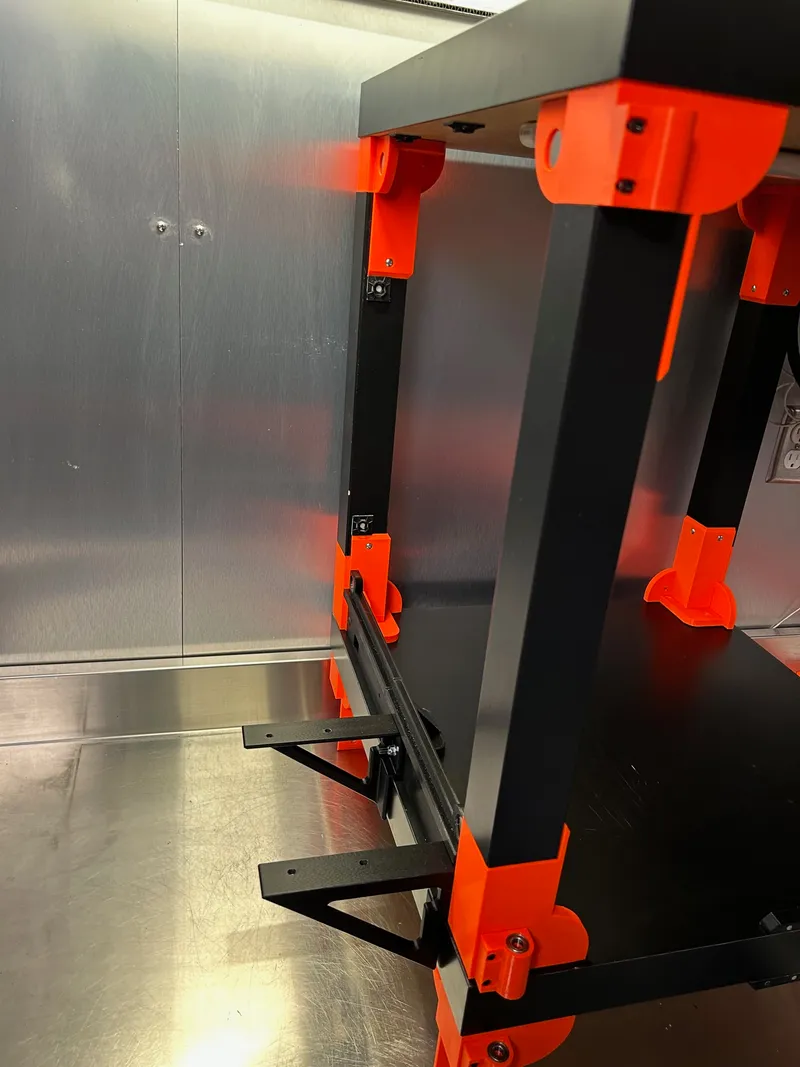
7. It's finally time to screw the top and bottom leg supports to table top/bottom. Alignment here is very important for magnetic side panels and doors to work properly, that's why we waited until now to make these attachments. The leg supports should be inset 3mm from front and side edges, along with being square and straight. Carefully square things up, pre-drill holes in the table and use 18ea Walldog screws in the leg supports and Wireway/Drier section.
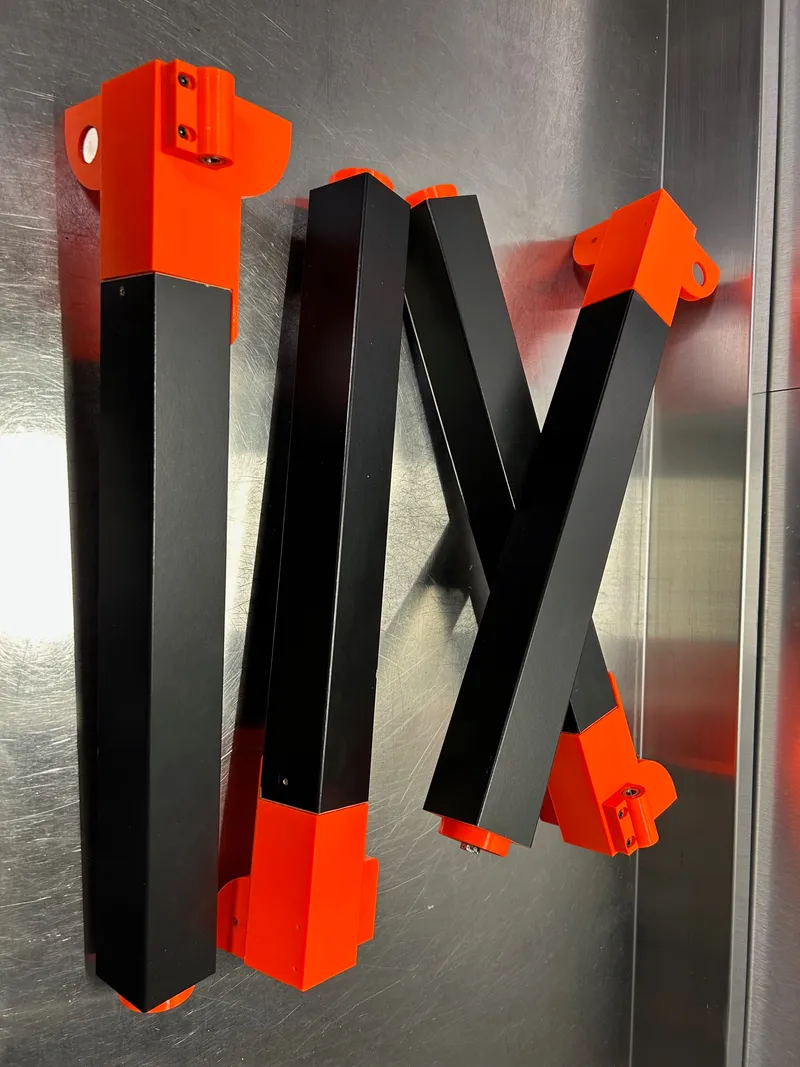
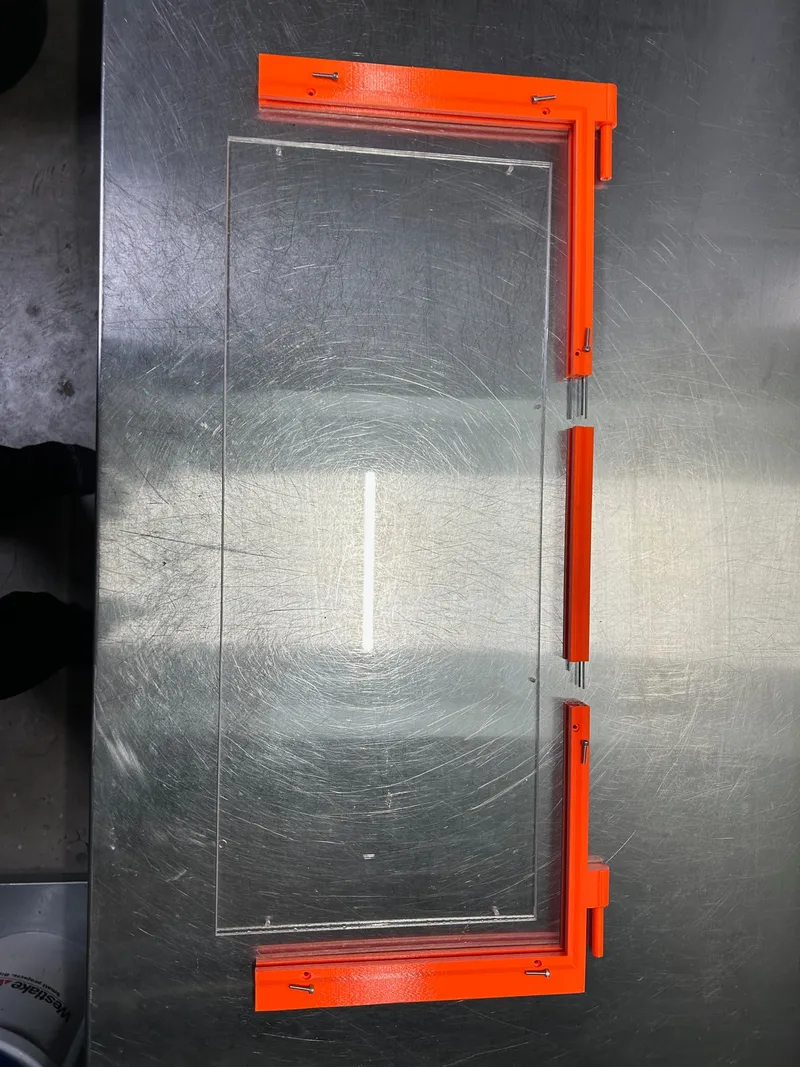
8. Door Assembly- Cut your acrylic sheet to make 2ea 550x230 pieces. Cut your 1.5mm spring steel rod into 12ea 30mm pieces, expand existing holes in all frame parts with a 1.5mm bit then gently tap the pins into place, this should be a snug fit. Then gently tap the frame pieces together using the pins as an alignment tool. Once the frame is in one piece, insert the acrylic sheet, make sure everything is square then use the frame holes to drill mounting holes through the acrylic (be careful and use a sharp bit, acrylic can be very brittle and crack). Use 12ea 3x14mm socket cap screws, nuts and washers to secure the acrylic sheet into the frame. Glue 4ea 10x2mm disc magnets into rear side recess for door latch.
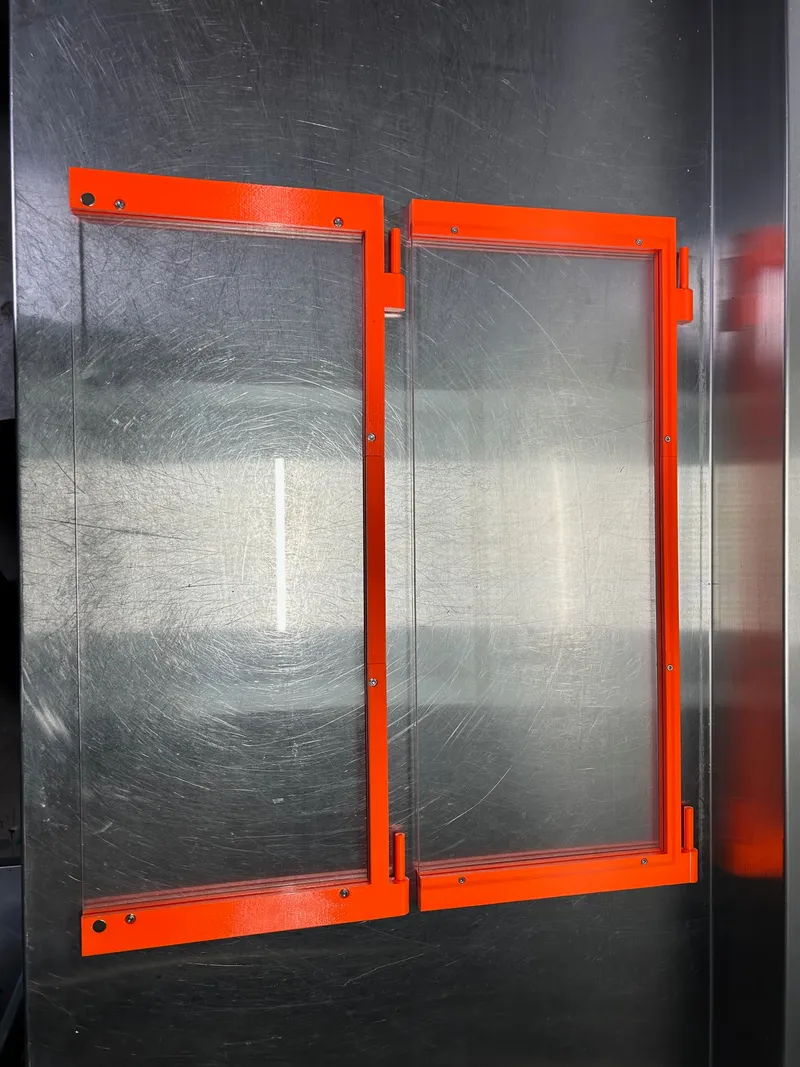
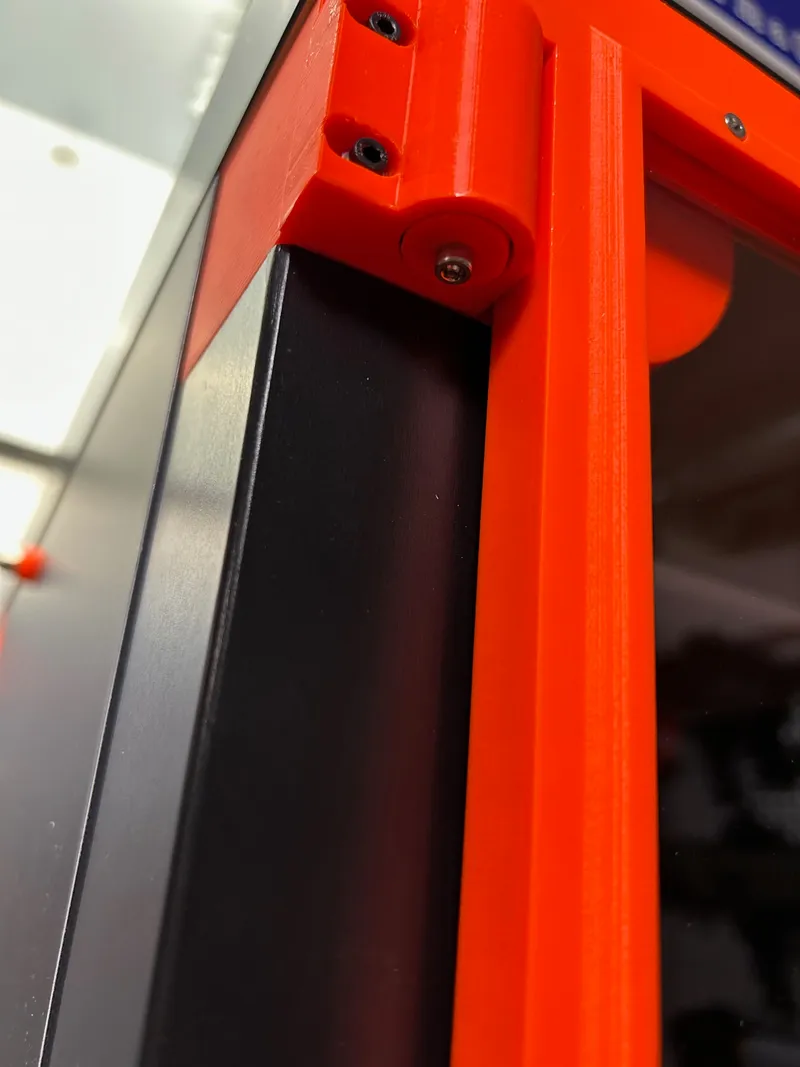
9. Slide doors into barrel hinges and use screw slots to properly align doors. Insert 4 5x10mm round magnets into each door latch and use 3M VHB tape to secure latch bodies to upper and lower table top. Be careful to check magnet polarity before inserting. Lastly, there are 4 bearing retainer disks that can be screwed into the bottom of the hinge posts if you'd like that option, but this does prevent the doors from being easily lifted off.

10. Attaching side and rear panels. Take 8ea 20x2mm round magnets and apply VHB tape to one side, then attach a magnet to each of the leg support magnets with the tape facing out. Remove coating from tape and carefully put each side panel in place, pressing into the exposed tape. This is probably the easiest way to align everything just in case you aren't perfectly square.
I designed this enclosure to be double stacked with 3 total tables, so my plan was to screw the entire structure to the wall. If you can do this, it will make the thing completely wobble free. In this case, just VHB tape the rear panel into place and drill some 6mm holes using the rear leg supports as a guide then screw the entire thing to your wall. If you want this to be free standing, use the same procedure, but use some 5x20mm screws and nuts to seccure the rear panel to your leg supports.

OTHER NOTES-
Printed in PETG, minimal supports needed. I printed at 25% infill with 5 walls, probably overkill, but this whole thing kinda is.
Suggested print orientation for door frame parts, add modifier for hinge post areas to print at 100% infill.
I use Sunlu S2 driers, so here's a link to the download I used for my drier base. https://www.printables.com/model/309871-sunlu-tecbears-fila-dryer-s2-filament-trockner-s2
My light is simply an under-cabinet light from Menards
Thanks for taking the time to read. This was my first complicated project and the first time I've ever had to write up an instruction manual so I'm sure there are obvious details missing and things that need corrected. Bear with me and I'll try to stay on top of things. Also, feel free to suggest improvements, I'm sure you guys can make this even better!
Tags
Model origin
The author marked this model as their own original creation.


