GT2 belt jig - DIY closed loop belts

Description
PDFSimple jig for making your own closed loop gt2 belts.
This is quite simple method - probably not the best but I have tested it many times and I have belts made with this method in use for few months now without issues.
Still use it at your own risk and before the real application I recommend doing some tests to see if your glue and your gluing procedure is good enough and the joint is strong enough.
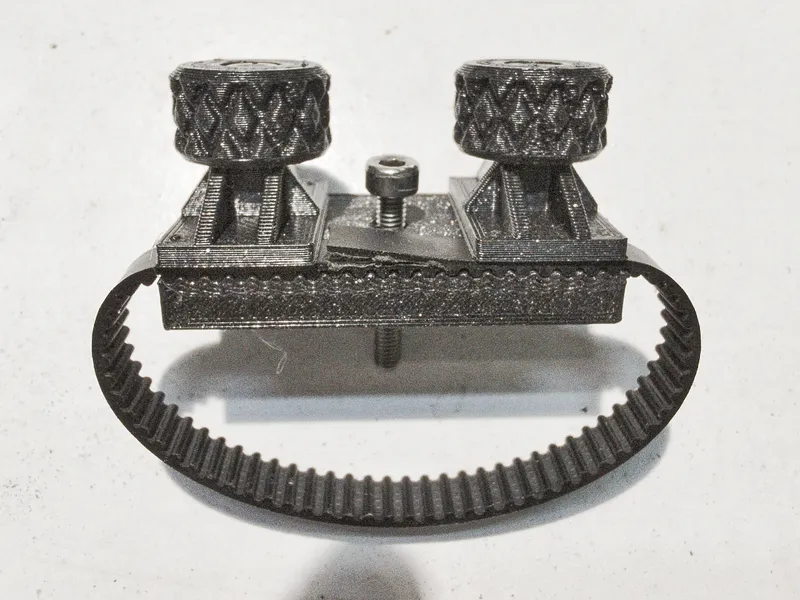
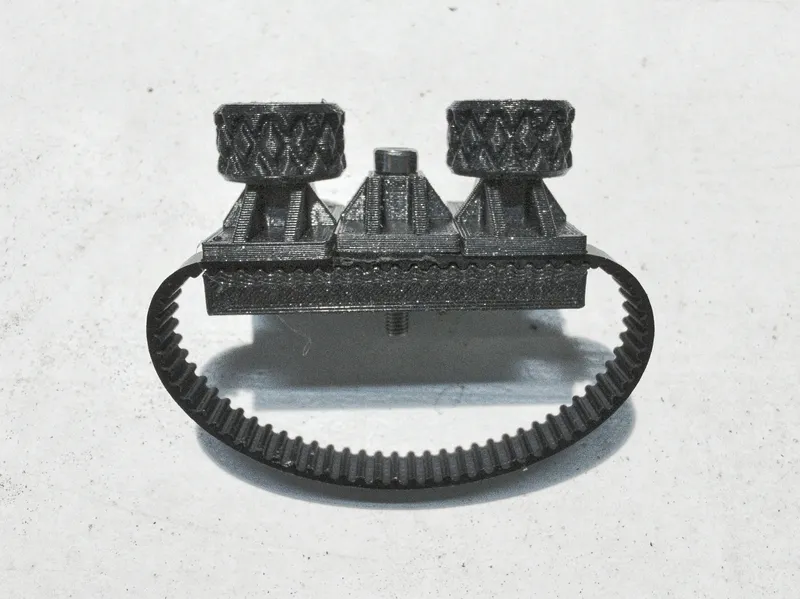
YOU WILL NEED:
- Superglue / CA glue
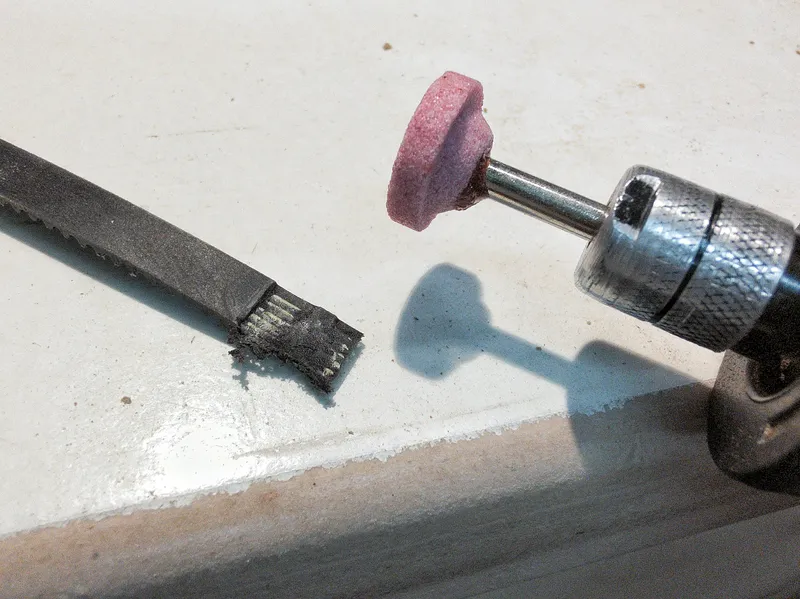
- Preferably Dremel tool with sanding disc but sharp blade will do the service as well
- 6x M3 nut
- 3x M3x20 inbus screw
- Scissors or sharp knife
- GT2 belt
- Printed parts - 1x body, 3x pressfoot, 3x thumbscrew
- Patience and calm and precise fingers
STEPS FOR MAKING CLOSED LOOP BELT:
- Measure the belt length you need, mark it on the belt you will be working with and mark 5 more teeth.
- Cut the belt including the +5 teeth - cut it close to the first and last tooth, you can use sharp scissors or knife.
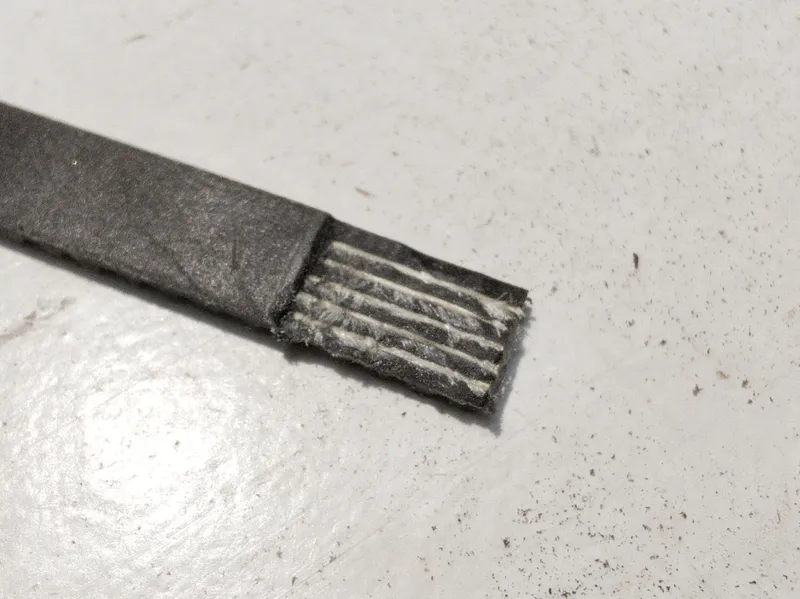
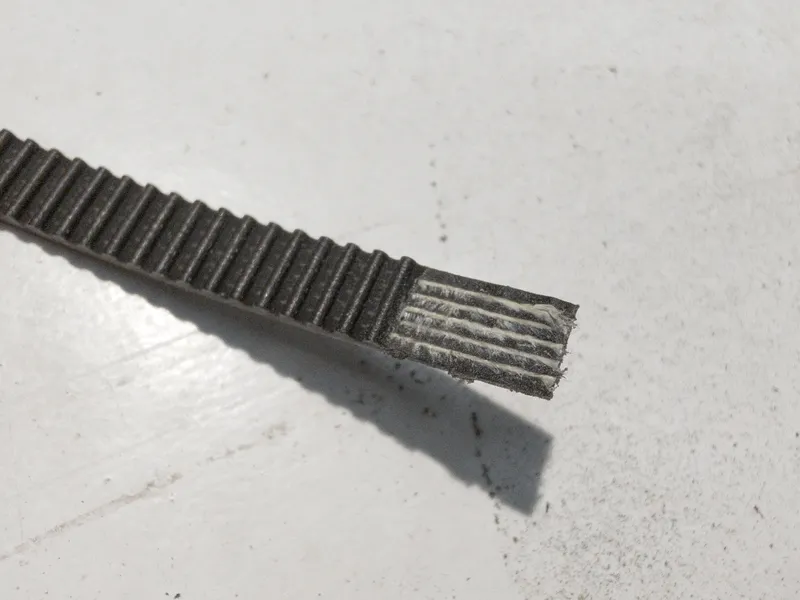
- On both sides mark 5 last teeth - these will be overlapping. On one side you mark the teeth, on the other one mark the opposite flat side.
- Grind off / cut off the rubber on both ends until you get to the belt core - be precise here sou you don't cut the internal cords as it would lead to belt failure. I have most success grinding the rubber off with Dremel tool and grinding disc but you can also use very sharp blade and slowly proceed to cut it off.
- Place the belt into the jig so the overlapping part will be in the middle, first you insert the end with teeth and gently clamp it down. Then you insert the other end so it overlaps and is aligned properly and clamp it as well.
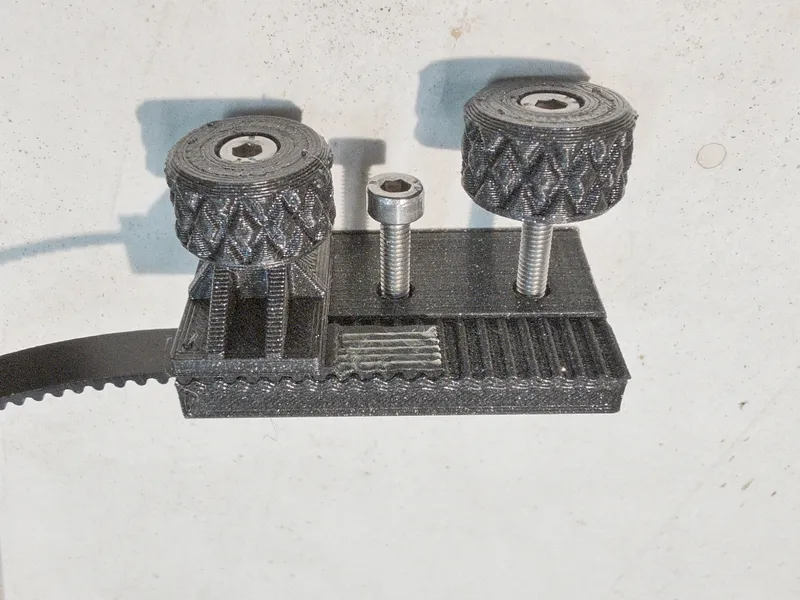
- Lift up the overlaping end of the belt and put slight amount of CA glue / superglue on the other end. Make sure it is evenly covering the ground area.
- Put the other end down and while checking it is aligned clamp it down with the middle part. No need to put huge pressure, just make sure it is pressed well.
- Wait descent amount of time according to the glue you used and release the belt from jig. With standard quality super glue I had no problems using the belt after few minutes or so but you better read the glue instructions and wait for it to fully cure.
- Cut the excess glue and voilà, the belt is ready to go.
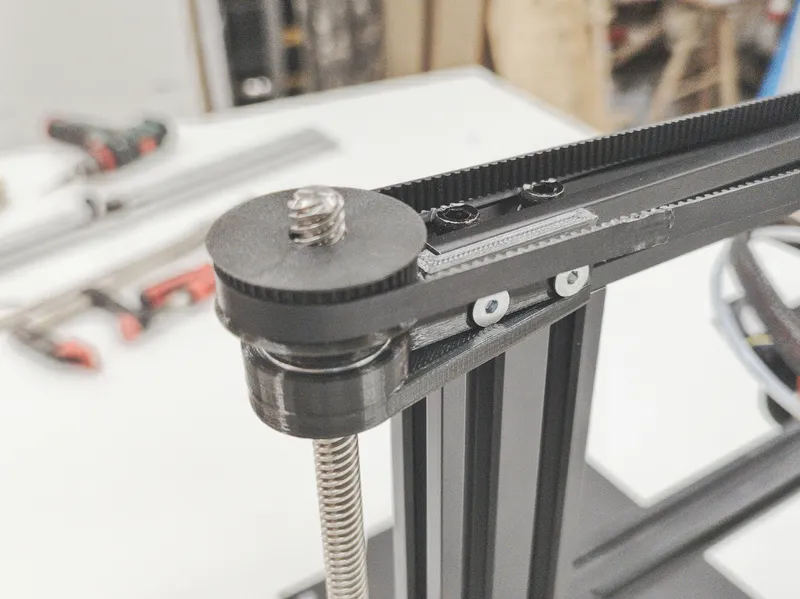
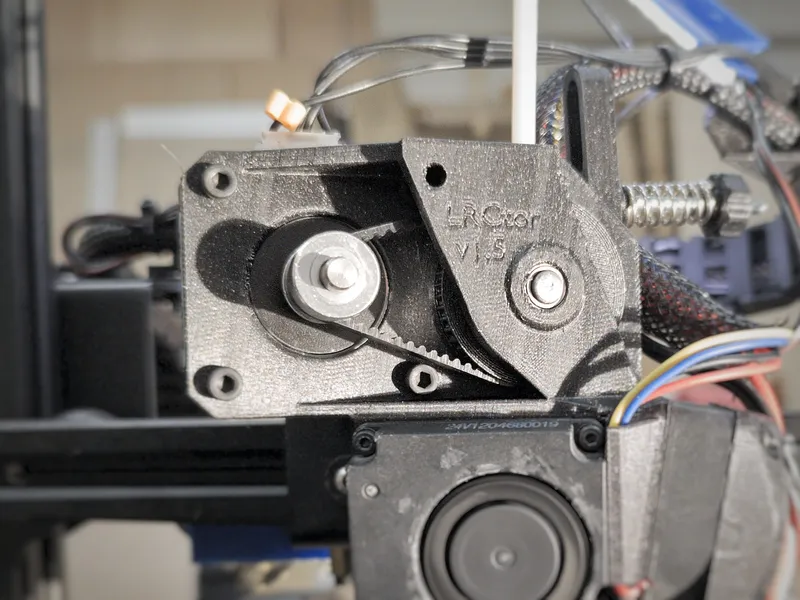
The glued part will be more stiff and slightly thicker than the rest but it still functions well (I use it with 16T pulleys) and will slightly soften over time. It also depends on the glue you used.
Also thanks Elothan for his thumbscrews, I used it in a slightly modified version.
Tags
Model origin
The author marked this model as their own original creation.


