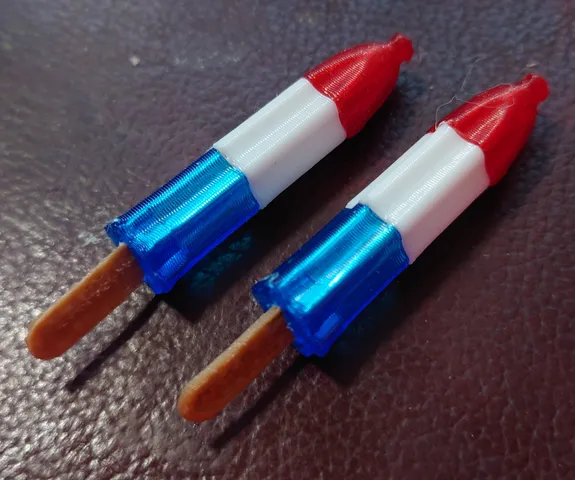
99% 3D Printed Mid to Hi Power Model Rocket - Engineered structural integrity in complex Vase mode!

Description
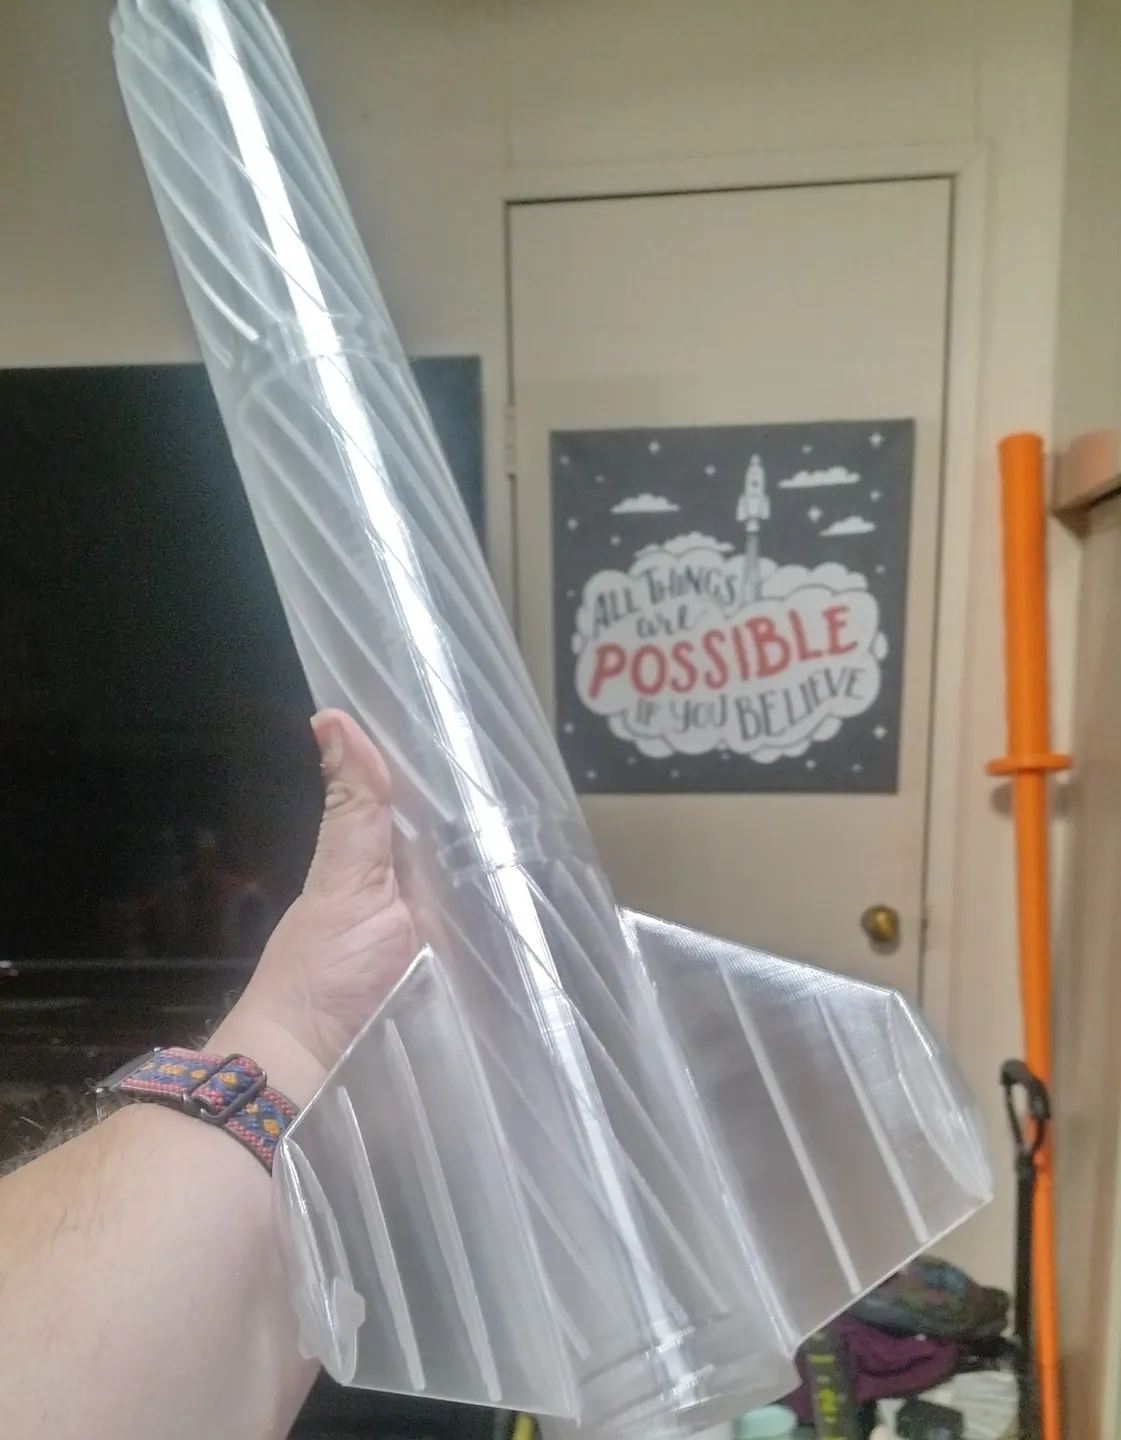
PDFMaking a 3D printed rocket is not hard. Making a LARGE (80mm by 1000mm or more) mid and high power rocket without throwing kilograms of filament at it. that's not so easy. making is ultra light and insanely easy to print Oh and requires almost NO GLUE at all (2 parts)
That is this. its a real rocket. already flown on F32 and F44 motors with mostly success (this is an updated model) NOW a warning this is a prototype. EXPERIENCED rocketeers and printers if you want to fly this. Rockets can be dangerous if not respected. This will easy go a few hundred miles per hour with a larger motor and go thousands of feet into the air. 5k even 10k is doable with the right motor. PLEASE respect this. Fly safe. or just have a wicked cool display model.
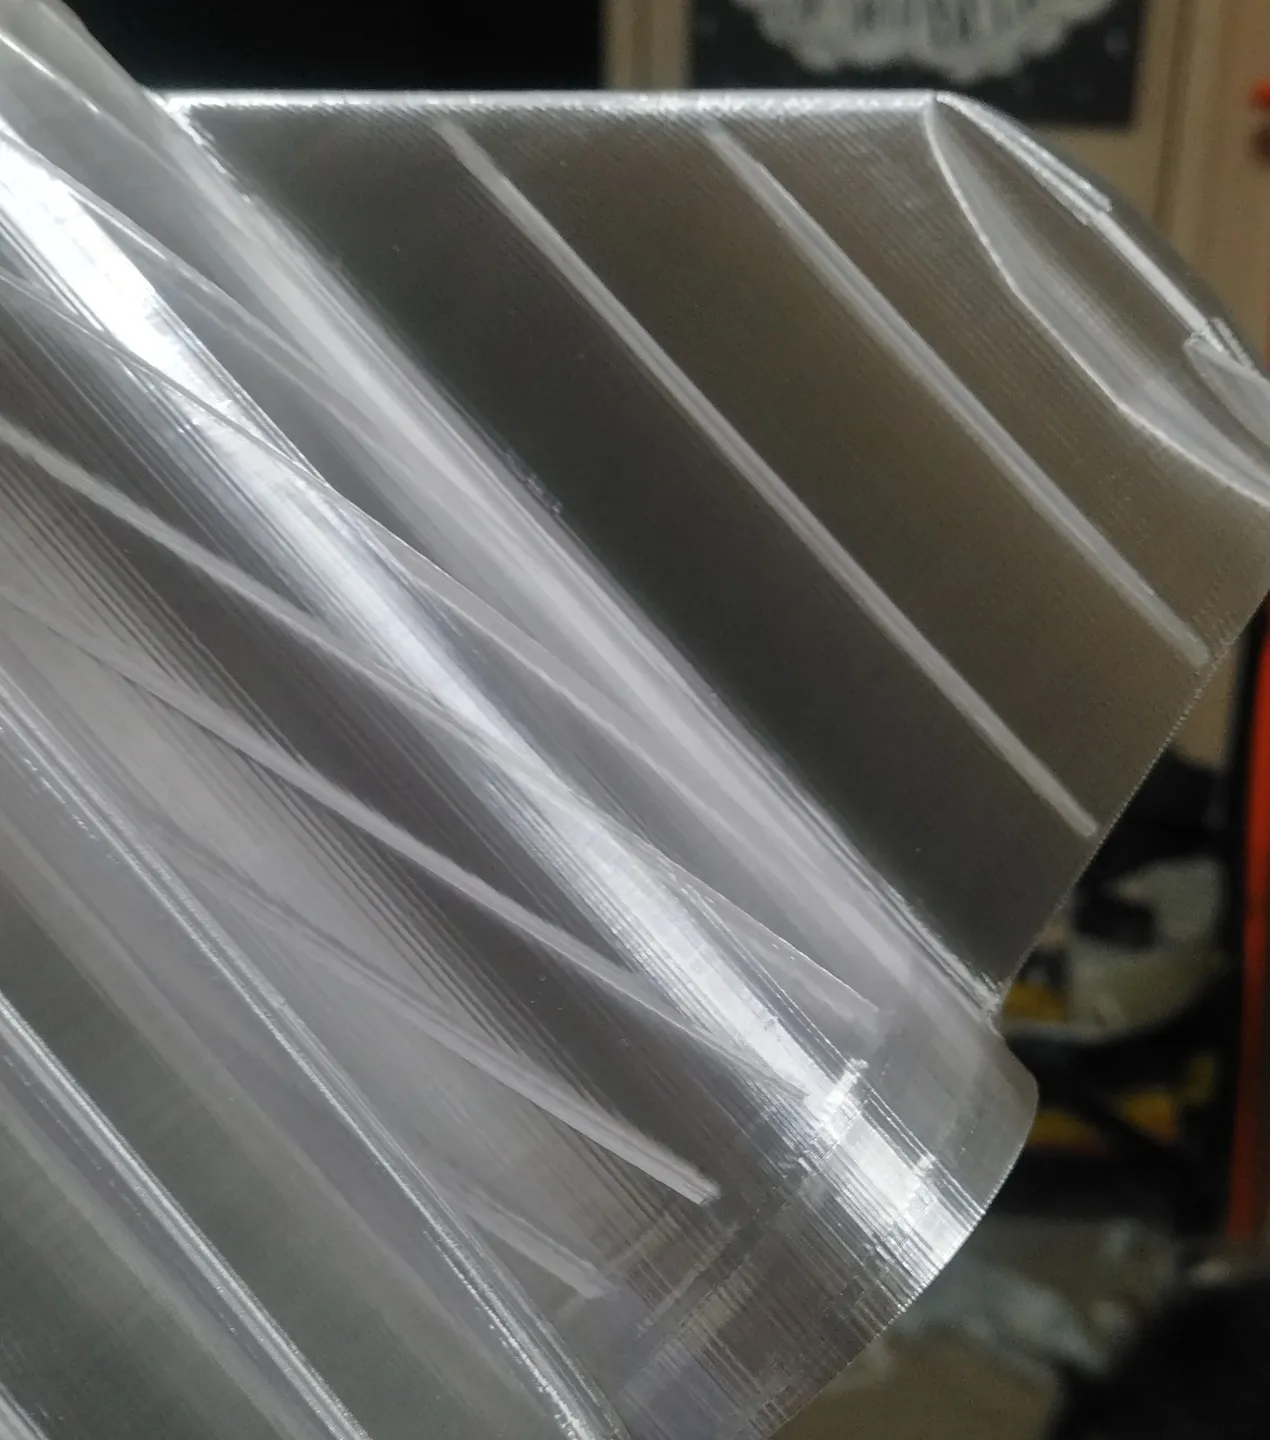
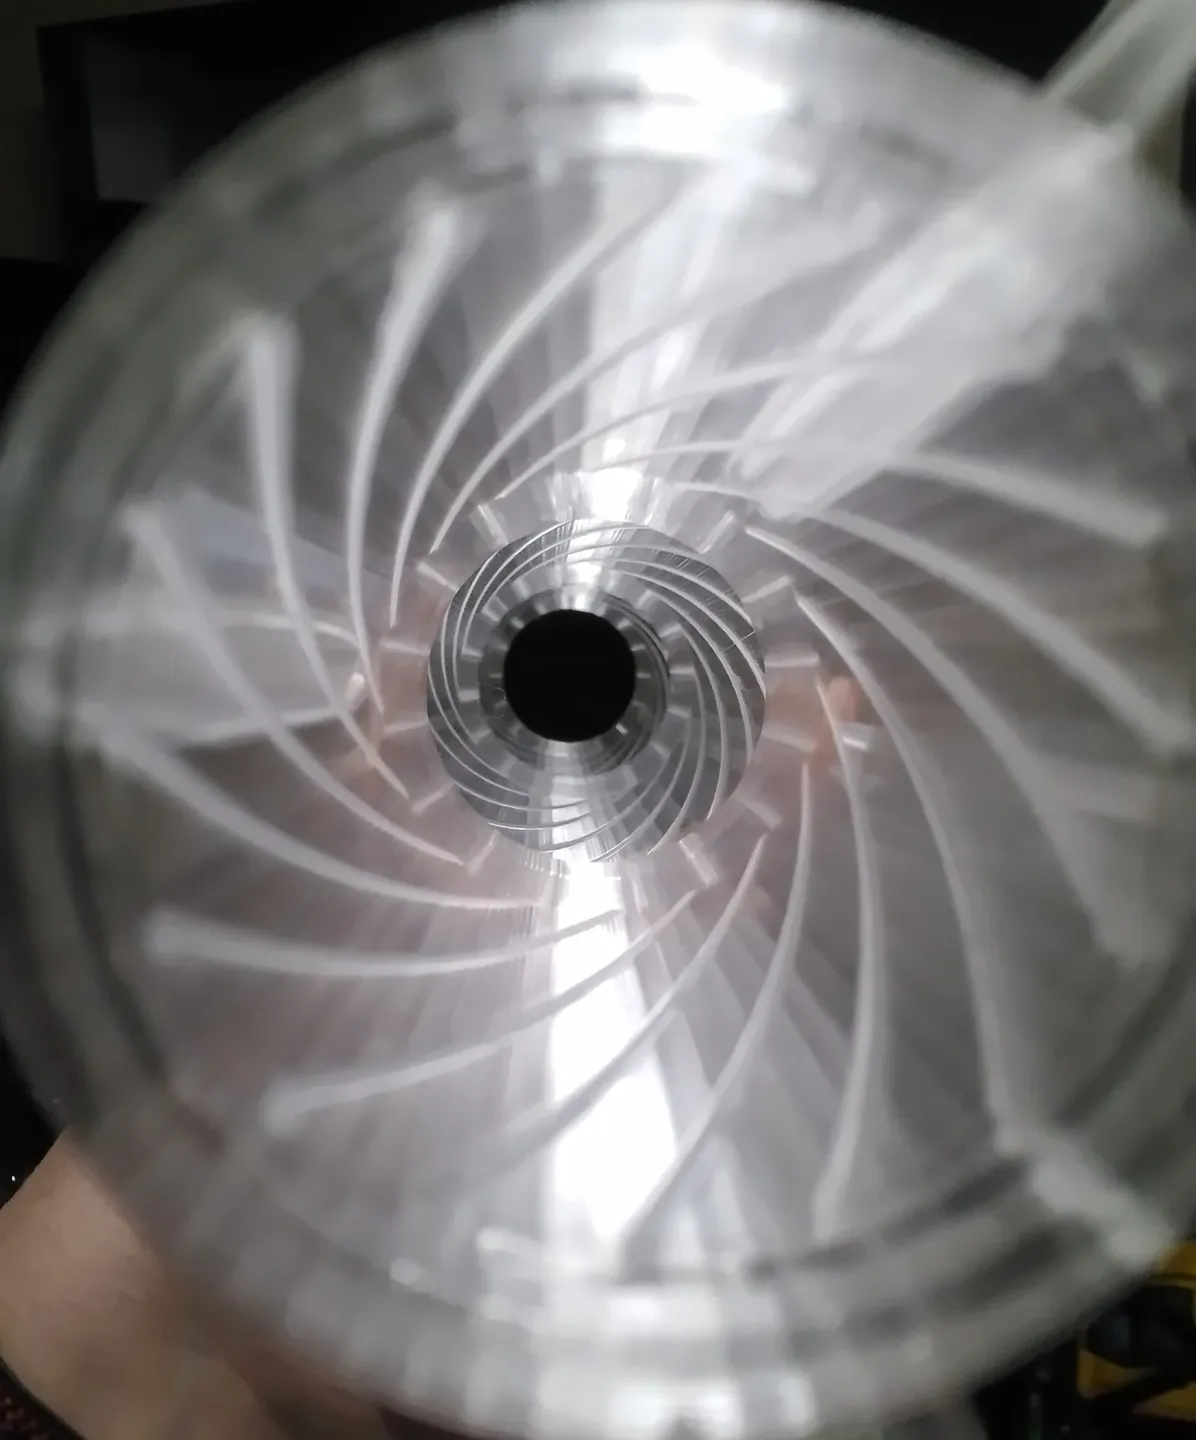
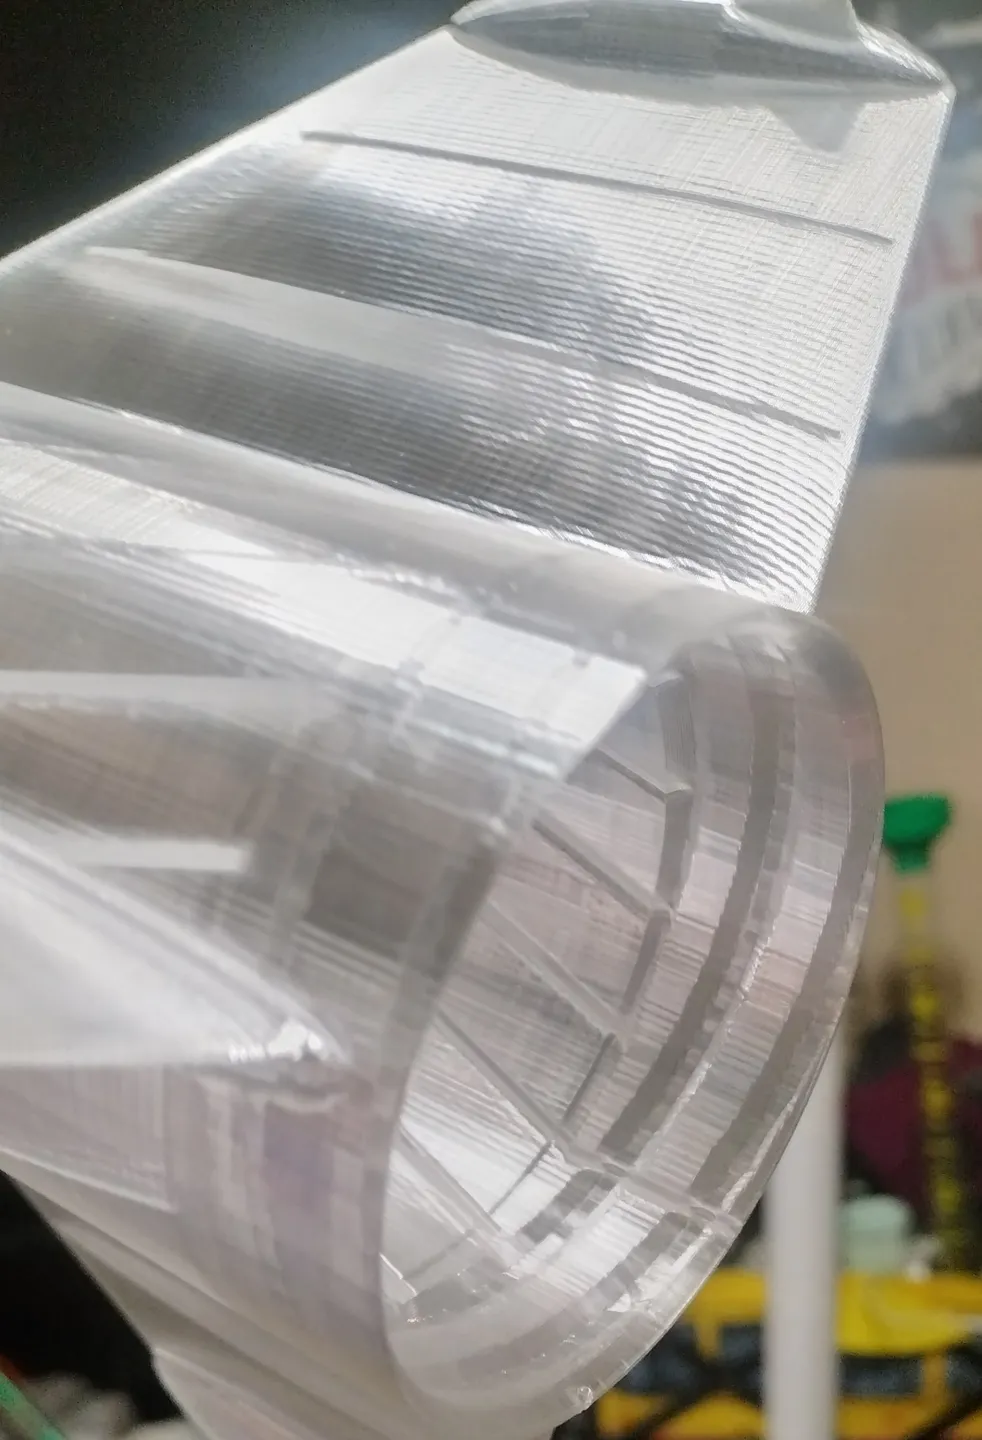
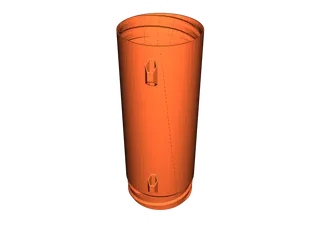
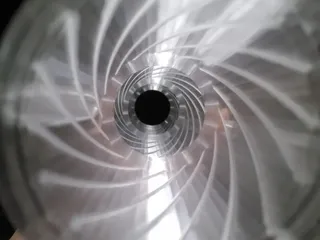
SO this is part of my MRS group. Modular Rocket Systems. except for the Motor Mount which is 1 piece of 200mm roughly paper tube and 2 3d printed parts epoxied so it. and your motor and recovery system of course (kevlar and parachute) this rocket is ENTIRELY 3d printed and its entirely in VASE MODE. that means the entire model is one single continious non stop extrusion. that makes it very light and with the structural design elements mixed in crazy strong for its mass (the entire rocket will be between 400g and 500g its very light for its sized and considering its made of plastic.
you can NOT scale the parts. do NOT alter their dimensions. this method uses modelling and slicer “slight of hand” to make a spiralize process work on a complex multi surface shape. if you scale it you will “break” the tricks that give the model its structural integrity.
You also need to “bend” prusa slicer a bit to get it to slice it properly.
you need to essentially disable all its SMART features as they will be confused by my trickery in the model geometry and it will break the model.
First set min and max layer to 0.2mm no adaptive layer height. you also need to kill adaptive extrusion under advanced print settings you must set Minimum Gap Radius to 0 and up top 1st 3rd and 4th outer wall settings must be manually set to 0.4mm fixed.
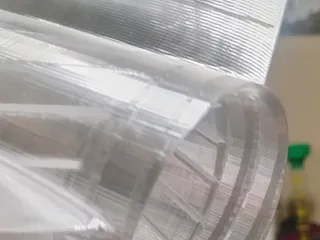
1 perimeter vase mode NO top or bottom layers (models are self closing)
40-60mm/s (slower better) use a brim as there is only 2 perimeters touching the build platform. for auto release surfaces such as PEI or Glass or SDI surfaces a brim is suggested. 60c on the bed 220c on the hot end throughout. you want it hot. fan at 75% unless you have sag issues them go for 100% if you have to.
the last setting you need to play with is Extrusion Multiplier under filament settings. esteps don't matter this is about making it “work”
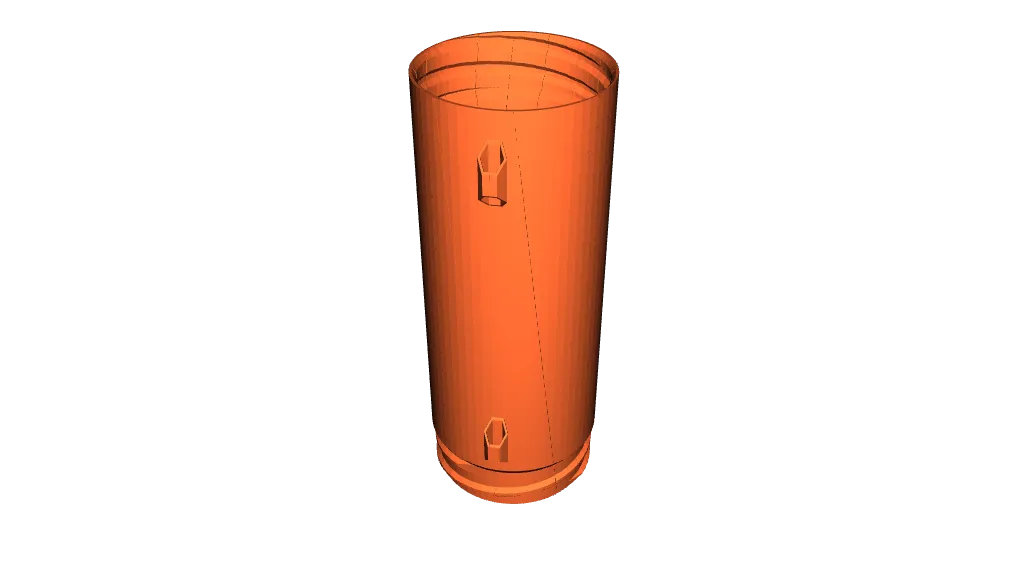
print at EM 1.0 print the TEST file. then destroy it. bend it crush it make sure the SEAM does not give even if you crush the model. if it gives. INCREASE your EM to 1.02 and print it again. if it fails goto 1.04 keep increasing EM 2% until that part does not fail. then print 2 of them. make sure they screw into each other without much trouble. MAKE SURE there are no “missing layers” in your slice preview !!
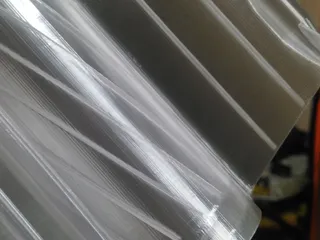
THIS IS CRITICAL. there is a “CUT” that goes clean through the models side. this gut depends on slight over extrusion to “FUSE” to seam together (PETG usually requires 4% to 5% more EM than PLA in my experience)
The part MUST not fail at the seam while it will fly just fine either way when the ejection charge fires it will split the side if its not fused correctly.
these models are vetted in Prusa slicer and Simplify3d. No other slicer will work (so far) I have had zero success in getting Cura or Ideamaker to slice these without butchering them :-)
Prusa slicer sometimes does a better job than S3D !! nice job guys.
I will have videos on the settings and rocket assembly. Once you get the settings right print 1 of each part.
The only non vase part is the Quick link if you wish to use them. I print those 3x3x3x20% 0.2mm 220c 60c EM 0.92 and they work fine. they are incredibly strong. I will use them to rig my recovery system.
This video is about slicer settings and tuning for print
This video is how to assemble the rocket for flight
Prototype Test Flight
Model origin
The author marked this model as their own original creation.