ESP32 CAM Bambu P1P Pegboard Mount
Description
PDFSince the standard Bambu Cam and LED cannot be ordered from the webstore until April 2023 I searched for alternatives to watch my prints.
I found two housings, one was missing the board mounts and the other did not house the camera correctly, so I made my own based on those inspirations.
Printing
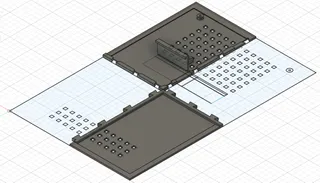
- Print the top part on his back lying
- Print the bottom part standing with tree supports
Optional:
You can drill a hole in the Bambu PegBoard cover for the LED, so that will illuminate the chamber.
Other Equipment:
You need a ESP32 camera with the USB board attached (price around 15€)
https://www.amazon.de/dp/B093GSCBWJ?psc=1&ref=ppx_yo2ov_dt_b_product_details
Camera Software
Use the Tasmota camera software from this website: https://templates.blakadder.com/ai-thinker_ESP32-CAM.html.
- Download and install the firmware via the Web interface (by selecting the ESP2 Camera
- Navigate to the web interface of the webcam and apply the correct configuration under Configuration → Configure Template (use the template from the web page above)
Then you should be able to control the led as well - For further tweaking go to console and type “WC” to see all settings. Settings can be changed via wc[setting name] [setting], e.g. "wcflip 1" to flip the image.
Note: I changed the resolution to a higher setting via "wcresolution 7" (SVGA), which is a good speed and image quality compromise
Alternatively the Arduino IDE Camera Server example can be used
Tags
Model origin
The author remixed this model.


