Ender 3 to EDM Machine Conversion
Description
PDF


Overview
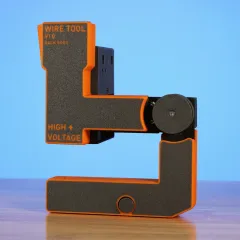
These are printed parts for converting an Ender 3 into an electrical discharge (EDM) machine. There are four prints:
- EDM Cartridge Adapter
- Wire to Filament Clip
- X-Axis Cable Management Hub
- X-Axis Limit Switch Cover (Optional)
EDM Cartridge Adapter
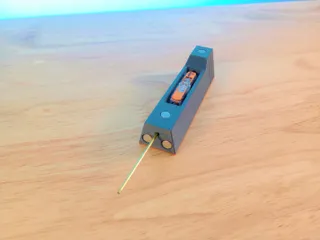
The cartridge adapter uses the stock Ender 3 M3 bolts to attach to the X-axis plate. It contains magnets that hold in a EDM electrode cartridge. Cartridges are quick-swap and interchangeable. The cartridge holds the 1/16" brass electrode, which is used for machining. It is a consumable item.
https://www.printables.com/model/411361-edm-cartridge-electrical-discharge-machining
If you would like to design your own adapter, here is the base CAD model:
https://www.printables.com/model/411378-generic-edm-cartridge-adapter-electrical-discharge
Print Settings
PLA / ASA/ ABS
0.12 - 0.2 mm
20% Infill
No Supports Required
Optional warning sign color insert
Assembly
Glue magnets in-place with cyanoacrylate super glue. Ensure that magnets are in the correct orientation to mate with a EDM electrode cartridge.
Wire to Filament Clip

These small clips hold electrical wire to 1.75 mm filament. This helps with cable management the same way as a cable chain.

Print Settings
PLA / ASA/ ABS
0.12 - 0.2 mm
20% Infill
No Supports Require
Assembly
Glue filament in-place with cyanoacrylate super glue. Press wire gently into place. Glue the ends of the filament into the adapter and wire management hub.
X-Axis Cable Management Hub

The X-axis cable management hub requires no fasteners. It holds the filament, in the wire management cable, in place. It slides into place inside the extrusion.
Print Settings
PLA / ASA/ ABS
0.12 - 0.2 mm
20% Infill
No Supports Require
Assembly
Glue filament in-place with cyanoacrylate super glue.
X-Axis Limit Switch Cover (Optional)

Print Settings
PLA / ASA/ ABS
0.12 - 0.2 mm
20% Infill
No Supports Require
Assembly
Use the M3 fasteners that came with the Ender 3 to install this optional components in place. It serves no functional task other than aesthetics.
Other Printed Parts
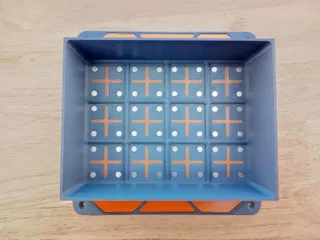
Some other printed parts required is the EDM vat and EDM electrode cartridge
https://www.printables.com/model/411226-edm-vat-electrical-discharge-machining-gridfinity
https://www.printables.com/model/411361-edm-cartridge-electrical-discharge-machining
For more information about desktop EDM check out rackrobo.io

Tags
Model origin
The author marked this model as their own original creation.


