Raspberry Pi GPIO Power Blocker for Prusa
Description
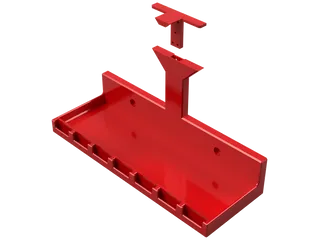
PDFBlocks most GPIO pins of a Raspberry Pi board for connecting the Pi to the Prusa Einsy board via GPIO using the Prusa Pi-Zero W installation guide (https://help.prusa3d.com/en/article/raspberry-pi-zero-w-preparation-and-installation_2180). Power pins are blocked as well. This is for externally-powered Raspberry Pis.
My Pi-Zero W started having issues with my MK3S so I decided to upgrade to a Raspberry Pi 4B. I was not comfortable having a fully exposed GPIO header. I did not want to be doing maintenance or modding the machine in the future and then forget which pins get populated.
I got the PI GPIO Protection file by Naesstrom from Thingiverse (https://www.thingiverse.com/thing:3121120) and cut out a section that I could use to install my own connector. I just glued a Dupont 1x5 to a Dupont 1x1. I wanted a keyed connector, something that I couldn't mess up when connecting (2 2-pin connectors just has too many chances of messing up).
Print instructions
I printed mine out with Prusament Jet Black PETG. The flow had to be adjusted to 90% using the baseline Prusament PETG profile.
I put guide arrows on the part showing the 4 circuits that will need to be populated. My first print didn't show them because they were only .1 mm deep. I tried at .25 mm and finally .5 mm. I think I'm just not seeing it because the arrows are tiny and I am printing on the textured bed. They are there.
I updated the v4 file with the .5mm arrows and the g-code uses the stock Prusament PETG filament profile set to 90% flow.
Model origin
The author hasn't provided the model origin yet.


