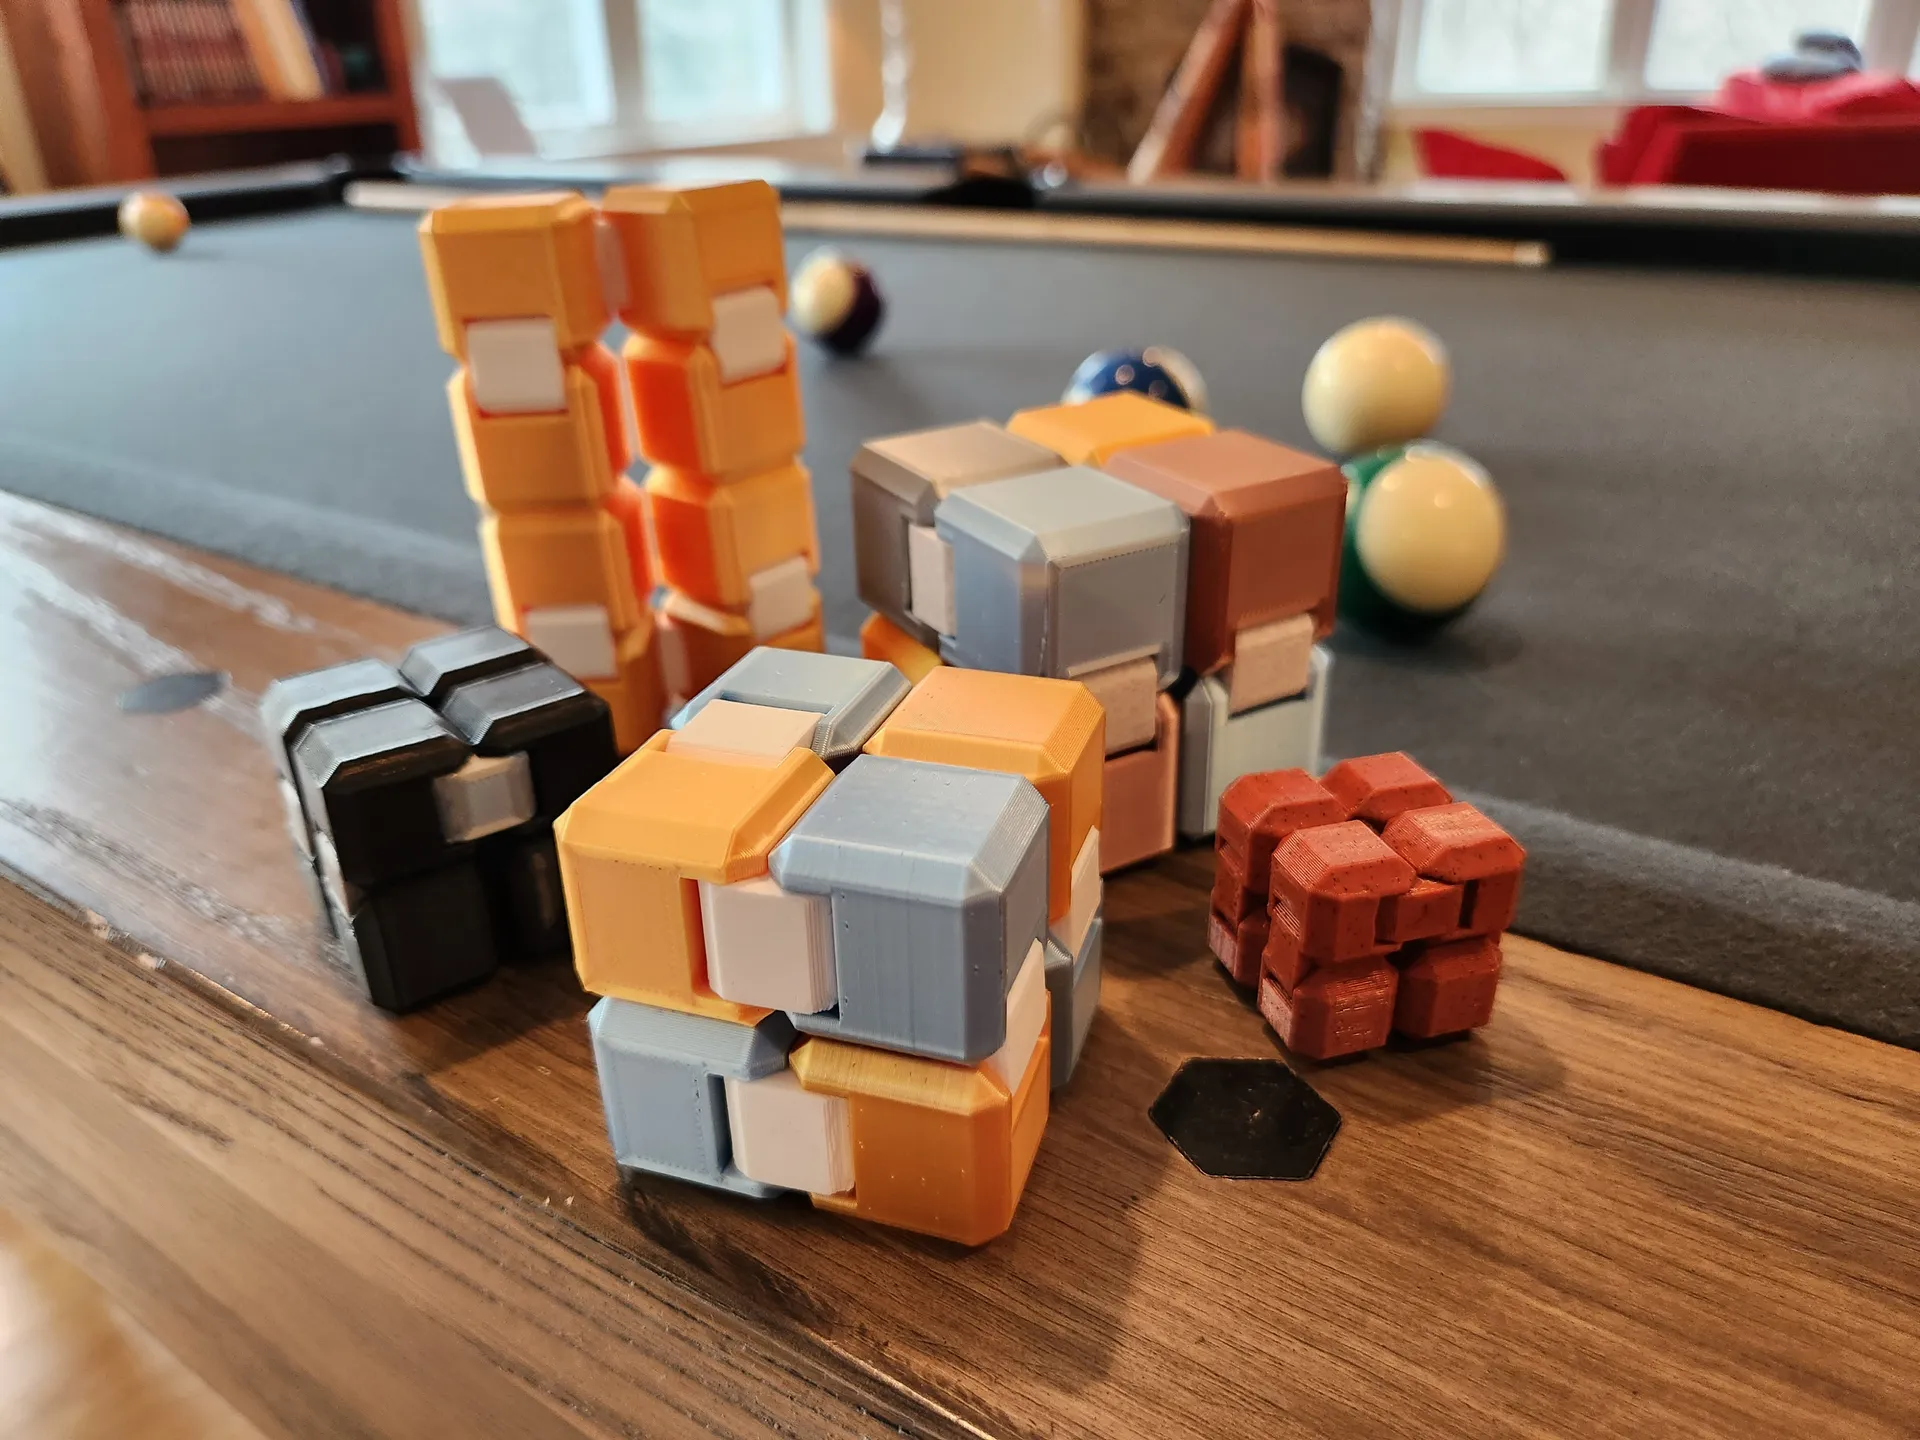
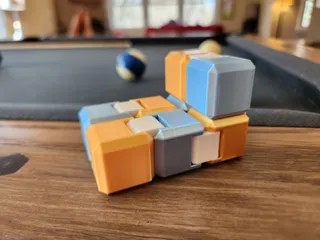
Infinity Fidget Cube (Snap-Together, Rugged & Parameterized)


Description
PDFAn infinity cube concept with a different approach to the way the connector joints work, using an easy-to-print snap together design. My goal was to design a version that wouldn't have the issue with the unsupported first layer of the upper connectors that can sometimes make the print-in-place designs difficult to print. I also wanted the rotation of the joints to feel nice and smooth without any “wobble”, while also ensuring a strong print that could handle a lot of use, being dropped, etc.
This design is fully parameterized, and I've tested and provided here the model files for four different sizes. I personally like the 25 mm version best, but I've noticed that my kids prefer the 20 mm version. Bonus: I've also included the Fusion360 file along with a quick video tutorial (see below) so that you can easily customize the size/shape/tolerances on your own.
Printing notes:
- Any layer height should work (I used .20mm layer height in my prints, with PLA).
- I used a 30% infill, but a lower setting would work fine - and a higher setting results in a nicely satisfying and heftier feel.
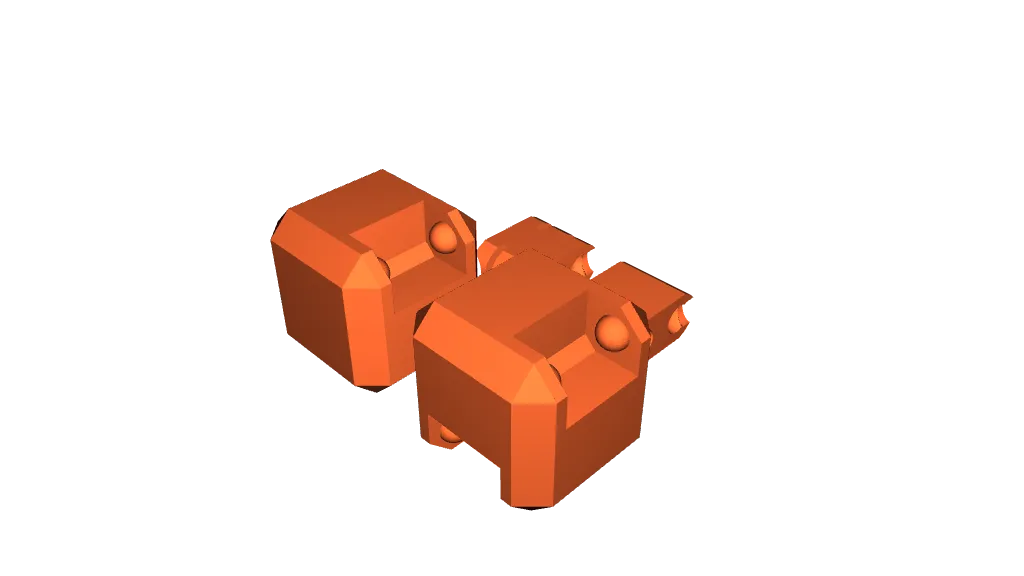
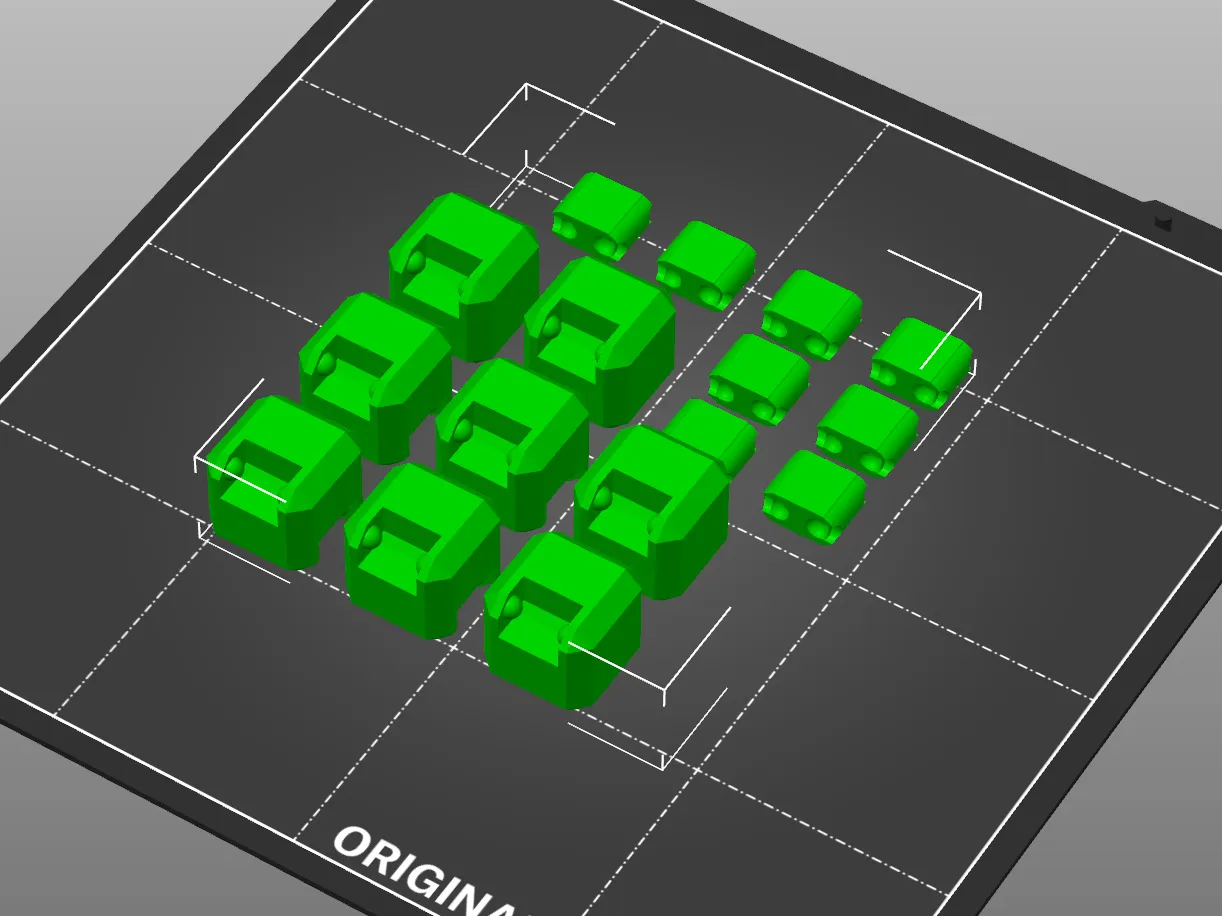
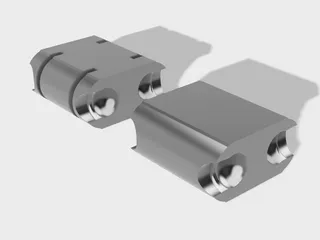
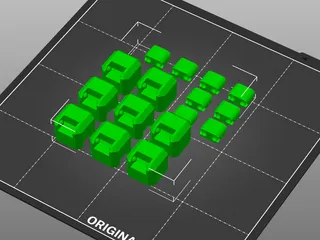
- Choose the size of cubes you want (15mm/20mm/25mm/30mm), and then you'll need to print 4 of the “Cube Left”, 4 of the “Cube Right”, and 8 of the connectors.
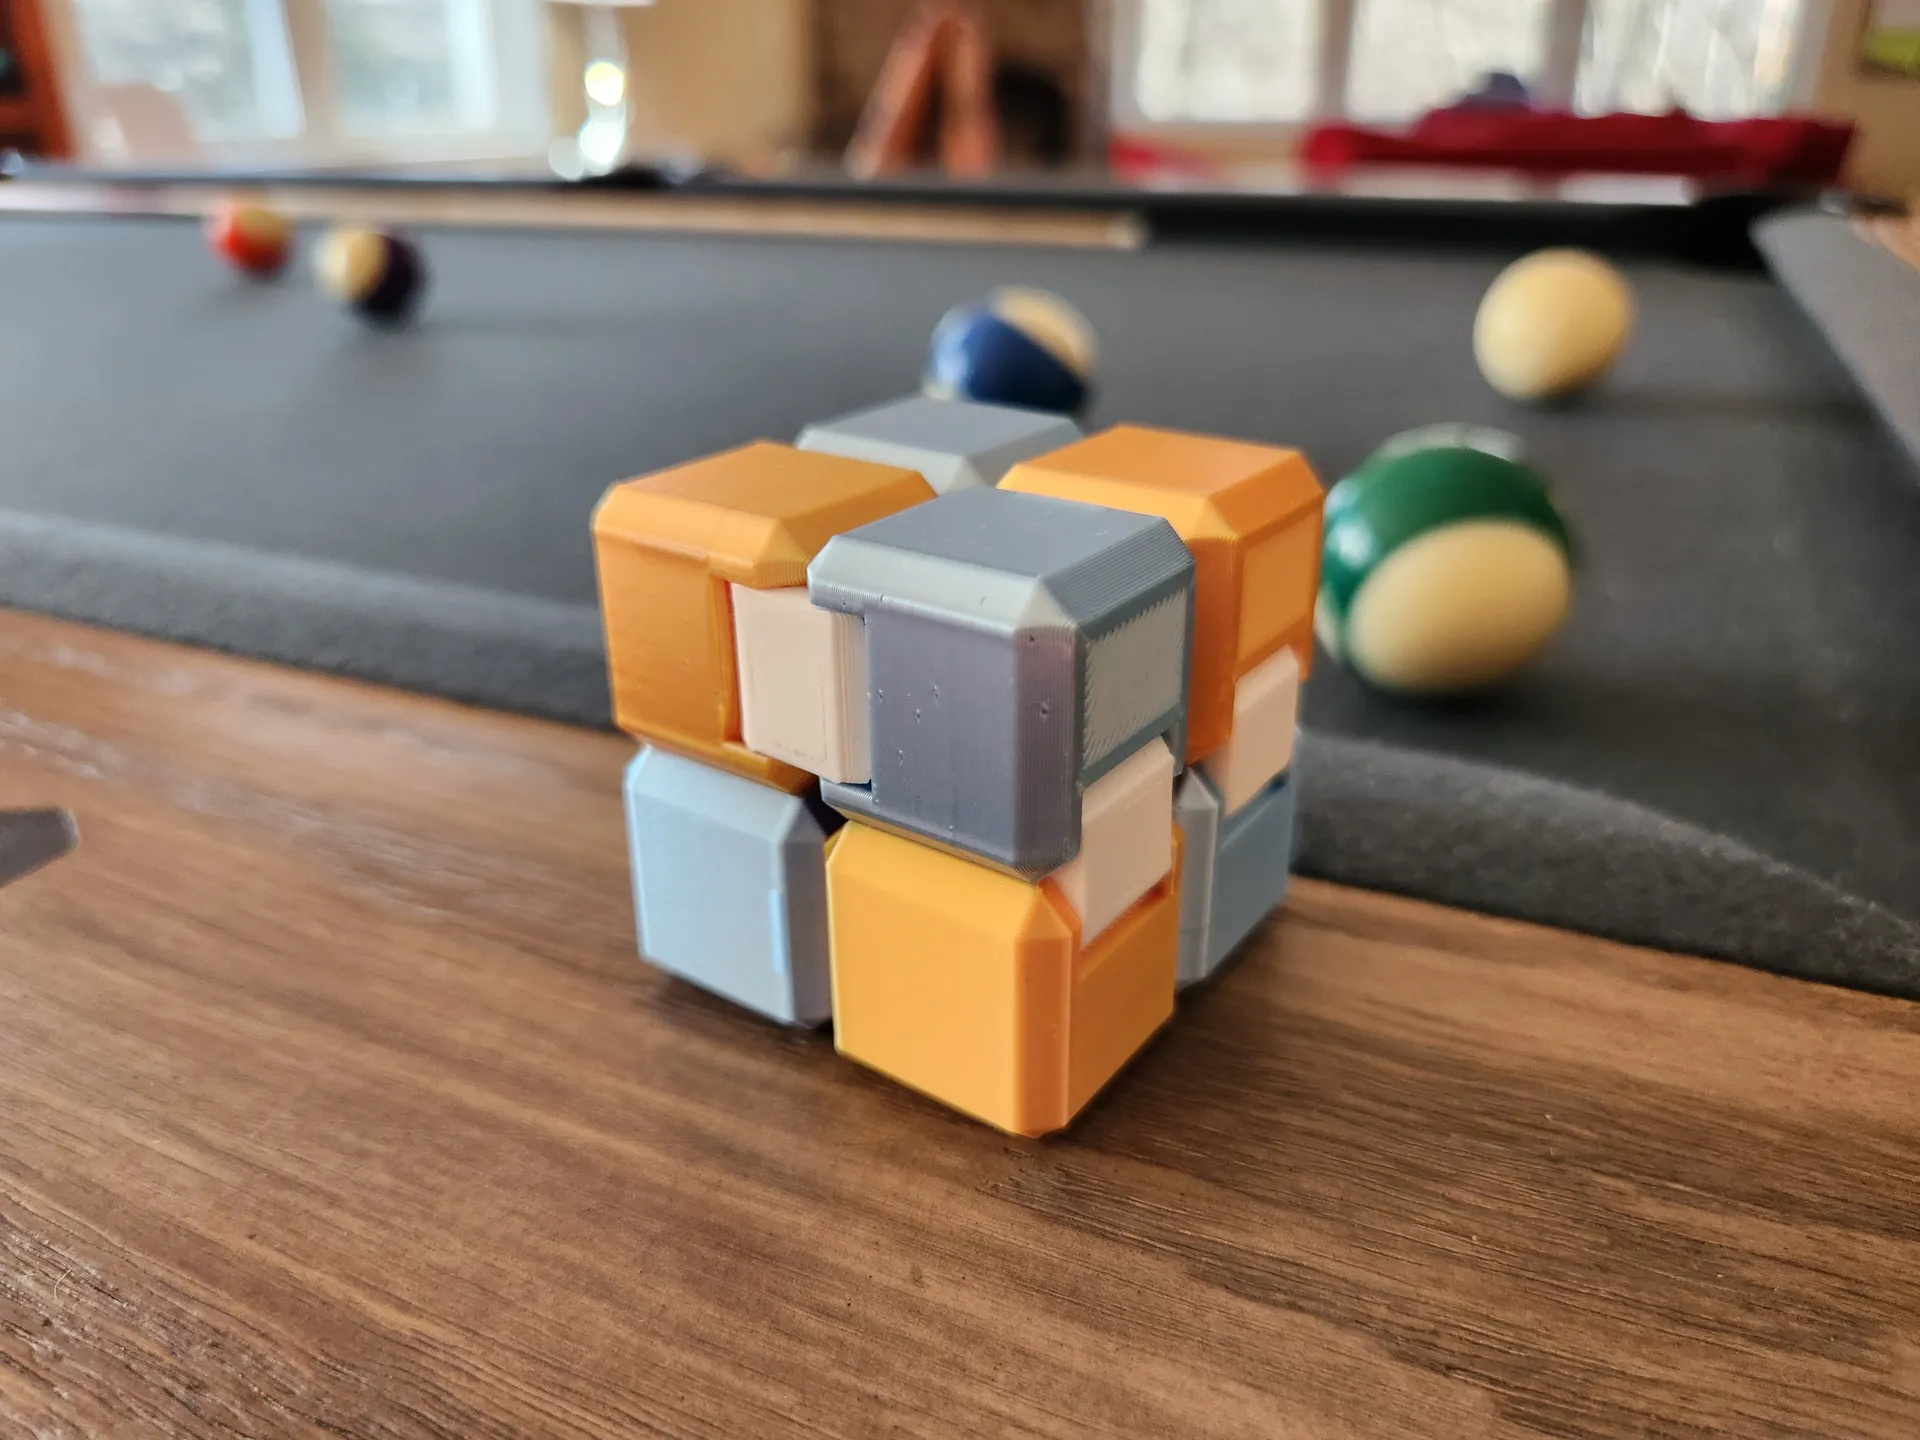
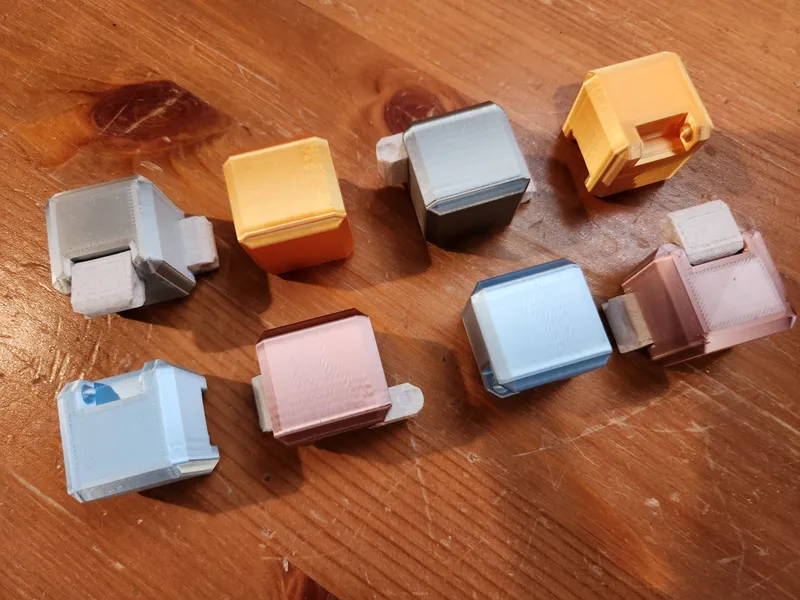
- Take advantage of the “snap together” design by mixing & matching different colors!
- I set the “Vertical Shells → Perimeters” setting to 4 for a bit thicker walls, so that they could handle a bit more abuse.
- I didn't need one, but you may want to optionally enable a brim when printing the connectors.
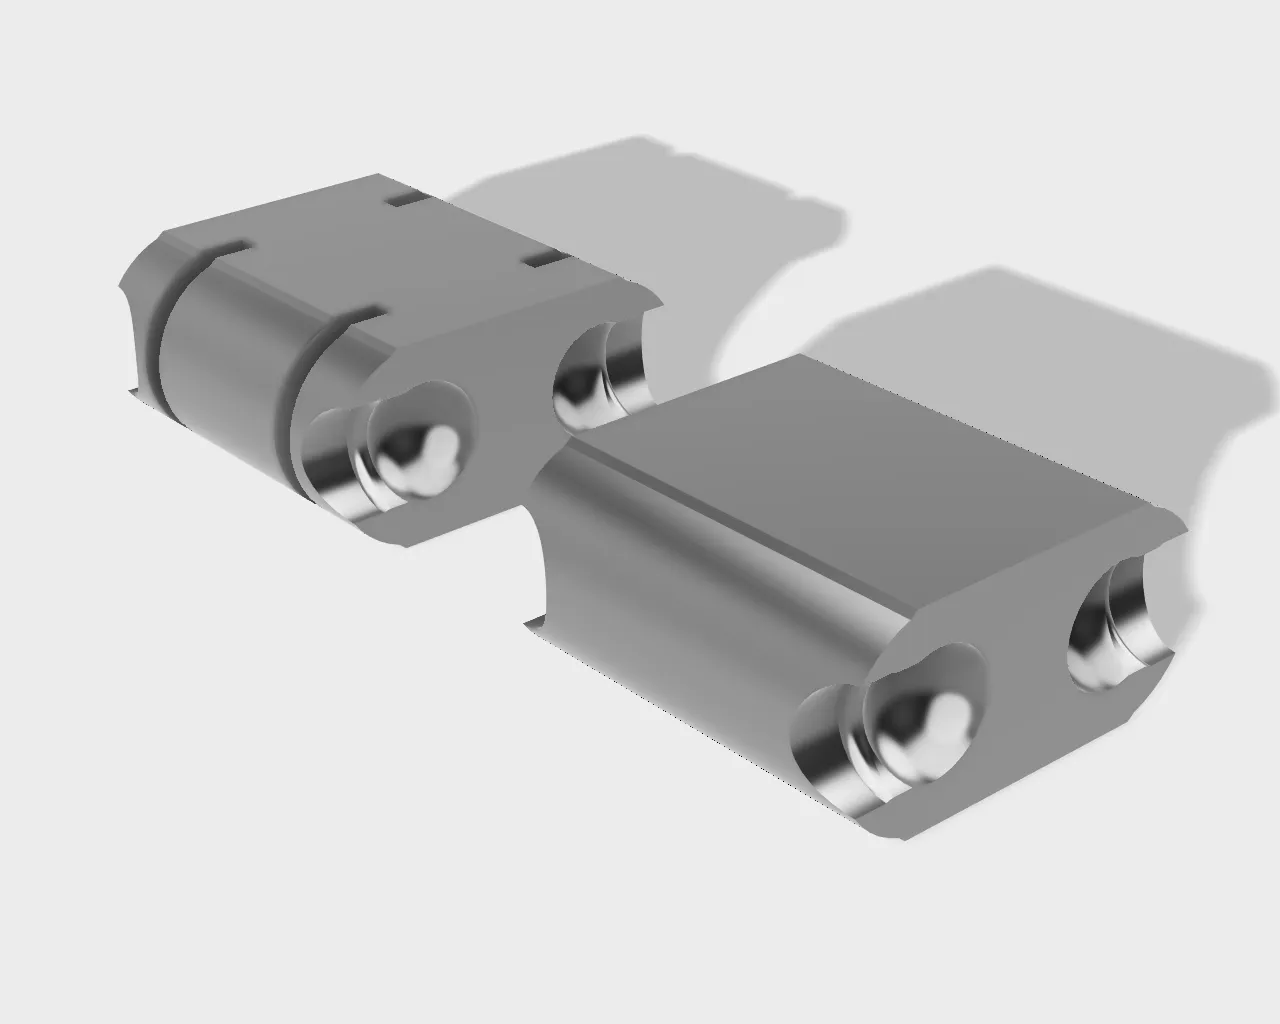
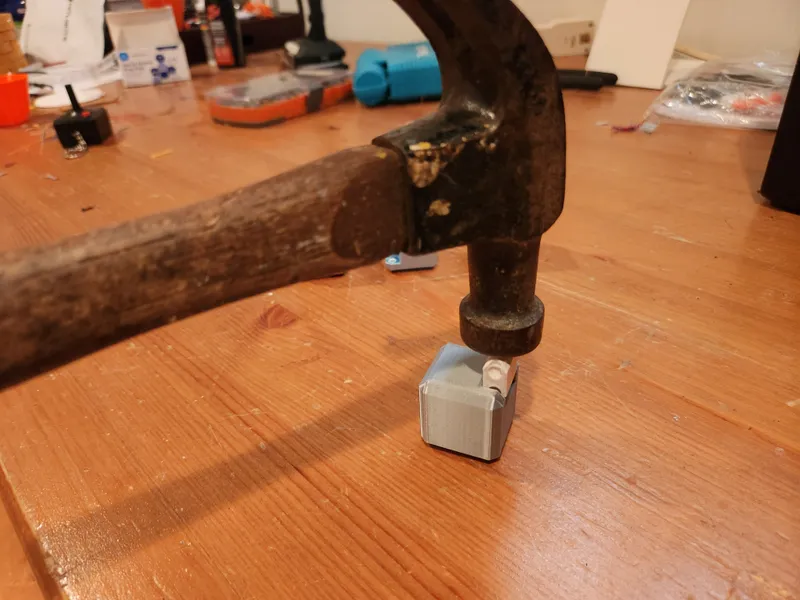
- Two different connector types are provided, one that has a bit more flex to it and the other that doesn't. I had no trouble snapping the model together using the “solid” connectors, but a light tap from a hammer can be used to help get the connector seated. The “flex” version of the connector can be used instead if you have trouble. In either case, after a few uses, you should notice that the joints rotate very easily while still being incredibly strong.
For your convenience, I've also attached “Cube Test” 3MF files that you can start with that match the settings above, which include two cubes and two connectors that you can simply slice & print if you'd like to try the model out before printing the full complement of parts. I'd recommend slicing on your own, but I've also attached the “.gcode” file that I used to print a completely solid color version of all the parts in a single print on my Prusa Mini.
Assembly:
Here is a quick picture of how you'll want to lay out the 8 cubes & connectors before fully snapping them together:
The joints will move freely after assembly, but the snap joints on the solid connectors may require a light tap from a hammer to slide in place the first time. Alternatively, a “flex” version of the connectors is also provided which will slide on more easily.
Parameterizing (Advanced):
This model has been carefully designed in a parameterized fashion using fully constrained sketches, so that its size and tolerances can be dynamically adjusted to whatever you'd like. Here's a quick video that shows how that works:
You'll need to download the “Infinity Cube.f3d” file that I've uploaded to this model if you want to give this a try (I promise it's painless & fun!), and you'll notice several parameters that are part of the model that let you adjust things. Here are the key parameters I adjusted for the four sizes of the model that I've already uploaded with this model (and shown in the pictures), so these values are a good place to start - and then you can customize from there:
| 15 mm Cube | 20 mm Cube | 25 mm Cube | 30 mm Cube | |
|---|---|---|---|---|
| Cube_Width | 15 | 20 | 25 | 30 |
| Cube_Chamfer | 3 | 3 | 3 | 3 |
| Connector_Width | 7.5 | 11 | 16 | 16 |
| Pivot_Diameter | 3.5 | 4 | 4.5 | 4.5 |
| Pivot_Center_Offset | 3.2 | 3.5 | 4 | 4 |
Note that if you'd like to adjust how “tight” or “loose” the connectors feel, then you'll want to tweak the following parameters:
- Connector_Tolerance: Amount of space between the connectors and the inner cube walls (default: 0.2 mm)
- Connector_Snap_Tolerance: The size of the “bump” that the connector has to slide over when pushed into place the first time. Lower values will make it easier to snap in place (default: 0.6 mm)
- Cube_To_Cube_Tolerance: Amount of space between the cubes when assembled (default: 0.3 mm)
- Pivot_Tolerance: Amount of space (radius) between the ball joint on the cube and it's corresponding divot on the connector (default: 0.1 mm)
My kids and I had a lot of fun messing with this design to get the tolerances and feel “just right”, and now they fight over their favorites - so we keep printing more. I hope you enjoy as well!
Tags
Model origin
The author marked this model as their own original creation.