Sovol SV01 Pro Y Linear Rail Mod

Description
PDFThis is the mod to adapt Linear Rails on the SV01 Pro
Please read through everything before proceeding. I will not be held responsible if you break your machine
Special thanks to Krzysztof for his idea to bring this project to life
Bill of Material (BOM)
- 2x MGN12H 450mm Rail (LINK)
- MGN12H Carriage Block (LINK)
- Y Spacer.stl
- Y-Linear_v3.stl
- Belt_Tensioner_Y_Nut_by_Hebign.stl
- Belt_Tensioner_Y_Screw_R2.stl
- Y Extender v6.stl
- 4x M5 x 12mm Socket Cap screws
- 4x M5 Self locking nuts
- 12x M3 x 8mm Socket Cap screws (mounting the MGN12H carriage blocks)
- 10x M3 x 8mm Socket Cap screws (mounting linear rail to Y extrusion)
- 10x M3 T-nuts for 2020 rail
Procedure
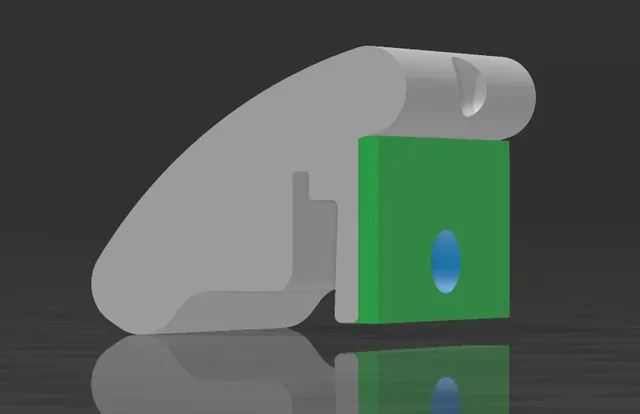
1 - Print the following parts before disassembling the printer. Print at least in PETG, ABS or ASA. minimum 30% infill, 3 walls (PHOTO 1 & 2)
- Y Spacer.stl
- Y-Linear_v3.stl
- Belt_Tensioner_Y_Nut_by_Hebign.stl
- Belt_Tensioner_Y_Screw_R2.stl
- Y Extender v6.stl
Test hole tolerance on the Y spacer and the Y-Linear with M5 screw. You might have to extend the hole bigger with an ¼" drill bit
2- Insert the MGN12H carriage block in one of the rail. Be careful not to let any ball bearings coming off. Fully lubricate the bearings with proper lubrication oil (PHOTO 3)
3- Remove the heater bed from the Y carriage (PHOTO 4)
4- Remove the belt from the carriage (PHOTO 5)
5- Fully remove 6x wheels from the Y carriage (PHOTO 6 & 7). Keep 4x M5 Self locking nuts
6- Remove 4x M5 screws mounting the Y extrusion to the main printer frame (PHOTO 8)
7- Insert 2x Y spacer on the extrusion. (PHOTO 9)
8- Place the Y extrusion on top of the Y spacers. Secure the spacers down with the existing 4x M5 screws (PHOTO 10)
9- With a vice grip or pliers, insert the self locking nuts to the screw cutout on the bottom of the Y-Linear part (PHOTO 11)
10- Mount the 2 MGN12H rails to the Y-Linear part. Secure the carriage with 12x M3 x 8mm SC screws (PHOTO 12). Align the rail so that the end of the rail is 1cm away from the motor.
11- Slice the rail to the Y extrusion. Using the Linear Rail guide to align the rail on each side (PHOTO 13)
12- Loop the belt through the bearing on the Y Extender
13- Secure the belt on the Y carriage again. Tighten the Y Belt tensioner as needed
14- Mount the Heater bed back to the Y Carriage and perform your regular printer calibration again
After you are done installing in the rail, you will be able to reclaim 10mm printable area up front. This will need to be modified in firmware (Klipper or Marlin)
Edit: There's a remix that will improve on the stability of the bracket. You can download it here https://www.printables.com/model/695763-sovol-sv01-pro-y-axis-bed-carriage-remix
If you think the model is useful, please feel free to donate to support future development work
Reference
Model origin
The author remixed this model.


Differences of the remix compared to the original
Remixed to fit the SV01 Pro better