Modern and minimalistic table lamp

Description
PDFI designed a modern and minimalistic 3d printable table lamp.
Printable parts
This is a multipart print. The lamp consists of 4 parts:
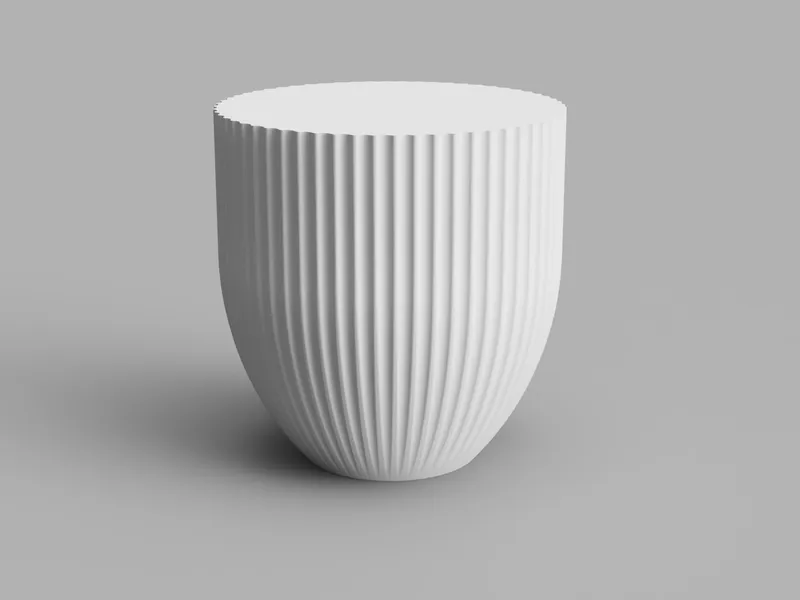
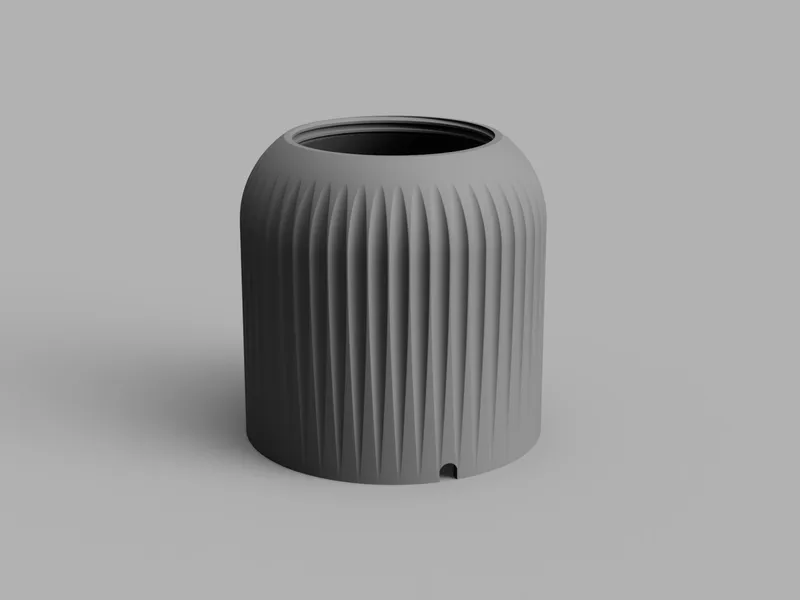
lamp shade (shade.stl)
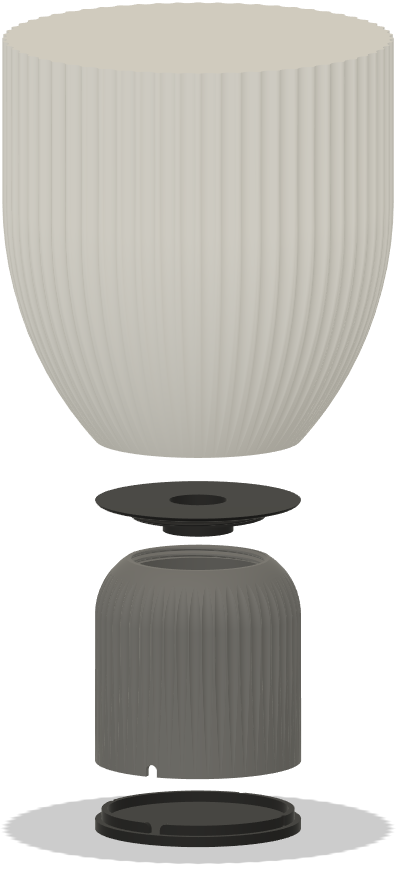
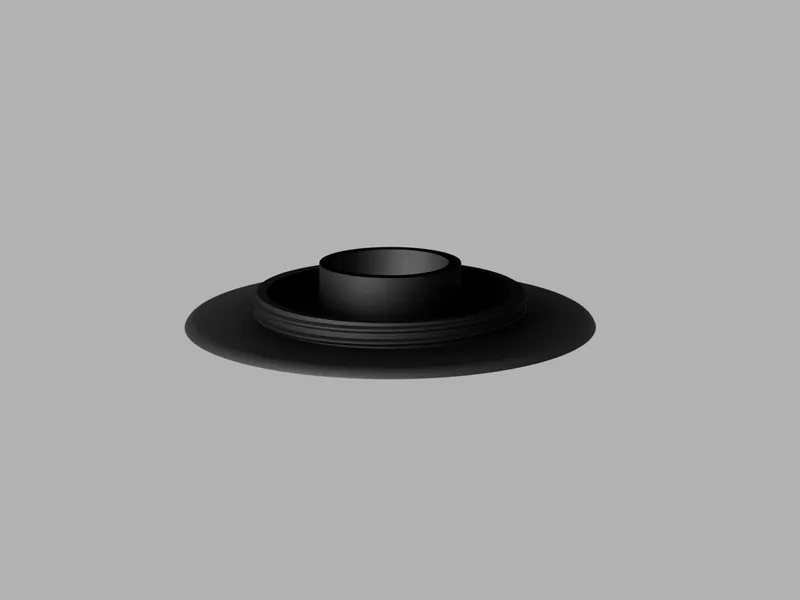
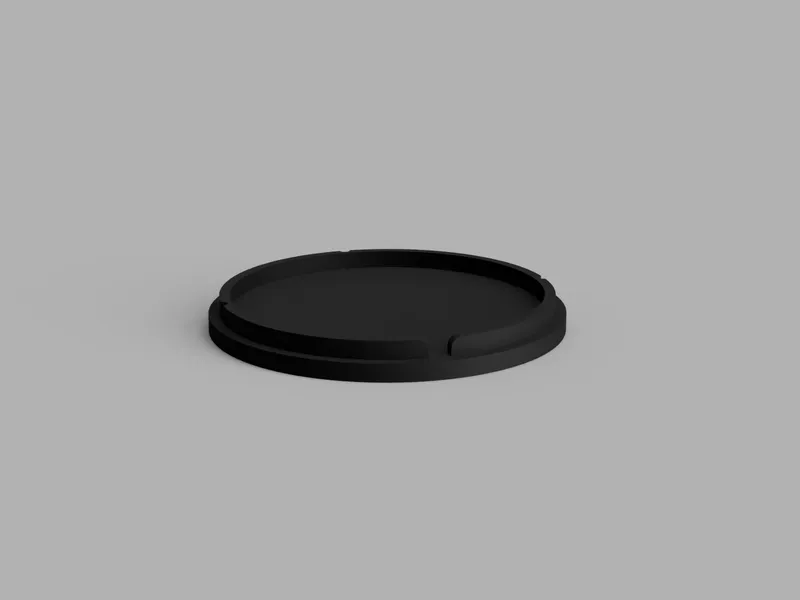
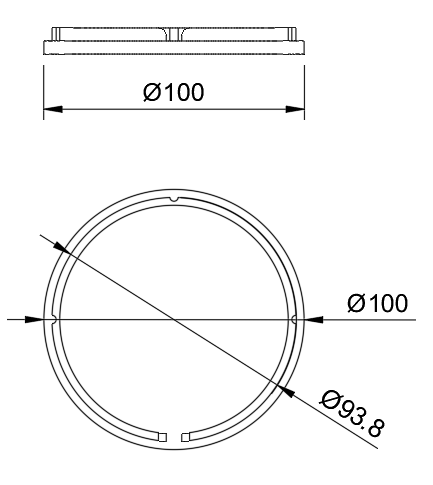
top lid for the base (base-top-lid.stl)
base (base.stl)
bottom lid for the base (base-bottom-lid.stl)
Non printable materials
In addition to the printed parts, you will need a light cord set. The parts were specifically designed around the STRÅLA cord set from IKEA (for LED Bulbs with E14 standard) , but it should work with any cord set with a diameter of 28mm. If you need another dimension please let me know.
Print Settings
Global for all parts:
- Printer Brand: Creality
- Printer: Ender 3 S1 Pro
- Supports: No
lamp shade:
- Infill: 80-100% (For extra strength)
- Layer height: 0.12mm
- Filament: eSUN ePLA-Matte Light Khaki
- Spiralize Outer Contour: Enabled
- Smooth Spiralized Contours: Enabled
- Bottom Thickness: 0.96mm (important for hole in the shade)
- Bottom Layers: 8
- Initial Bottom Layers: 8
base:
- Infill: 40%
- Layer height: 0.2 mm
- Filament: eSUN ePLA-Matte Dark Grey
top lid:
- Infill: 40%
- Layer height: 0.2 mm
- Filament: Polymaker PolyTerra PLA Charcoal Black
bottom lid:
- Infill: 40%
- Layer height: 0.2 mm
- Filament: Polymaker PolyTerra PLA Charcoal Black
Print orientation
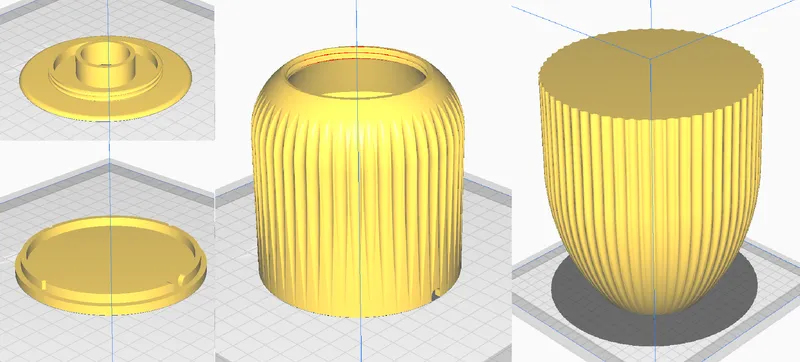
Ortographic projection
bottom lid
| top lid 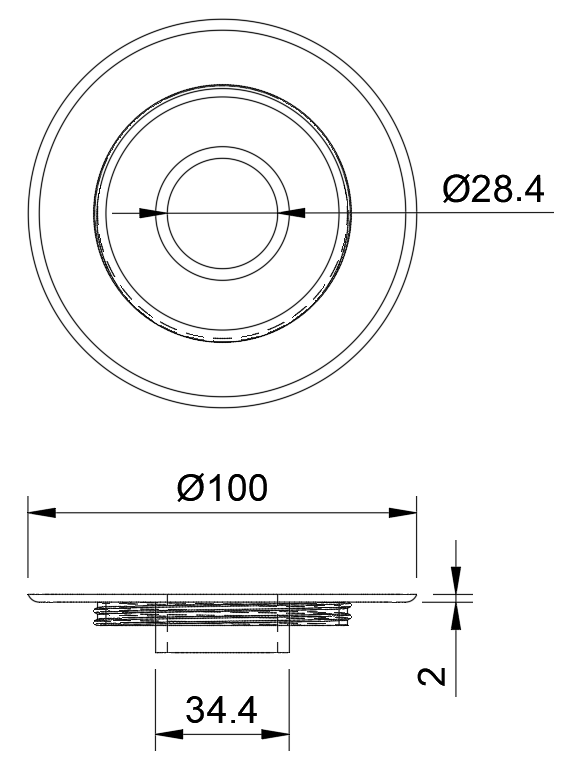 |
base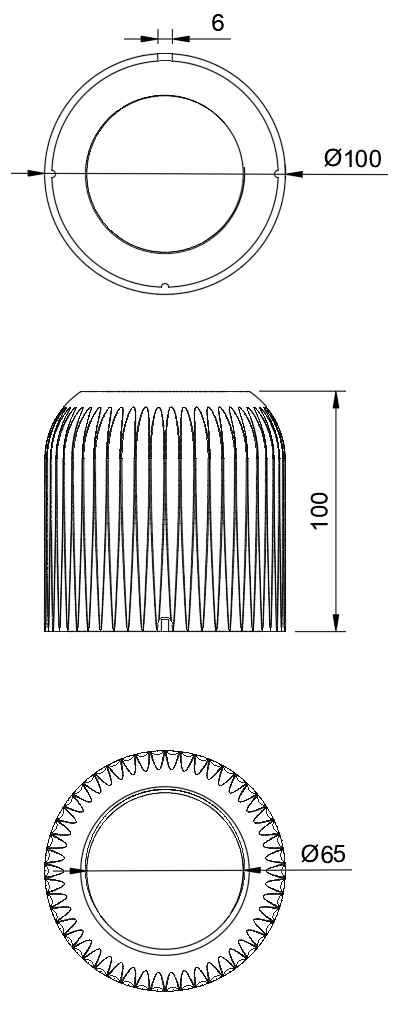 | shade 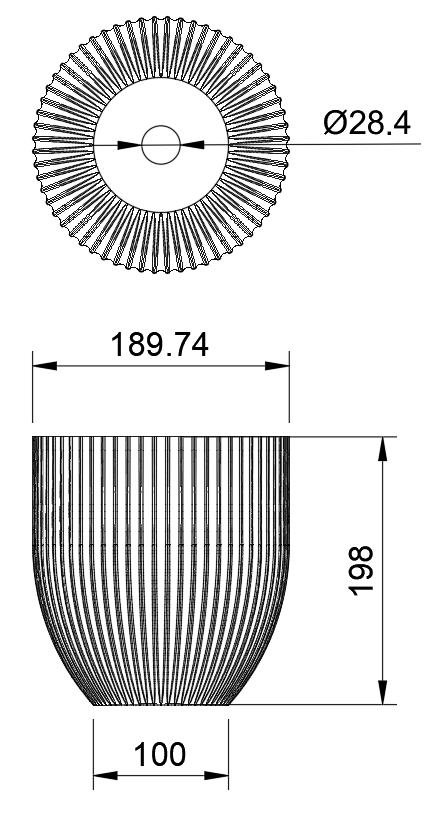 |
Assembly
To assemble the lamp you just have to do the following steps:
- Screw the top lid into the base
- Push the thread part of the cord set through the base and the hole in the top lid
- Put the shade on top of the top lid so that the cord set thread is pushed throug the hole of the shade bottom
- Tighten the thread ring of the cord set so that everything is held together
- Lay the cable of the cord set through the little opening in the bottom of the base
- Align the bottom lid with the opening of the base and push it into place (press fit)
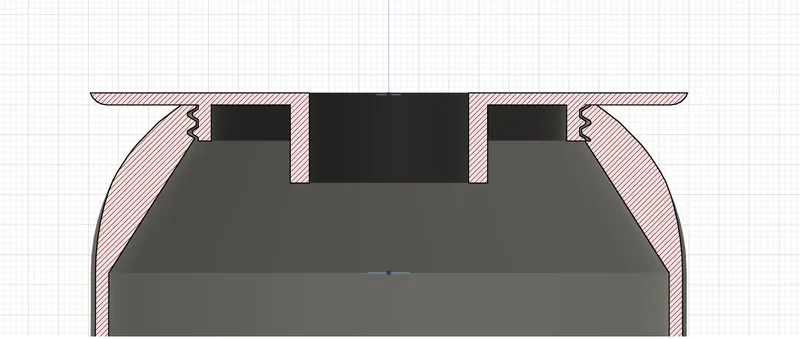
Tolerances
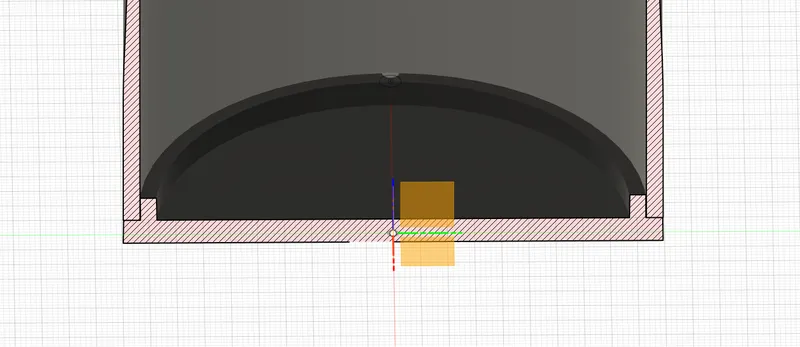
The top lid is meant to be screwed on to the base. I already included some standard tolerances so that the thread should work on most printers. See section analysis image below.
The bottom lid is designed to be a press fit. Naturally the tolerances here are a bit smaller. It i quite a tight fit, but it holds very well.
If any of the tolerances do not work for you, just leave a comment and I will try to upload a model with adapted tolerances.Tags
Model origin
The author marked this model as their own original creation.