Steam Roller toy with patterned rollers

A steam roller toy that has patterned rollers.
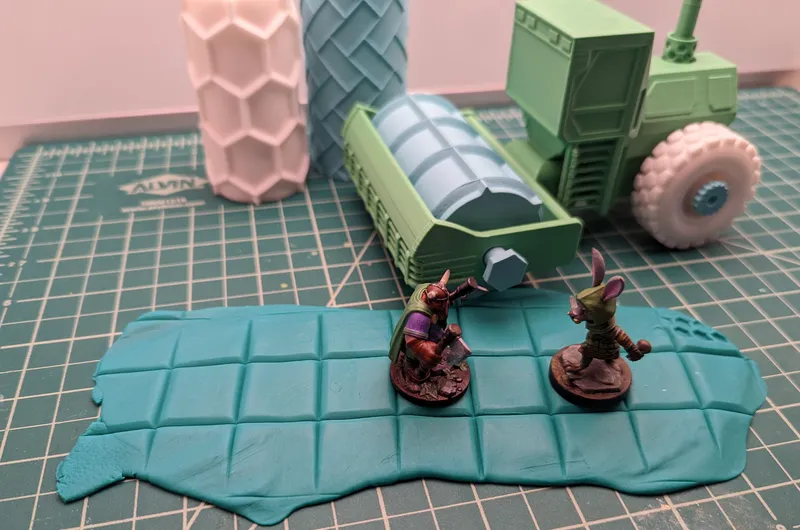
The 25mm grid is sized to be compatible with tabletop miniatures.
In the contest Toy Cars
145
301
5
1471
updated February 5, 2023
Description
PDFThis is a model I designed for the ToyCars competition.
Assembling the steamroller.
Start by printing
- Main body
- Two wheels
- Roller Axles
- Rear Axles
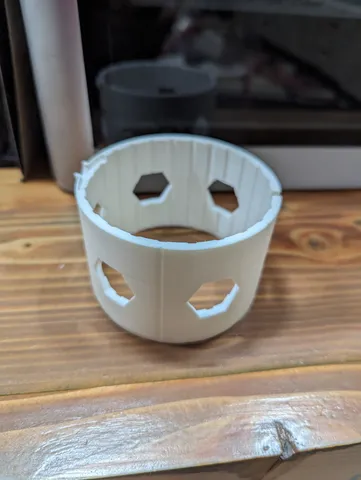
- At least one roller (smooth, hex, grid, herringbone, etc)
All 3mf files have parts separated for multi-material printing
Recommended print settings:
- Layer height: 0.2
- Infill 15% Pattern: any structural (adaptive cubic, gyroid, cubic, etc)
- Supports, brim, etc: not needed
- Material: PLA
Step 1: Remove mouse ears.
The rear axle has some additional material to stabilize it when printing. After removal the axle should look like this

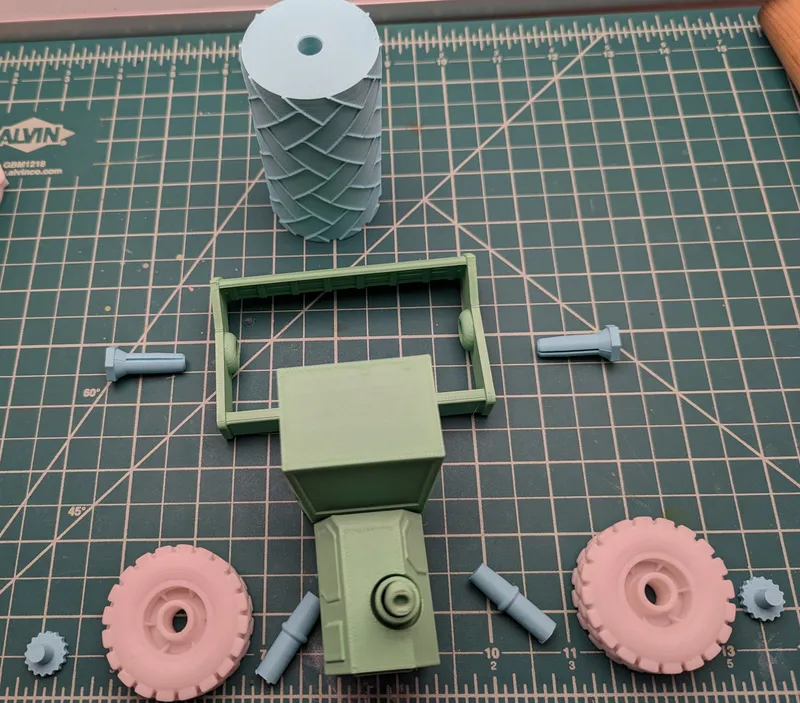
Step 2: lay out all parts to make sure everything's there:
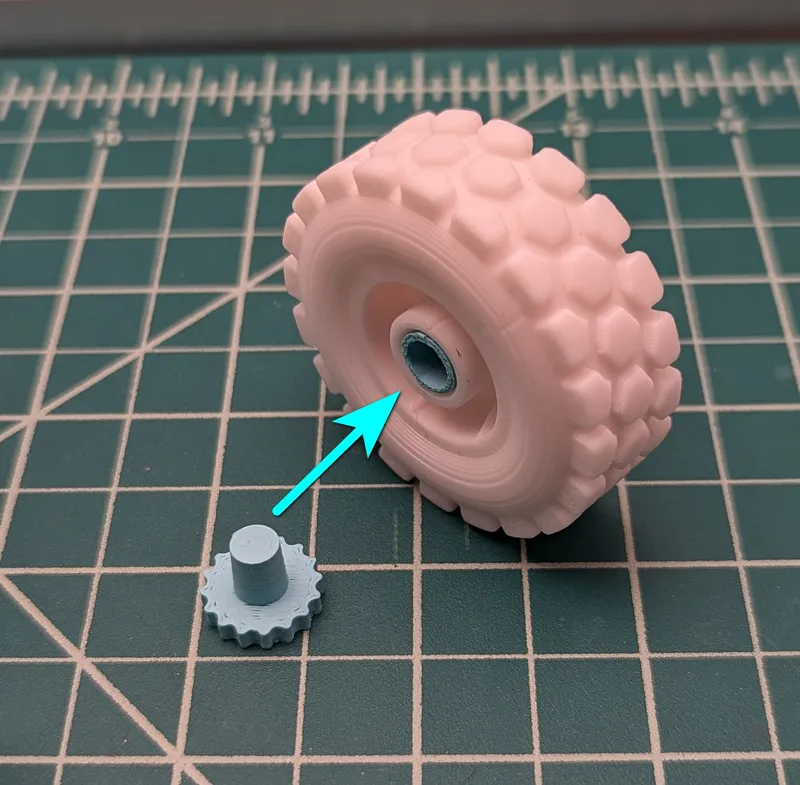
Step 3: Place hollow end of rear axle through the wheel and attach the hubcap
Step 4: Attach wheels to body

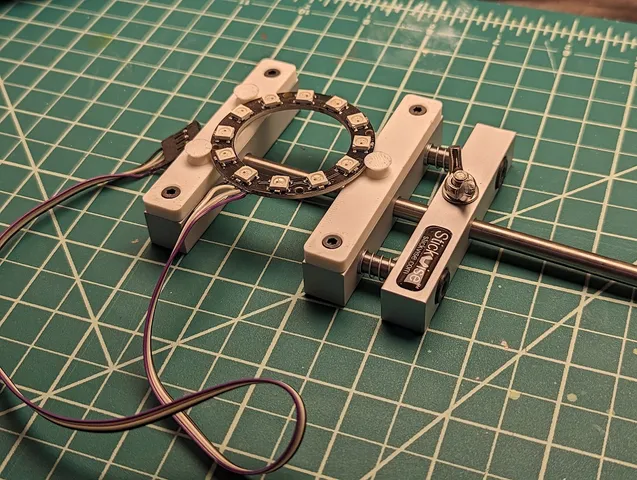
Step 5: Assemble slide in roller and attach the roller pins.
Caution: pins may get stuck if you assemble with excess force.

Step 6: Get some modeling clay or Play Doh and have fun
Tags
Model origin
The author marked this model as their own original creation.