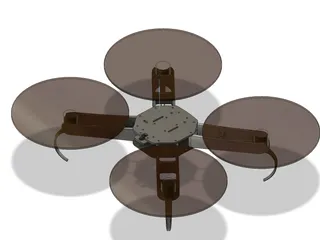
Fully printed Quadcopter/Drone Frame for 9" propellers


Description
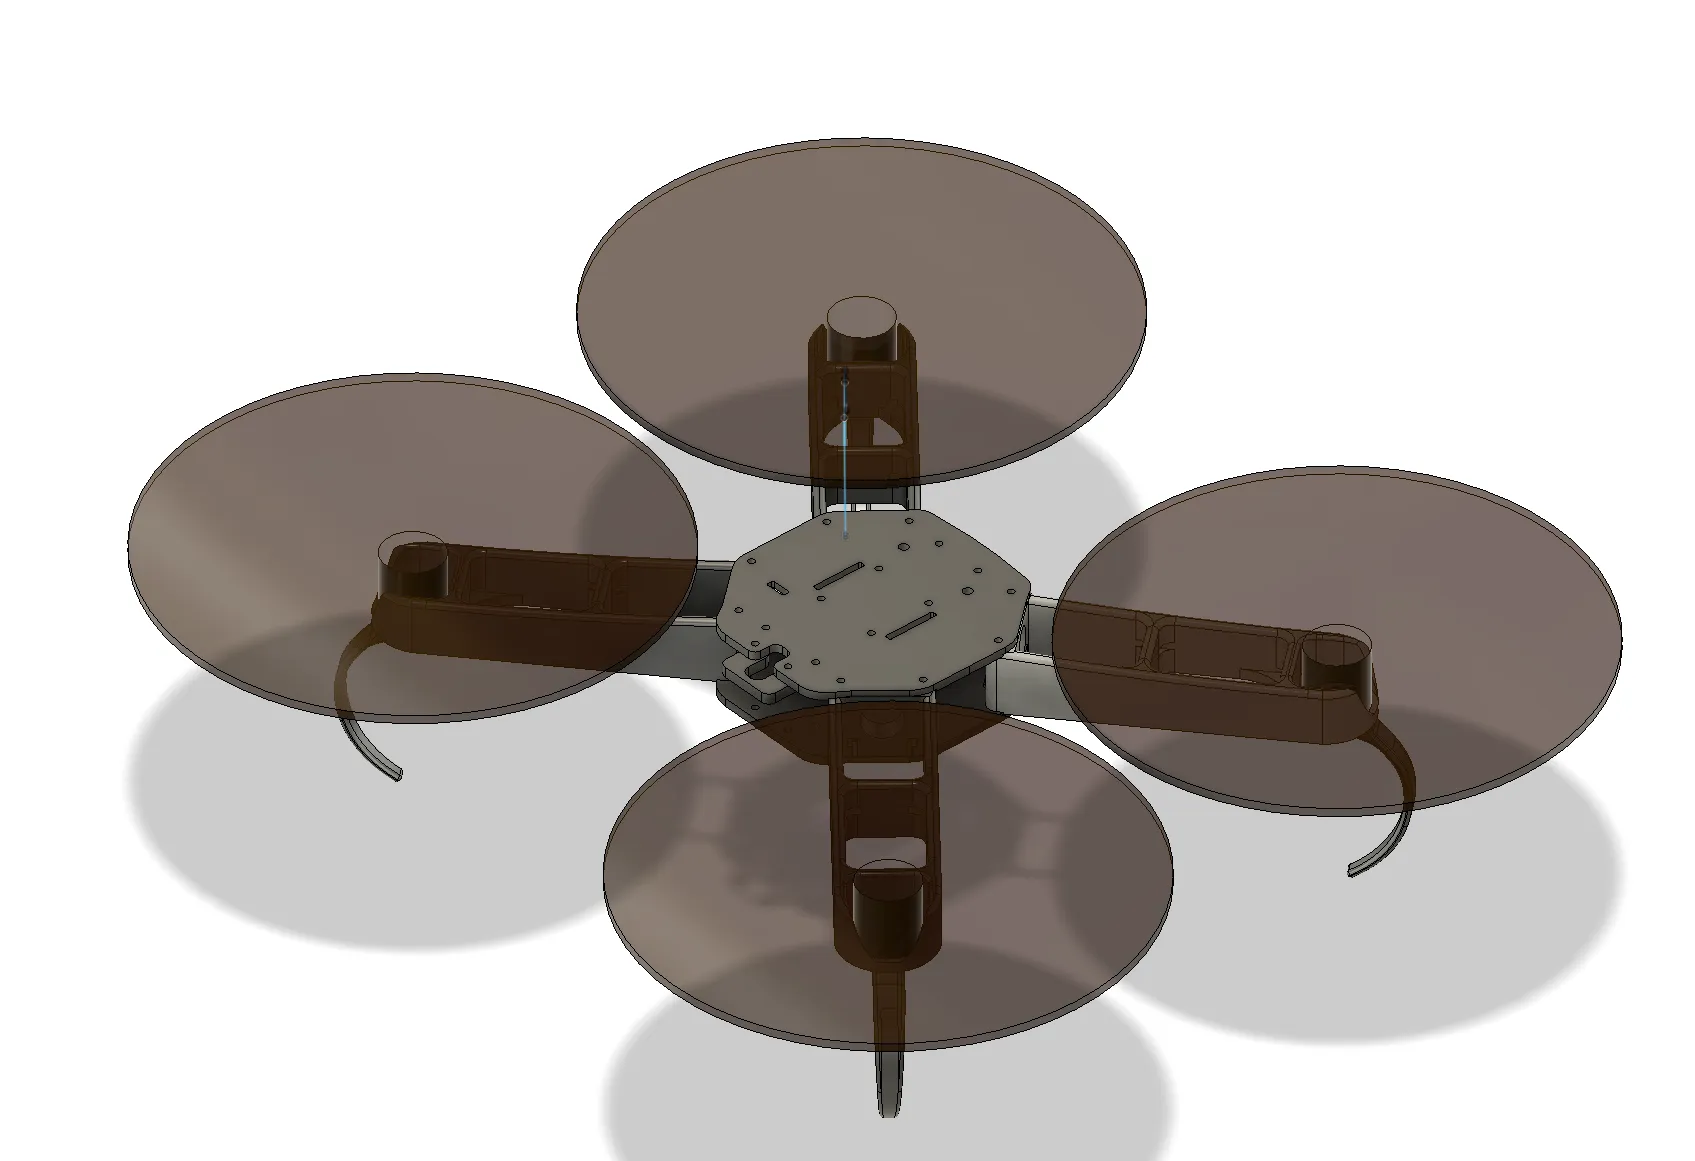
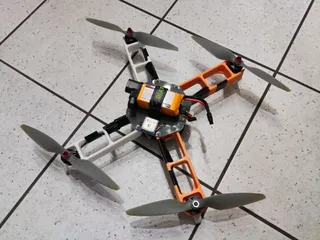
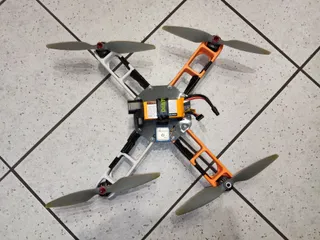
PDFThis is a fully printed quadcopter frame, which can be flown acrobatically and has mounting points for a lot of different components. I designed it as a testing platform and made it as modular as possible. The arms went through multiple revisions, to find a strong lightweight design. I use it with INAV and an omnibus F4 flight controller, but any modern flight controller and software will work.
Features:
- Mount battery below or above using a battery strap
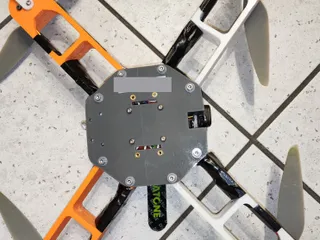
- Many mounting points for additional hardware on inside and outside
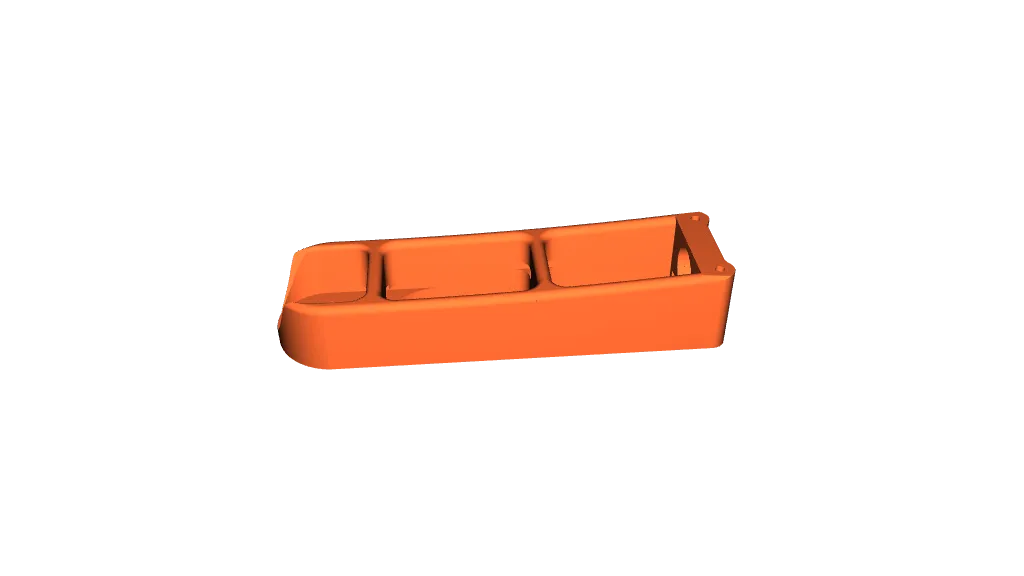
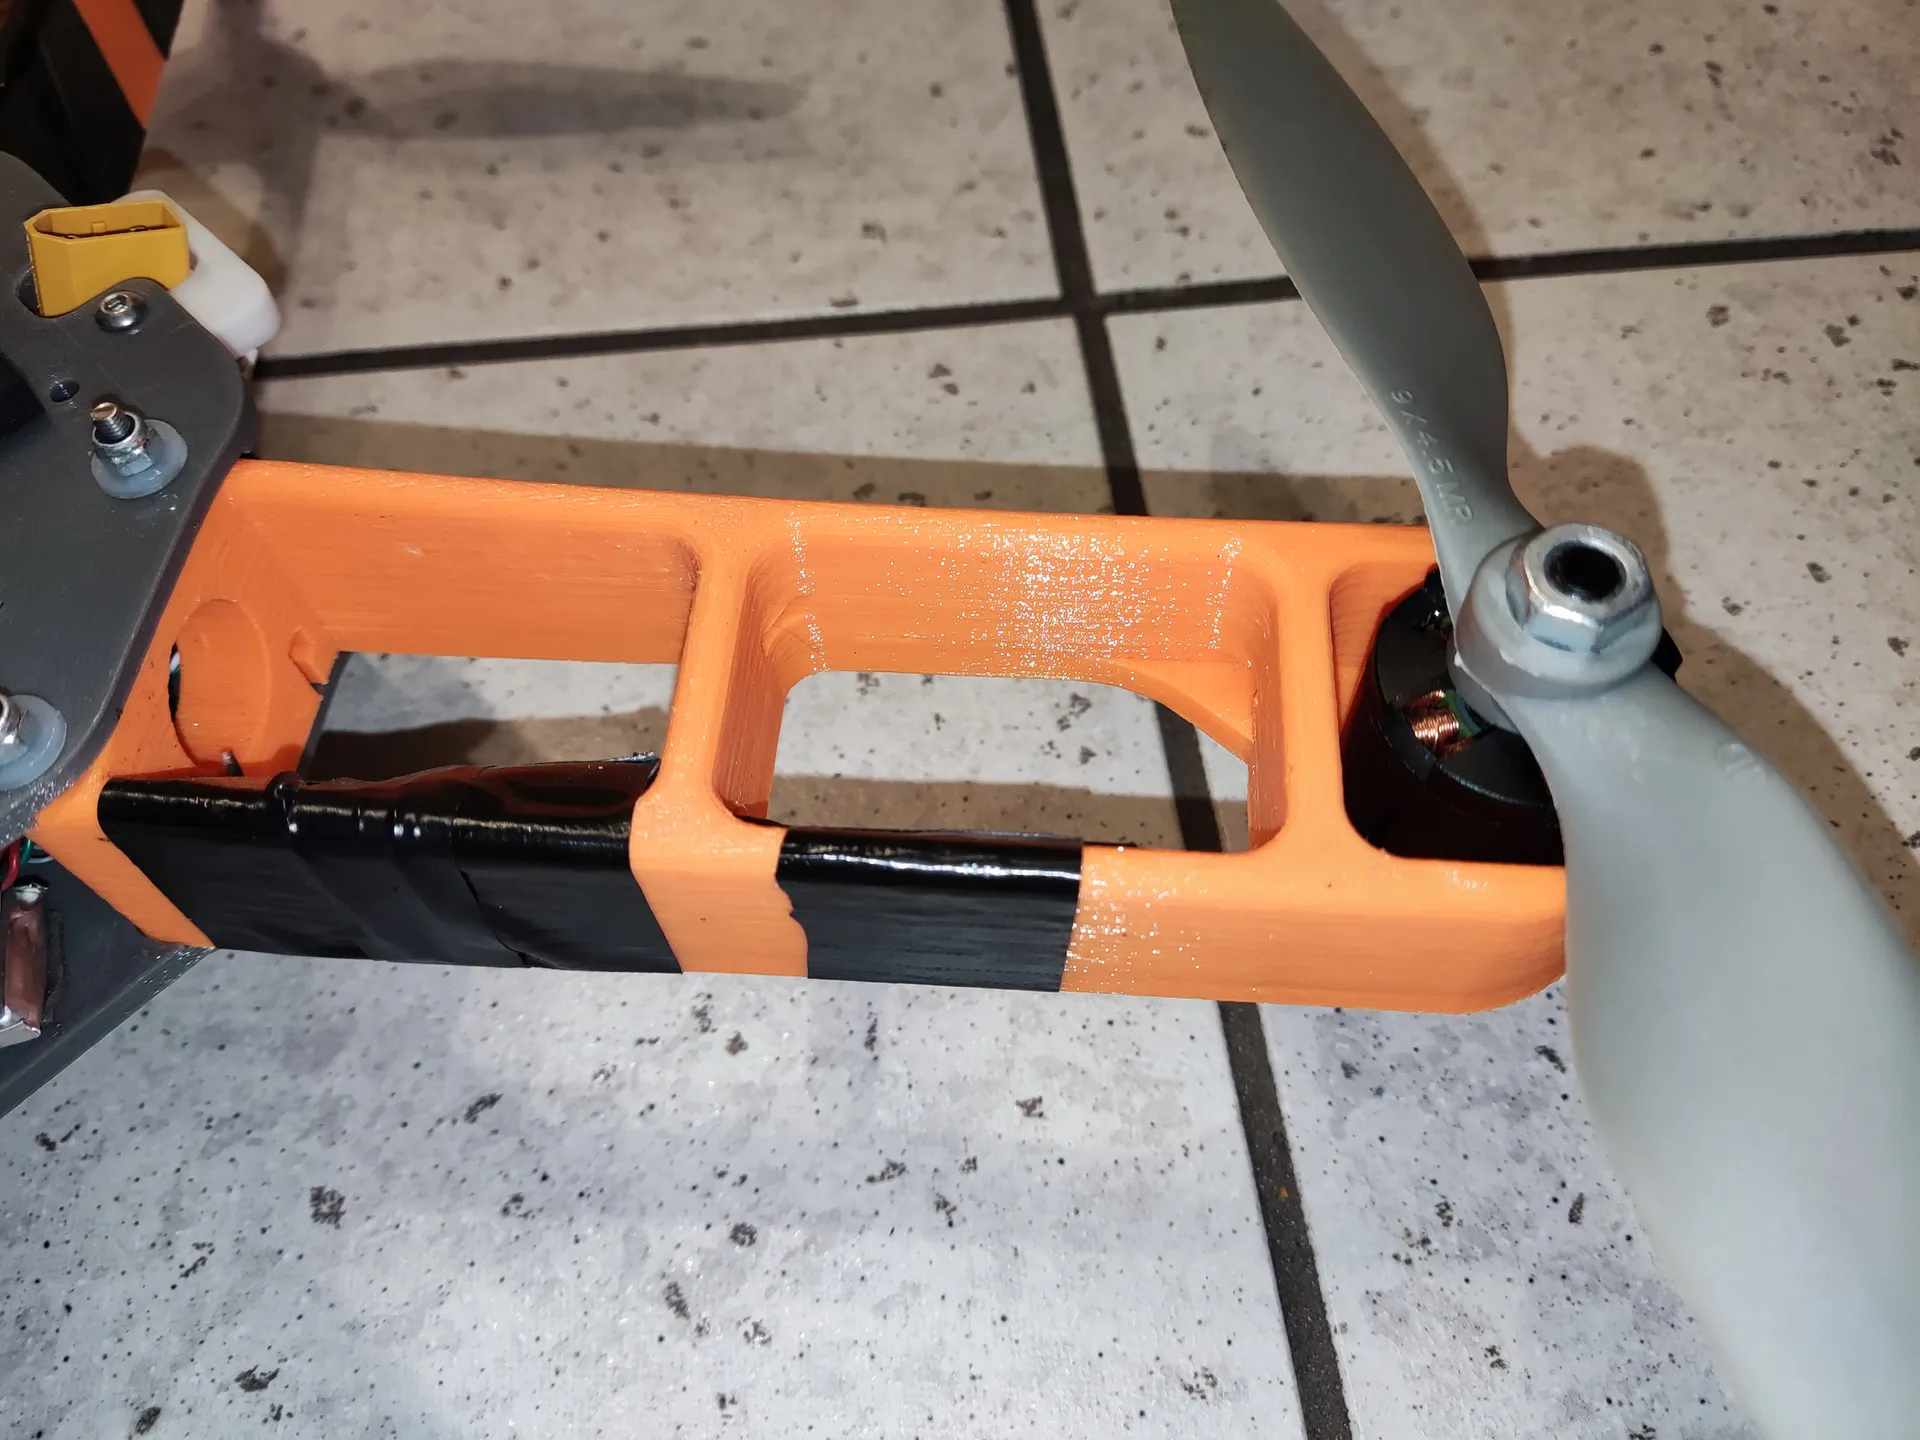
- Easily replaceable arms
- 3g+ maneuvers no issue for current version
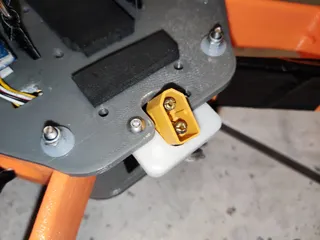
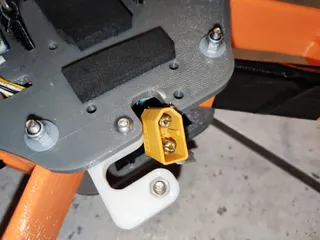
- Clip that holds the battery cable (if battery is mounted on top)
- Wide X design, to move arms out of view of the fpv/hd camera
- Long hover times due to relatively light weight with large propellers
- Mount for Runcam Thumb Pro is available
- Optional landing feet
- Easy to print without support
- All four arms are identical
Specs:
- Propellers: up to 9inch (I used 9x4.5)
- Stack mount: 30.5mmx30.5mm
- Motor size:
- Battery: I used at least 1300mah 5s, but up to 5000mah 4s
- Speed controllers: at least 30A 4s (I recommend using a 4in1)
- Weight: 660g without battery
Hardware:
- ESCs, Motors, Props, Micro sized Fpv camera, vtx, receiver, battery straps and other standard quad parts
- I recommend using Motors with connectors, to make installing the arms a lot easier.
- Let me know if you want a version with mounting holes for different components
- Motors with up to 30mm outer diameter and a standard mounting pattern will fit in the current holders
- M3 bolts with and lock nuts
- 8x 40mm m3 bolts holding the arms (I used 45mm bolts, so they stick out a bit
- 16x m3 motor bolts (the ones coming with motors should work)
slightly longer ones, to mount the landing feet - 4x m3 bolts for the flight stack (use whatever fits your stack)
- 1x 6mm m3 bolt, for the battery cable clip
- Threaded inserts are only needed for some of the optional mounting holes
Assembly:
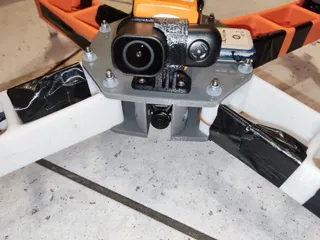
Start by mounting a motor on each arm and routing the wire through to the center hole. Then install the electronics stack on the center base plate and mount the camera. Also mount the battery strap at the top or bottom.
Attach the battery clip to the top plate, if you want to mount the battery on top. Refer to the photos for assembly.
Lastly use the M3x40 bolts to screw top and bottom together (make sure not to apply excessive force here, to not break the 3d prints).
Print settings:
I recommend printing the arms and top/bottom plates from PLA, due to the high stiffness. I printed a test version from PETG, but it had much worse vibrations. Use a high temperature for good layer bonding. All parts are designed to be easily printable.
The arms and plates should be printed with 20% infill and 3 walls.
Use a brim for the landing legs, since they only have a small contact area on the print bed.
No support material is needed!
The landing feet and clip for the battery cable should be printed from abs or petg, to give them the slight flex.
If you expect to crash a lot or are a beginner I recommend to get a carbon fiber frame instead or have a lot of spare arms on hand.
Tags
Model origin
The author marked this model as their own original creation.


