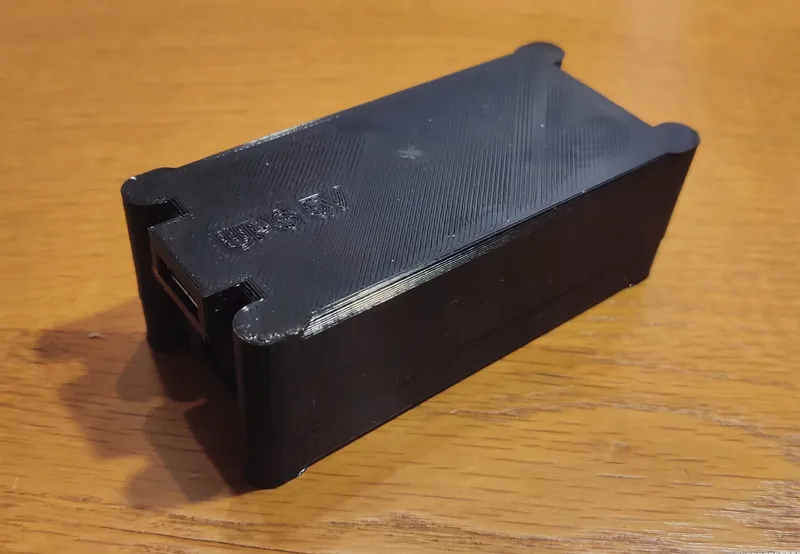
5V UPS based on LX-2BUPS module

Description
PDF5V UPS based on LX-2BUPS module (5V, with a USB Type-C power connector).
This is useful for powering internet switch/router despite a power outage.
In case you need a 9V or 12V UPS, or you need a cable output with DC jack instead of USB, use this design instead.
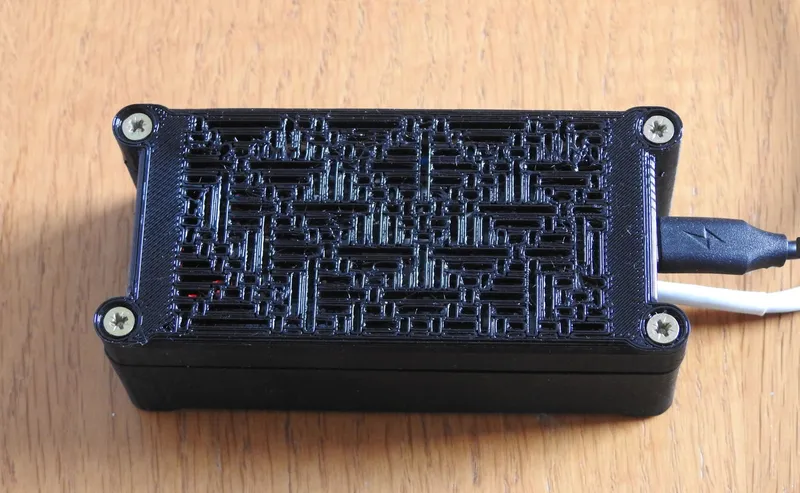
Aug 2024 update:
I noticed that the UPS gets a bit warm when powering one of my switches, so I decided to add vents. To keep it from being boring, I added them as a polarized monochrome vyshyvanka. Just print ups5v-top-vents-vyshyvanka.stl instead of ups5v-top.stl.
Print Settings
Printer:
RepRap Mendel
Rafts:
No
Supports:
No
Resolution:
0.3
Infill:
50%
Filament:
black
Notes:
Print it in transparent plastic if you want to watch the LEDs of the module.
Post-Printing
Step 1
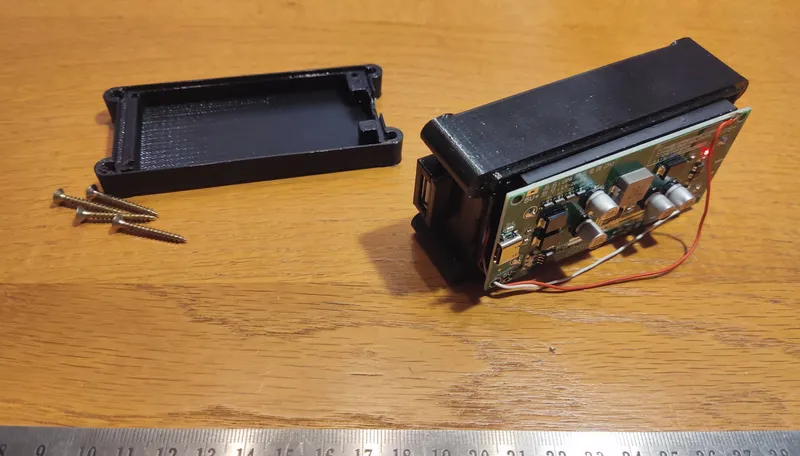
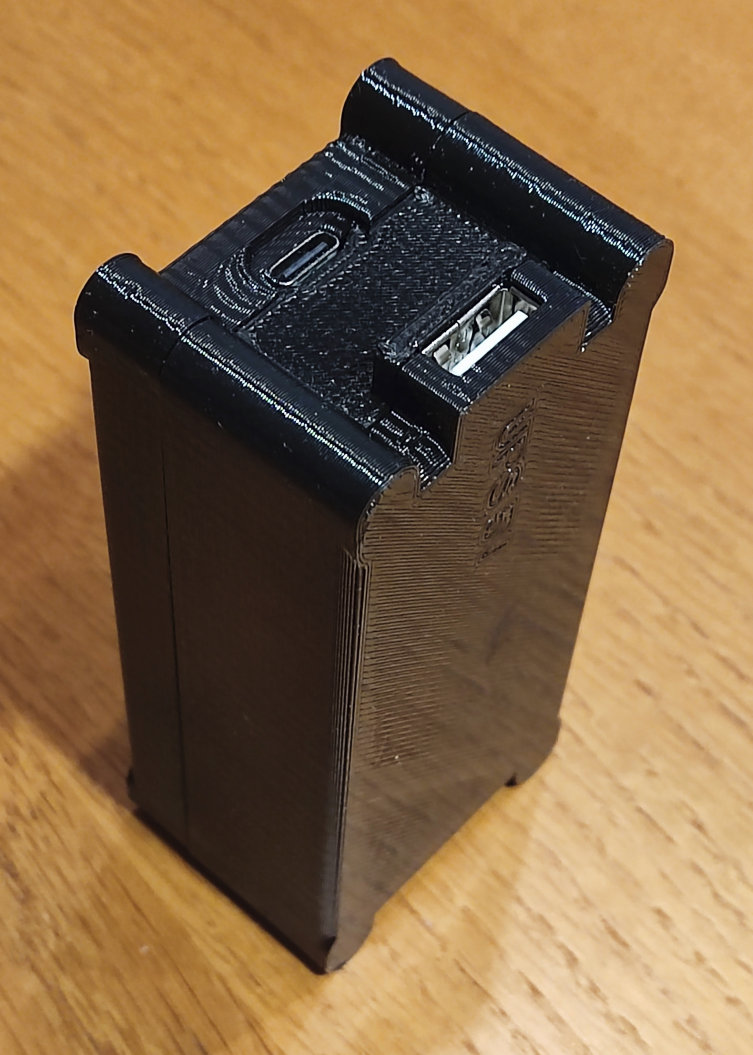
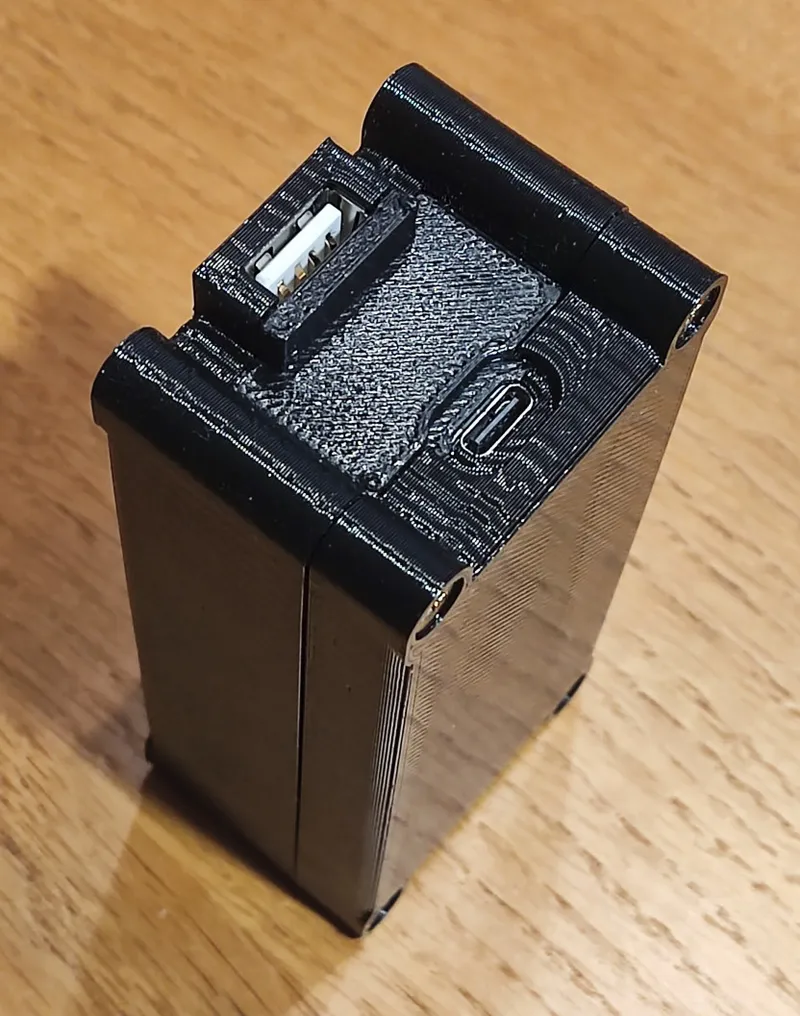
Prepare all parts for assembly (depending on whether you need vents for cooling UPS board, print either ups5v-top-vents-vyshyvanka.stl (with vents) or ups5v-top.stl (without vents)). There are several modification of the LX-2BUPS module. The modules can have a micro-USB or USB Type-C power input, and 5V, 9V or 12V output. So make sure you are using the correct module (with a USB Type-C input socket, and producing 5V UPS output).
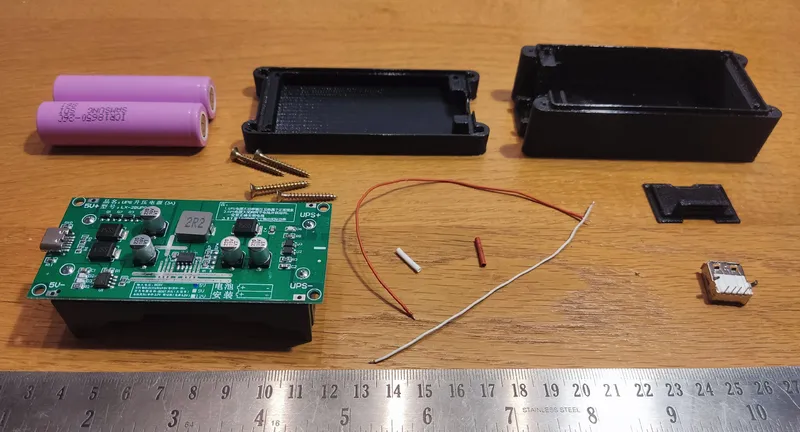
In addition to the LX-2BUPS module and printed parts, you will need:
- 18650 battery, 2pcs;
- USB-A socket (for mounting to hole-through PCB);
- pair of wires;
- a pair of heat shrinks;
- Screw 3.0x25, 4pcs.
Step 2
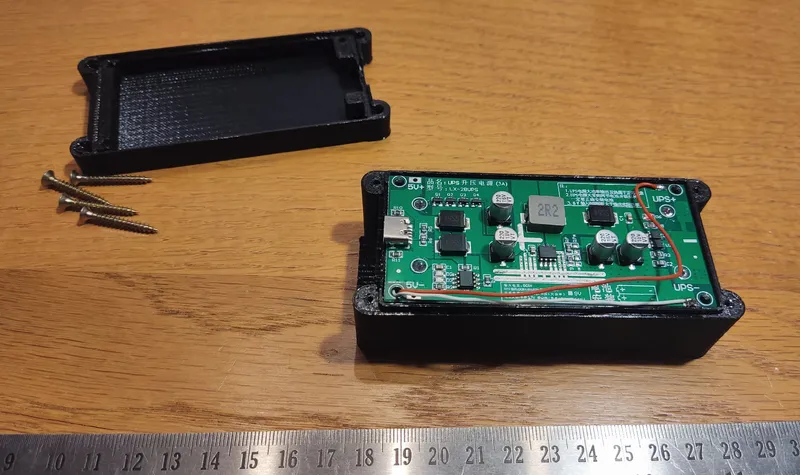
Solder a pair of wires to the USB-A socket, use heat shrinks to insulate.
Step 3
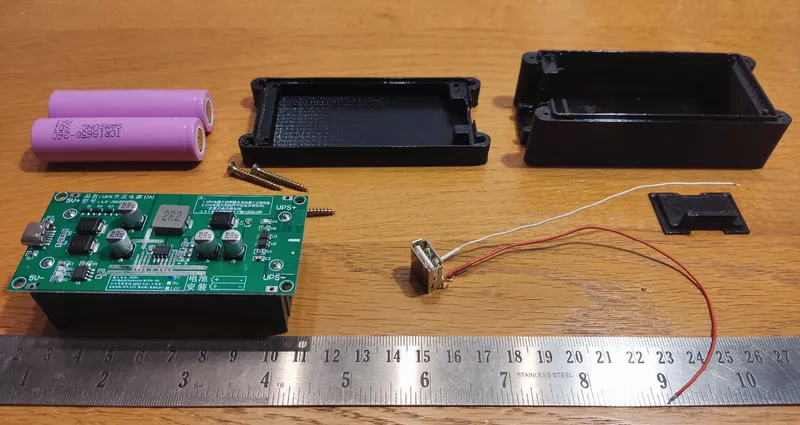
Pull the wires through the bottom left hole of the LX-2BUPS module and solder the wires to the corresponding USB+ and USB- pins.
Step 4
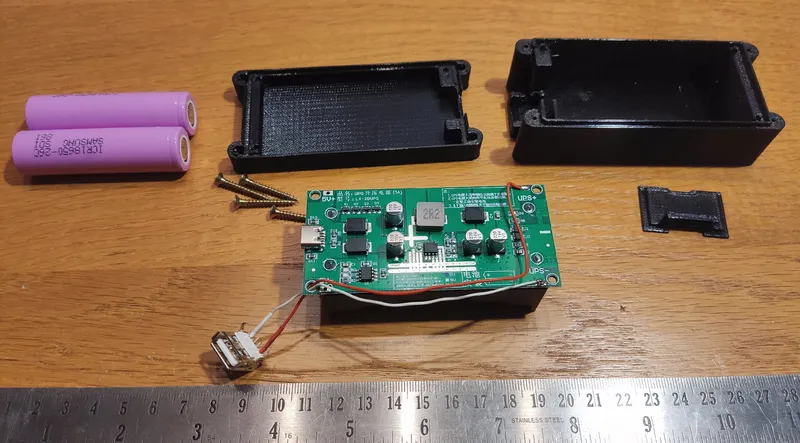
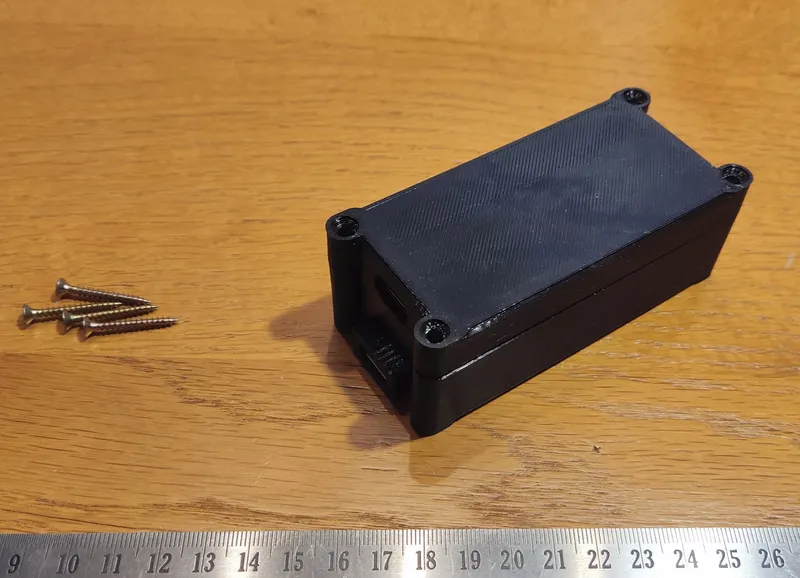
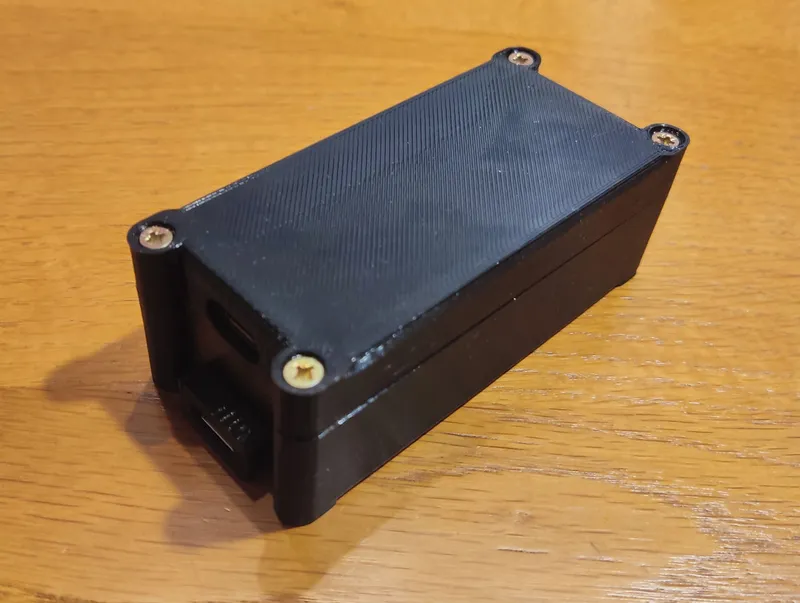
Insert the batteries into the UPS and assemble the bottom part of the device.

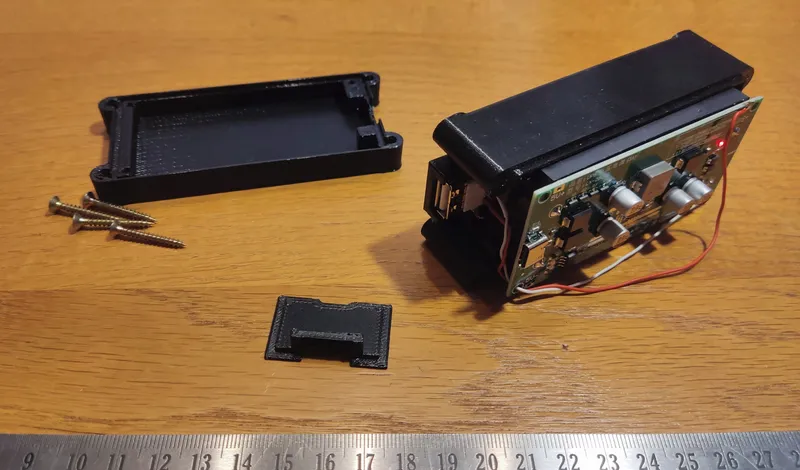
Step 5
Finish assembling the device by screwing the top part to the bottom part with four 3.0x25 screws.
Aug 2024 Update: top part with vents

Category: Electronics
Tags
Model origin
The author marked this model as their own original creation. Imported from Thingiverse.


