Filament Swatch Coins

Description
PDFWhy filament samples again?
I had previously used filament swatch cards. But it quickly became too many and the cards were sometimes sensitive to warping. The seam could not be hidden either. In addition, I didn't want to add extra adhesive labels to the cards.
As I keep a list of my filaments anyway, I could simply give them continuous numbers. It would also be good if the samples could give an indication of the material. Without creating a dependency on the number.
So the requirements were clear:
- Samples with roundings to avoid warping
- Roundings also to show the change of multi-colored filaments
- But not just completely round, so that the seam can also be hidden
- A large area to show textures of the first layer
- A 3-digit number on the samples for identification
- A simple reference to the material (PLA, PETG, PC ...)
- A transparency test with 1-8 layers in steps
- The samples must be stackable
- they should be mountable on a ring, rope or filament.
- Possibly later attachable to a stand through an aligned central recess
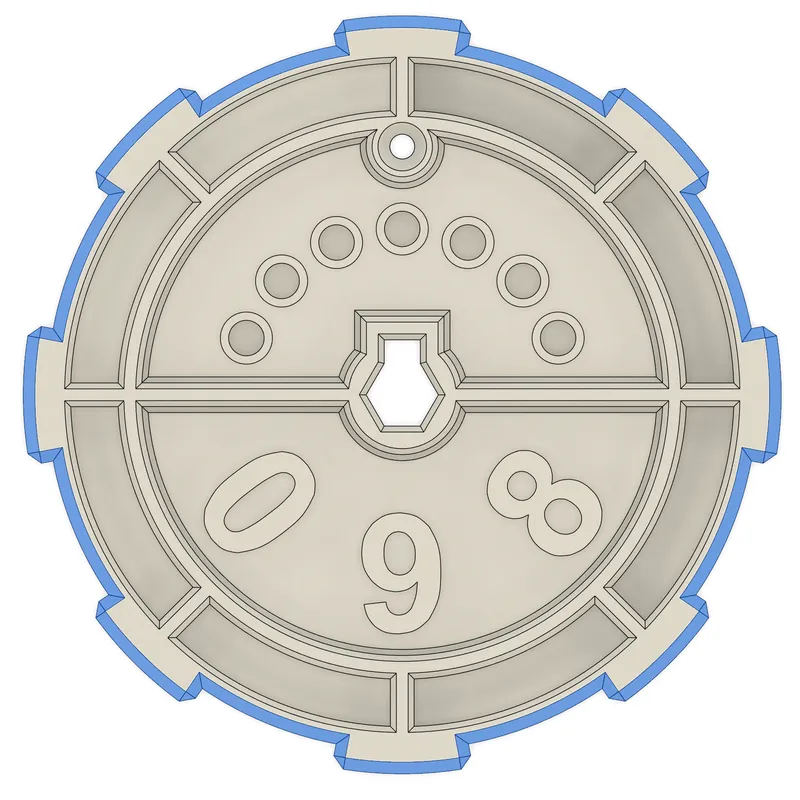
I ended up with a round coin-like design that met all my requirements:
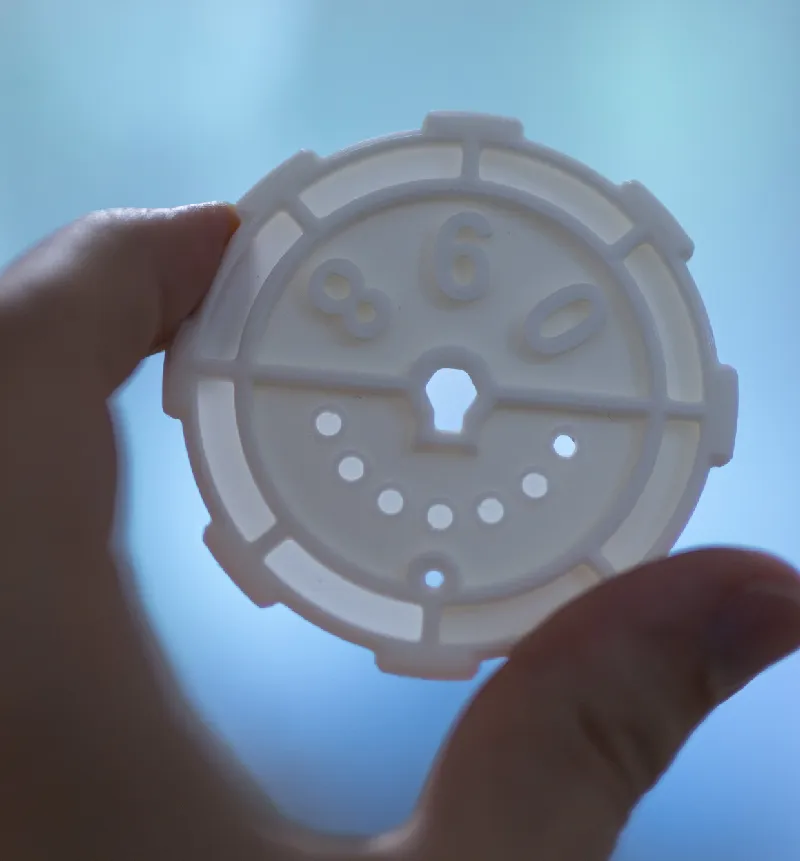
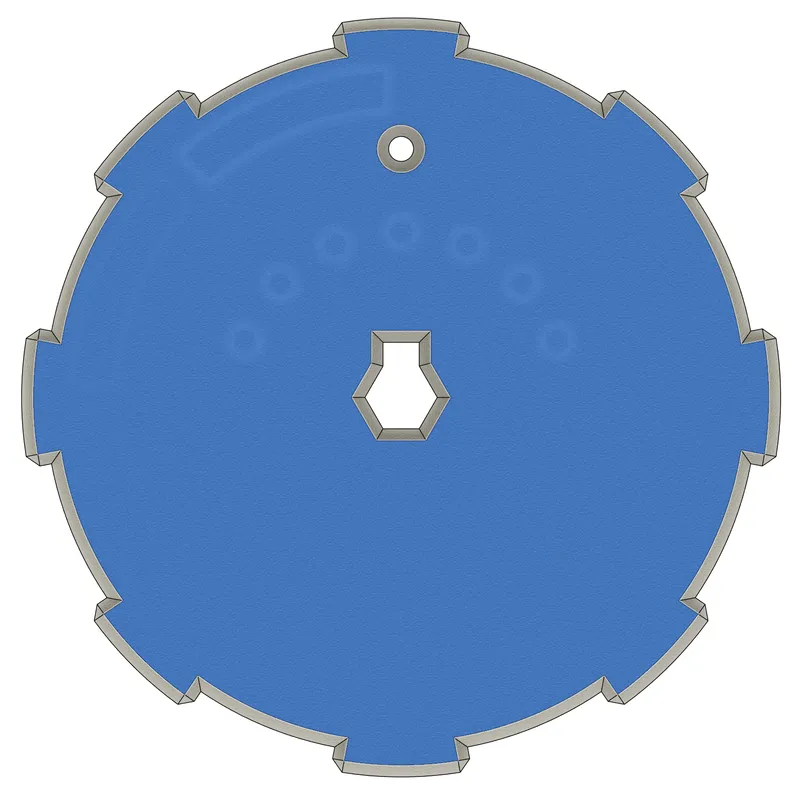
A round design that hardly allows any warping. And also round enough to show the color change of special filaments. But not too round, so that the seam can be easily hidden:
A large area to show the texture of the first layer:
A 3-digit number to identify the filaments from a list. This is the only part that needs to be customized in this design. However, this is very easy to do in Fusion360. And I will create 001 to 100 at the beginning and upload it here. If more are desired, I can of course create them further. I myself have just reached 098 and will probably create higher numbers soon and then upload them here:
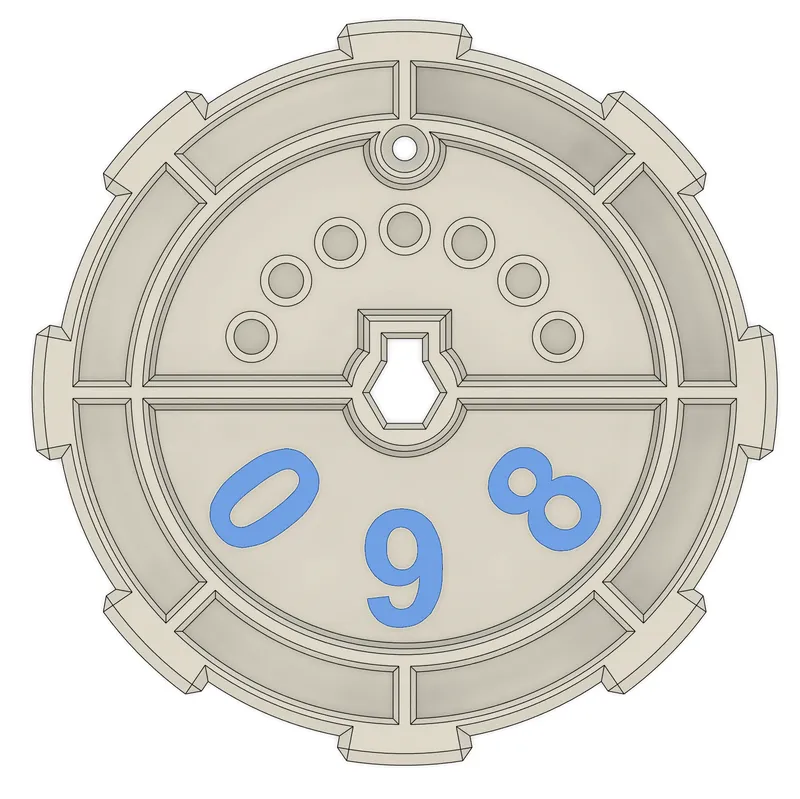
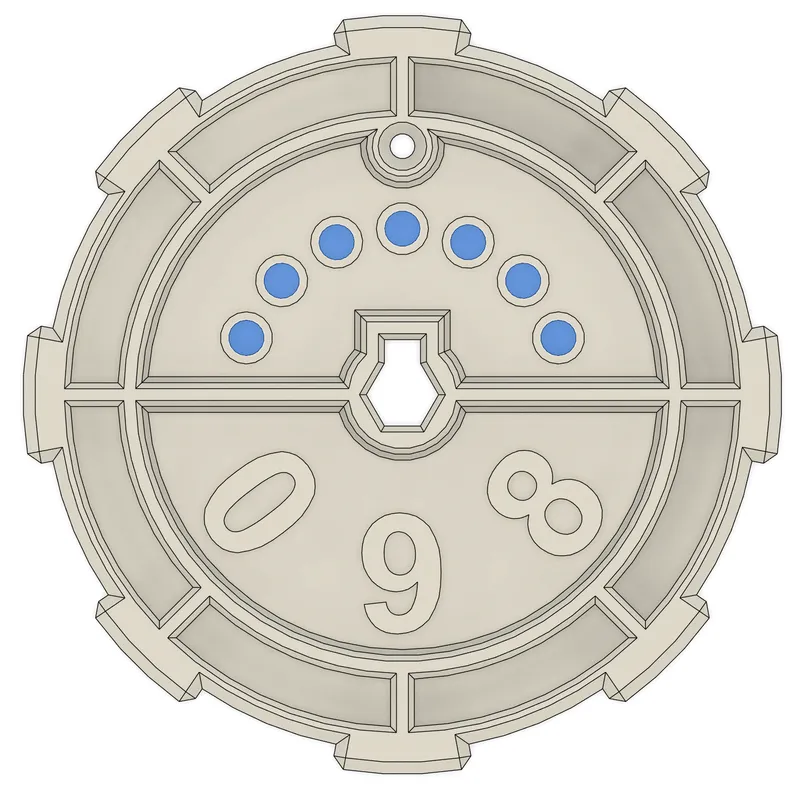
7 holes for a unique code depending on the material. The holes are closed after printing with a 0.2mm thick first layer and can be easily pressed through with an allen key, which anyone with a 3D printer should have. Of course, you can also use any other pointed object to pierce the hole. With these 7 holes you can create many combinations for different materials. For example, I always use the first hole for PLA:
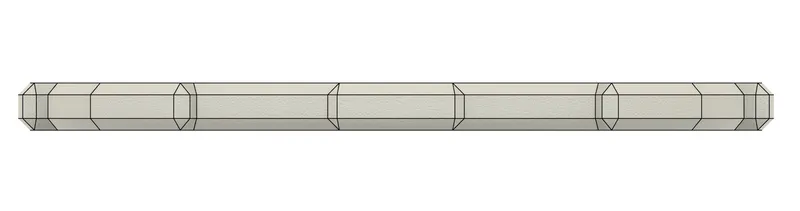
8 surfaces for the transparency test, each surface is 0.2 mm thicker than the previous one. The first surface starts with 0.2mm and the last has 1.6mm:
The coins must remain stackable. So everything is at the same height:
A hole to pull the coins onto a chain with a filament, for example. The hole has a diameter of 2.1 mm and a piece of e.g. TPU is ideal for forming a ring with coins:
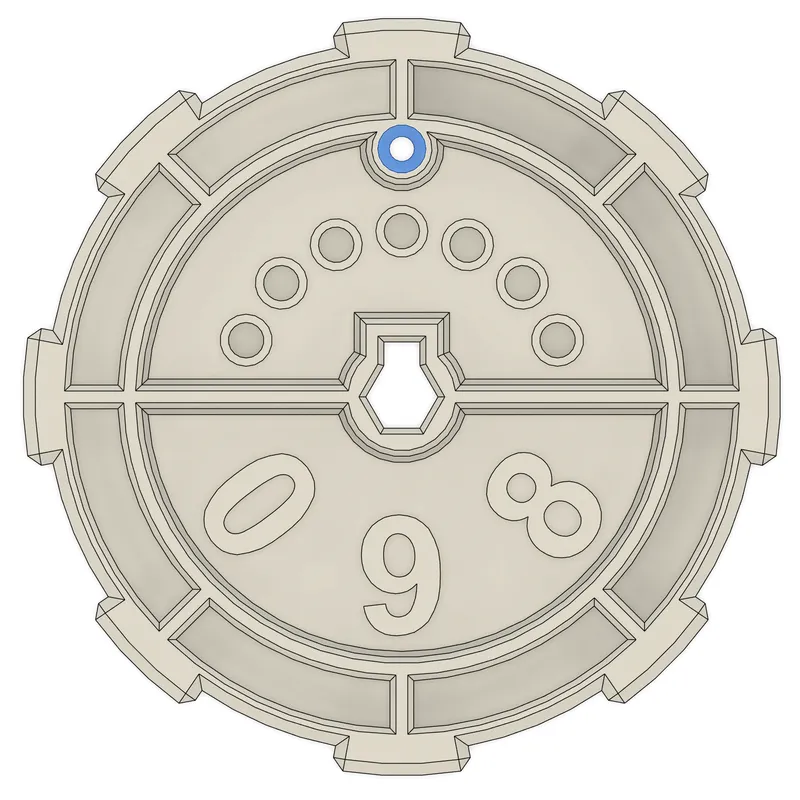
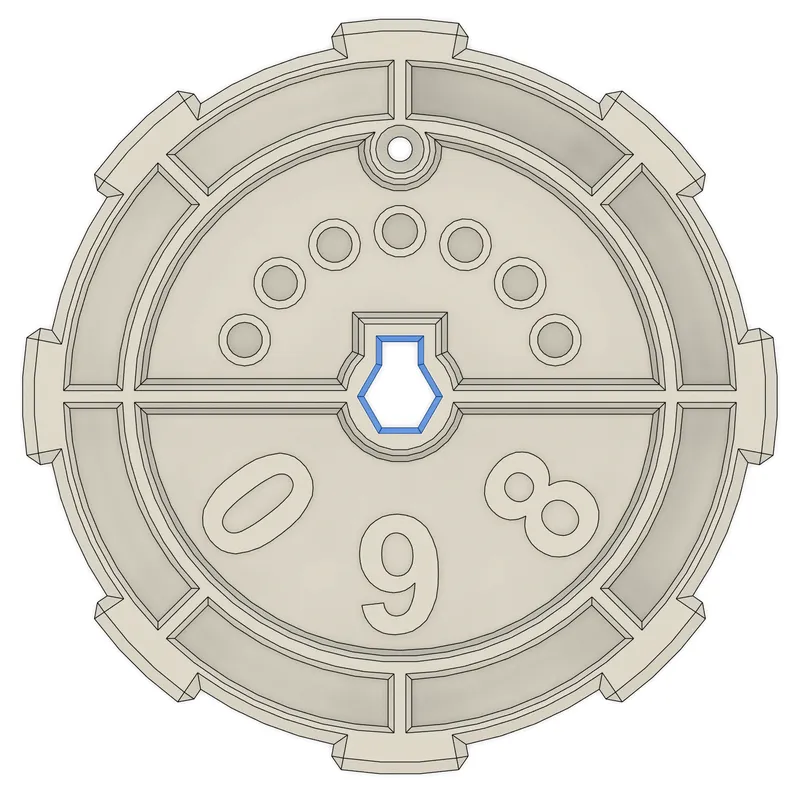
An exactly centered recess with alignment, so that the coins can later be placed on a stand. In case this is desired. I have not yet used this recess:
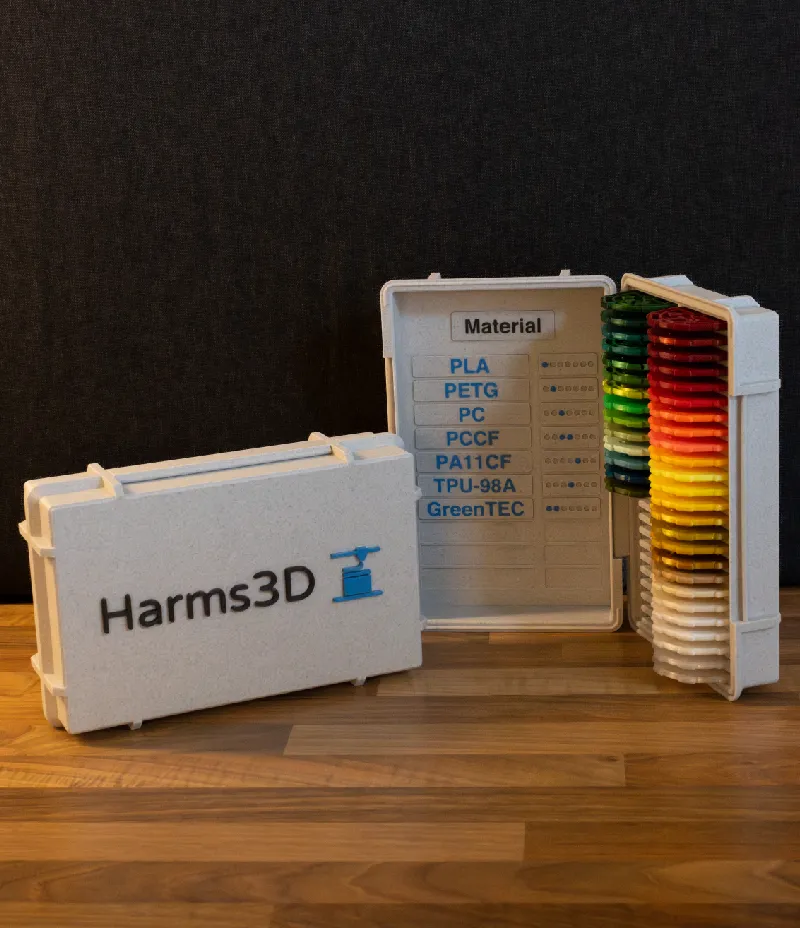
Storage Box for the Coins
I found a box on printables.com that could be parametrically customized.
I customized it for 50 coins. You can find it here:
Print instructions
0.2mm layer thickness and 5 upper and 5 lower solid layers. Avoid creating infill patterns, as these may still be visible with very transparent filaments.
No support structures.
Tags
Model origin
The author marked this model as their own original creation.