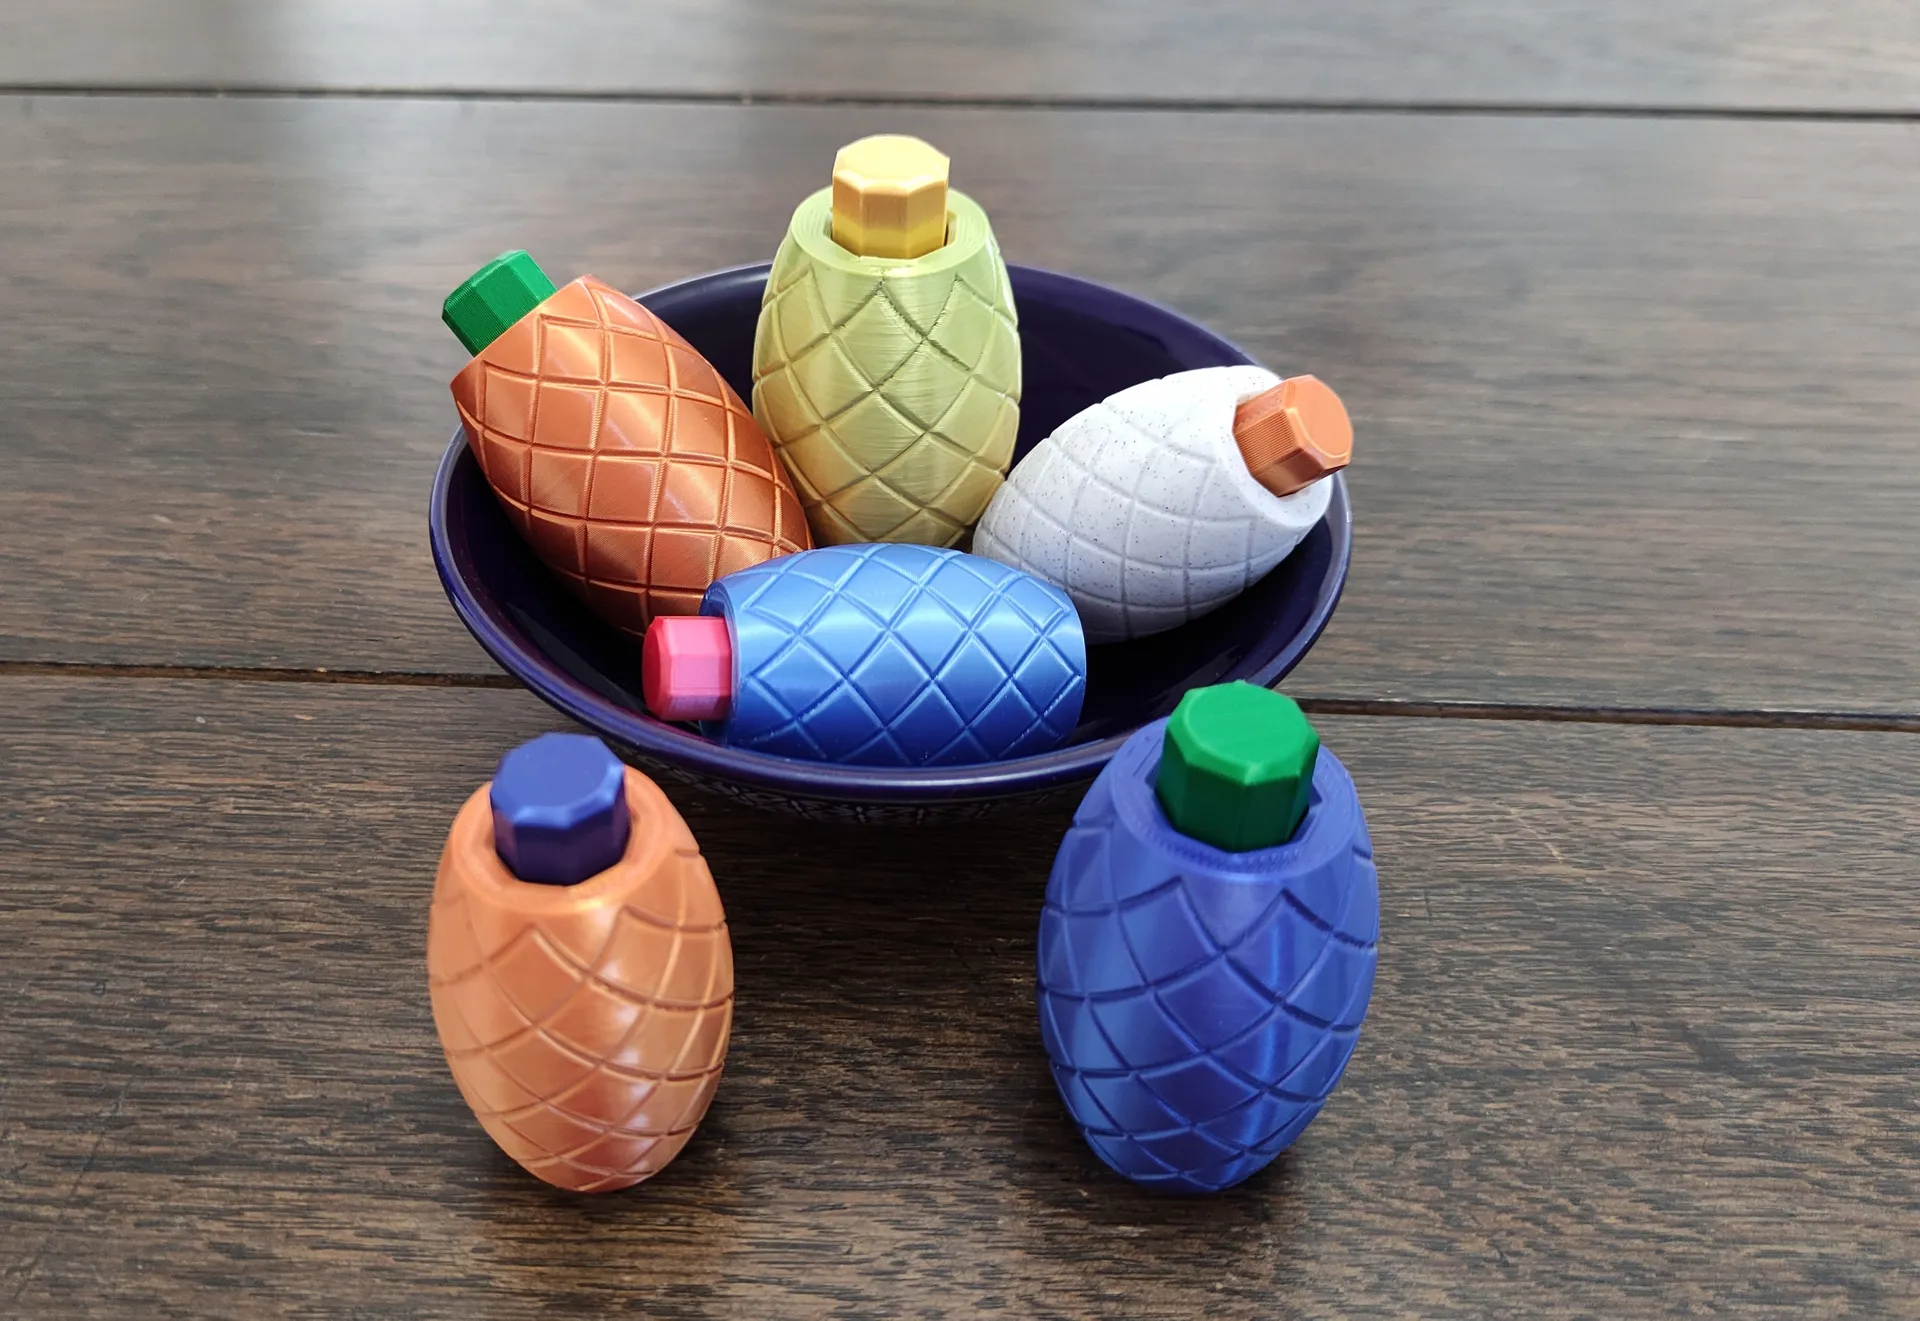
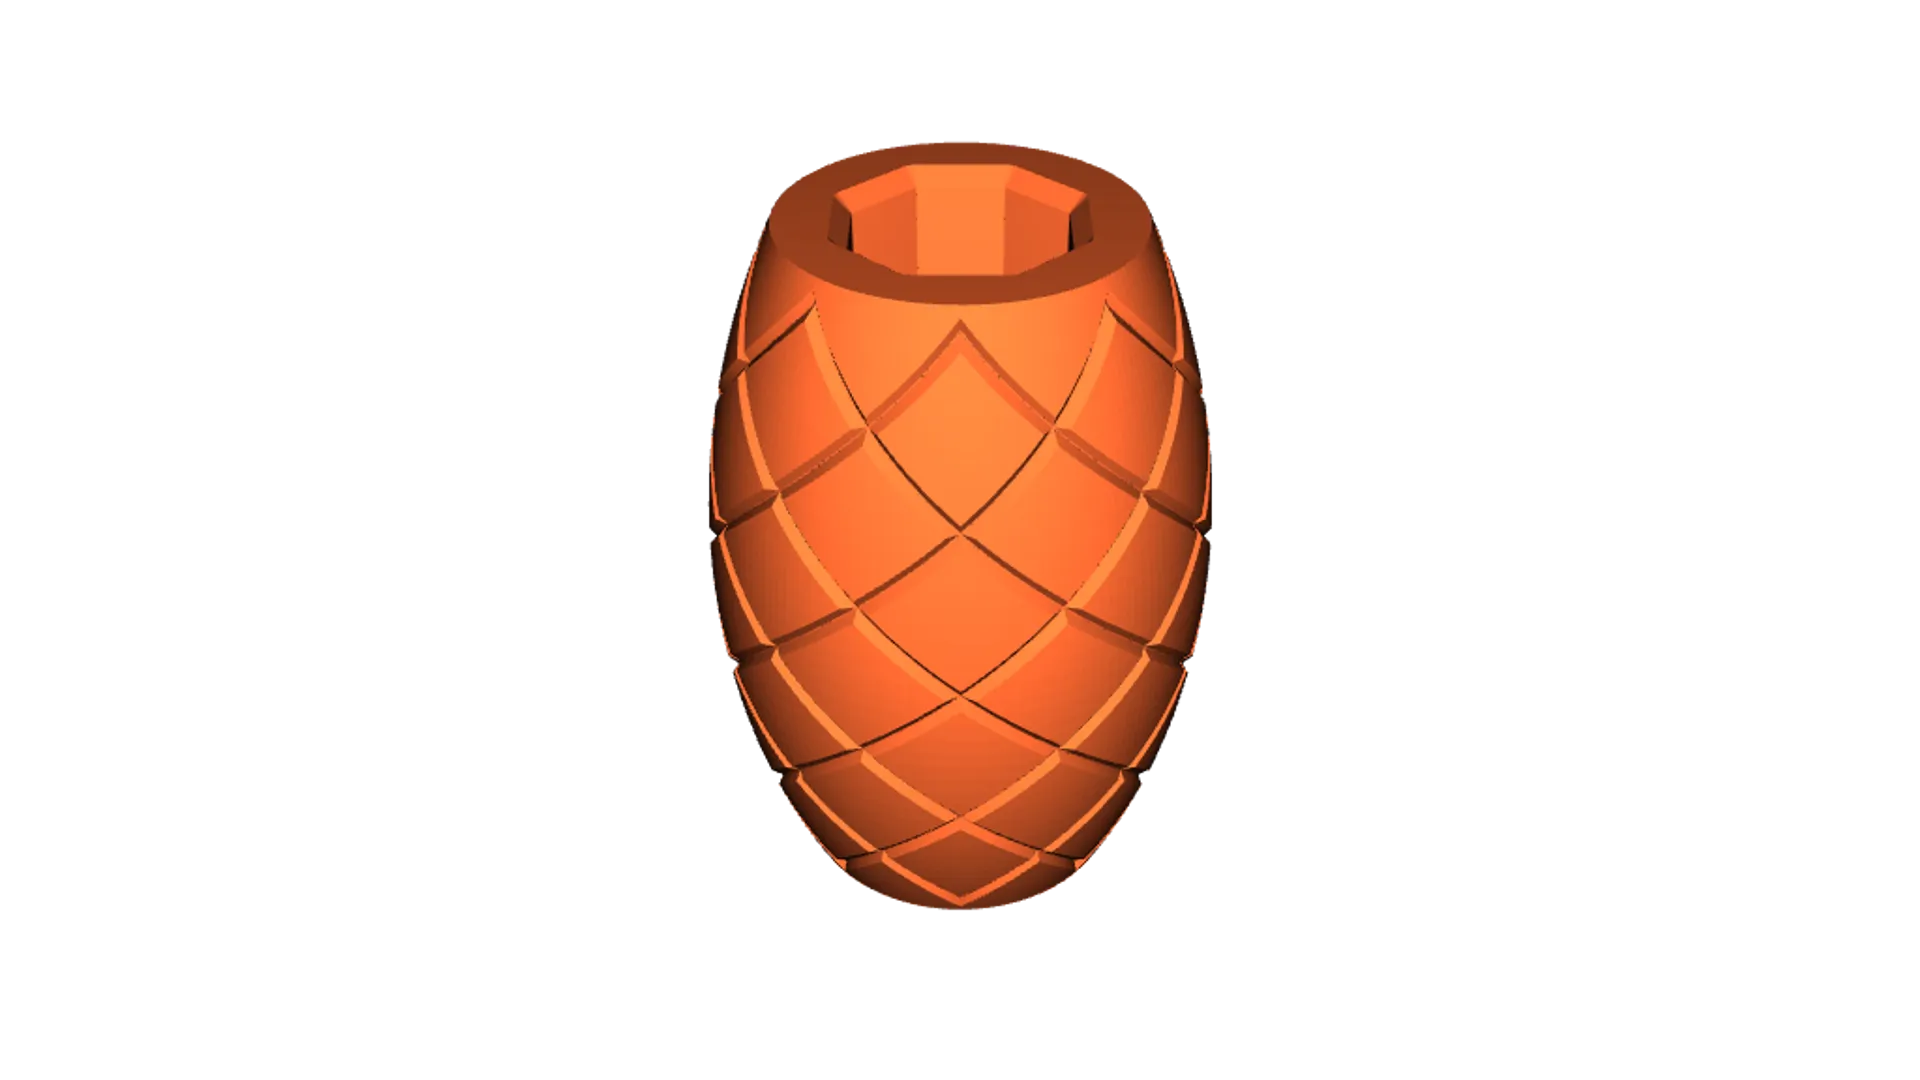
Satisfying Clicking Fidget Button

Description
PDFThis snappy fidget button is extremely satisfying and a pleasure to hold in your hand, and
- easy to print and assemble,
- the required force can be set in 9 steps,
- does not require any additional parts, just a few drops of lube to start with,
- after final assembly it's locked against re-opening so no uninitiated will know what's inside,
- dimensions are 31 mm diameter and 52 mm length, but it can be scaled up easily.
How to print
I recommend printing the case and the button with PLA as it produces a very nice clicking sound due to its hardness. You can also print the spring and the lock with PLA, but PETG is more suitable due to its flexibility - and it should last longer.
The recommended layer height is 0.2mm and the line width should be around 0.4mm. Print slowly to maintain dimensional accuracy. I wouldn't go much above 40mm/s for infill and 20mm/s for walls.
Take care with the Z-Seam. For the case it should lay at the “sharpest corner”, and for button and spring it should not be at the contact area. For the button the Z-Seam is best placed at one of the ends.
Printing in the specified orientation is essential for proper function!
If you are slicing with Cura, enable the “Experimental” option “Enable Bridge Settings" for the button.
The fit is medium tight, so a standard printer should be able to print this design easily. After printing, the button (without spring and lock) should be able to fall freely through the case. If not, you could retract the walls of the case by a few hundredths of a millimeter (in Cura with the "Horizontal Expansion" setting and in PrusaSlicer with "XY Size Compensation"), or you just scale all parts up to 110% or 120%.
Assembly
1.) Mounting and selecting the proper string
Follow the video below. Before locking the button, try out which of the springs fits your needs best. The springs are numbered from 1 (weakest) to 9 (strongest). A strength between 4 and 6 should be a good start.
It's recommended to put a drop of lube to the contacting sides of the springs. I'm using “Victorinox Swiss Army Knife Oil” for tasks like this for years, with very good success. Subsequent relubrication is not necessary, the contact surfaces become smoother if the button is pressed frequently.
When assembling case and button, make sure the spring aligns with the 2 back-to-back indentations on the inside walls of the body. If you get this wrong, nothing bad will happen, the button just won't click or lock.
2.) Locking
After choosing and inserting the right spring, also insert the lock as shown in the video. Put a drop of lube on both sides of the lock, squeeze the lock and press the button inside the case. Don't omit the lock, it's a big part of a satisfying click.
Tags
Model origin
The author marked this model as their own original creation.