Brick Block Puzzle Box Refined (v2)

Description
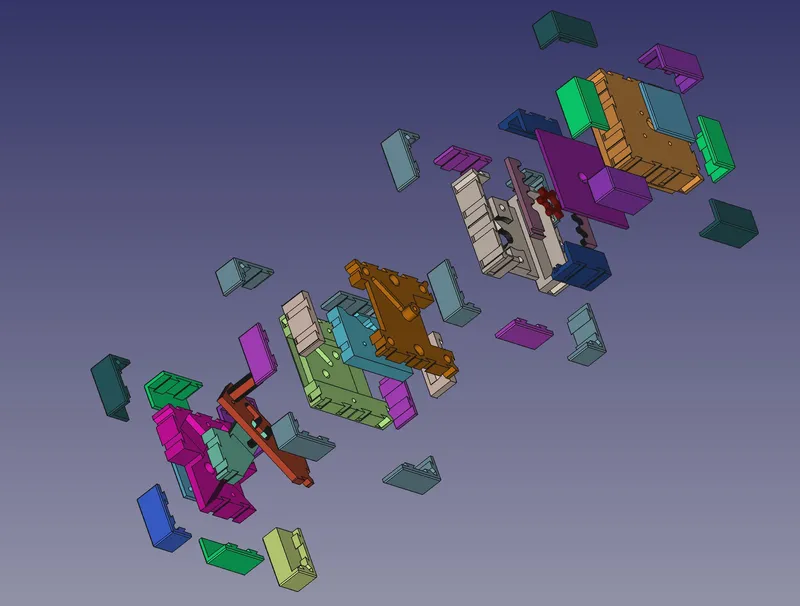
PDFInspired by the original and remixed versions, I had a few things I wanted to modify to really take advantage of a great model.
Highlights:
- Glue-free push-fit design (nb: requires accurate 0.2mm tolerance printing)
- Added pin-eject holes behind the magnets for easier rework
- Changed to 5mm x 3mm push-fit magnets as they were the cheapest in bulk
- Removed the redundant silhouette on level 3 (might have been the remnant of a spring?)
- Extended the cam pin to its max height to assist internal forces when opening
- Added an interlock bar to level 2 to make things more fiendish, and to take advantage of some dead space
I will freely admit, some folks may have trouble printing this. The brick pieces are on a 0.2mm tolerance because they need to be push-fit, but not loose enough to fall out or need glue. If the model is rescaled, or your printer is slightly generous in motion, you may need to rescale to make the gaps bigger. The problem here is that push-fit can be quite arbitrary depending on the printer model.
There are also four more magnets needed for three positions. This is needed to make the interlock snap, but also creates this beautiful asymmetric behaviour where repeating an operation that was done opening the box, may not result in it closing. The interlock bar position matters, and uses spare space in the design quite well. It's not without issues though, five magnets are needed due to field effects if they're too close, and to remove wobble as the interlock moves.
Assembly is nearly the same as the original. The same orientation principle applies to the extra magnets. You need to put the bricks into level 2 bottom, then add the level 2 block, then add the level 2 top; the blocks and screws will hold it together.
Finally, there's also pin-eject holes behind all magnets for any remixes you might want to do.
5th Feb 2023 Update
This has become a bit of an obsession. I’ve now refined the design to allow humans to push-fit the blocks.
I also slimmed the tolerances everywhere and removed the requirement for supports. The interlock block now prints in three parts and the latch in two (times two).
As certain pieces now have an orientation, I’ve included both .3mf files and coloured diagrams. The interlock block, plus a few other pieces have an intentionally hard stiff-fit; they’re critical comment components and need it for the design to be robust.
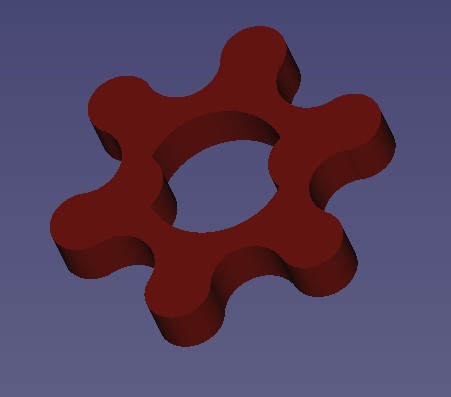
The original design could be broken by an over eager solver. This one can’t. The cover plate is now stiff enough not to bend and fixed in placed. The gear MUST be printed at 100% / no-infill as I’ve had friends break this.
Overall I’m pleased with these refinements. The original moved quite loosely and this confused people trying to open it. This one is more assertive.
How to Build
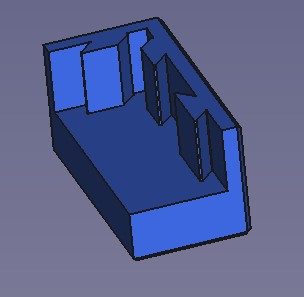
Level 1
The same corner pieces are needed for both level 1 & 4. Three of each type. The two slider corner blocks are stiff-fit, rather than push-fit
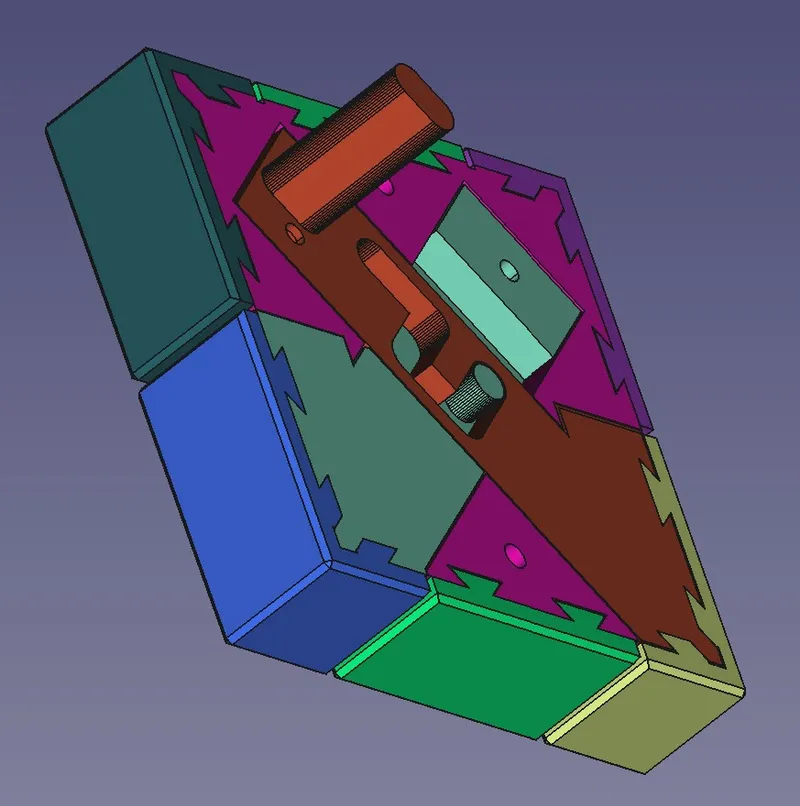
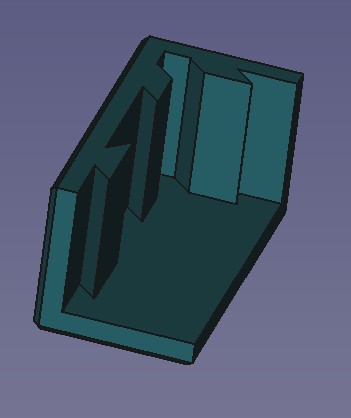
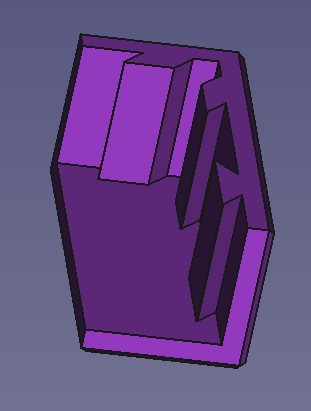
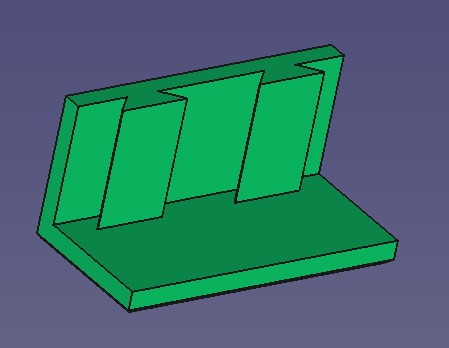
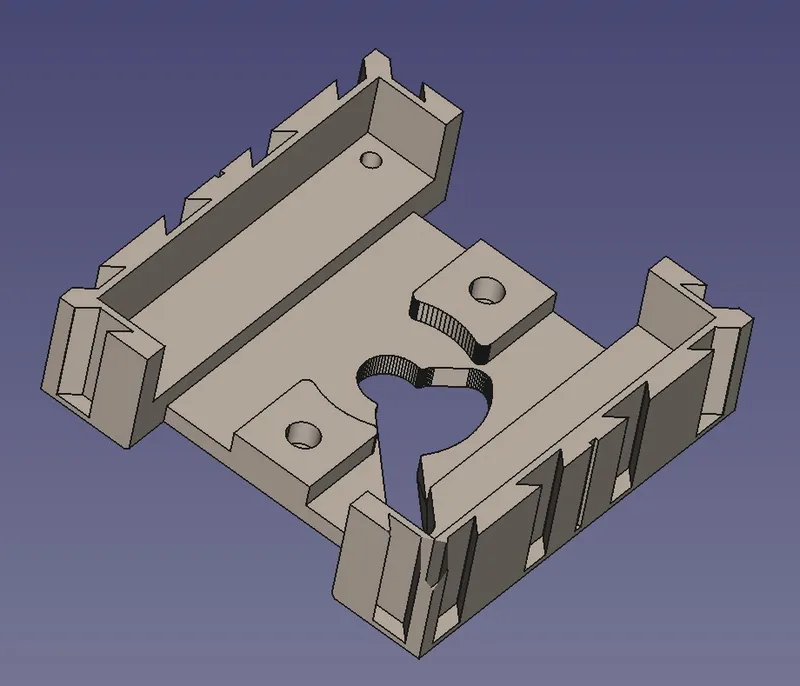
Level 2
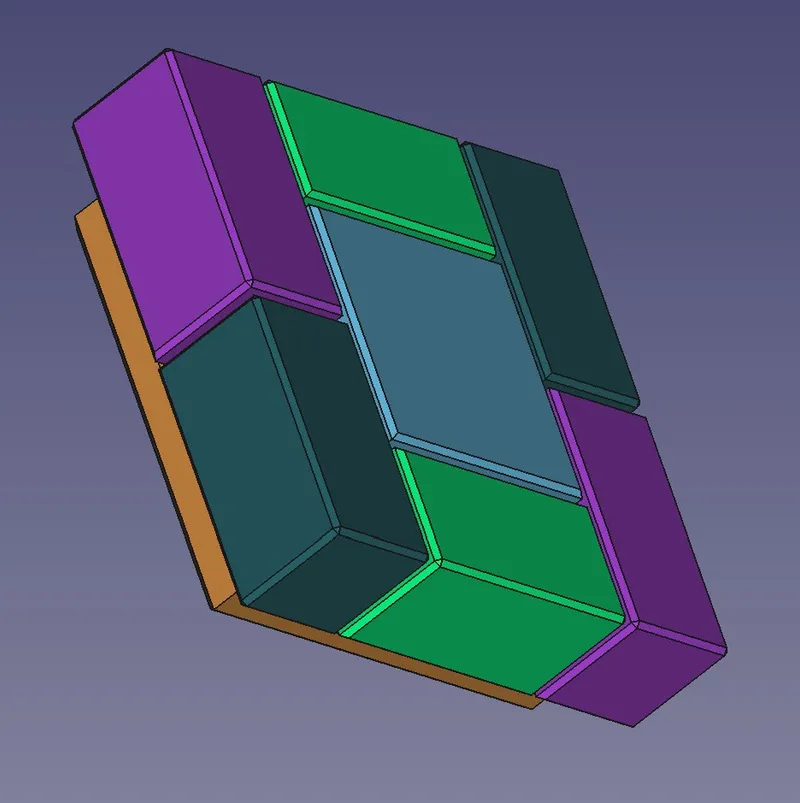
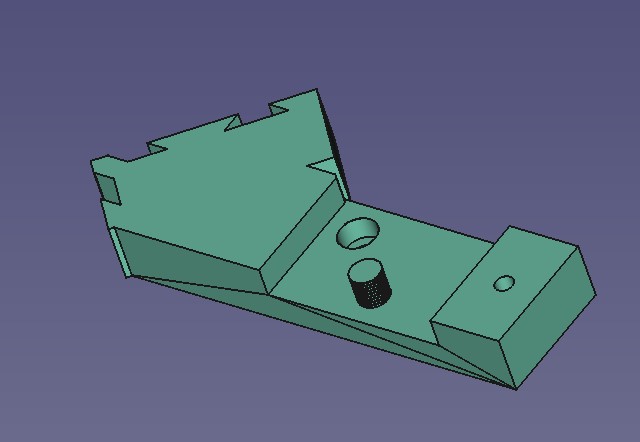
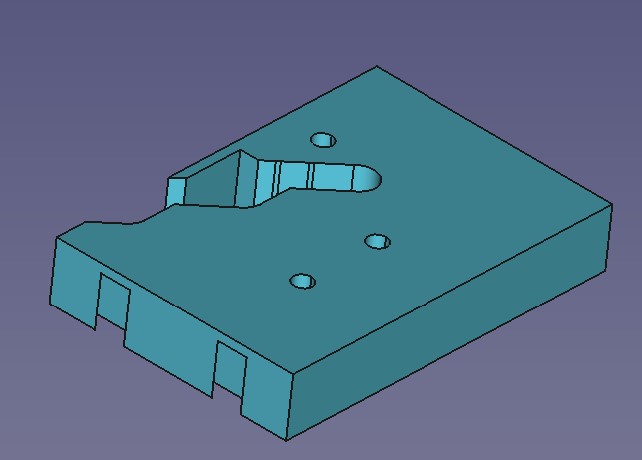
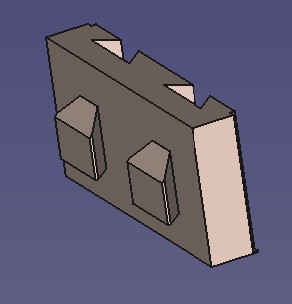
The same corner pieces are needed for level 2 & 3. They're reversible, and can be applied in both orientations. A total of six are needed. The central block has two stiff-fit sides, designed to be printed without supports, but where the sloped peg must be inserted, slope-first and be flush so that everything is the correct tolerance and orientation.
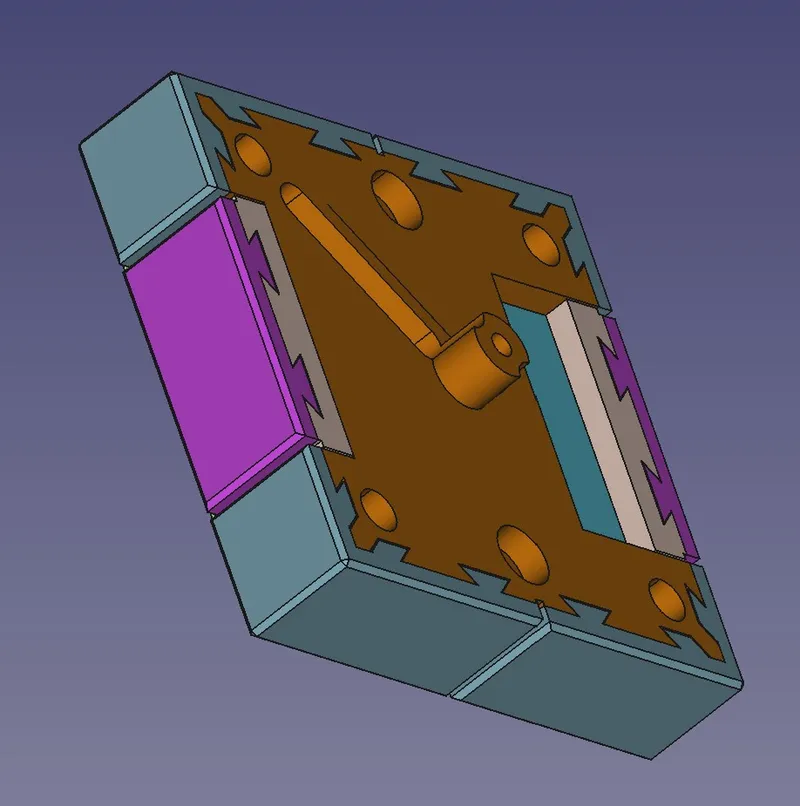
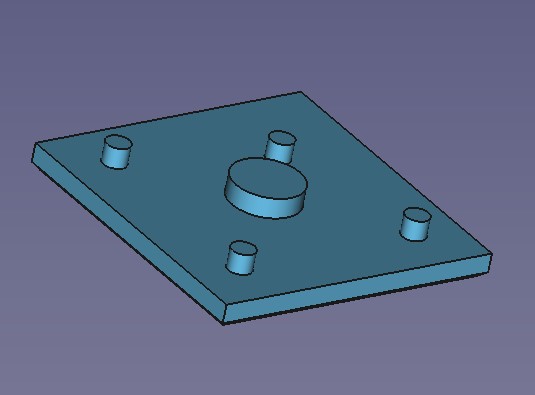
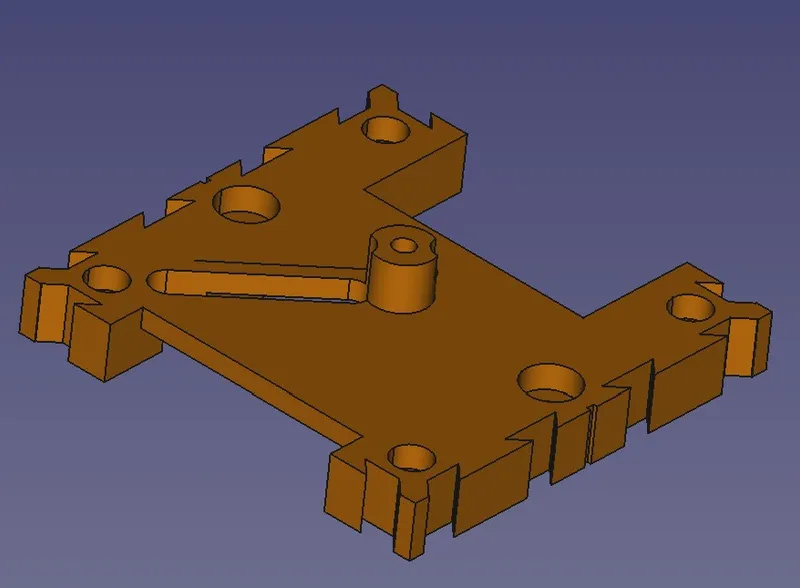
Level 3
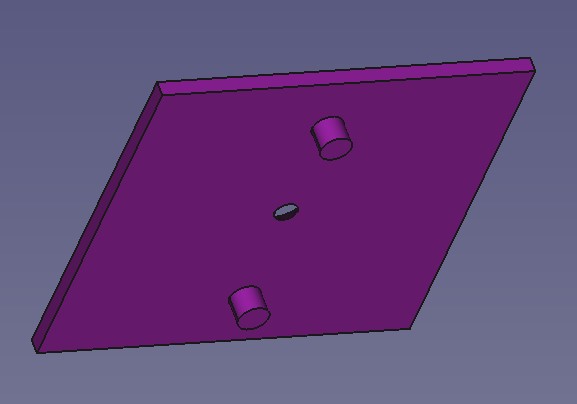
This is the tricky stage where the gear must be placed prior to the plate. This plate is stiff-fit and hard to undo. I find testing on the built level 1 & 2, then remove before putting pressure on the stiff-fit plate. This is all needed to stop the latch from bending out of place if the blocks are pulled.
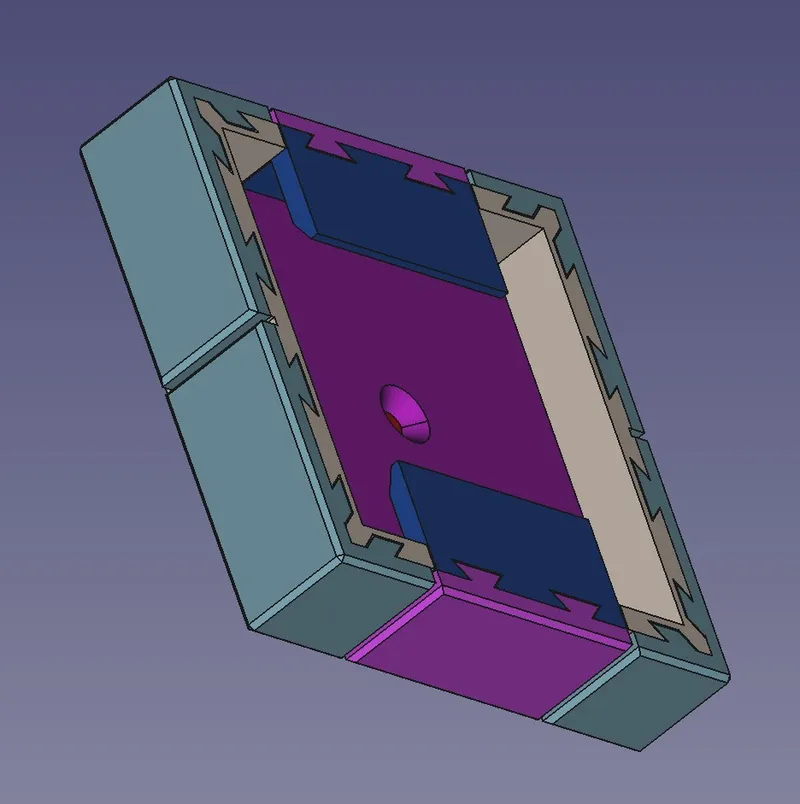
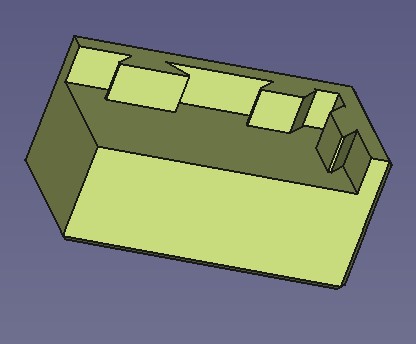
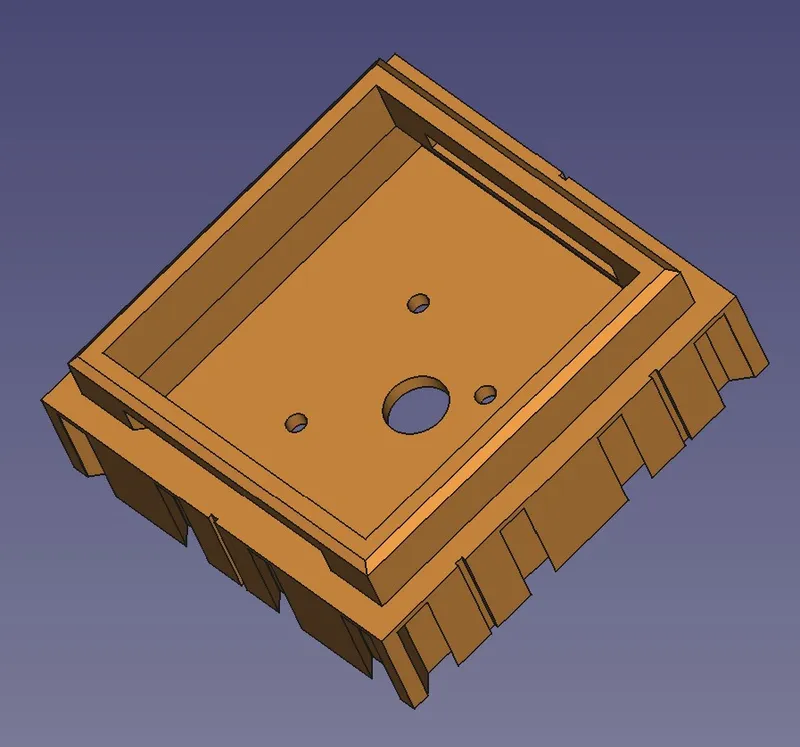
Level 4
The central block is stiff-fit, and has an orientation pin. All stiff -fit parts are best done on a flat surface without any other components, such that you can put your weight behind it. They're done on critical or small surface parts that don't have the area needed of a push-fit.
Mouse Ears
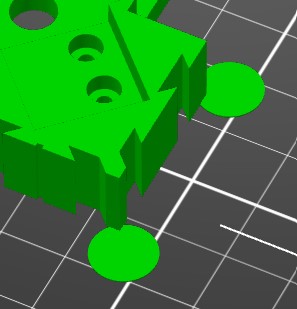
I've found these a really interesting alternative to a brim. Less material and easier to remove cleanly. To prevent warping on larger parts the .3mf files use them. They're not however essential and can easily be removed before printing, but I think they help.
Part Too Loose
While a stiff part requires more pressure, what do you do with a loose part? You'd think a reprint or some glue, but it's actually much easier than that. If something is too loose, simple take needle plyers and swish a piece of the dove-tail peg.
The deformation will be sufficient to allow the part to still push together, but it'll be much tighter and not fall-out.
Parts List
| Item | Quantity | Supports | Notes |
|---|---|---|---|
Brick End Corner Left | 3 | no | |
Brick End Corner Right | 3 | no | |
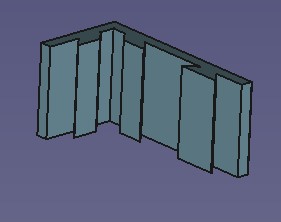
Brick End Side | 4 | no | |
Brick End Centre | 2 | no | This is a stuff-fit part. |
Brick End Right Slider | 1 | no | This is a stiff-fit part. |
Brick End Left Slider | 1 | no | This is a stiff-fit part. |
Brick Corner | 8 | no | |
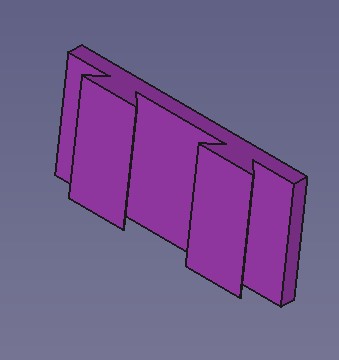
Brick Side | 4 | no | |
Slider Right | 1 | no | This part needs one magnet. |
Slider Left | 1 | no | This part needs two magnets. |
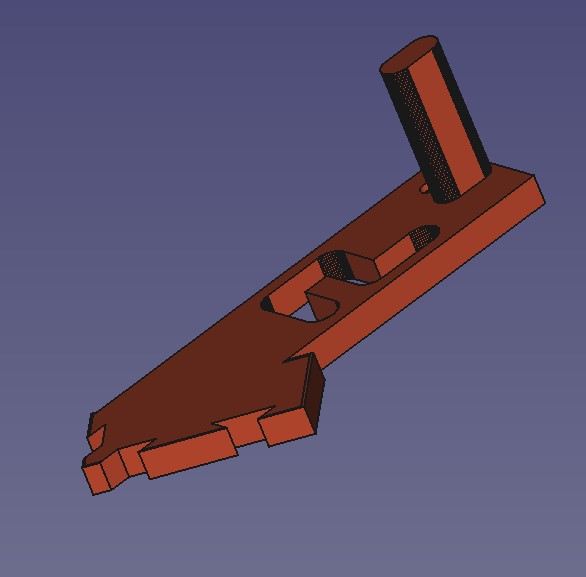
Level 2 Block Inner | 1 | no | This part needs three magnets. |
Level 2 Block Outer | 2 | no | This part is stiff-fit. The sloped peg end goes into Level 2 Block Inner first. The other-end will be flush with the hole. |
Level 3 Plate | 1 | no | This is a stuff-fit part. You need to ensure the gear is fitted and the latches are lined up correctly before fitting. |
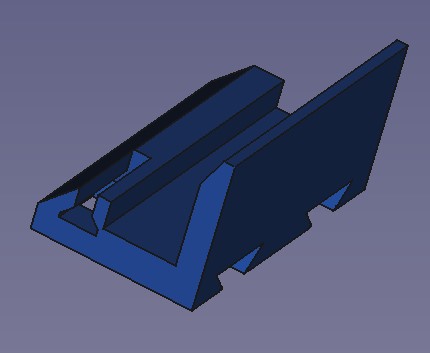
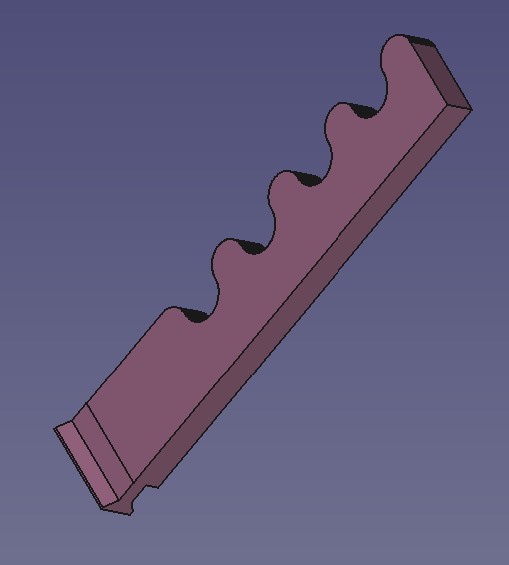
Latch End | 2 | optional | The latch teeth slide into this part. The supports are technically optional, although ensure the two pieces will slide cleanly. |
Latch Teeth | 2 | yes | To ensure this part slides into the latch end, the .3mf has a small amount of painted support. |
Gear | 1 | no | Print at 100% infill (e.g. solid) to ensure it's strong. |
Level 1 | 1 | no | This part needs four magnets. |
Level 2 Bottom | 1 | no | This part needs two magnets. |
Level 2 Top | 1 | yes | This is one of the few parts that needs supports. This part also needs four magnets. |
Level 3 | 1 | no | This part needs four magnets. |
Level 4 | 1 | optional | The hook holes for the latch can be printed without supports, but if you have any sagging you'll need to add some. |
| Magnets | 19 | 5mm diameter x 3mm tall. Quite a few, but they're needed for the snap. | |
| M3 x 6mm short screw | 1 | For attaching level 3 to level 2. | |
| M3 x 20mm long screw | 2 | For attaching level 2 to level 1, and holding level 2 top/bottom together. |
Tags
Model origin
The author remixed this model.


