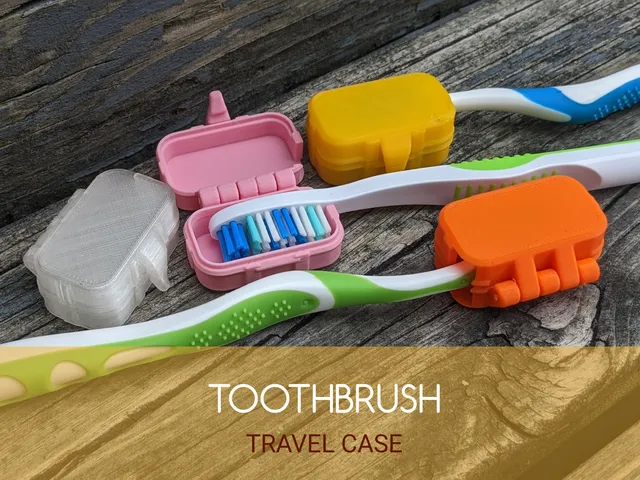
Interlocking Small Parts Storage System

Description
PDFDrawers and housings for storage of small parts. Housings interlock together to form a system that you design and build to fit your needs. All drawers feature beading on all side walls for added rigidity.
There are three options available:
- Full Size Housing and Drawer
- Double Wide Housing and Drawer
- Double Wide Shelf
All housing sizes and shelves will interlock with each other for more customization.
The housings are held to the next one with just a friction fit. Because of this, the clearances are relatively tight. Since every printer is not the same, I am also including a version of each housing and shelf that features a little extra clearance.
Print Settings
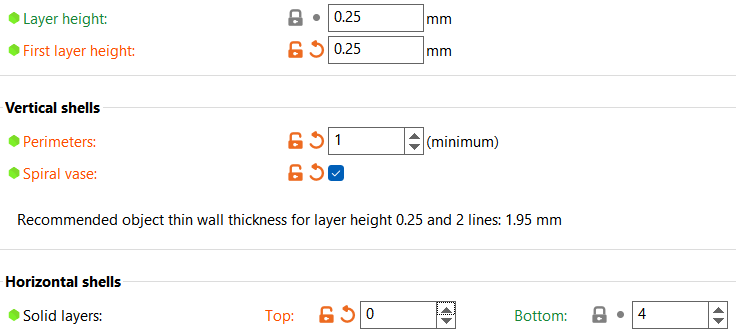
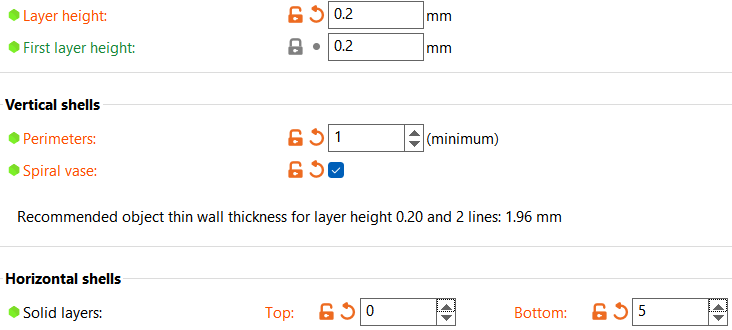
Vase mode is required for all housings and shelves. Personally, I printed all pieces at a 0.25mm layer height.
The two most important things to follow when printing these files in vase mode:
- 1mm external perimeters

- 1mm total thickness for bottom layers (5x0.2mm, 4x0.25mm, etc.)
The drawers not designed to be printed in vase mode. Because the walls are 1.2mm thick, the entire file will be printed solid with at least 2 perimeters.
Assembly Instructions
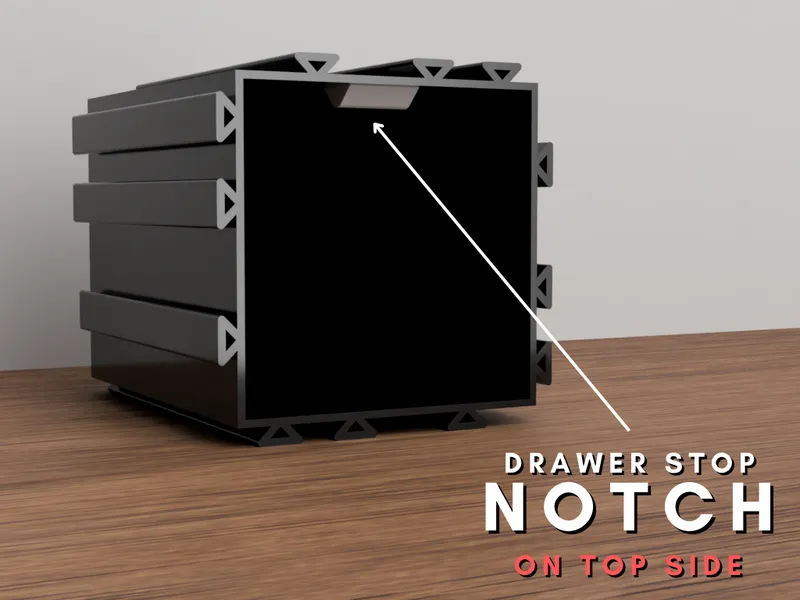
Every housing has an interior notch that acts as a drawer stop. When sliding the housings together, be sure that the notches are oriented upward on every housing.
 | 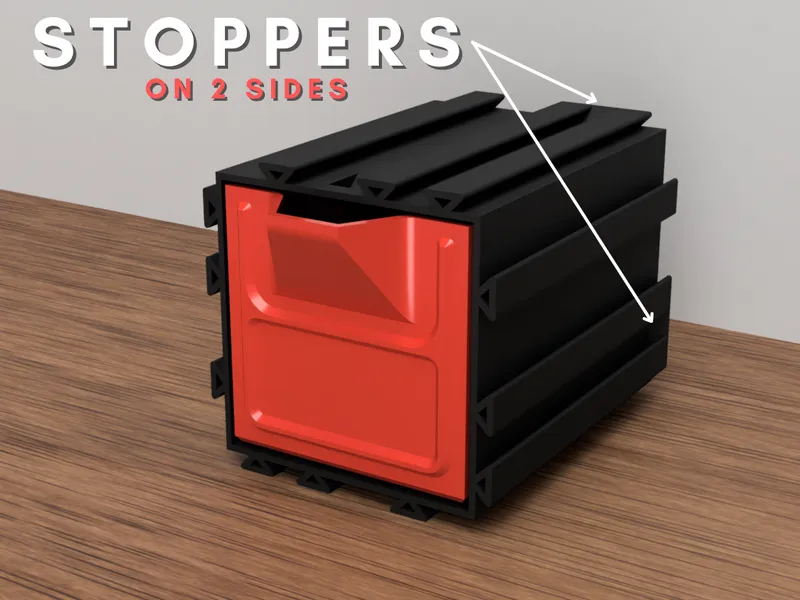 |
Because of the two stoppers that are built into the back of each housing, they must be assembled in a certain order. Start assembling the housings together at the lower left corner of your modular system. Add more housings upward and to the right until you finish in the upper right corner. Adding one housing at a time is easiest, but it is possible to assemble into rows, then combine the rows all at once.
Shelves are designed to be placed side by side on the top level. They have been designed to butt up against one another. Because of this, they cannot have a housing sit beside them.
The following filaments were used in the pictures above:
Housings
- polymaker PolyTerra Charcoal PLA
Drawers
- Prusament Azure Blue PLA
- Prusament Galaxy Silver PLA
- Prusament Galaxy Purple PLA
Tags
Model origin
The author marked this model as their own original creation.