My favorite print yet! Really fun and educational 10/10. Will try to print the engine later
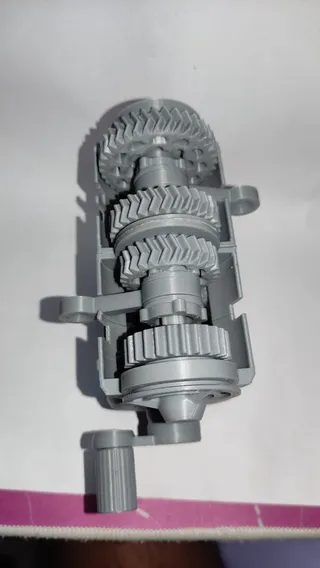
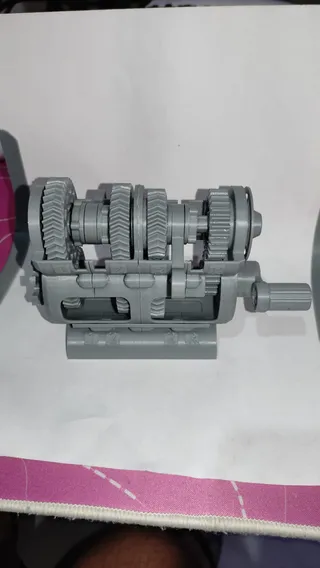
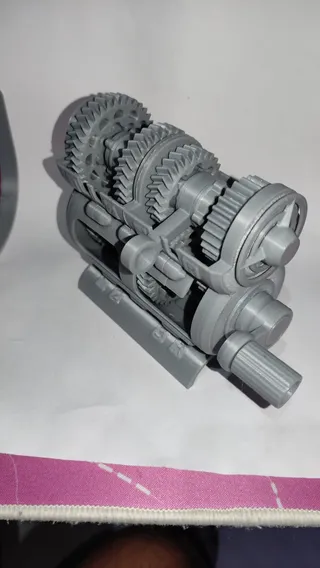
My favorite print yet! Really fun and educational 10/10. Will try to print the engine later


This is properly cool! I will look into printing a motor to go with it.
I did have some problems with one of the clutches coming apart again after glueing the whole thing together, and moving the clutches is a little stiff. But I will try lubricating everything, that should help.
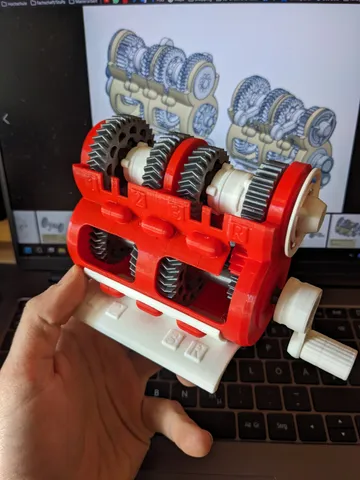
For everyone who will try it, no, DONT scale it to 50%, its too much small :D (edited)
@synthinesia_1535885 Any scaling up or down should be test-printed before publishing. You proved it!
Very nice job. I added a propeller at the output of the gearbox. Here I leave the links.
Engine support: https://www.printables.com/es/model/753100-motor-support-with-gear
Propeller: https://www.printables.com/es/model/751721-propeller-for-hexagonal-shaft-7mm (edited)


@santiagoMon_1651284 Love it. Brummm brummm brummm !!!
Works great. Make sure to sand and polish the seams of bearings and shafts, it makes a big difference - I chucked them up in a drill and used 320, then 400, then 600 grit sandpaper - runs so smoothly with a little bit of lubricant.
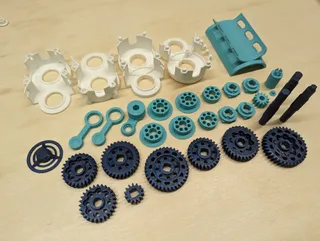
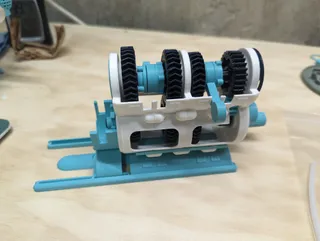
@EzehielT_1296928 All your prints look great. Up to the next model !!!
i don't know what is happening but when i want to split E - Counter Shaft Left with Gears.stl to objects it showing an error :( I always split because i want only a brim on the shaft it happens in orca slicer as well in bamboo studio :(
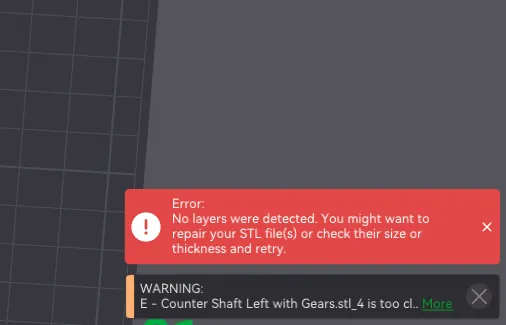
@EzehielT_1296928 Same thing in PrusaSlicer. Don't know what went wrong, but I fixed it. Please try again.
@Bootjevaarder It works It works now I can have another one of your model Jupi :D
Printed. Assembled.
What an awesome model!
Not to easy to build but worth it!
Some tips:
- make sure to understand the mechanism:
* all gears on the lower axle are firmly attached to it. When the axle rotates, the gears rotate
* all gears on the upper axle should spin freely. When assembling, make sure that they do so. Move them a bit on the axle to help remove some irritations and left overs from the 3D print.
* the levers do not spin freely, but should easily move along the axis. Make sure that they do so.
* the levers should also be able to lock into the gears on their left and right. This is the gear shifting: when the lever locks into a gear, it connects the gear and the axis and forces the axis to move with the gear.
- as you can see, there are ripples in my model. It seems that the high speed printing made with the ankermake does not fit very well with the model. But it works.
- it is important to glue the pieces as mentioned in the instructions. I used "Uhu Hartplastik" glue which worked very well with PLA. Most other glues didn't work for me. (edited)
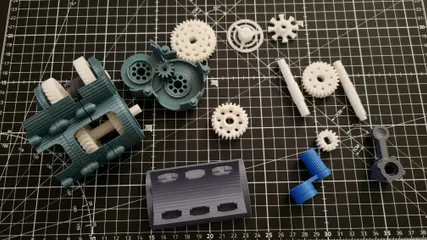
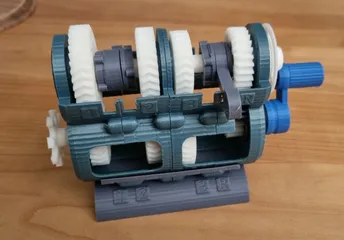
is it compatible with the "4 stroke flat head engine v2.0"?
@Reuben541_812046 I checked the design: you can use 0.8 mm wire thickness for the valve springs.
Very nice model. Probably it was the most complicated model I printed. I do not like glue much but it is not used much here and not difficult to assemble. However, it is easy to make small mistakes, so I recommend not to use super glue to be able to disassemble and pay close attention to the images. There are some bridges in the STLs, I printed with PETG without supports and it is OKish, I had to clean some pieces, next time I think I would print with supports.
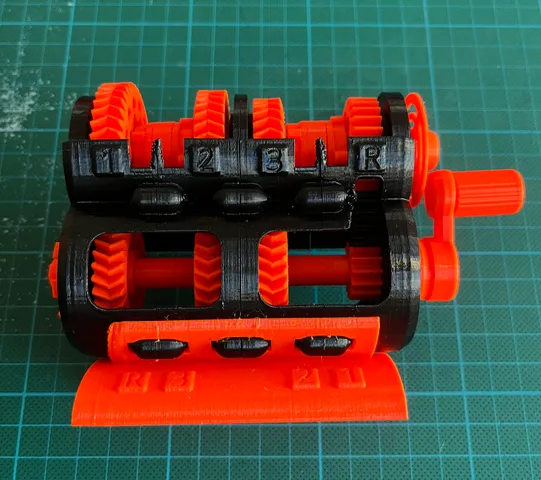
@Mete Print looks great! I always use PLA for mechanical models for a good fit. And hard plastic glue to make small last minute corrections. Thanks for posting.
@Bootjevaarder yes I forgot to say maybe the issues with the bridges is due to PETG. I dont have PLA at the moment so I had to use PETG. I also used a glue for plastic.