LED Fire Bowl


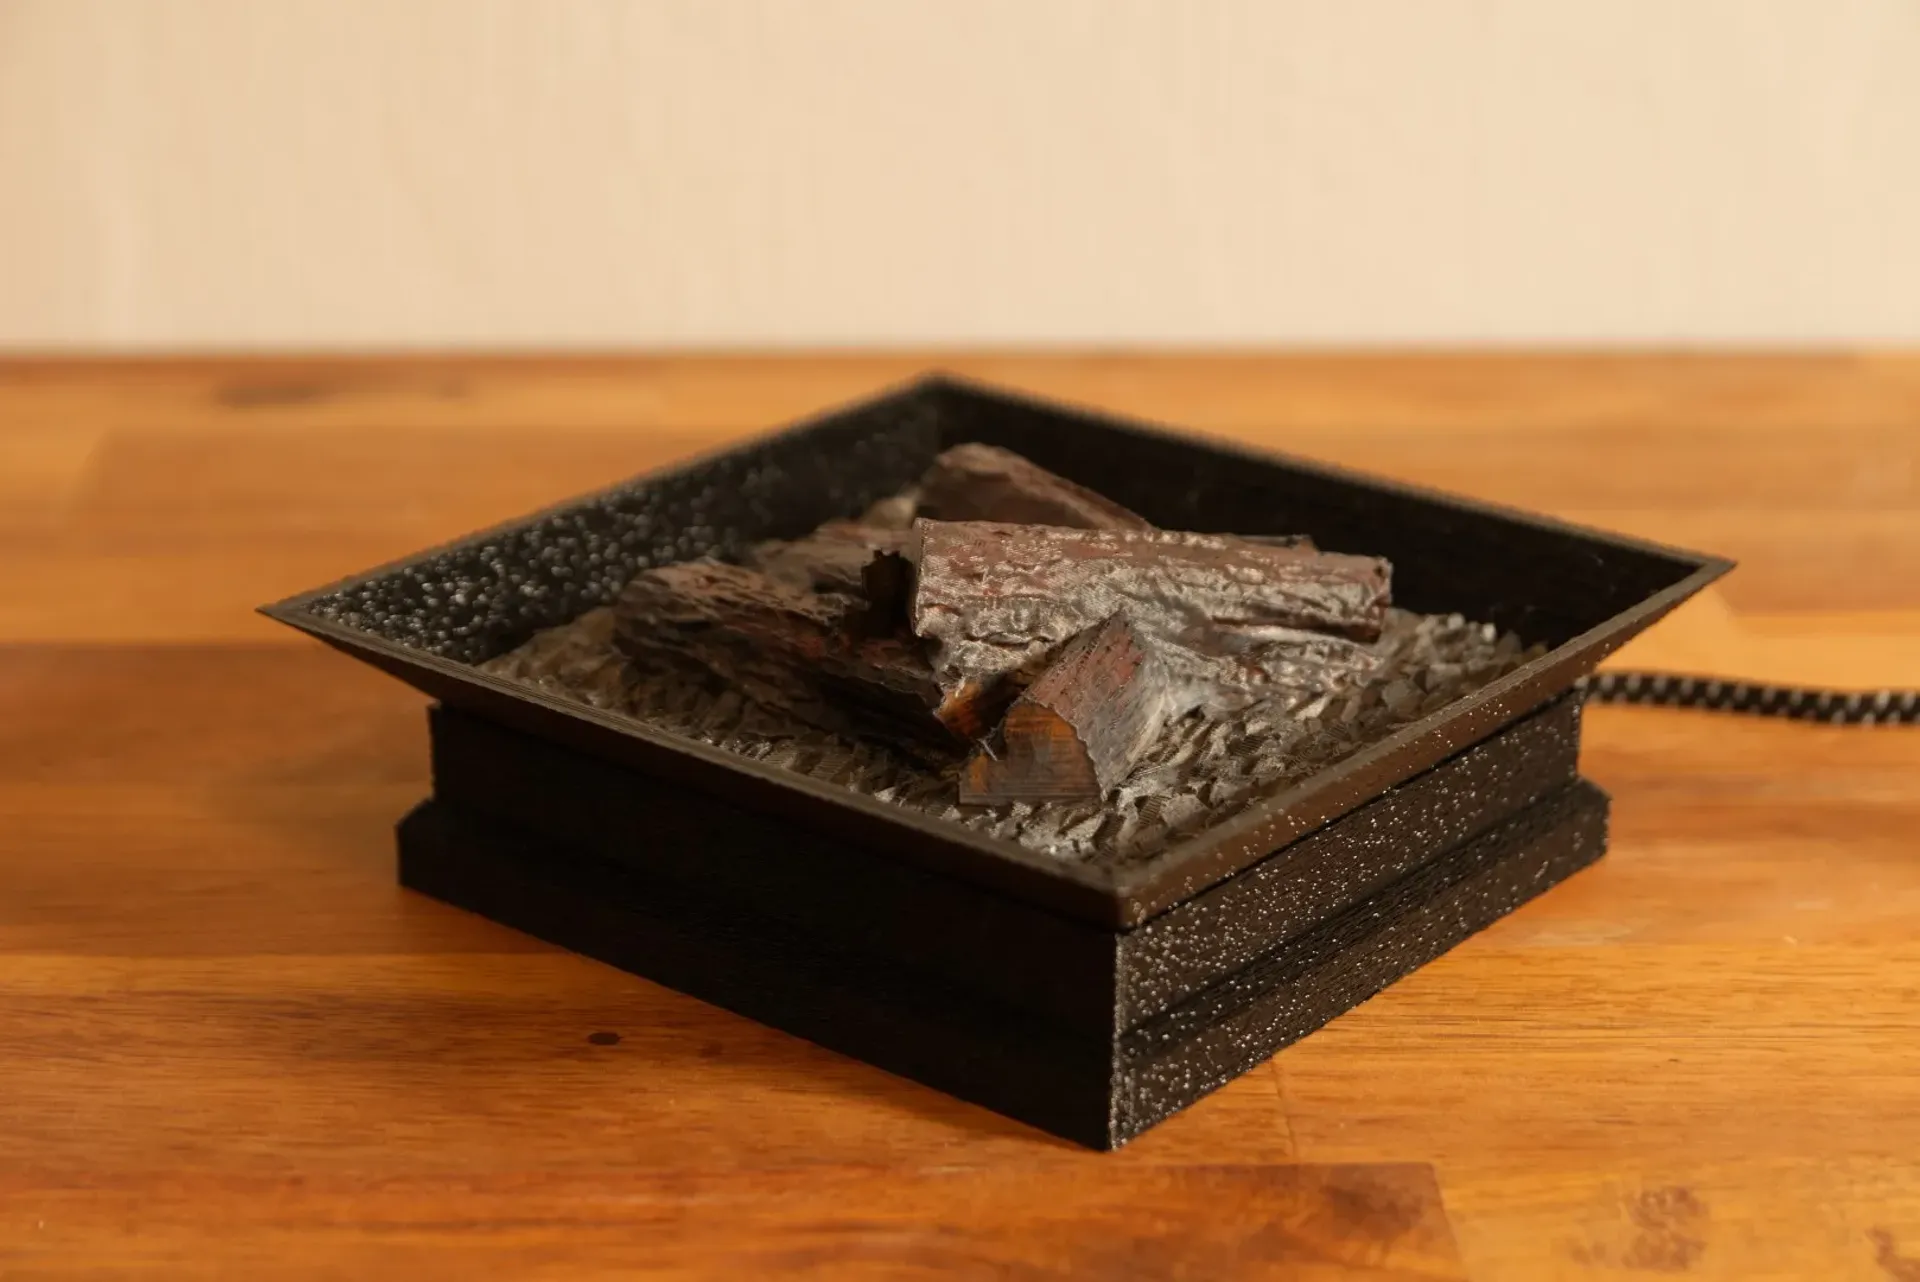

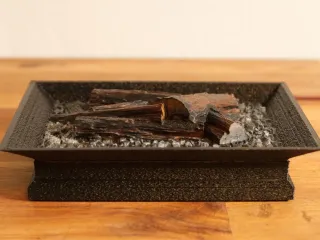
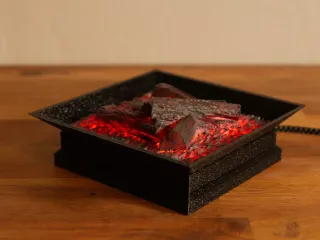
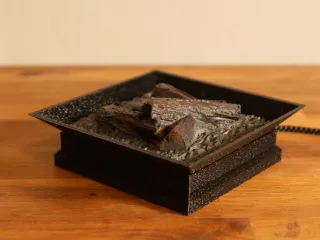

A 3D printed LED fire bowl with ESP8266 and WLED
In the contest 2022 Holiday Decorations
50
82
0
741
updated December 24, 2022
Description
PDFBill of materials
- 1 ESP8266 D1 mini with a micro USB cable for programming
- 1 min. 5V 1A power supply with cable (or USB cable with USB power supply. !!! DON'T CONNECT TO A PC USB PORT !!!)
- 1 LED strip WS2812b 60LEDs/m (we only need 25-35)
- 3 small wires (the ones that are on the LED strip, will do it)
- optional aluminum tape for better reflection
- PLA glossy black
- PLA transparent
- Some acrylic colors (red-brown, brown, ocher, black and white or mix on your own).
Cheap ones will do it, like shown in the video.
HOW TO
There is also a video with a complete walkthrough of the build.
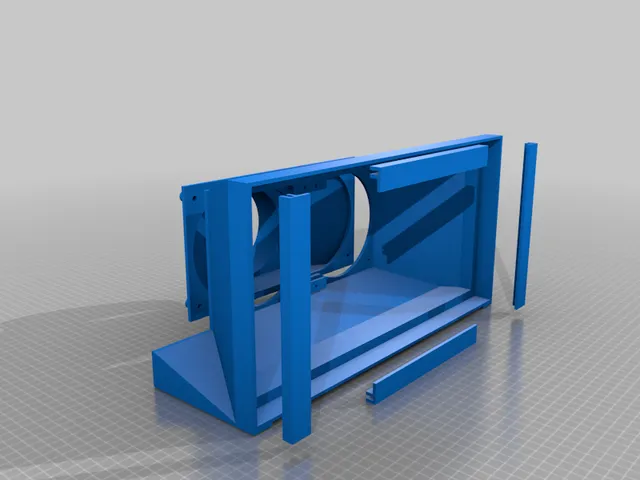
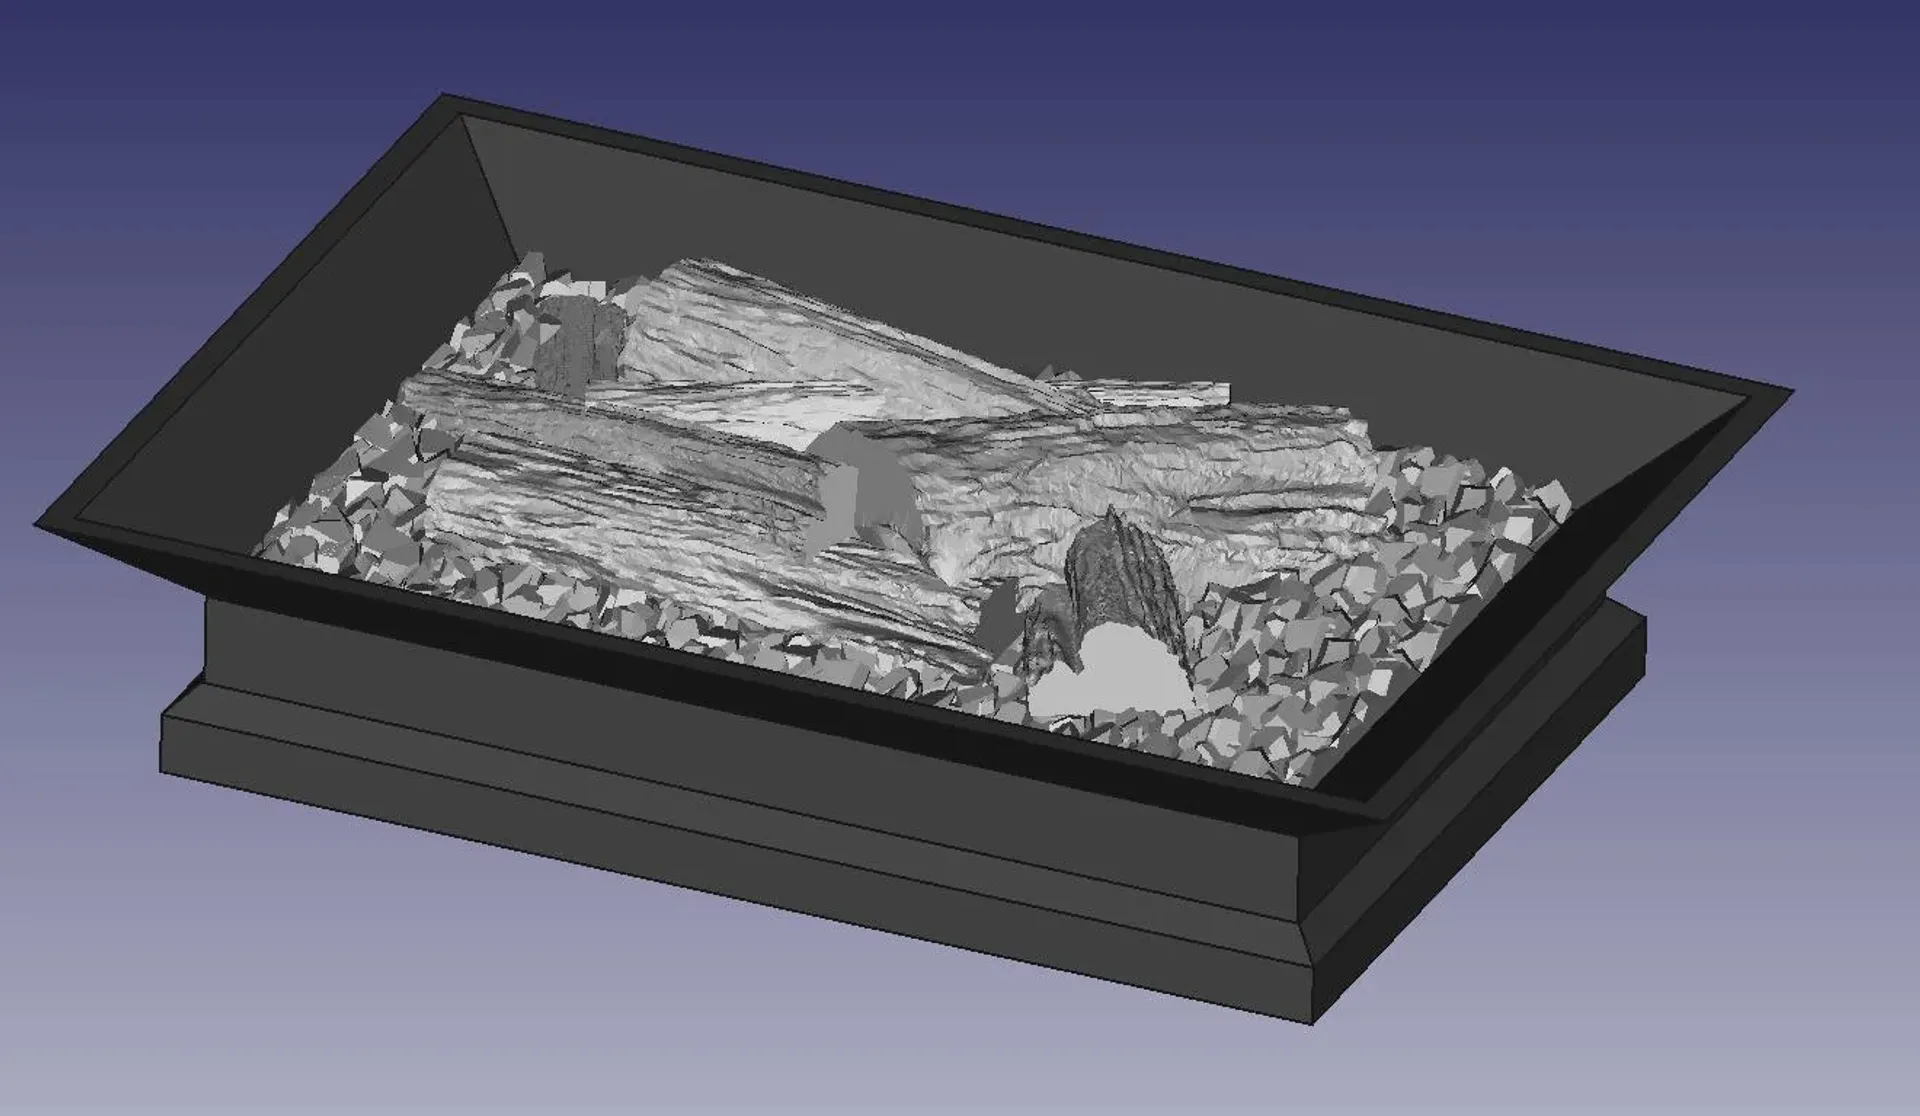
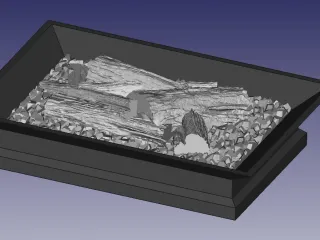
- Print out the parts bottom, middle, top in black filament with the recommended settings.
If you have a small printer (Ender 3 size), resize only X to around 65-80 % on all parts.
In the video it is 70 %. - Measure the inlay width from top part.
- Resize the inlay X to the measured size. In my case, it was 69 %.
- Print the inlay with the recommended settings. This will take long, but the slower you print, the more transparent it will become.
- Cover the bottom of the middle piece with aluminum tape, if you have on hand.
- Prepare the LED strip to check, where you have to cut it. Start beside the hole and go to the right.
- Cut the strip and solder the wires to it. Make sure, you solder to the back of the arrow on the strip!
If you used a new strip, there will be some wires on it sometimes. You can use them, if they are long enough. - Pull the wires through the hole and stick the strip to the sides of the middle piece.
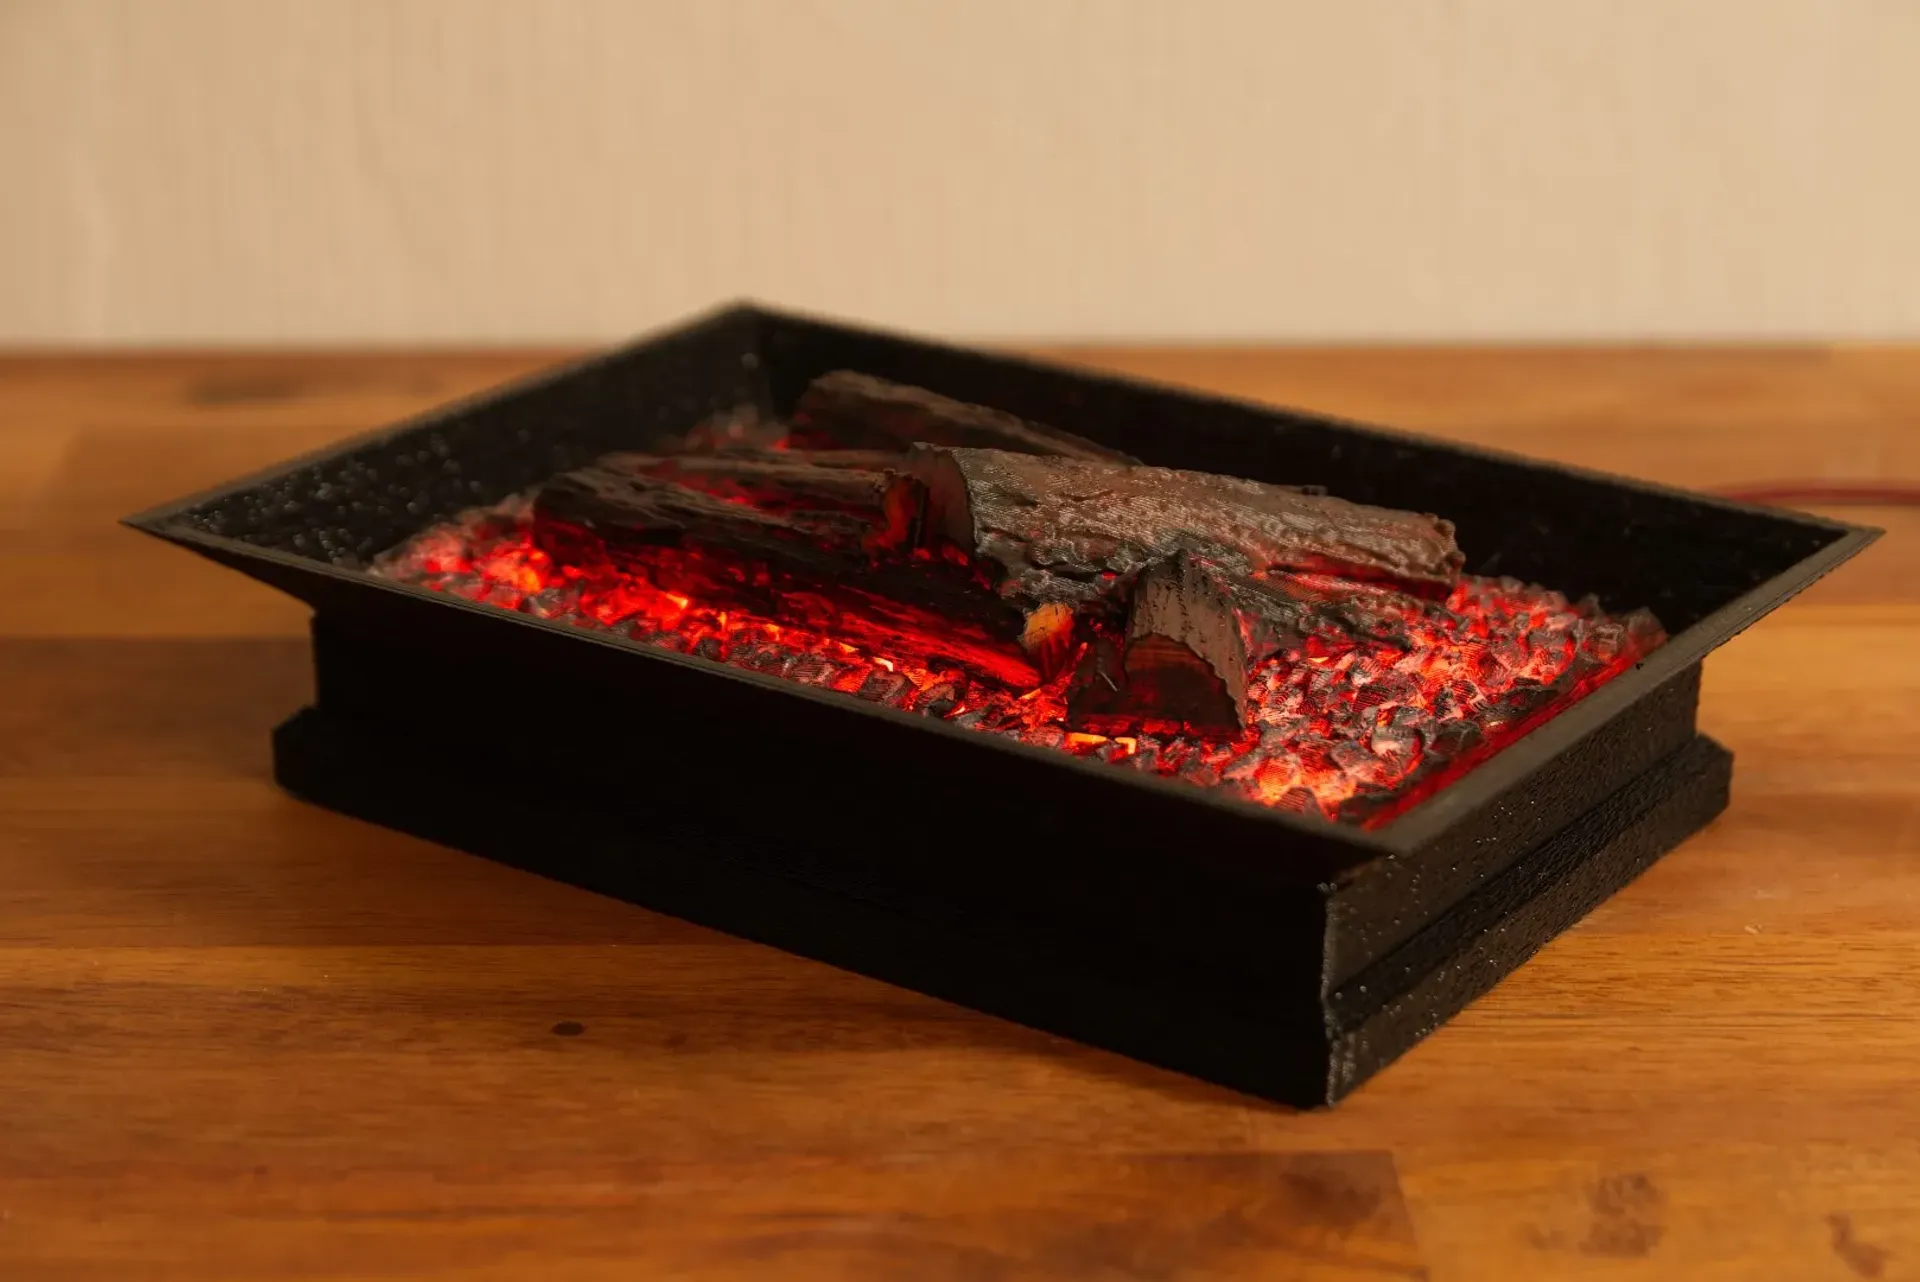
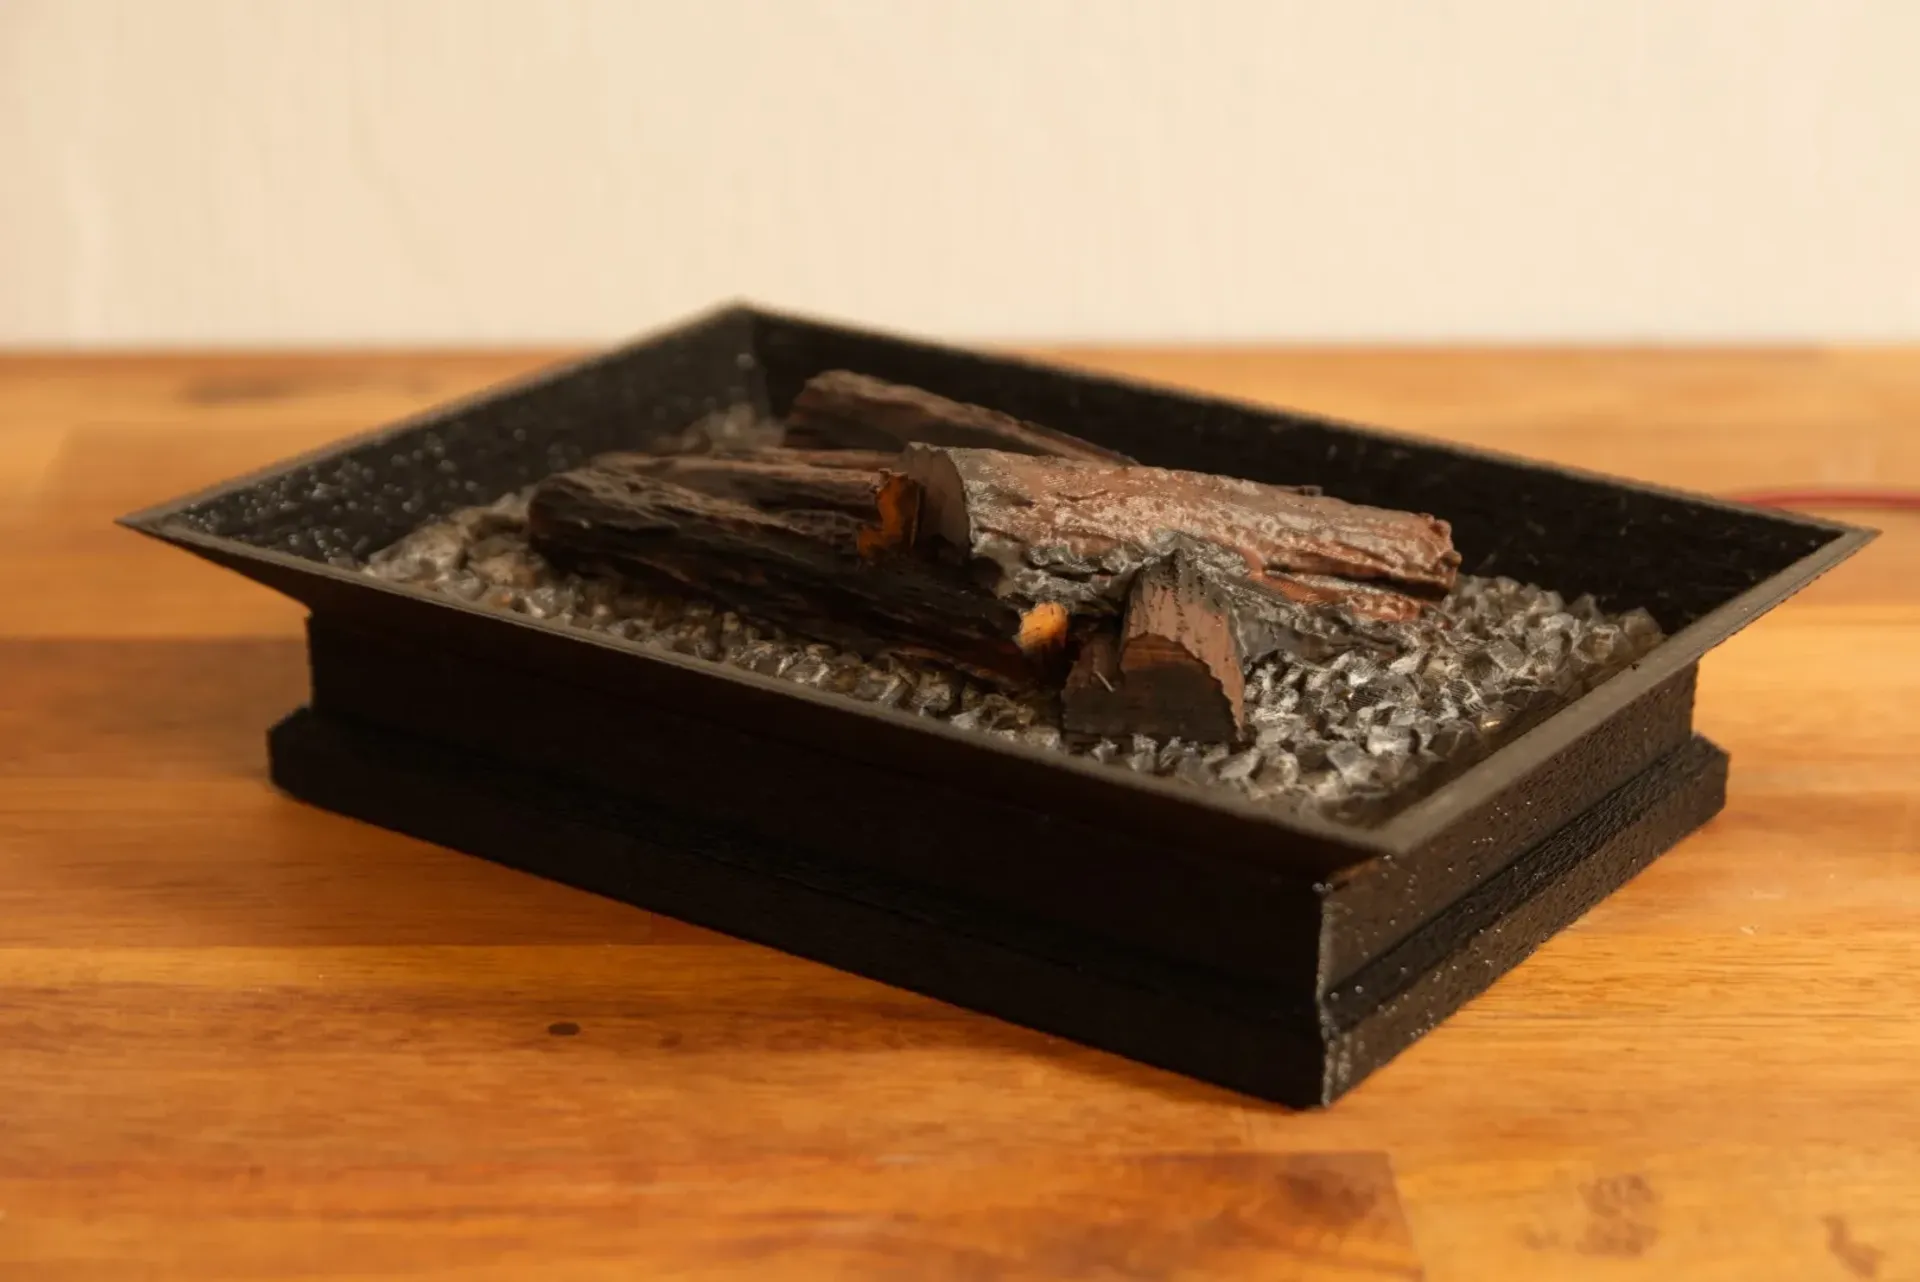
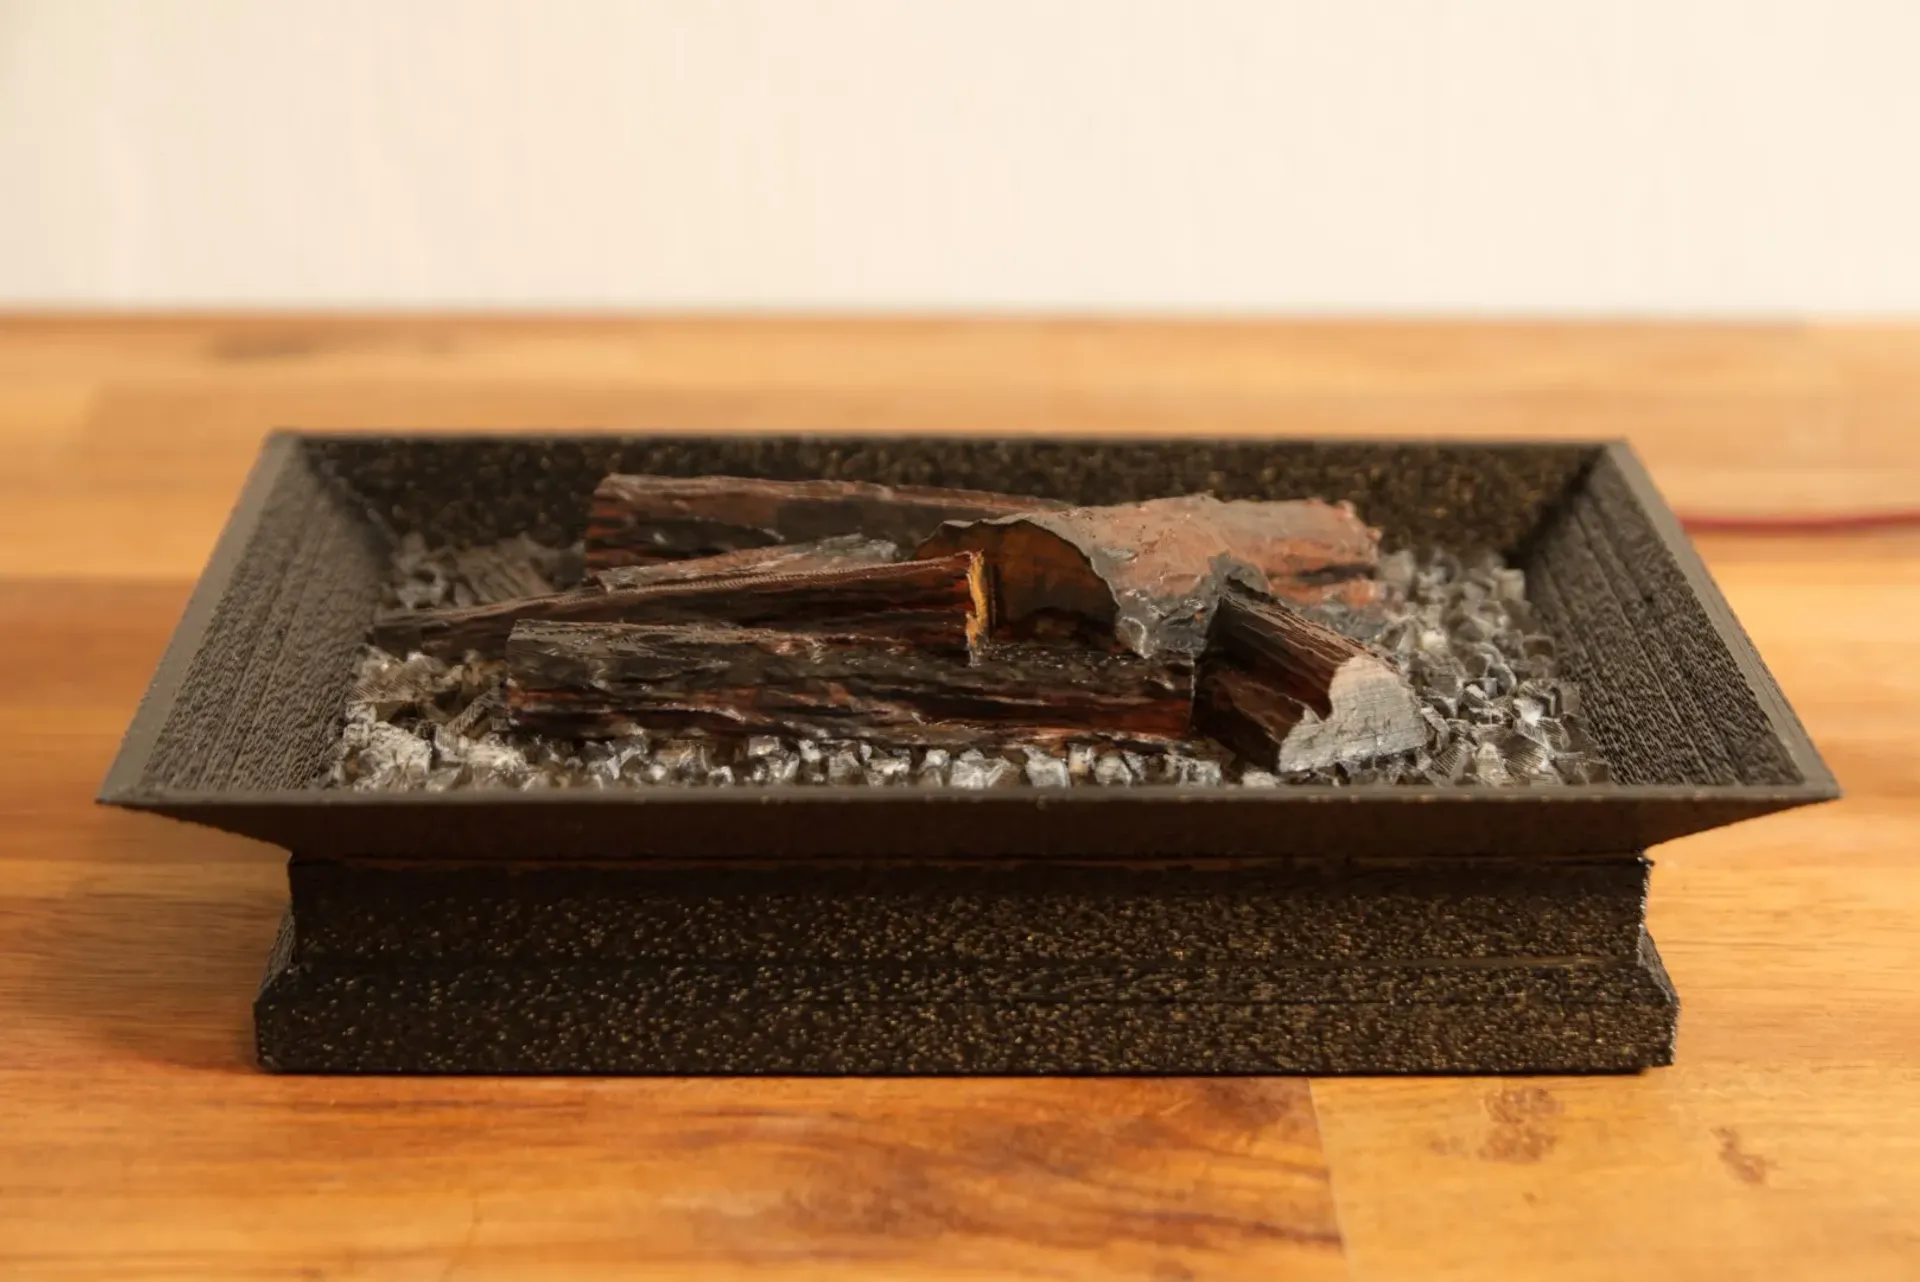
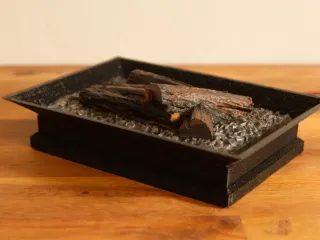
- Paint the inlay. You have to do it step by step and let the colors dry in between.
The wood can have a thicker layer of color on top. The sides and the coal should only be a small layer, so the light can shine through it. - Download WLED to your ESP8266 like shown here: https://kno.wled.ge/basics/install-binary/ or here https://kno.wled.ge/basics/install-gui/
- Connect to the WLED-AP and go to "Config" - "Security and Updates".
Restore the config from "wled-cfg.json" and the presets from "wled-presets.json". - If you have more or less than 28 LEDs, you have to change it in the "LED preferences" under "Hardware Setup"-"LED outputs"-"Length".
If it is more than 28 you also need to change the segment stop-LEDs 0,1 and 2 on the start page in PC-mode. - Put your power supply cable through the hole on the bottom part and strip + and - wires.
- Strip the +, - and data wire from the LED strip.
- Solder the + wire of the strip and power supply to 5V port of the D1 mini.
- Solder the - wires to GND port of the D1 mini.
- Solder the data wire to GPIO14 (labeled D5).
- Secure the power supply cable with a cable tie or hot glue, etc.
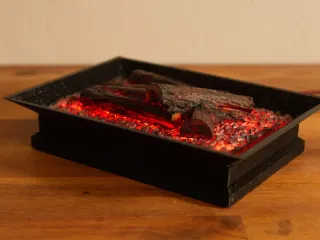
- Put top, middle and bottom parts together and connect your power supply to an outlet.
The LEDs should light up. If some don't glow, this might be part of the program. Wait for one or two minutes.
If all is fine and your colors are dry, insert the inlay and enjoy your LED fire bowl.
The wood and coal are remixed from the two following thingiverse projects:
https://www.thingiverse.com/thing:3179335
https://www.thingiverse.com/thing:4763049
Tags
Model origin
The author marked this model as their own original creation.