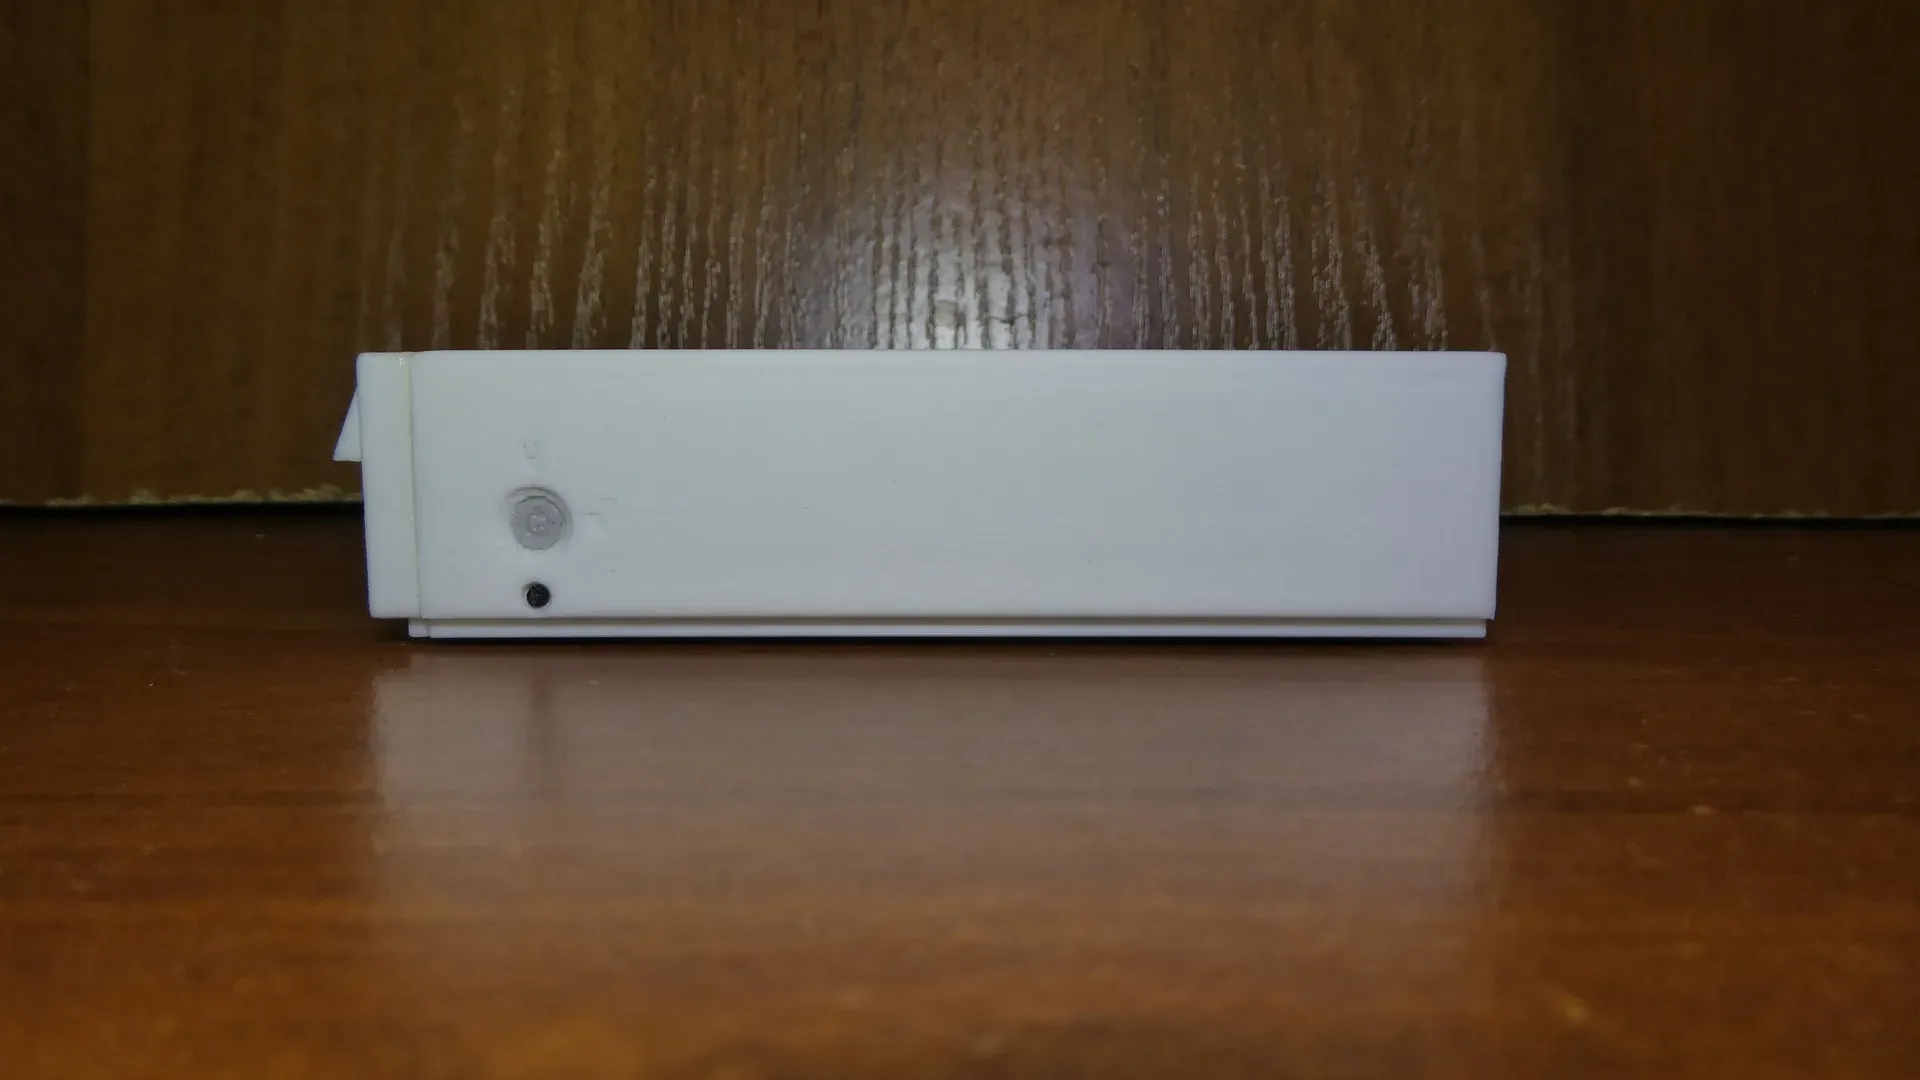
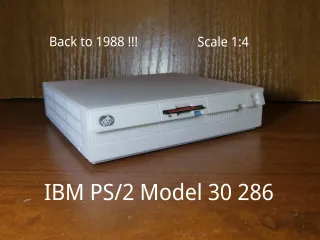
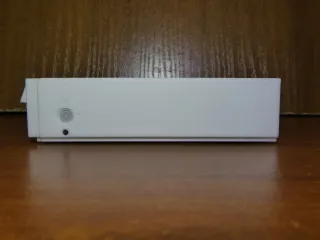
IBM PS/2 Model 30 286 (1:4 scale model with a box for small stuff)


Description
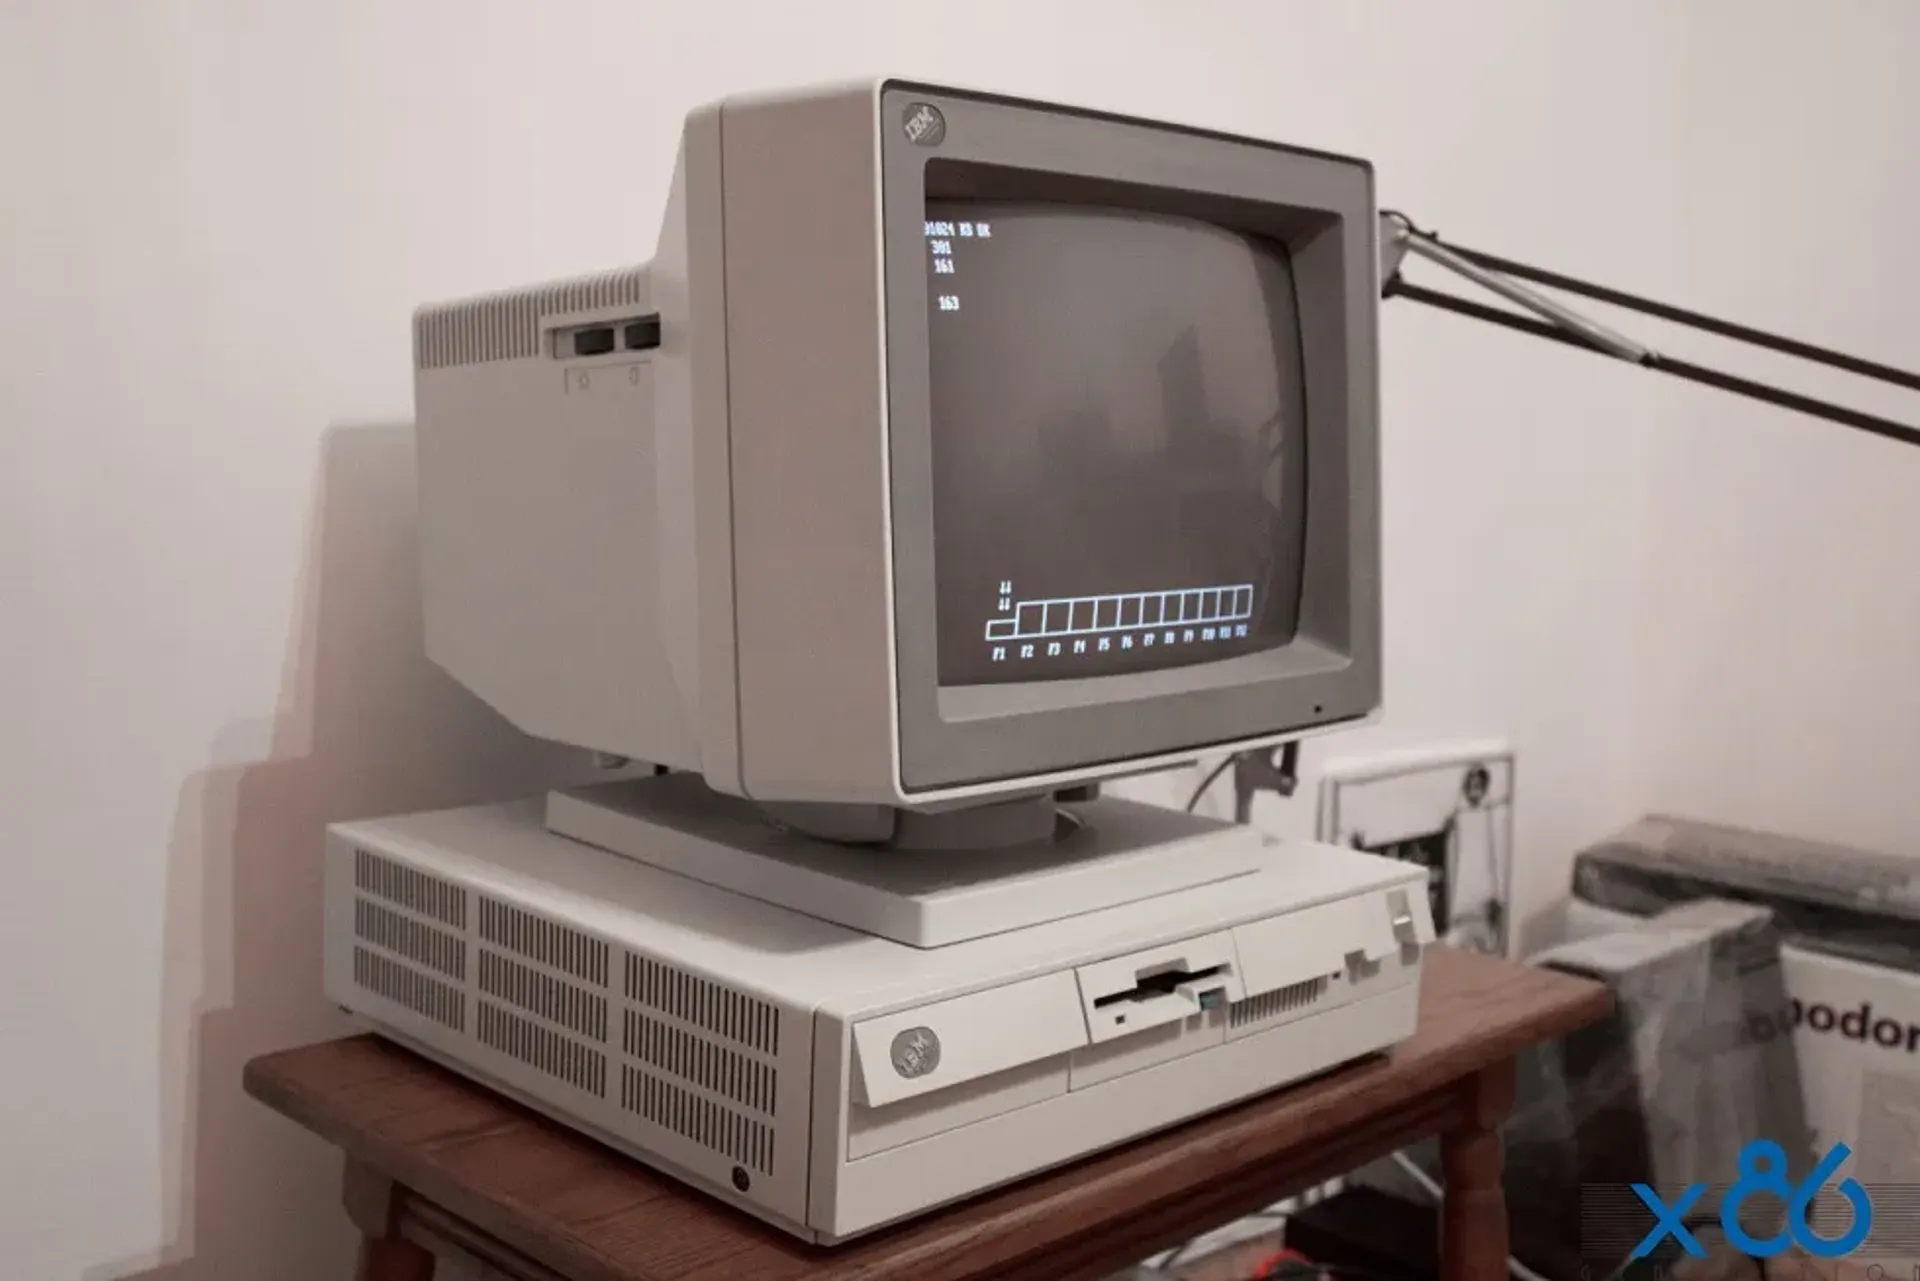
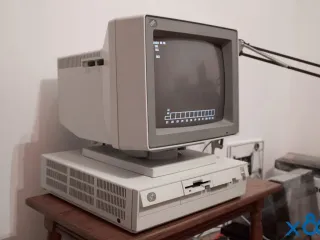
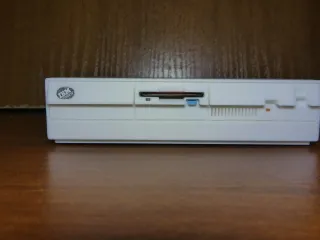
PDFThis is IBM PS/2 Model 30 286 (8530-E21) that was presented to the public in 1988. It was my first computer and I used it from the mid 1990's till the beginning of 2000's, when too many programs started to state that they needed a 386 or higher processor. This model is a kind of tribute to that computer and the old days of MS-DOS, Norton Commander, Borland Turbo Pascal, Prehistoric 2 and other stuff like that.
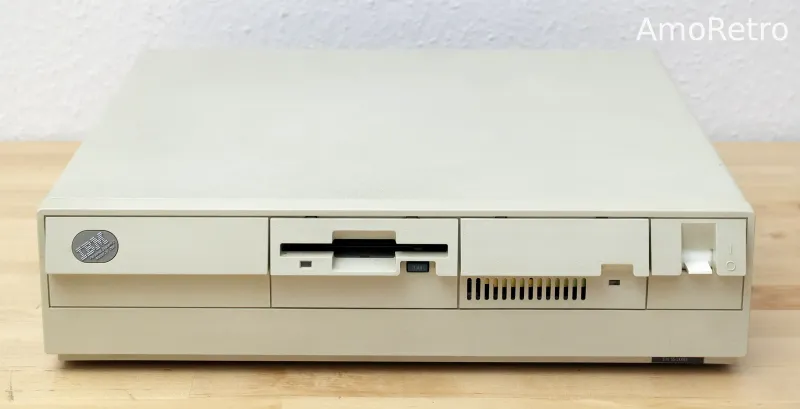
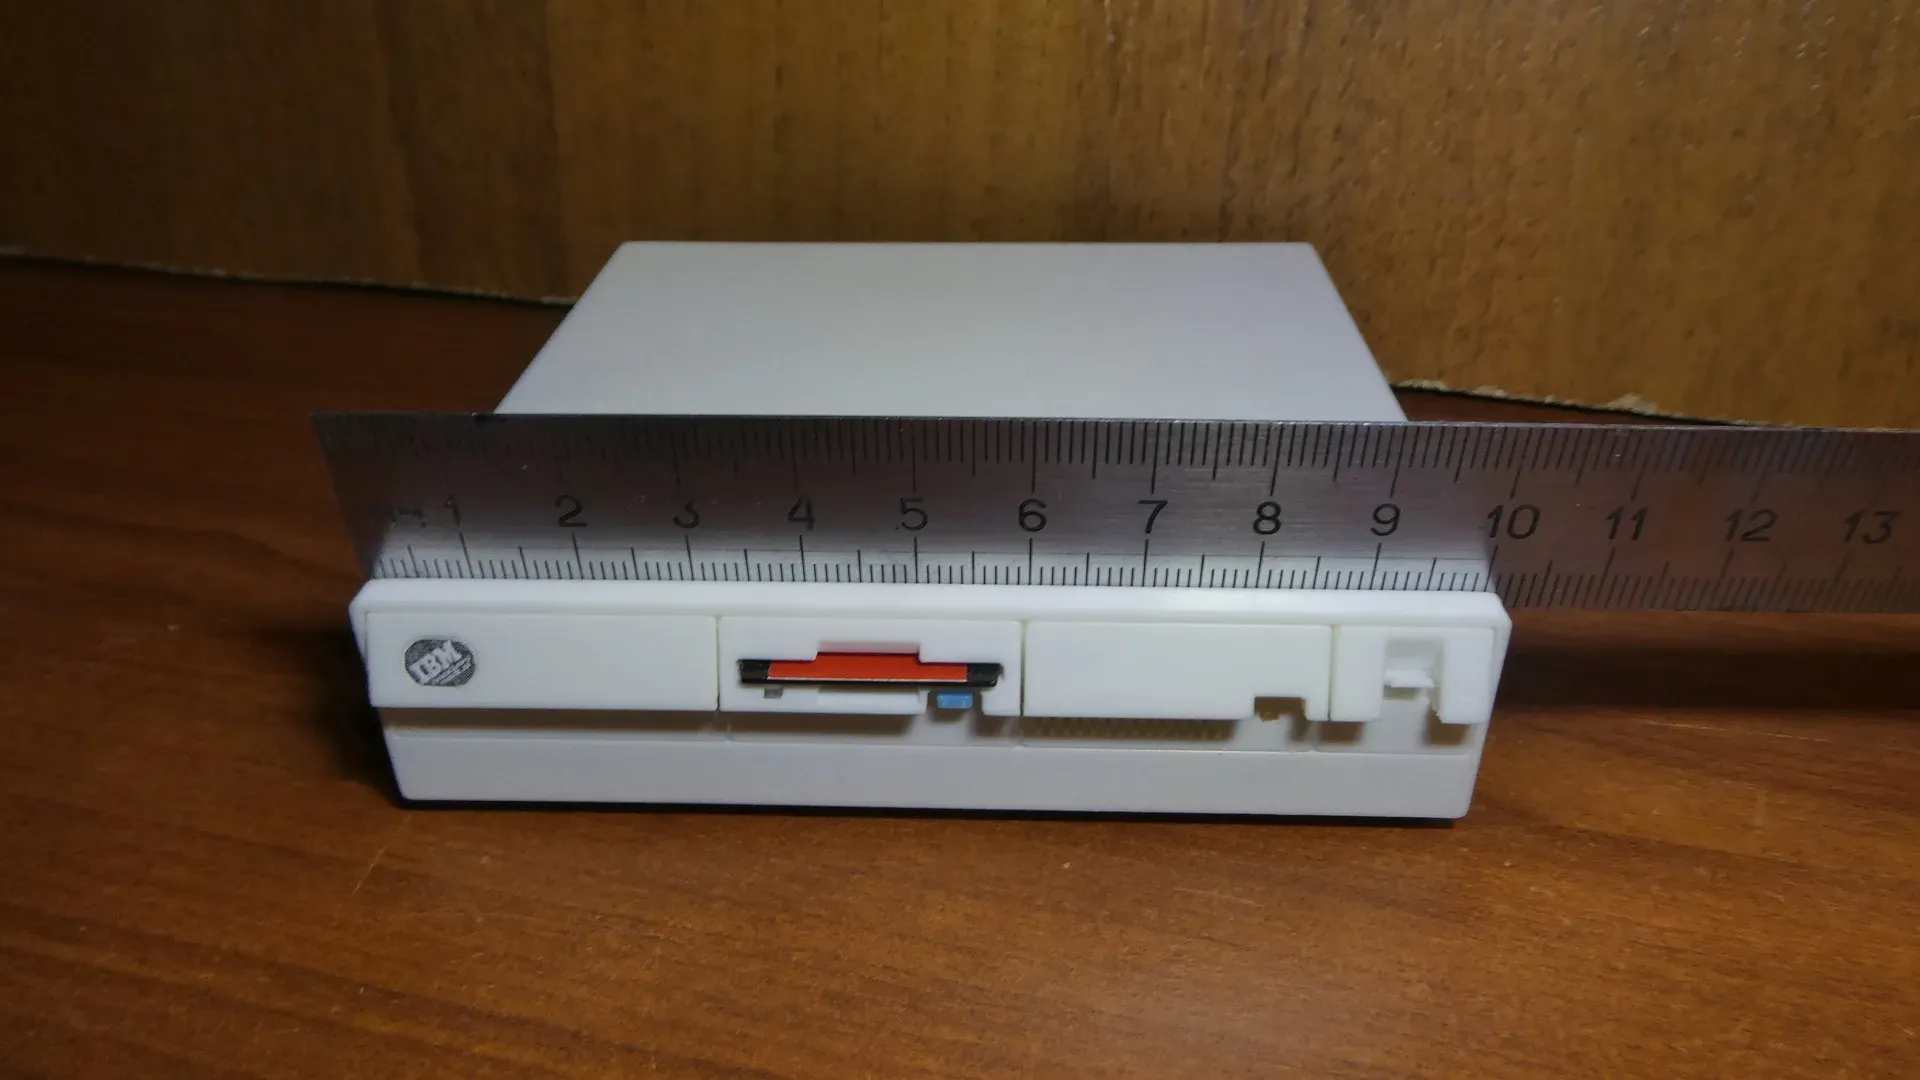
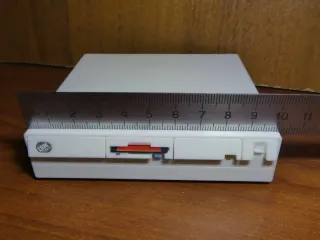
Unfortunately, I don't have this computer anymore and I cannot measure all the dimensions, but I downloaded hundreds of photos showing this machine from various points of view. Knowing the original size from the IBM specs (width = 406mm, depth = 397mm, height = 102mm), I made all the proportions for all elements of the construction as precise as it was possible to do using this way of modelling. If anyone still has this machine and can measure it's elements with a caliper and send the measurements to me, I will make a more precise model. Some things are really difficult to find out using photos only, for example, the exact angle of the triangle on the front panel or the angles of the cut on the FDD cover. Anyway, I think the result seems to be very close to the original, except that I made it in 1:4 scale to save lots of place on my desk :)
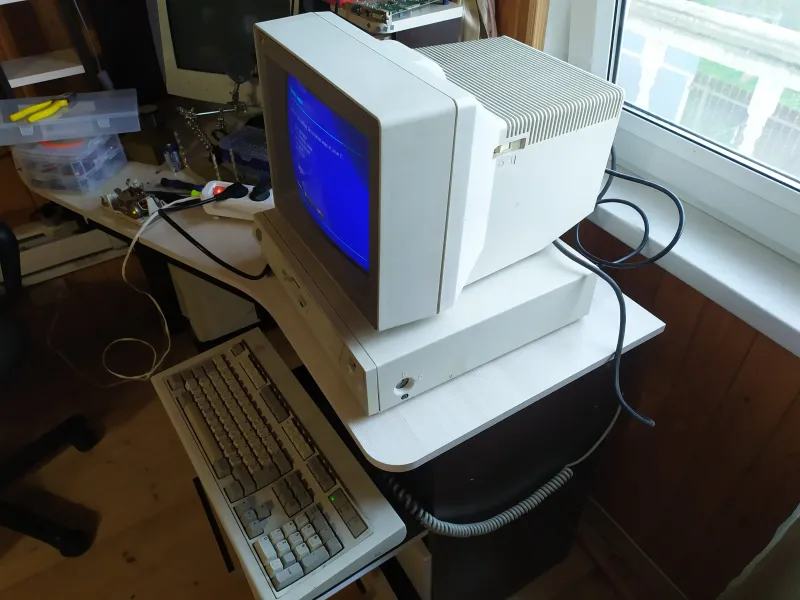
This computer was equipped with IBM 8512 Color VGA Monitor.
Other complementary models you may need.
IBM PS/2 Color Display 8512 (CRT VGA Monitor) 1:4 scale.
IBM PS/2 Color Display 8512 - TFT 2.4 inch remix.
Olivetti M-SQ29-6MD retro mouse (non-scaled).
IBM PS/2 Mouse Replica - USB (non-scaled, by poprhythm).
IBM Model M keyboard - still in plans…
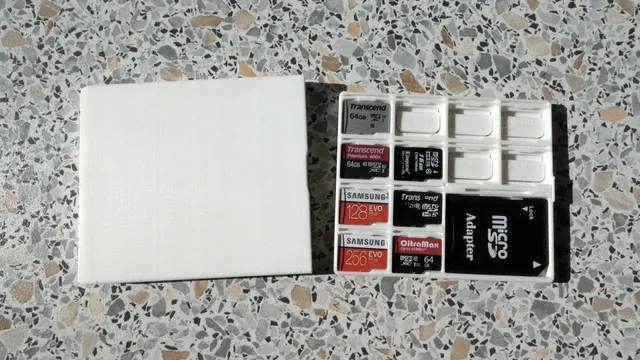
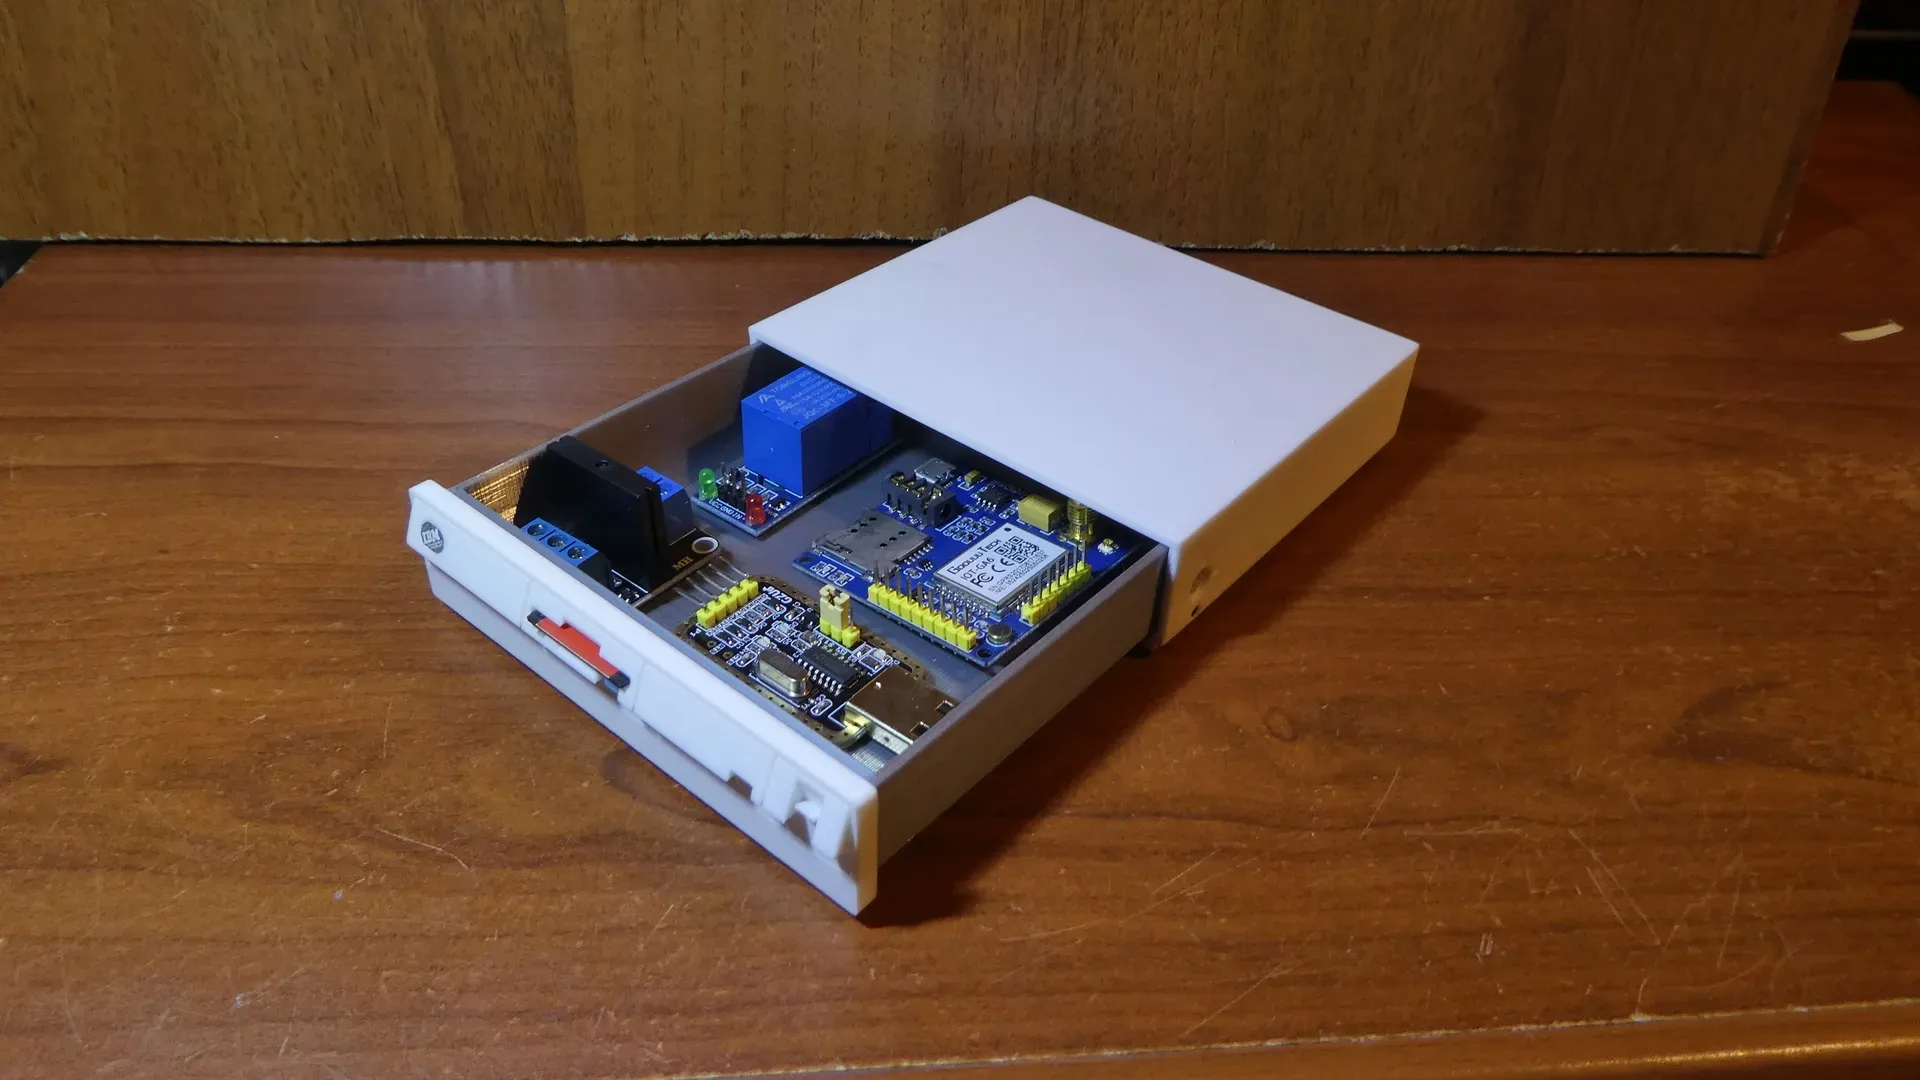
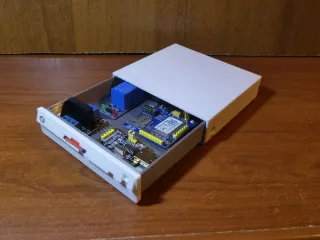
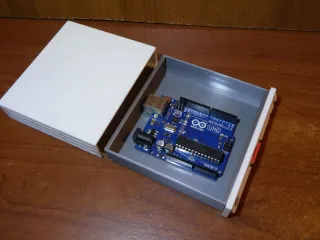
It is not only nice but useful.
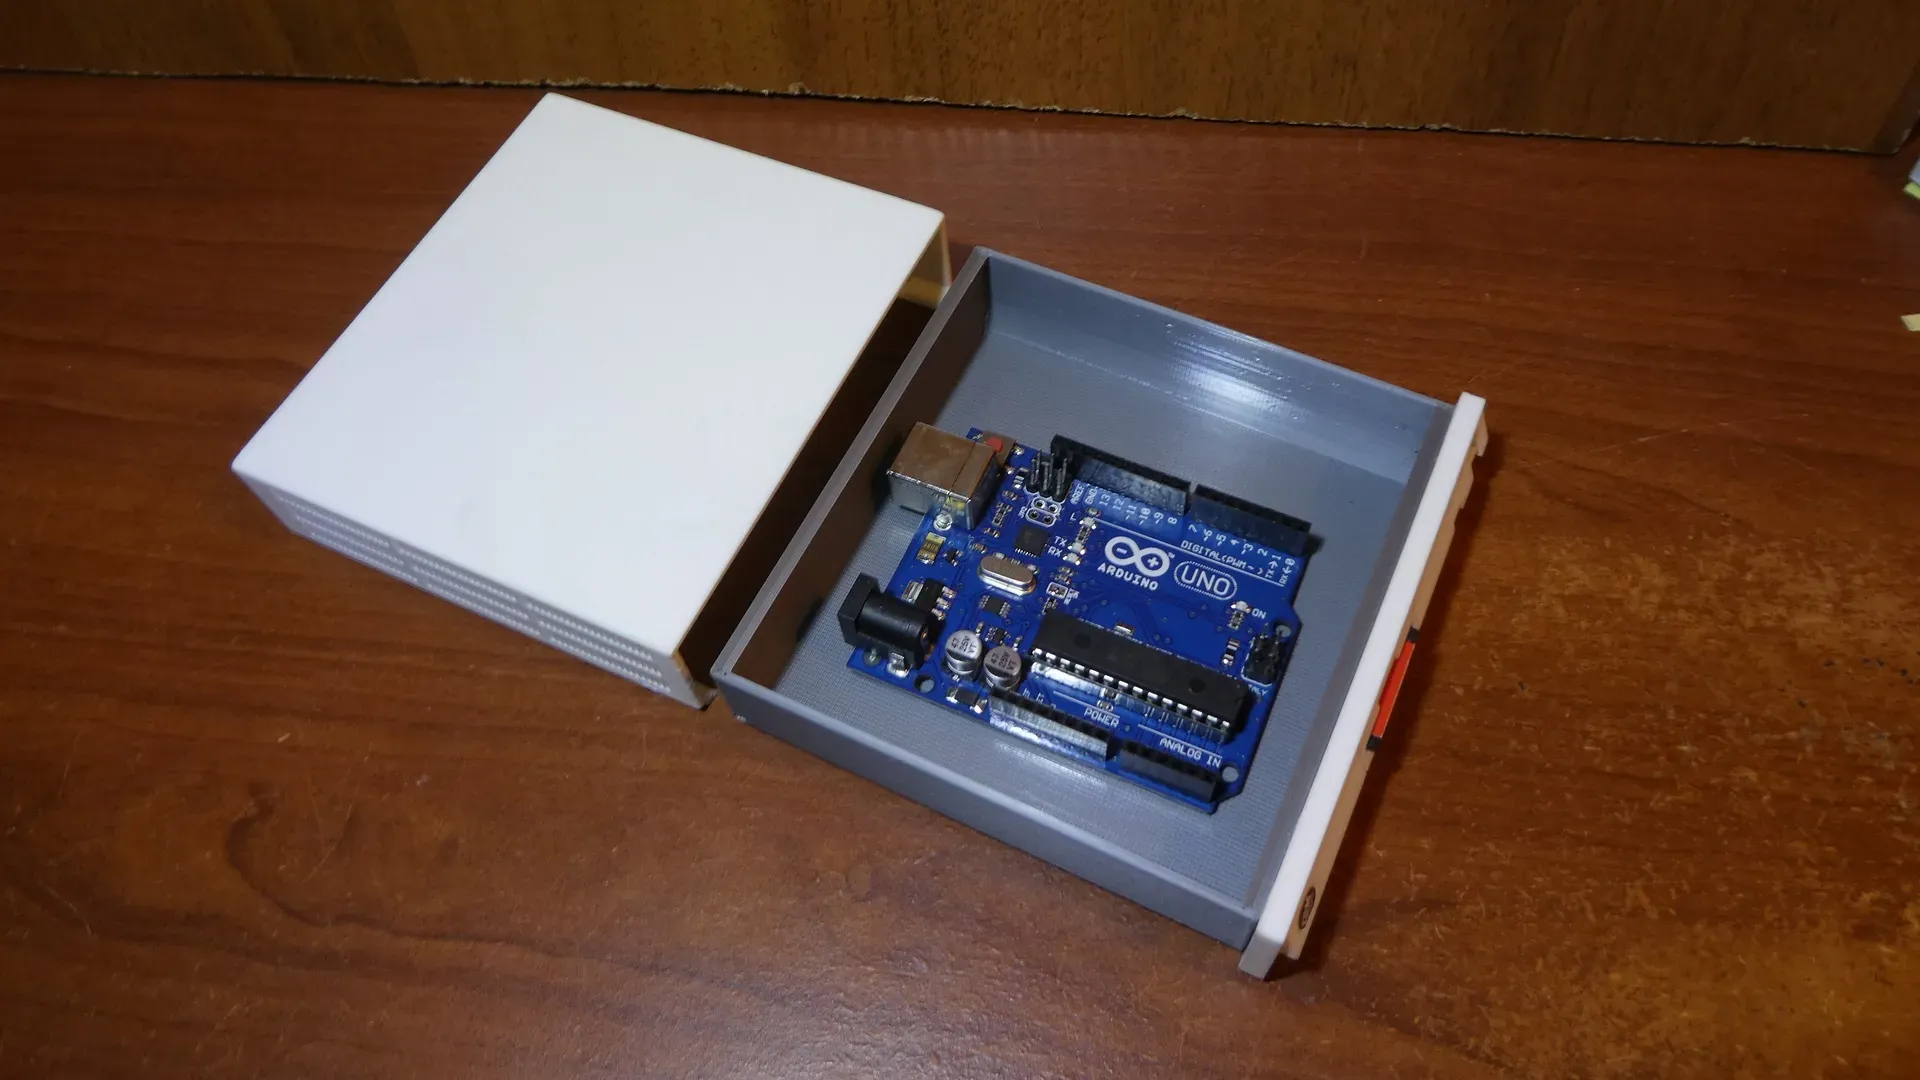
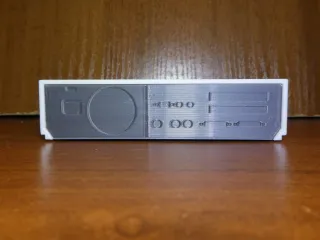
To make this model not only nice but also useful, I added a box inside for any kind of small stuff. It can also be used as an enclosure for small Arduino projects if you make a few holes for the wires on the back wall. The top cover opens by sliding it to the back - the same way as it opens on the original machine. Maybe it's not the best solution for a casual box, but I wanted to make it as authentic as possible.
Print settings:
The model is designed so that every part has a flat surface to avoid support. Rotate every part in your slicer software before printing (the flat surface goes to the bed).
I highly recommend to use the following settings only. I tried other "faster" settings but the visual result was disappointing (the "stairs" effect on the front panel is quite visible even at 0.12 mm layer height and it looks rather disattracting, so use 0.08 for it to get the best result). I also recommend to reduce speed to 15-20 mm/s for the front panel because it has a few tiny elements that should be printed very slowly. Layer height is especially important for LEDs, Button, Diskette and Lock, because wrong layer height settings may make them bigger or smaller, and they won't fit into their holes.
If you don't have plastic of some colors for the small parts (leds, button, lock), you can print them in white and then color them with a permanent marker before installing.
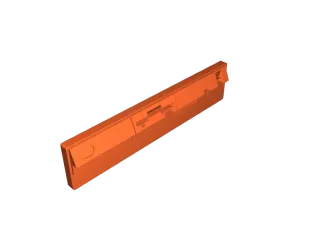
FRONT:
Color: slightly warm and slightly dirty white color or very bright gray, maybe with a bit of light beige tones (see color sample photo, I don't know how this color is named). I used ordinary white as I have nothing better, but it may become the right color after 20 years or so :)
Settings: 0.2 nozzle, 0.08 layer height, 4 walls, 7 top, 3 bottom, 1.4 mm grid infill, 15-20 mm/s. I printed 7 hours to get nearly perfect quality (no sanding required). Do not print it with 0.4 nozzle 0.2 layer unless you need a "crapbox"!
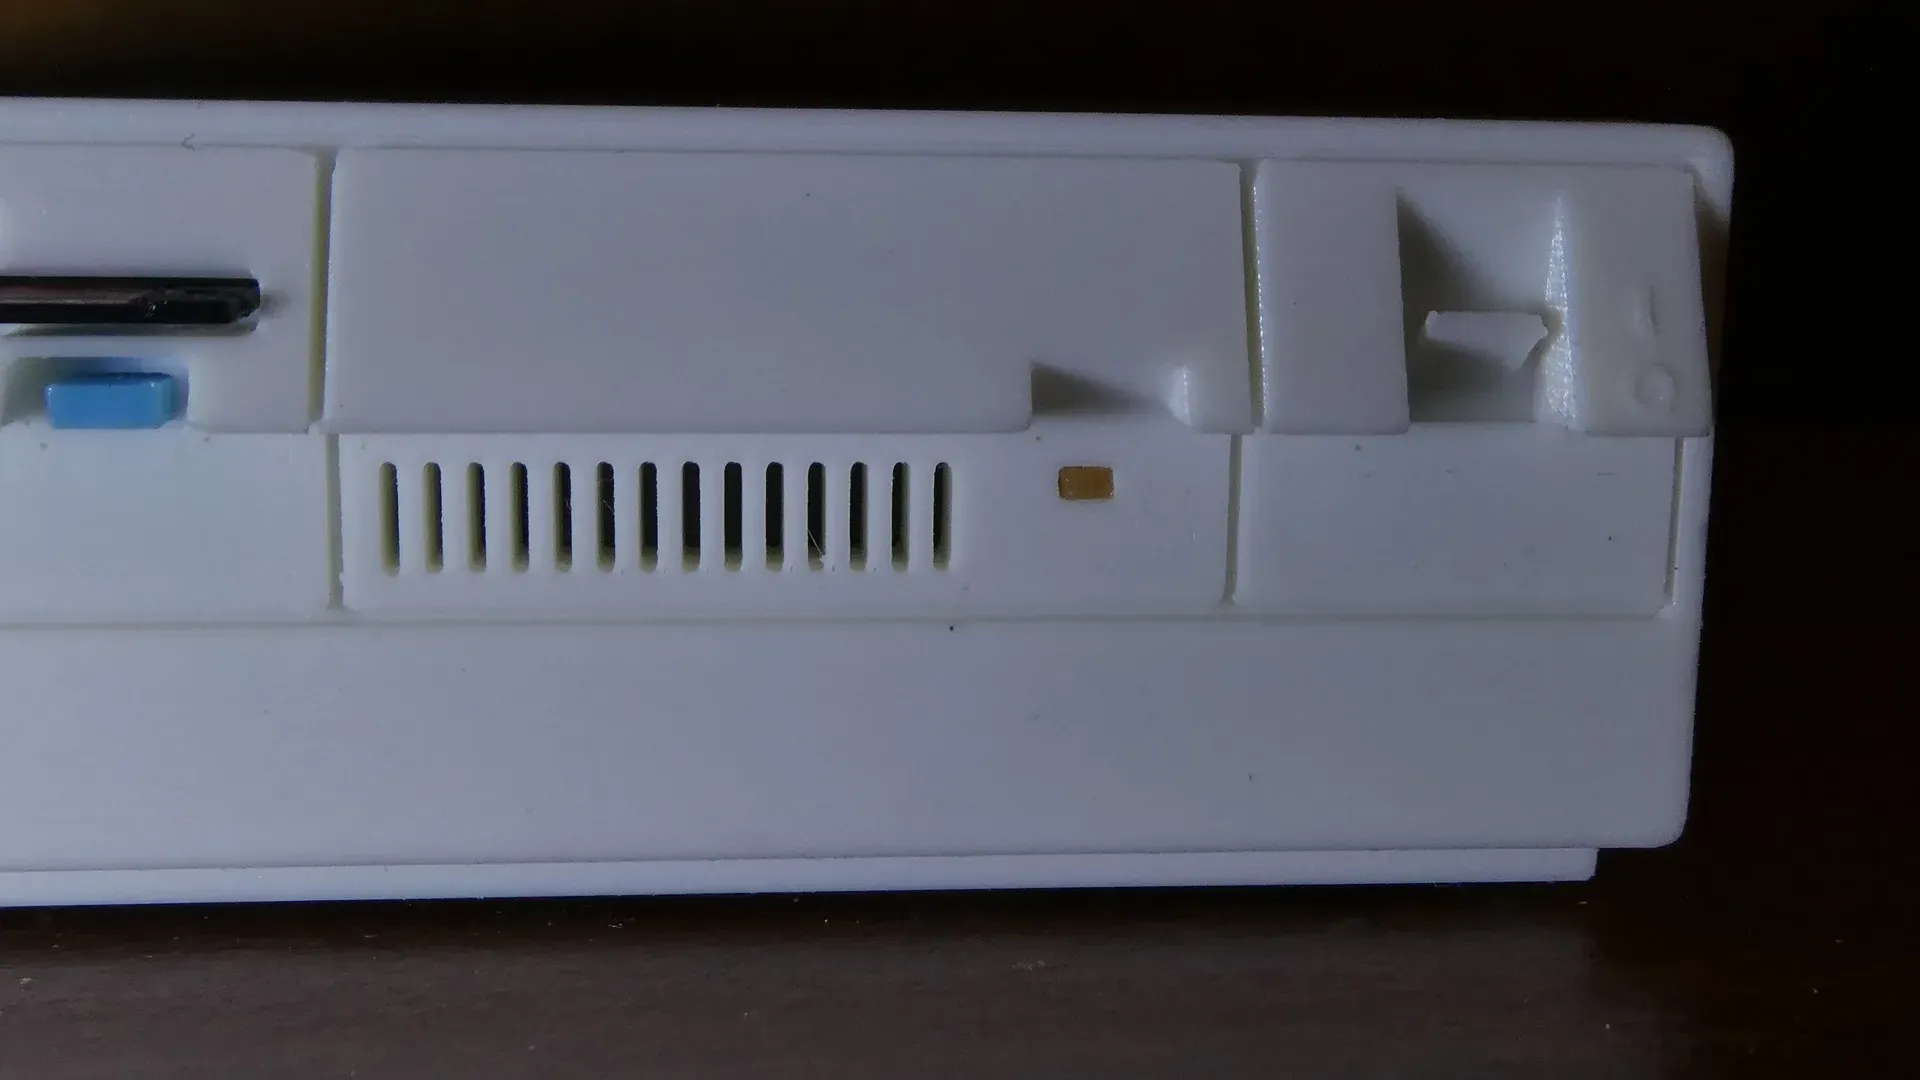
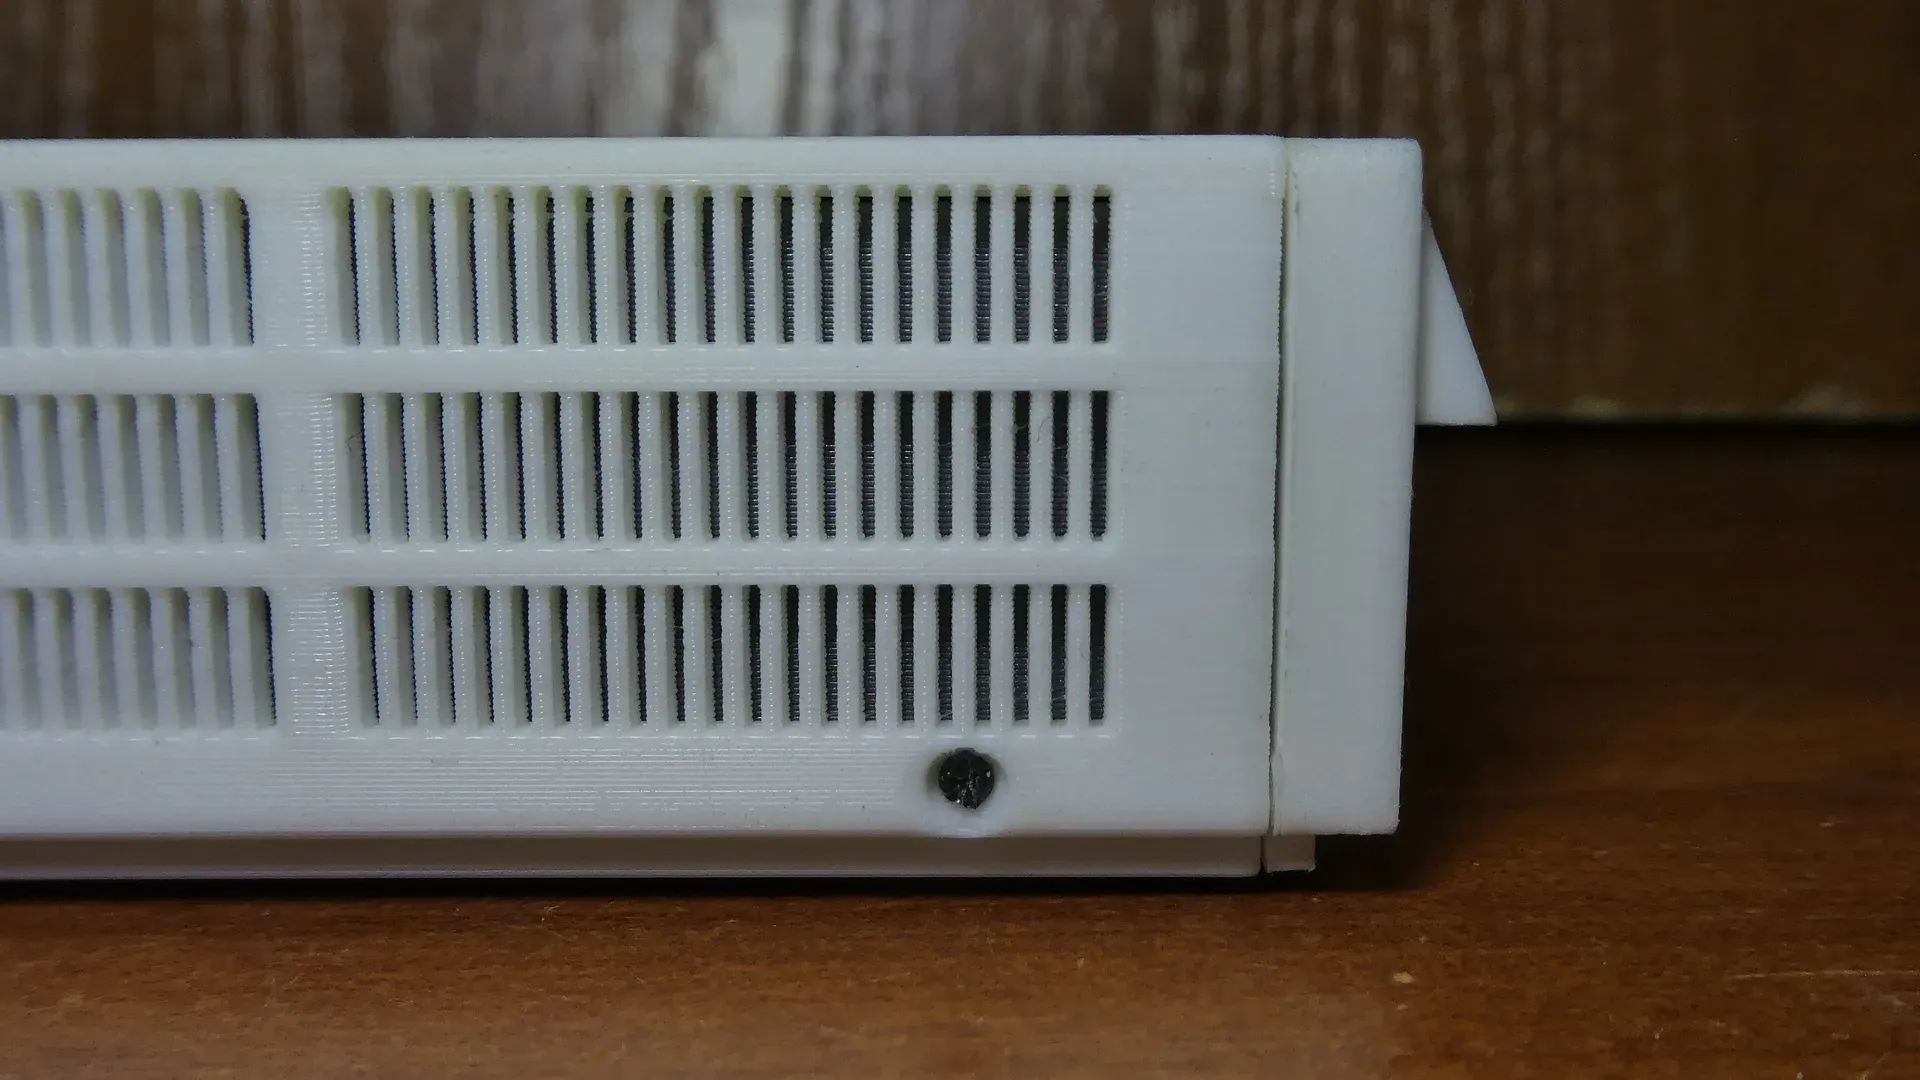
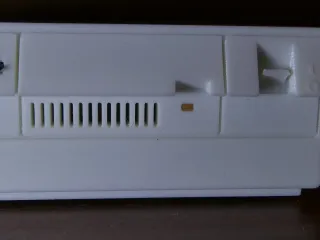
TOP:
Color: the same as FRONT.
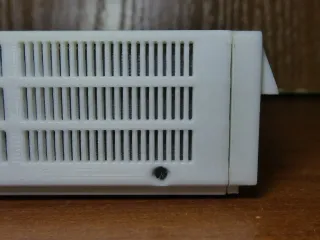
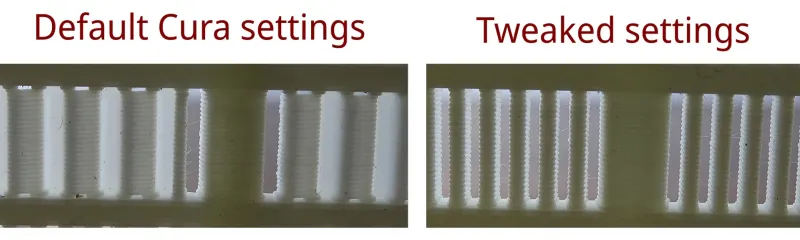
Settings: 0.4 nozzle, 0.2 layer height, slow speed is recommended starting from the layers where the holes begin. Top part can be a kind of tricky to print with good quality because the distance between the holes is rather small and Cura is configured not to use retraction at such a small distance by default. As a result, the leaking effect glues the vent holes (both with PLA and PETG). Besides, Cura with default settings does not preserve the configured seam position, starting it from both sides and making the vent grid rather ugly. After getting deeply into Cura settings I found a combination of parameters that allows to print the grid with clean holes and with the seam on the specified side (I set it to back to make the seam appear inside the box only). So my parameters are: 4-5 mm retract for PLA (6.5 mm for PETG), 25 mm distance, no retraction z-hop, retraction minimum travel 0.2, minimum wall line width 0.32, walls 4, seam back.
Your printer may need other settings, so I made a small part of the grid (TOP-TEST) so that you can tweak your retraction parameters before printing the hole part. If you print on glass, the top panel will be absolutely glance with a mirror effect, but it should be matte to resemble the original one. I used fine M50 sandpaper to make it matte. Slightly push and make circular movements to make a uniform matte surface.
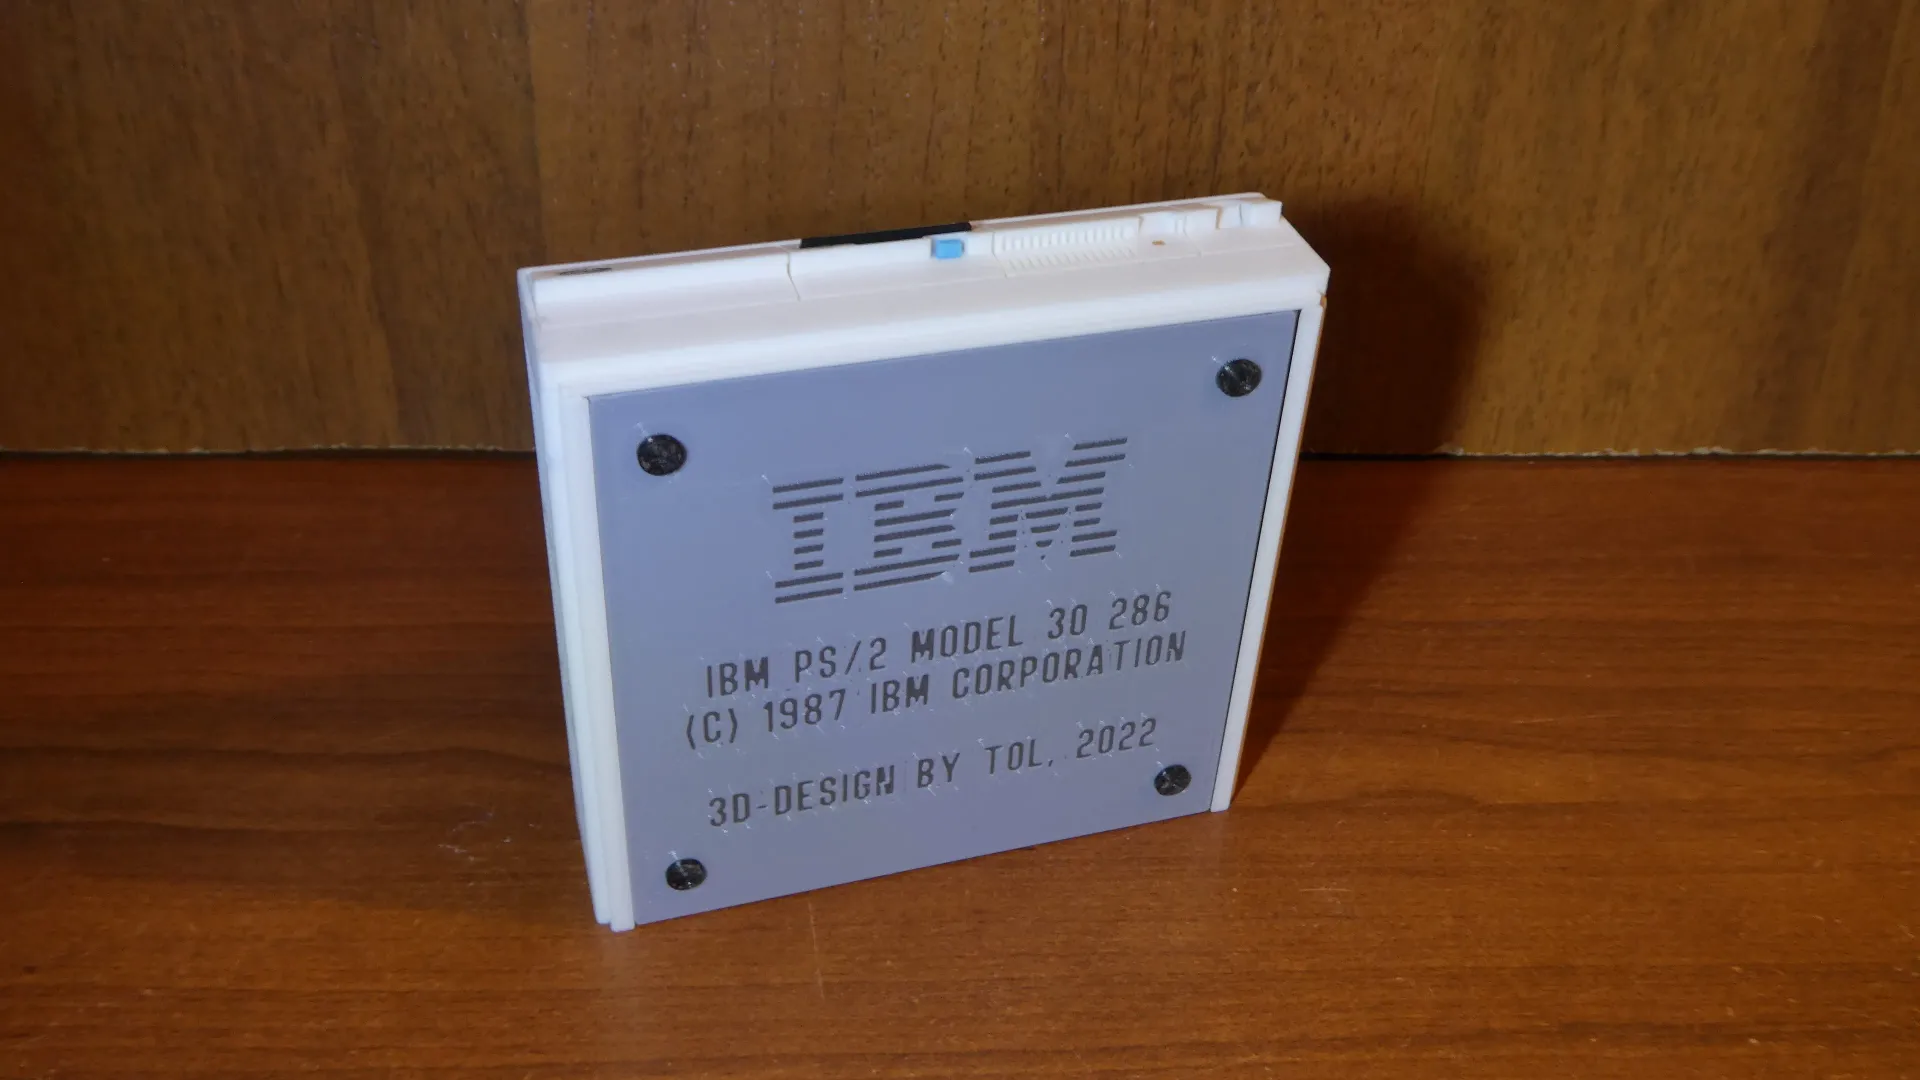
BOTTOM:
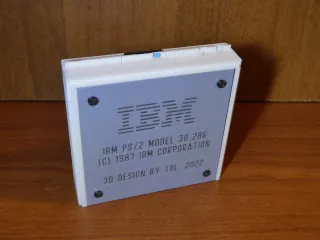
Color: the first layer is printed with some metallic/silver color and the rest layers are dark gray. It's possible to print all layers dark gray without filament change, because the bottom part is not seen most of the time anyway, but the logo and the model name at the bottom will be less visible in this case. I don't have metallic color, so I used bright gray.
Settings: 0.4 nozzle, 0.2 layer height. The part is simple by its geometry and not visible most of the time, so faster speed can be applied.
PADS:
Color: black.
Settings: 0.2/0.4 nozzle, 0.2 layer height. Need to print 4 pads.
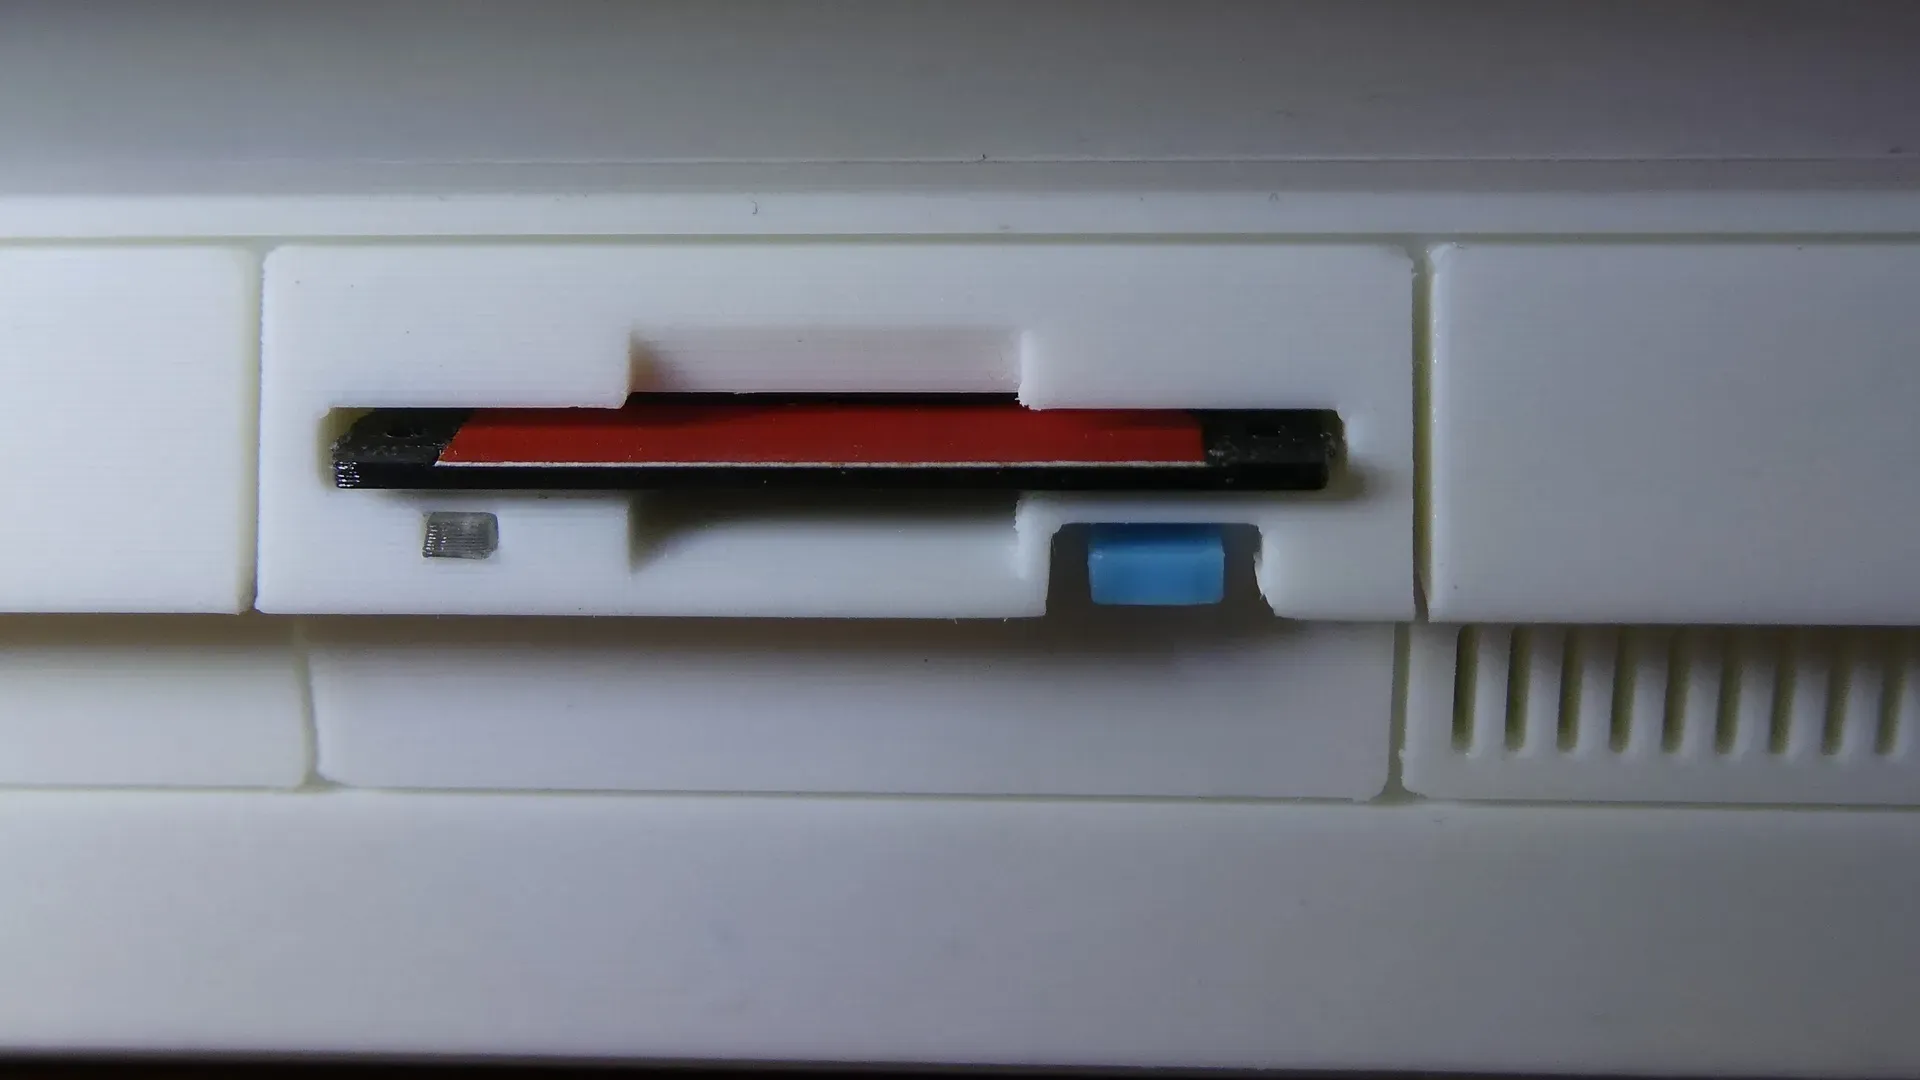
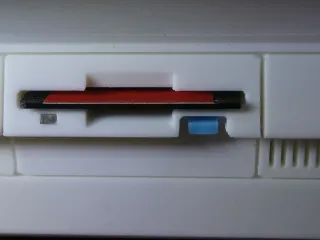
DISKETTE:
Color: black. Actually, you can choose any, but usually they were black with some sticky-paper label on top of them that had a line of different colors in the bottom to distinguish them easily when the diskette was inside the FDD and only the bottom edge was visible to the user. I used red promo-stickers that they give away in supermarkets. If you don't have stickers, you can glue ordinary paper and paint it with a permanent marker.
Settings: 0.2 nozzle, 0.12 layer height. There are standard and 0.12 mm thicker version, use the one that holds better in your FDD.
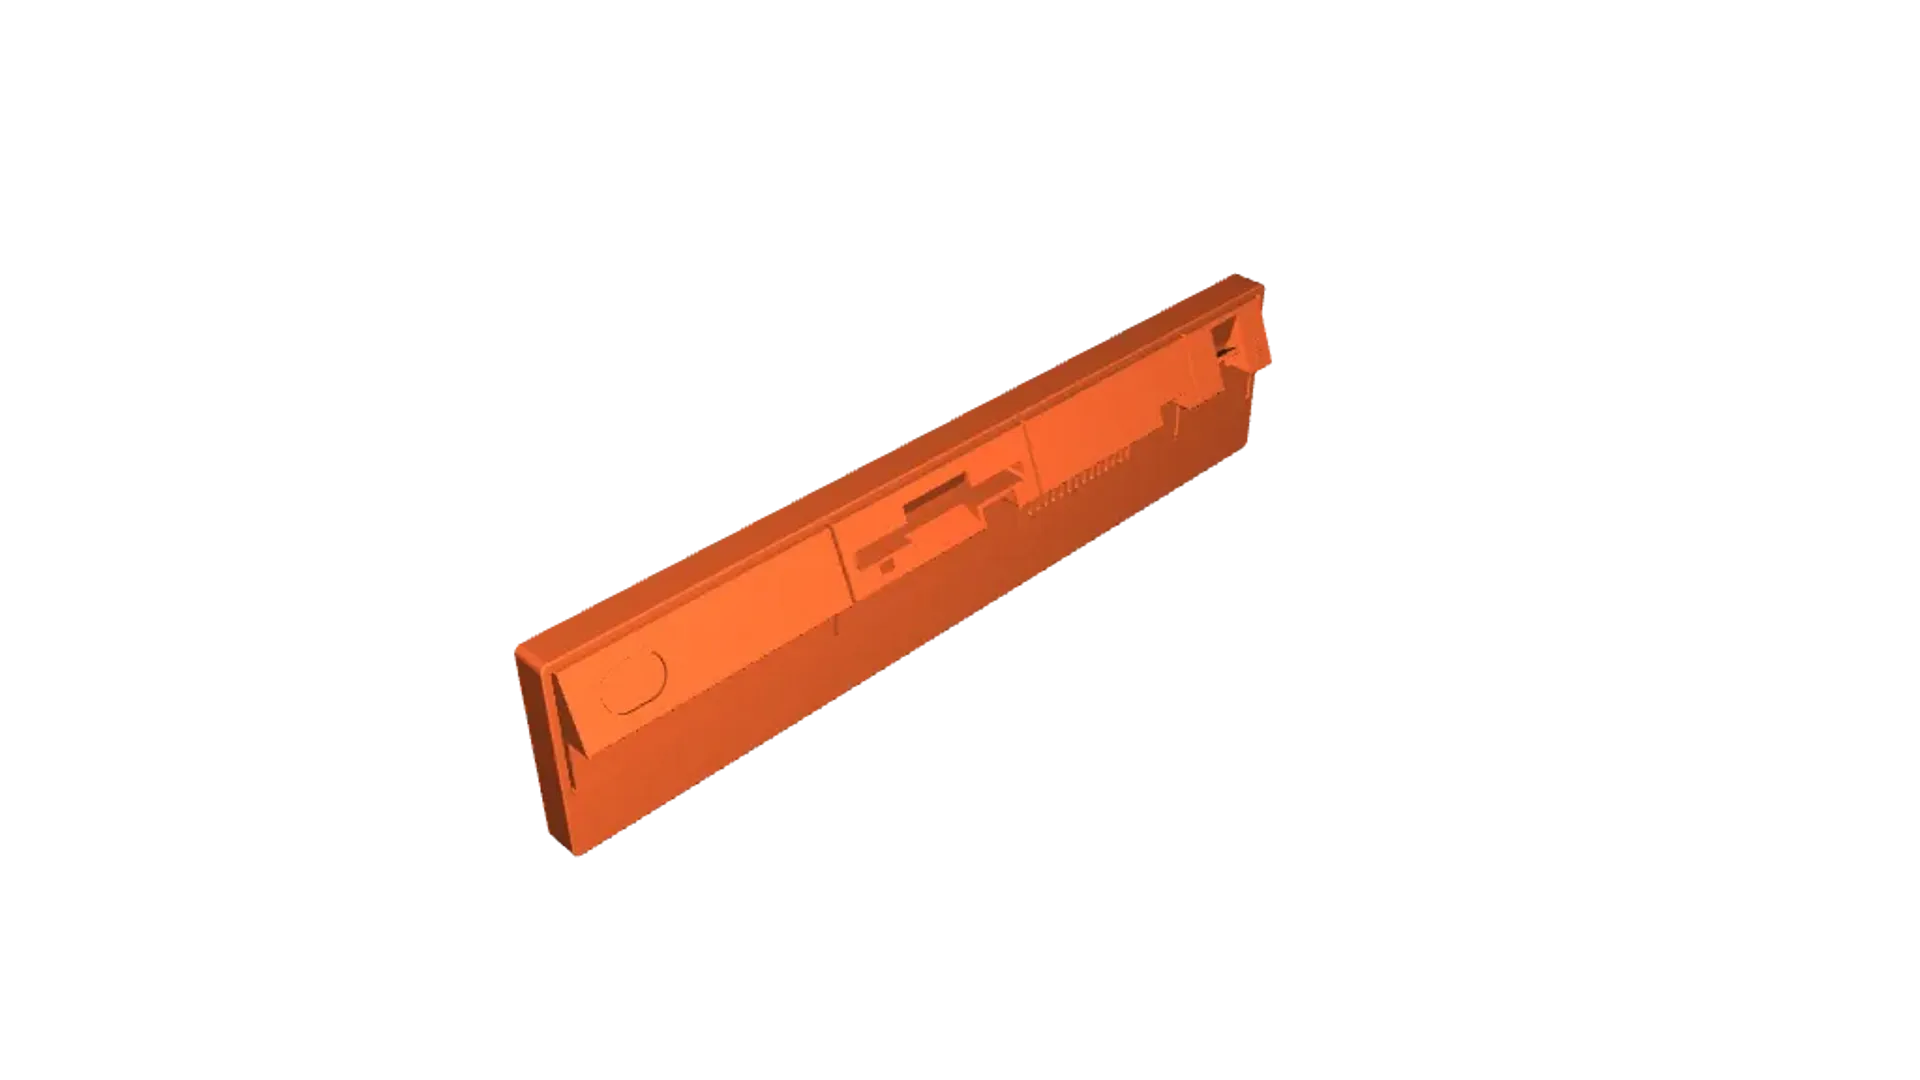
FDD BUTTON:
Color: bright blue.
Settings: 0.2 nozzle, 0.08 layer height, super slow speed (15 mm/s or less). The original version has the same size as the hole and you may need to scale it a bit in your slicer. I cannot make a universal version because every printer will print it with different dimensions due to the small size. There is a stl version with 3 buttons, the first one is 0.08 mm smaller than the hole and each further one is 0.08 mm smaller than the previous one. You can select the one that goes inside its hole and doesn't fall away without gluing. Note that the original button was approximately on the same level as the front panel when the diskette was out and it jumped out when the diskette was inserted. This is how it worked on my machine and I see in on many photos. However, I also saw photos when the button is out even when the diskette was not inserted. I have no idea why, maybe different revisions of the FDD. I made the length of the button somewhere in the middle of its max and min length when it is in and out just because it makes the look of the FDD more stylish. If you want to be precise in the length of the button, you can cut some of the button to make it shorter, but the model will be less attractive if the button is too deep and hardy visible at all.
LEDS:
Color: transparent (if you need your LED to be off) or dark yellow / bright orange (if you need your LED to be on). Personally I prefer transparent for FDD and orange for HDD, because the floppy disk is supposed to be out in this model, and HDD was always doing something most of the time, making the user loose his patience in waiting...
Settings: 0.2 nozzle, 0.08 layer height.
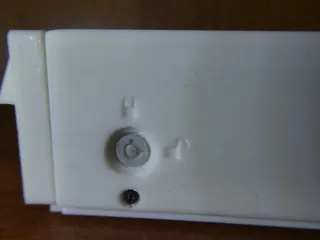
LOCK:
Color: metallic/silver.
Settings: 0.2 nozzle, 0.08 layer height. It's a not-easy-to-print tiny part. I made "simple" and "the most simple" versions of the lock, so you can choose the one that your printer will make better. More success is expected with 0.1 mm nozzle if you can find it (I don't have it). This part needs to be glued into the lock hole on the right side of the TOP part.
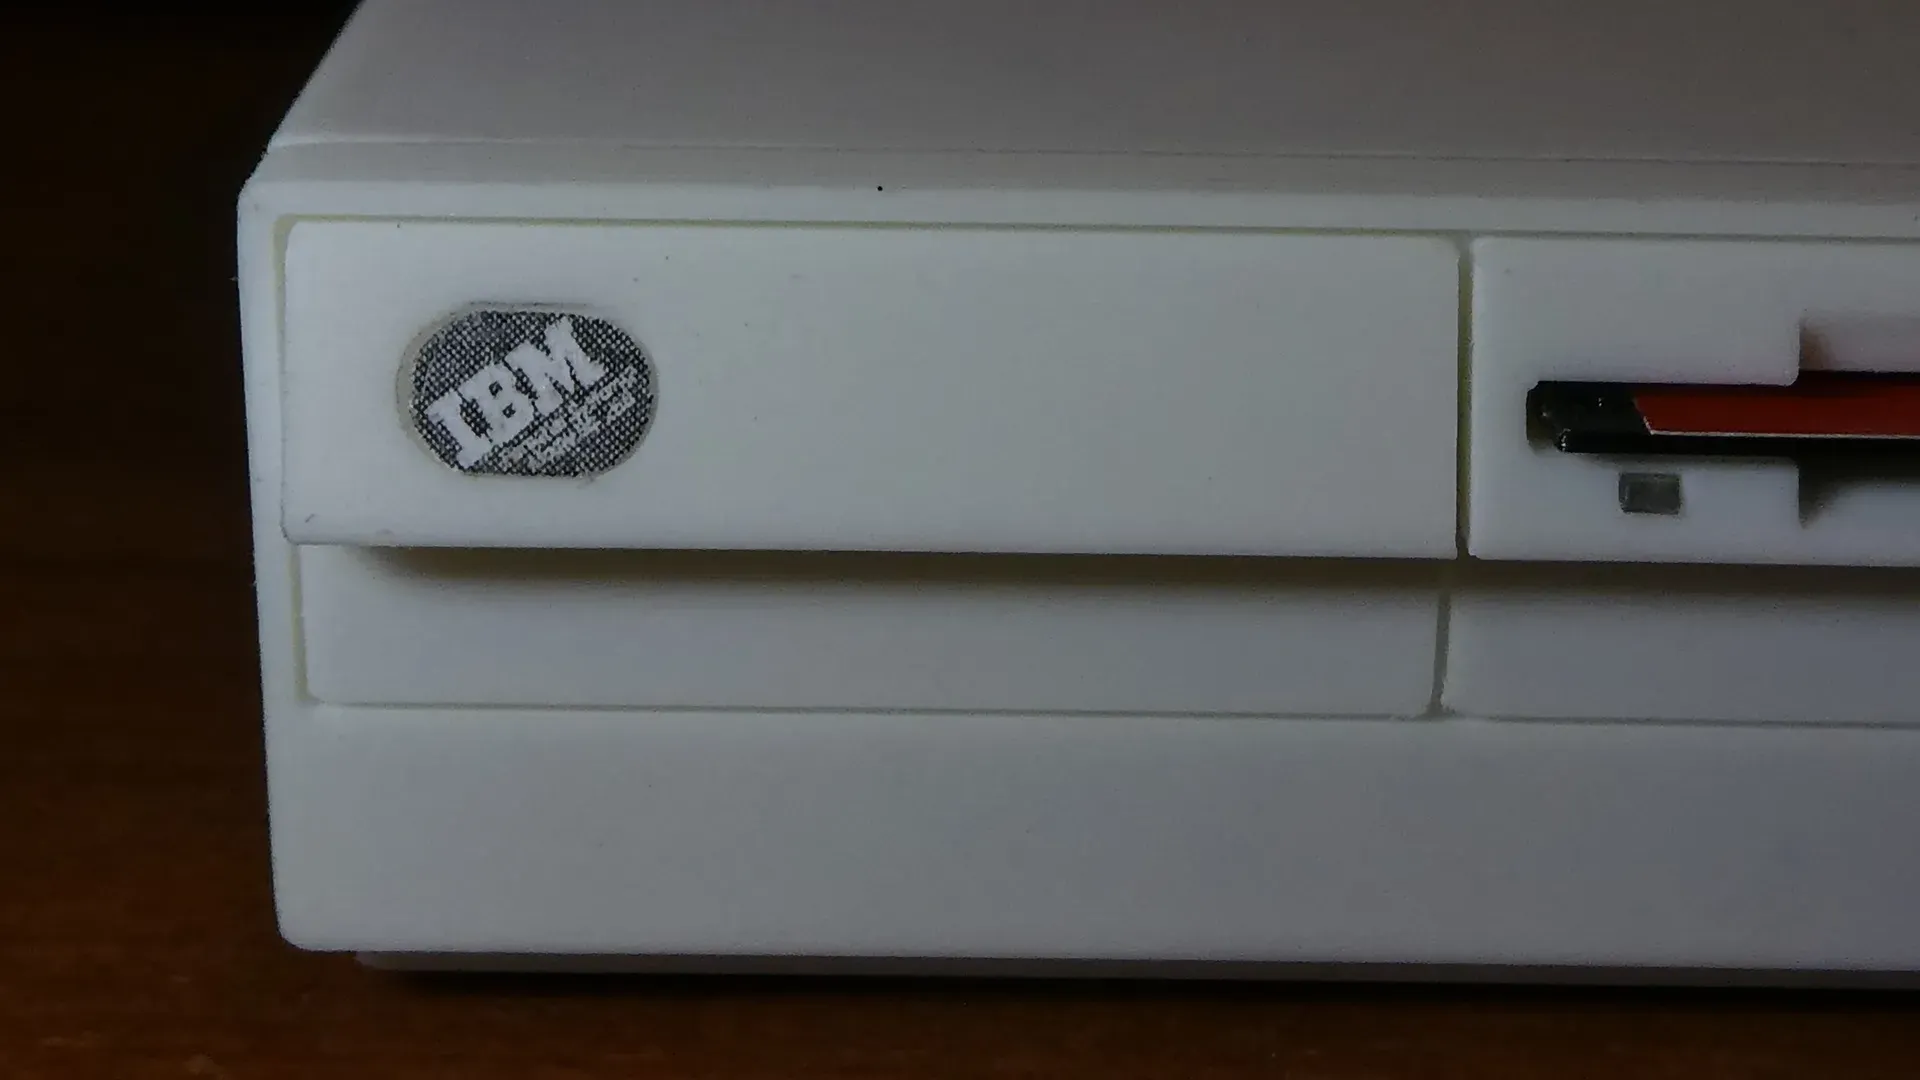
LOGO:
Color: bottom - dark gray, upper layer - metallic/silver.
Settings: I was not able to print it with Ender3V2 with 0.2 nozzle and PETG, but you can try it with your printer, especially if you have PLA of the required colors. I also printed a simplified logo. Extremely slow speed is important here (less than 5 mm/s). It turned out much better, but still not perfect, because PETG is too leakable and makes a pool of shit in such a small area. Finally I printed the logo with a laser printer on a paper at 1200dpi resolution, cut it and glue instead of the plastic logo. The small text is still not readable, but the overall look is much better than the plastic version. Logo size for this model is somewhat 6.67x4.47mm if you decide to print in on a paper. You may need to try different brightness levels to get the most readable result (darker versions look better). The paper logo should be glued on 3-4 pieces of standard paper to make the logo on the same level as the FRONT panel, or print it on a thick paper at once (the logo hole is 0.4 mm deep, so the paper thickness + a layer of glue should be close to this value). I provide a logo image downloaded from wikipedia and also my own simplified remake of the logo that looks better when printed at a small size. If you have a better printer than mine (more than 1200 dpi), print both versions and use the one that looks better.
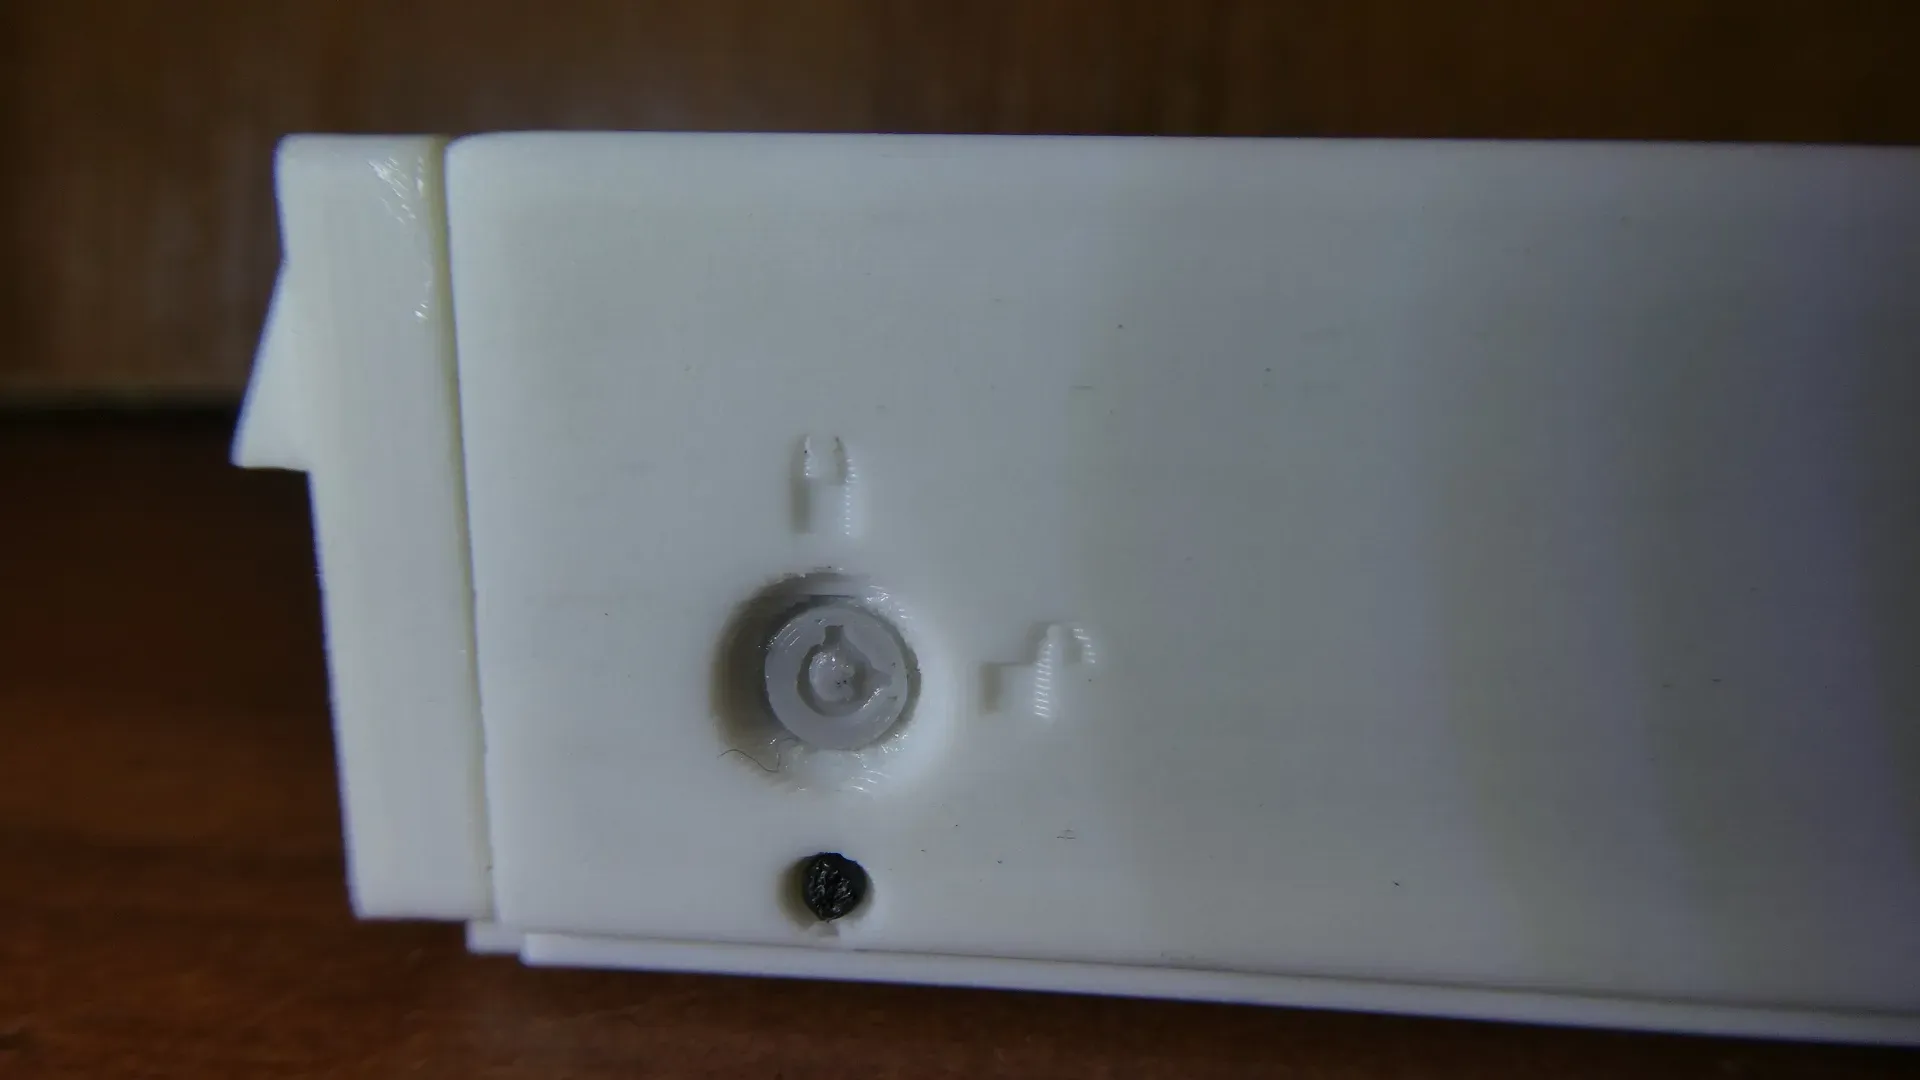
SCREWS:
Color: black.
Settings: I was not able to print it with Ender3V2 with 0.2 nozzle, but you can try it with your printer.
Solutions:
A) use metal screws if you can find small ones (they usually can be found in smartphones, notebooks and other portable equipment). If you screw them till the end, you will need to unscrew them every time you want to open the box (the same way as it was in the original Model 30 box).
B) use a piece of unused filament. The diameter of the hole is made 1.75mm on purpose, so you can use small pieces of filament to put it inside instead of screws. Use a sharp knife to reduce the diameter of the filament at one side (make a chamfer). Insert the filament into the hole from the outside of the TOP part to inside till the end, until it hardly get inside.
Cut the filament from the outer side of the TOP part with the filament cutting tool that was supplied with your printer. Find a sharp narrow object (a thin screwdriver or an awl) and use it to push your piece of filament inside a bit more (0.5 mm will be enough to make it slightly deeper than the wall of the TOP part). The sharp object is needed because it will leave a small hole in the middle of the filament that will resemble a hole for a screwdriver. Now cut the excess of the filament from the inner side of the TOP part. You can cut it flat if you want the lid to open easily, or leave a bit of filament inside so that these pins would work as locks, and the lid will open with some effort. The corresponding hole in the BOTTOM part can accept up to 1 mm pins, but if you make them that long, you will be able to open the box only by pulling the sides of the lid aside and then slide the lid back. I think 0.2-0.3 mm is the best choice here because it allows to open and close the lid easily and the lid will not open by itself when you shake the box. I chose this solution to make the bolts - it looks nice, easy to make and works great as additional locks (the main locks are pre-printed at the back side).
Assembling.
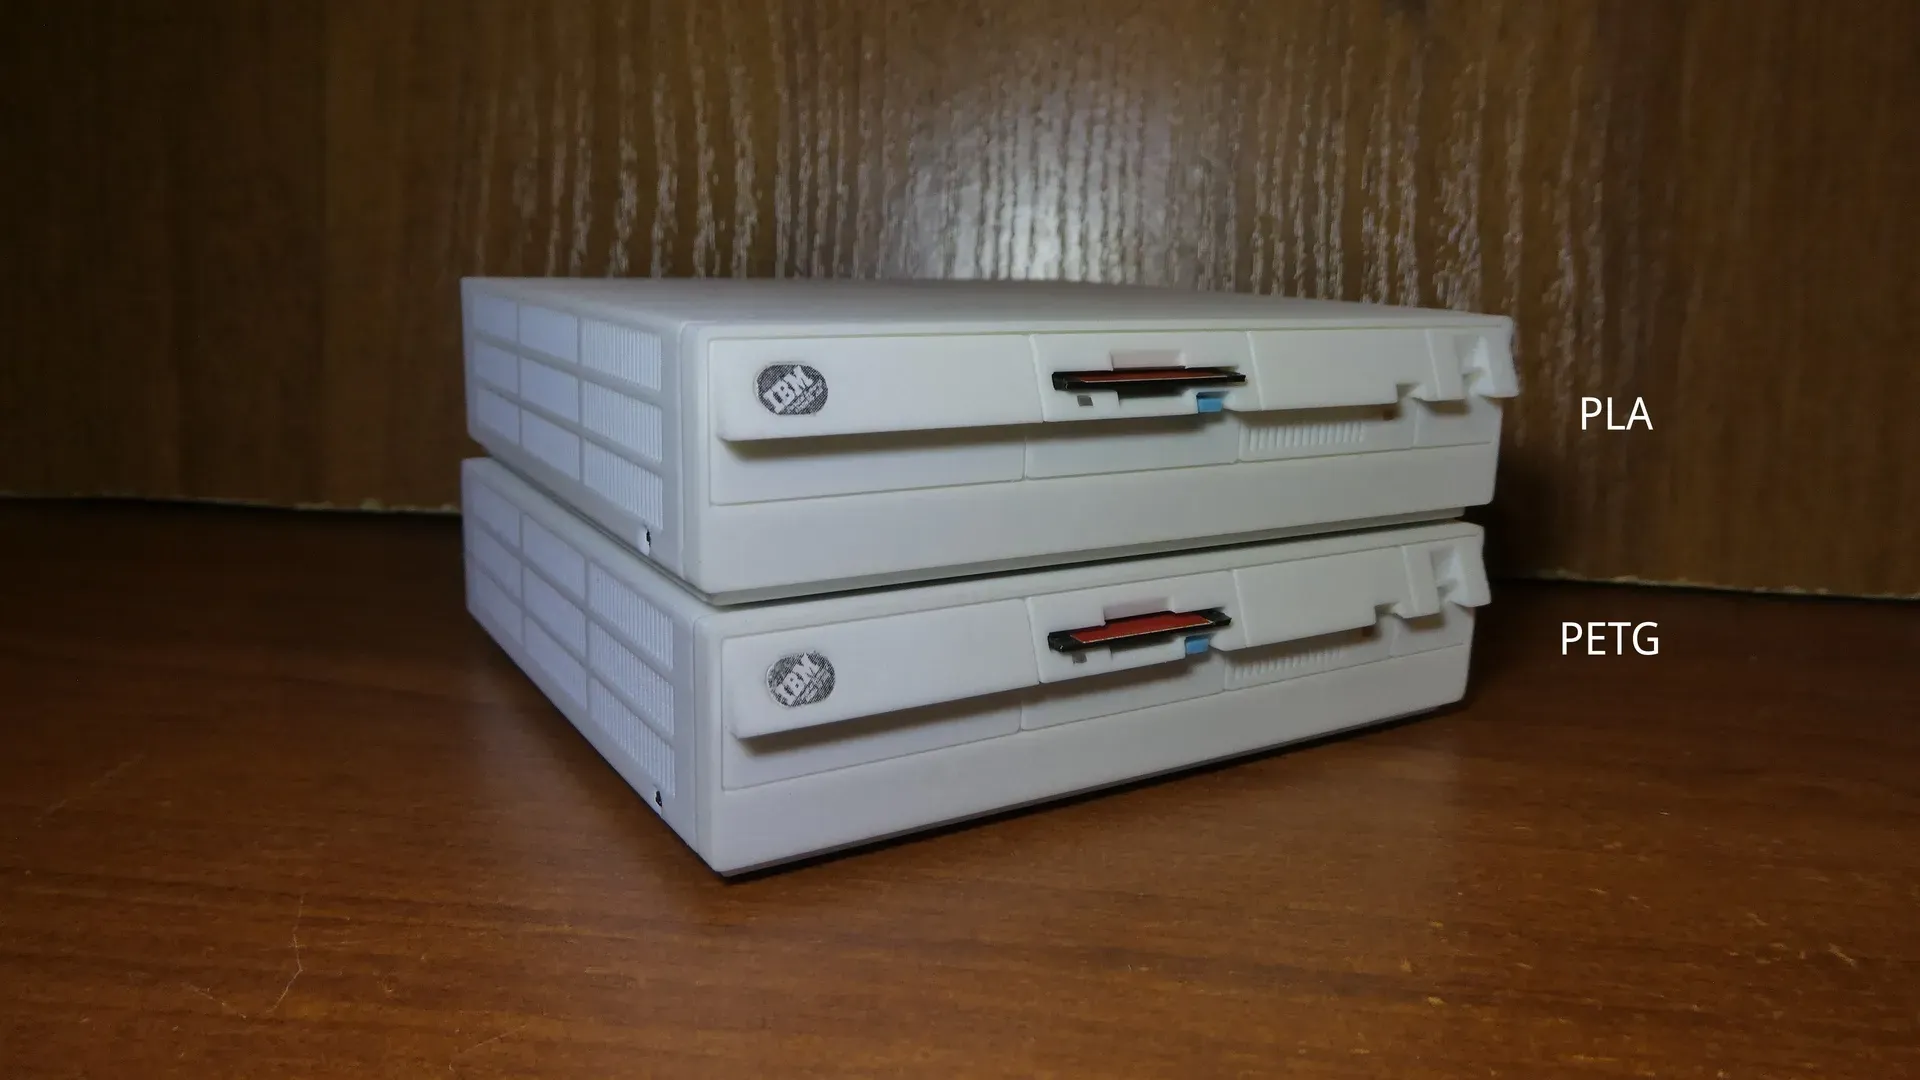
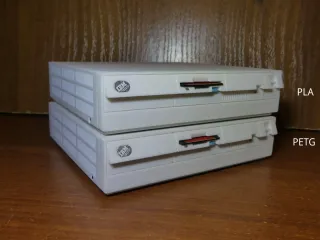
- Print all the parts. I tested with PLA and PETG, both are fine for this model.
- Insert FDD BUTTON and HDD/FDD LEDS into the holes in the FRONT part. Remember that FDD led has a bevel at one side, and this side should be the front side.
- Insert TOP over BOTTOM and close it till the end.
- Glue FRONT to BOTTOM - there are 4 pins and 4 holes pre-printed to make the adjustment easier. Do it on a flat surface with the TOP part closed for more alignment accuracy.
- Glue PADS to the BOTTOM (there are 4 little holes for them).
- Glue LOCK to TOP. The two lines inside the lock should look up and right.
- Insert the SCREWS as described above. Glue if needed.
- Glue LOGO to FRONT.
- Insert the DISKETTE into the FDD (optional). There is no need to glue it, just insert it till the end and it should hold well, and you will be able to remove it any time later. If it happen to fall off by itself, you can slightly deform the back side of it with some hot object to make it slightly thinker at that side.
- Enjoy!
License.
The model is free for non-commertial use. The model and its prints are not for sale. Public remixes are allowed for non-commercial purposes when they are distributed with the same license and with a link to this page.
Questions.
Still have any questions? Ask in the comments sections. I will only answer if the issue was not covered in this description, so first read the text above, then ask your questions!
Photos of your makes are welcome! I really tried the best I could to reach as high quality of the print as possible on my Ender3V2, but I will be glad if somebody will reach even higher quality! Share the pictures of your print!
Model origin
The author marked this model as their own original creation.