LCD Fan controller enclosure for Prusa-Box / Printer Box
Description
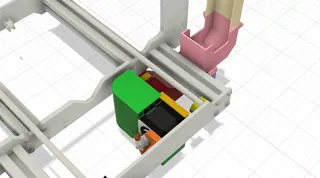
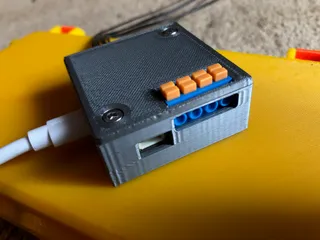
PDFThis model is designed to drive cooling fan(s) - the one in the top back of the box and optionally the one for Einsy - using XY-T01 and HW-585 thermostats in primary / secondary configuration, while looking nice on the Prusa Box and having the same kind of a blue LCD as the printer itself. The setup works in the following way.
XY-T01 has friendly controls and can be used to set a target cooling range between a T1 (say 28C) and T1+T_Delta (say 3C). Once the temperature reaches T1+T_Delta (31C), the thermostat turns on a relay that stays on until the temperatures drops back down to T1 (28C). While nice, the relay is a simple on/off appliance that does not take advantage of PWM. Instead, we use the output from the relay to turn on HW-585. This board can be used to gradually ramp up fan speed between TS1 (say 30C) and TS2 (say 40C). At TS1, the fan can be set to go at either 20% or 40% of full speed, while at TS2 it goes at 100%. It also supports two additional fans that can be configured to run at a constant (settable) speed. The board does not have that many adjustments, but the 30-40C range seems ideal for our purposes.
Note: The project relies on "stock" LED mod already installed, mostly for holding cables in place and also integrates with the wiring for LEDs to save on space. It can be done stand-alone without LED strips as necessary.
Note 2: I'm partial about the performance of the Printer Box cooling setup in general. It does hold the temperature inside the box around 35-37C while printing PETG, but I suspect it would be around that without fan as well. Keeping LED lights on seems to raise the temperature by about 2C. My next step would be to design something that opens the top door when the temperature exceeds a certain critical threshold.
Note 3: LED lights that you get from Printer Box are AWG 18 even though they look more like AWG 22 or 20. Be careful when stripping.
The project requires the following:
- XY-T01 https://www.amazon.com/gp/product/B07GQPT9VG/
- HW-585 https://www.amazon.com/gp/product/B07LBLWYZF/
- Heat shrink tubing.
- ¼" and 1/8" friction sleeves.
- M4 12mm pan head bolt
- 2 of M3 8mm pan head bolts.
- 2 of 4mm pan head bolts.
- M3 5mm socket head bolt.
- 2 of M3 18mm socket head bolts.
- About 9 feet of bonded AWG 24 cable.
- 6 feet of AWG 18 cable (3+3 of different colors).
- 4 feet of AWG 22 cable.
- A 3-pin JST SM connector.
- 2 micro rocker switches.
- Noctua 2 long fan extensions, 1 Y-Cable extension and one short extension. I've bough 3 fans for the Prusa box (Noctua NF-A4x10, Noctua NF-A12x25, Noctua NF-A4x20) and these were the extensions that came with the fans.
- One 8x3 magnet.
- A piece of 3M Velcro mounting tape.
Additional model (to hold the temperature sensor):
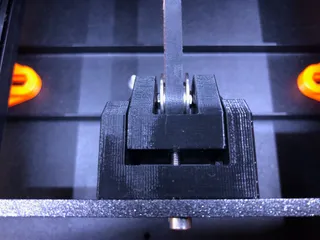
https://www.printables.com/model/125317-magnetic-holder-for-temperature-sensors-probes
See Assembly Guide PDF for instructions. Prints without supports.
If desired, you can add a different color to inside the button icons by adding a filament change 1mm below the "floor" of the icons and then another change back to the original color at the surface of the floor.
Tags
Model origin
The author remixed this model.


