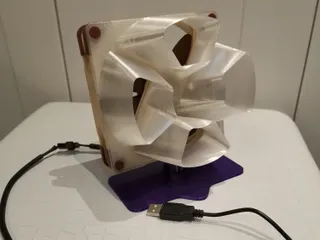
Phantom Cat
Description
PDFWhat you need
Very simple just 2m of LEDs (about 1.7m but they are usually sold in meters and it is best to have a spare).
You will also need x3 M3 by 16mm screws for the mounts. As well as some double-sided tape.
I will not show the microcontroller side of things there are plenty of great LED strip tutorials on the internet. However, if you are truly having trouble just comment I will do my best to help you out.
Either way here are some quick model-specific tips:
- You need an individually addressable LED strip if you want to make animations.
- I would recommend the 5v version if you are planning on using a microcontroller as it is a short enough run (you can hook up power at the end and the start of the loop) and 5v makes it easier to control.
- You want to do the wrap starting towards the cat's tummy as then the 1m point lies on the straight back part making for an easier connection if you are using two 1 meter strips.
Assembly
I have tried to make alignment as easy as possible for this model, using the corners to align the parts.
- Start by connecting Cut 1 to Cut 2
- Then connect Cut 3
- Then Cut 4
- Now put that aside and connect Cut 5 and Cut 6 together
- Then join the two parts together
- Finally add the Cut entry (which contains the cable hole).
- You need to also print 3 mounts.
Tips
- Use good glue, PLA super glue worked well but you may want to do some research first.
- Use a flat surface when connecting the cuts to ensure that your final model is nice and flat.
- Make sure you remove any “elephant's foot” from the bottom of the prints so that you get a good contact between the cuts
- Leave the glue to dry for long enough.
Model Versions
TL;DR
If you plan to use a normal LED strip use the thick models.
If you plan to use a bendy LED strip or a thin LED strip(<8mm) you can use the thin model.
Now for the explanation
I originally planned to add the LEDs inside the channel facing directly towards the wall meaning I would have to cut and solder wires for every joint (about 40 corners and 6 connections per corner so 240 connections! Don't do that). Instead, it is much better to use the side of the channel meaning no cuts are required. However, this means I made the sides too thin not leaving enough space for the full width of the LEDs.
You could use the new bendable led strips but it may be a pain for some of the tighter corners.
Here is an option. Note that you only need the LED strips for this model, not the silicone diffuser.
Tags
Model origin
The author marked this model as their own original creation.


