Weather Station Adjustable Ball Mount

Description
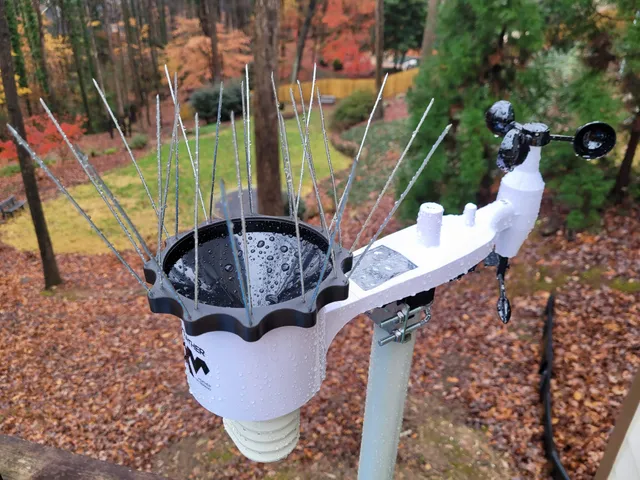
PDFFor proper measurements and functionality, it is important for your weather station to be mounted as close to level as possible. If, however, you find yourself attaching it to a pole/tube that is not perfectly vertical, this can be quite difficult if not impossible. Such was the case I found myself in, as the pole mounting bracket was very difficult to access or adjust after installation.
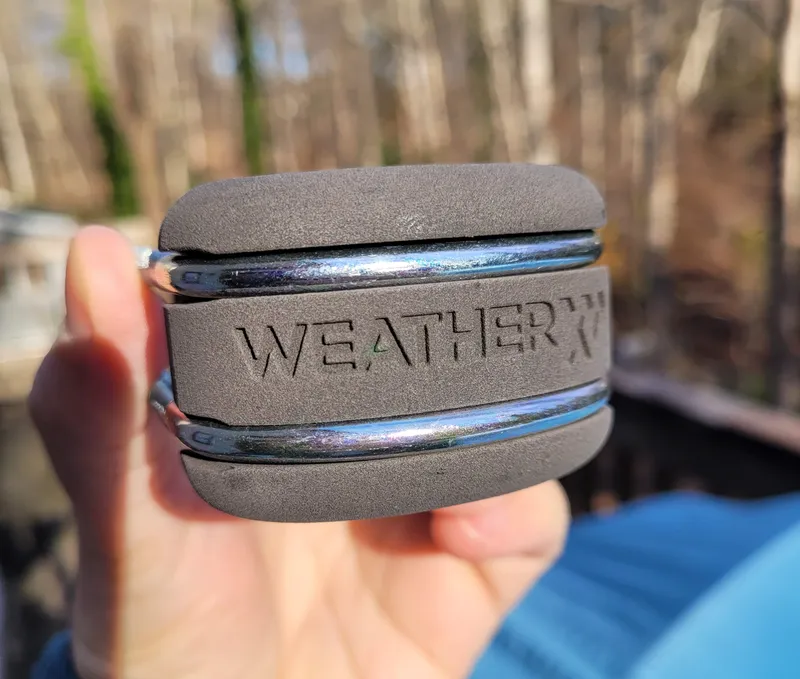
To compensate for imperfect mounting situations, I designed this ball mount adapter to make leveling the station much easier. It doesn't require any additional hardware, but uses the mounting hardware provided with the weather station. The ball itself is 1.5" in diameter, so the weather station clamp should also work with other RAM C-size mounting components, if your configuration doesn't place the station at the end of the mounting tube.
Additionally, I wanted the option of being able to easily remove the insert from the tube, so I also designed an expansion mount for my 38mm ID tube. It uses a 4" long ¼-20" bolt, washer and nut. As the bolt is tightened, it pulls the expansion nut further into the ball mount insert, wedging it tight to the inside of the tube. However, an editable Fusion 360 file is also included so that you can make a simple ball adapter to fit the internal diameter of your particular mounting tube (non-expanding). In my case, this was 38mm, so I've included that version already as an example (both a solid version and a cored one).
I printed these parts in nylon on a Formlabs Fuse 1 SLS, but other durable, weatherproof materials could be used instead.
Assembly:
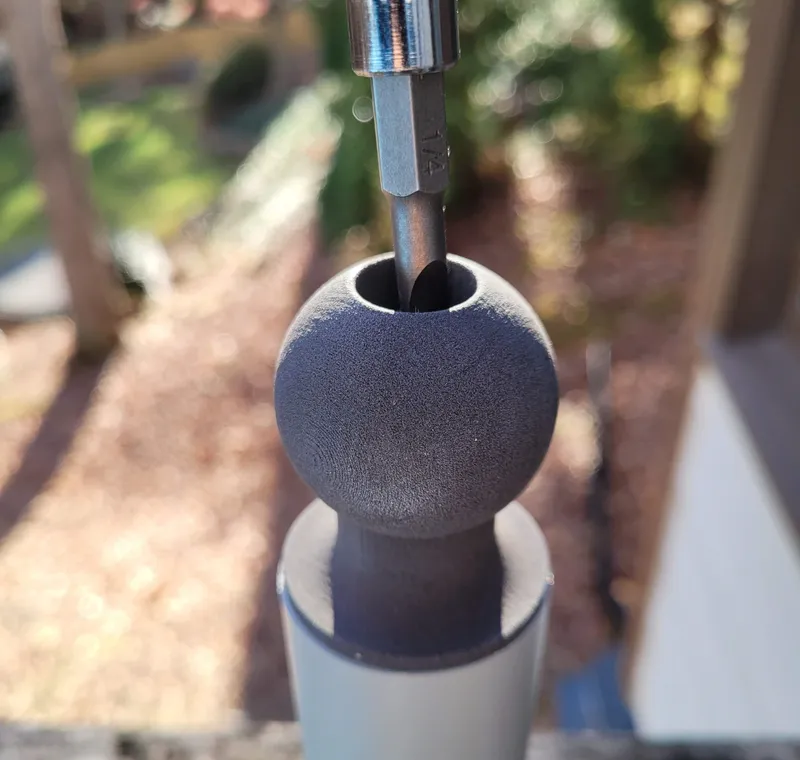
- Insert the appropriate ball mount into the end of your mounting tube. For the expansion-style insert, tighten until secure. For the simple ball insert, wrap with tape as needed for a snug fit, and use the flat on top of the ball to gently tap the insert into place with a hammer.
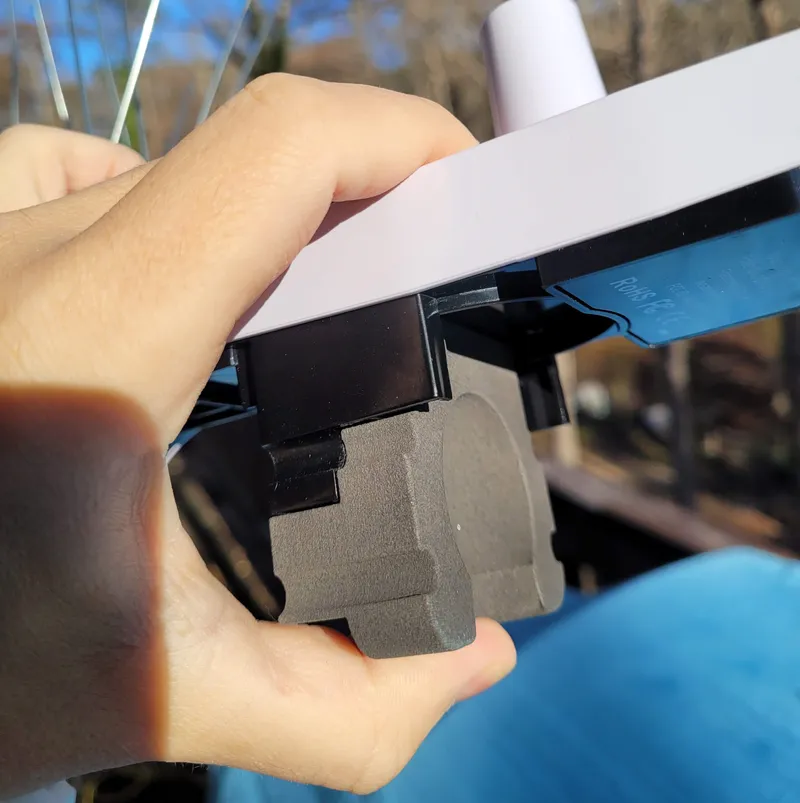
- Insert Adapter Half A into the bottom of the weather station as shown.
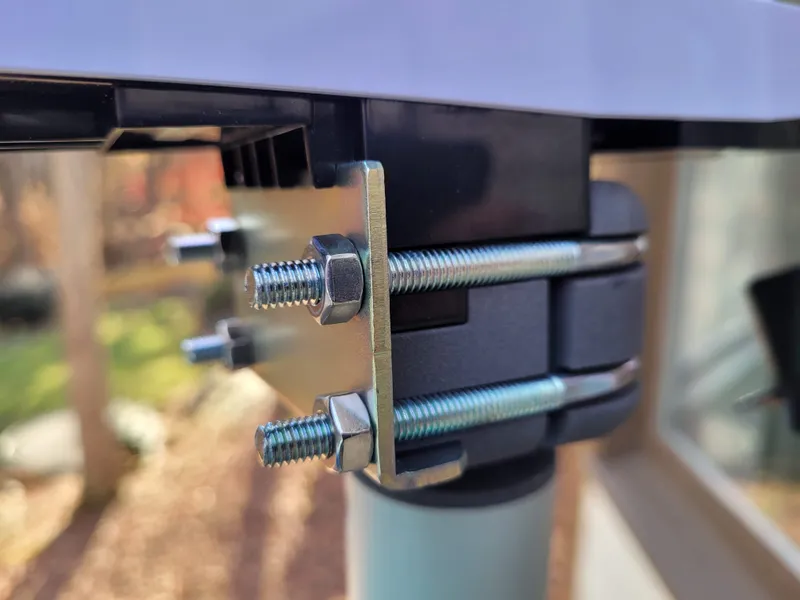
- Insert the metal mounting plate that came with the weather station in its standard slot with the short leg of the L extending over Adapter Half A.
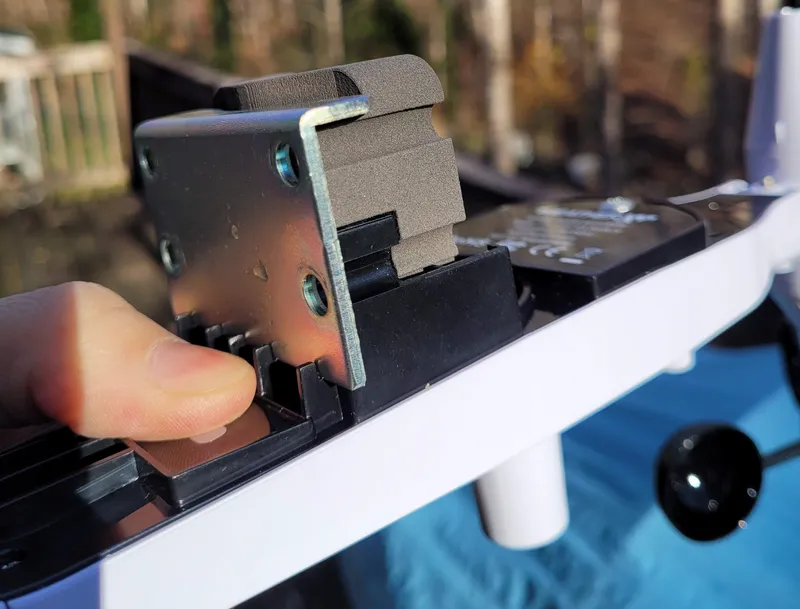
- Insert the two U-bolts that came with the weather station into Adapter Half B.
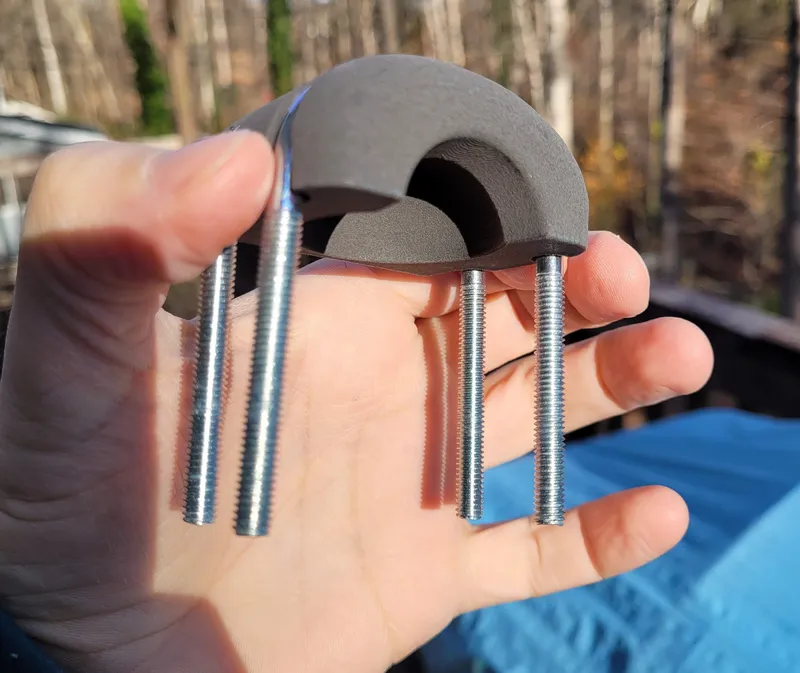
- Slide Adapter Half B with the U-bolts into Adapter Half A, leaving room to insert the ball into the opening.
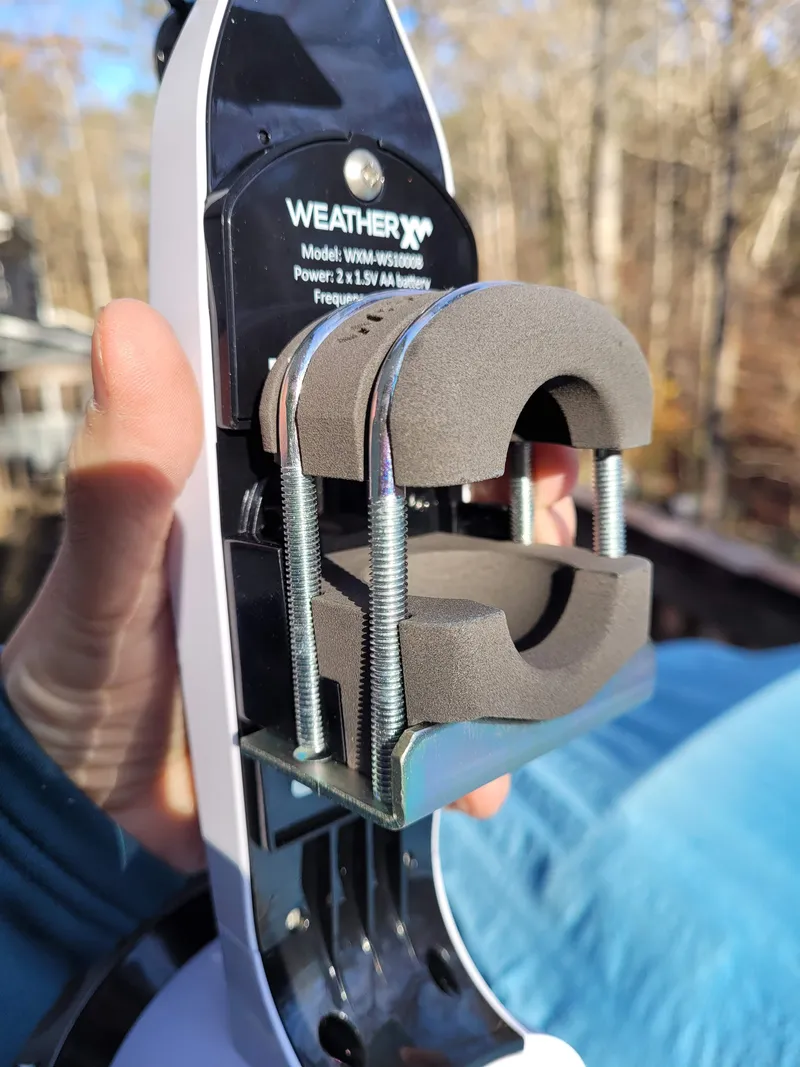
- Place on top of the ball mount and slide the halves closed (the U-bolts should extend through the metal plate) and secure by installing the included nuts onto the U-bolts.
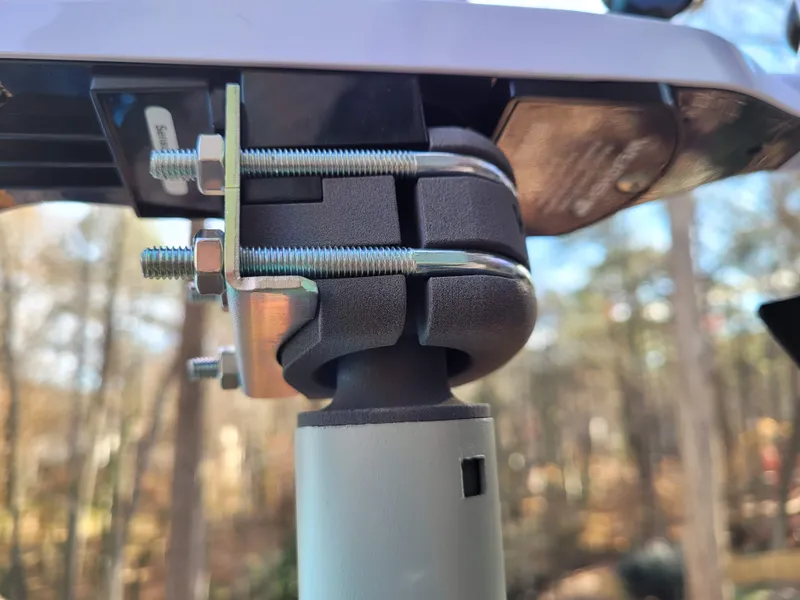
- Make the necessary leveling and direction adjustments while the ball joint is relatively loose, then tighten the nuts once the desired position is obtained.
Tags
Model origin
The author hasn't provided the model origin yet.